

Page 1
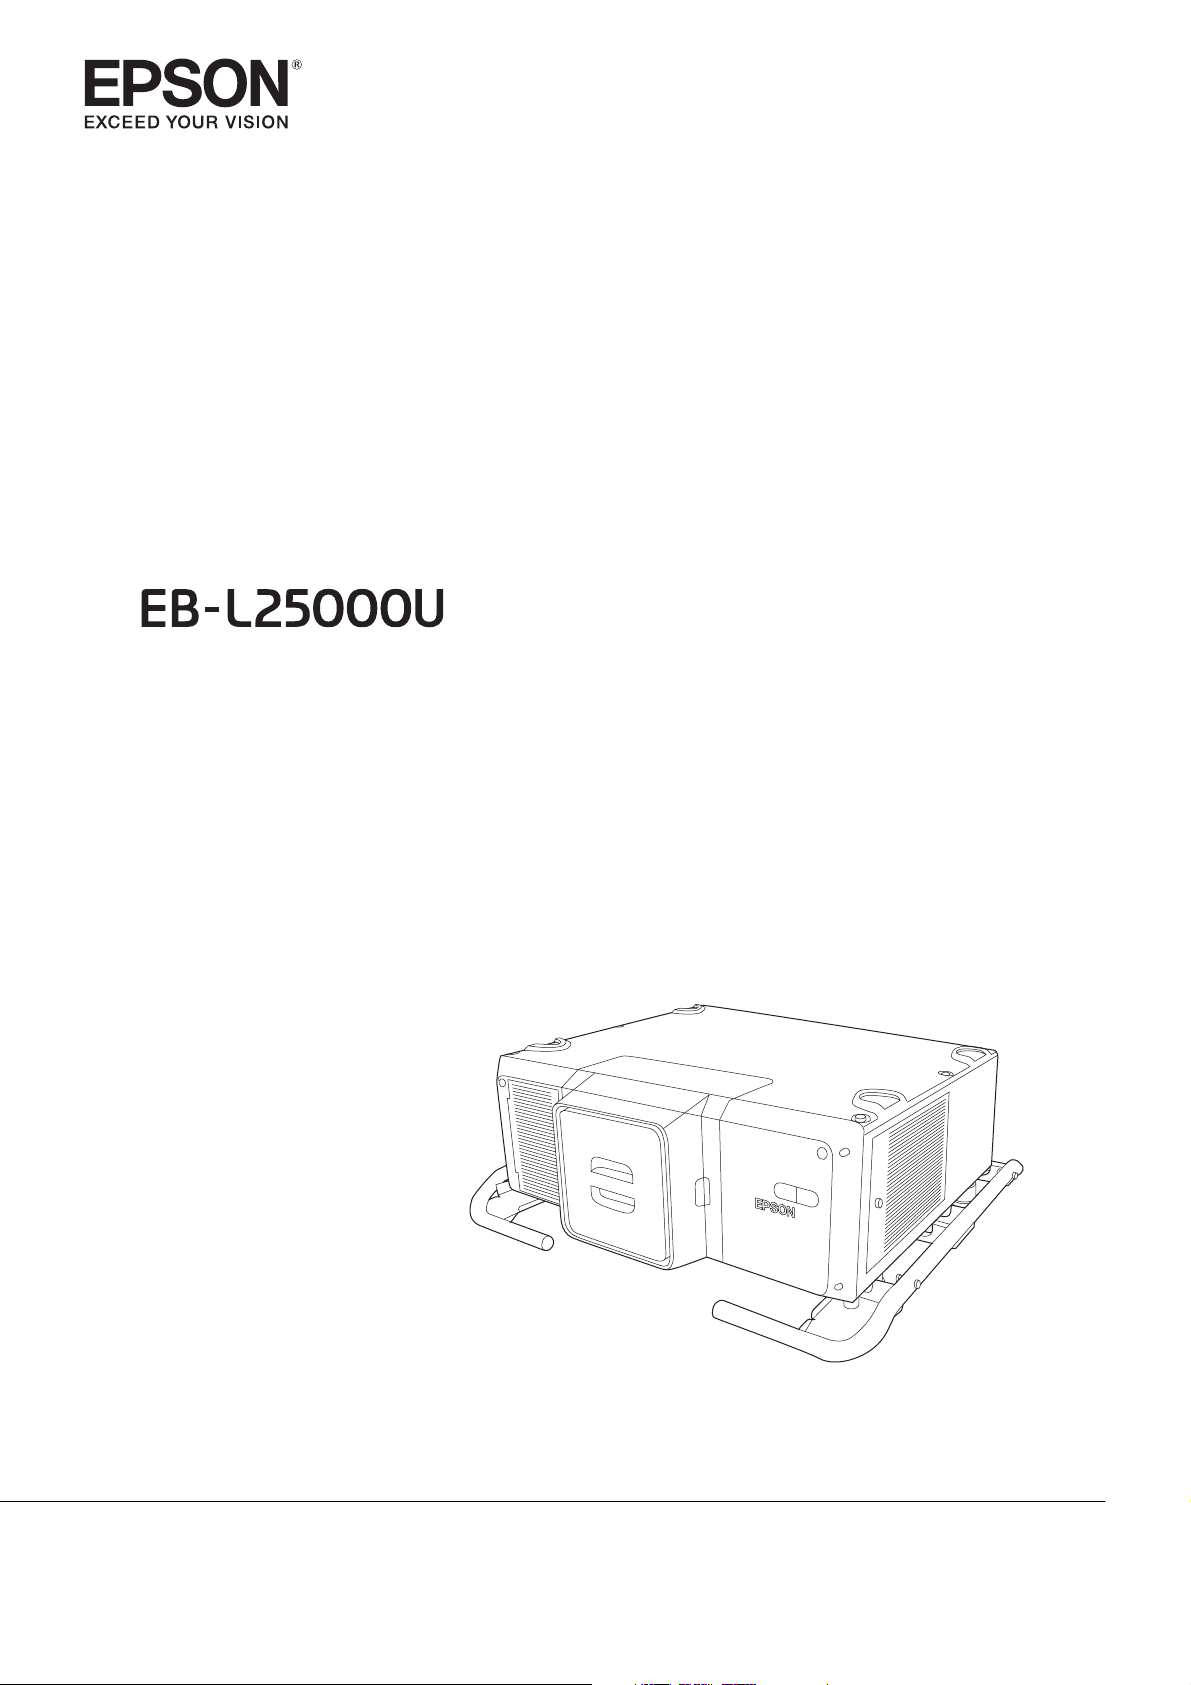
Transport and Installation Handbook
Page 2

Introduction
About the Manuals for this Projector
The following manuals are supplied with the projector. Make sure you read the manuals thoroughly to operate
the projector correctly and safely.
Booklet (paper) manual
•
Transport and Installation Handbook (this handbook)
Provides instructions on carrying and installing this projector safely.
Check this handbook before carrying and installing.
You can download the PDF in a variety of languages from the following Web site.
http://www.epson.com/
PDF Manuals
•
Safety Instructions/Support and Service Guide
Provides cautionary notes on using this projector safely and information on support and service.
Make sure you check these manuals before use.
You can find these manuals on the Document CD-ROM supplied with this projector.
•
User's Guide
Provides information on using this projector, using the Configuration menu, troubleshooting, and maintenance.
You can find this manual on the Document CD-ROM supplied with this projector.
•
Specifications
Provides information on the projector specifications, external dimensions, supported lenses, and so on.
Contact your local Epson dealer.
1
Page 3
Introduction
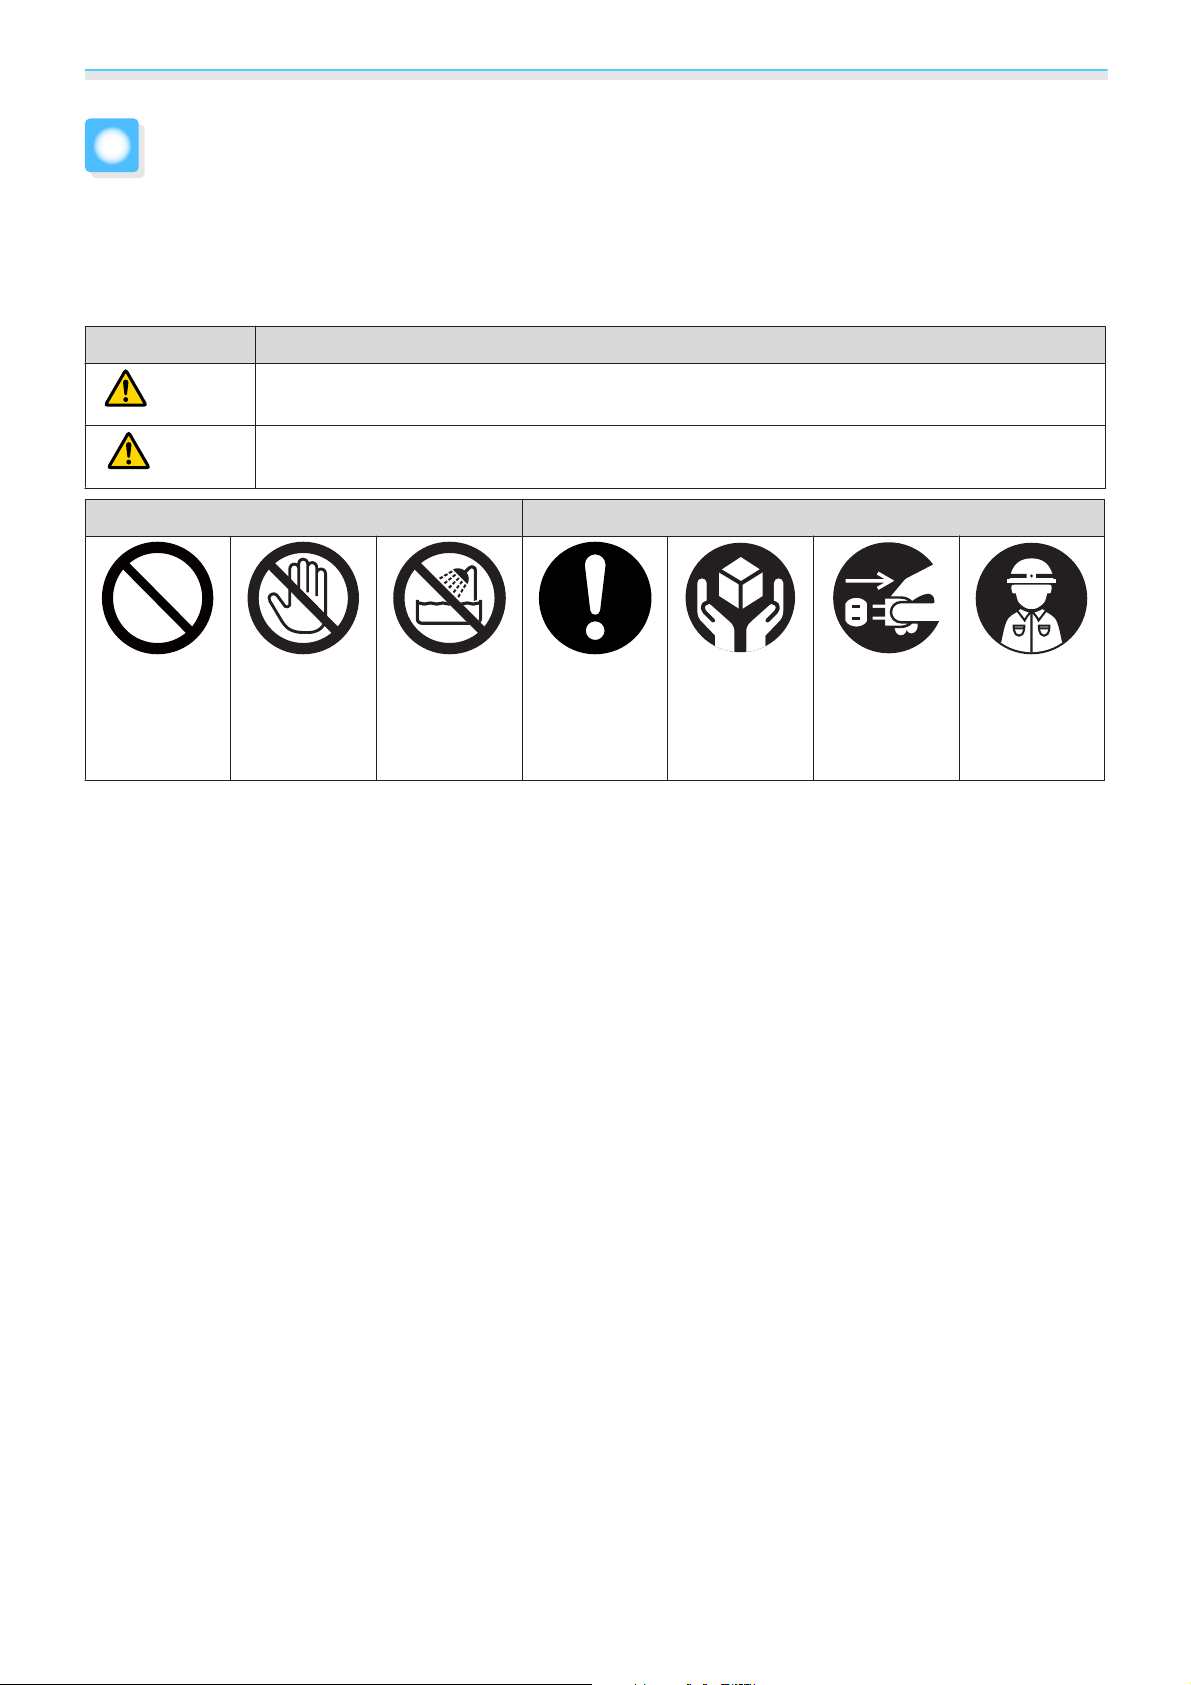
Notations Used in This Guide
The documentation and the projector use graphical symbols to show how to use it correctly and safely to
avoid personal injury, injury to others, and damage to property.
The indications and their meaning are as follows. Make sure you understand them properly before reading
the guide.
Symbol Meaning
Warning
Caution
Indicates Prohibited Actions Indicates Instructions that Must be Followed
Prohibited Contact pro-
This symbol indicates information that, if ignored, could possibly result in serious personal
injury or even death due to incorrect handling.
This symbol indicates information that, if ignored, could possibly result in personal injury or
physical damage due to incorrect handling.
hibition
Usage near
water pro-
hibited
Instructions
Instructions
that must be
followed
Disconnect
plug from
electrical out-
let
Contact a
qualified
technician
2
Page 4

Contents
Introduction
About the Manuals for this Projector . . . 1
Booklet (paper) manual ...................1
PDF Manuals ...........................1
Notations Used in This Guide ........... 2
Transport and Installation
Handbook
Notes on Carrying and Transporting
....................................... 4
When carrying without packing .............4
When packing and transporting .............5
Notes on Installation .................. 6
Notes on the Installation Environment .........6
Notes on Installing ....................... 7
Notes on Connections ...................10
Attaching the lens unit ...................10
3
Page 5

Transport and Installation Handbook
Notes on Carrying and Transporting
Caution
Before carrying this projector, make sure you turn it off and disconnect all
cables.
When carrying without packing
Note the following points when moving the projector by hand or by using a forklift to a close location without
packing it up.
Caution
This projector is heavy and should be carried by at least four people.
When an optional lens is attached, attach the lens cap for the lens unit being
used.
When carrying this projector, we recommend holding the handles on the
left and right as shown in the following illustration.
Otherwise, your fingers could be trapped between the handle and the floor surface.
4
Page 6

Transport and Installation Handbook
Caution
When lifting this projector with a forklift, do not insert the fork from the
front of the projector (the lens side). Otherwise, the lens unit or the projector
could be damaged.
Insert the fork from the rear or the side.
When packing and transporting
Note the following points when packing up this projector and transporting it on a track and so on.
Caution
Before packing, remove the lens unit from the projector, and attach the
protective cap.
Enclose the projector securely in packaging material to protect it from
shock, and place it into a strong container.
This projector is precision equipment. A qualified technician such as the
carrier company must transport the projector with caution.
5
Page 7

Transport and Installation Handbook
Notes on Installation
Notes on the Installation Environment
Warning
Do not use or install the projector where it may be subject to water or rain,
or high humidity, such as outdoors, in a bathroom, or shower room, and so
on.
Otherwise, it could cause a fire or electric shock.
Do not place flammable objects in front of the lens.
If you set the schedule to turn on the projector automatically, any flammable objects placed
in front of the lens could cause a fire.
Caution
Check the following points before installing.
•
Make sure the location is not subject to vibrations or shocks.
•
Make sure the location does not shake and is not tilted at an angle.
•
Makes sure there are no high-voltage lines or magnetic devices in the surrounding environment.
Do not use or store the projector in a location that is subject to extreme
temperatures.
Also, avoid sudden temperature changes.
Make sure you use or store the projector in a place that is within the following operating or
storage temperature ranges.
•
Operating temperature range
0 to +50°C (Altitude of 0 to 1,500 m, humidity of 20% to 80%, and no condensation)
0 to +45°C (Altitude of 1,501 to 3,048 m, humidity of 20% to 80%, and no condensation)
•
Storing temperature range
-10 to +60°C (No condensation)
Do not install the projector in direct sunlight.
If the projector is in direct sunlight, the internal temperature increases, which could cause
parts such as the surface of the projection lens or the built-in camera to deteriorate.
When installing the projector in an environment in which a high-powered
laser beam is being used, make sure it is installed so that the laser beam
does not hit the surface of the projector's projection lens or the built-in
camera.
If the laser beams through the surface of the projection lens or the built-in camera, block the
laser beam with non-permeable or incombustible aluminum foil or metal plates such as iron
to protect the projection lens and the built-in camera.
6
Page 8

Transport and Installation Handbook
Caution
When using the projector in smokey environments such as at events and
so on, make sure you replace the air filter within 24 hours.
Do not install the projector in an airtight location.
Heat exhausted from the projector will become trapped in the location which could cause
the projector to malfunction.
When the projector is installed in an enclosed location so that it cannot be seen, make sure
the location is not airtight and that it can be ventilated and the temperature can be controlled.
Notes on Installing
The projector can be installed at any angle. There is no vertical or horizontal limit to how the projector can
be installed.
You can install the projector in a portrait orientation by attaching the carrying handles to the top and bottom
of the projector.
You can remove the feet from the projector and attach them to the carrying handle.
7
Page 9

Transport and Installation Handbook
Warning
You may need dedicated installation mounts to tilt and install the projector.
Contact a professional and prepare the mount.
•
Plan so that the mount does not fall.
•
Make sure the mount is strong enough to support the projector.
•
When attaching a mount to the projector, secure the mount with bolts using the handle
securing section (6 points) on the top or base of the projector.
Since special techniques are required to install the projector on a ceiling
(ceiling mount) or in a high location, make sure you contact a professional.
If installation work is not carried out correctly, the projector could fall down. This may result
in injury or accidents.
Note the following points when installing so that the projector's air intake
vent or air exhaust vent are not covered.
If either of the vents is covered, the internal temperature could rise and cause a fire.
•
Make sure you secure the following space around the projector.
500mm
500mm
500mm
•
When setting up multiple projectors, make sure there is a gap of at least 500 mm between the
projectors.
500mm
•
Make sure you secure the following space when installing with the air intake vent underneath.
•
A gap of at least 100 mm between the installation surface and the air intake vent.
•
A space of 800 x 350 mm around the entrance of the air intake vent.
100mm
800mm
350mm
8
Page 10

Transport and Installation Handbook
Caution
Note the following points when installing a projector directly on top of
another.
•
Do not stack three or more projectors.
•
Install the feet in the indentations on the top at the four corners.
•
Do not install the handle on the top of the projector installed underneath another projector.
Except for the projector's parts, do not place anything on the projector.
9
Page 11

Transport and Installation Handbook
Notes on Connections
Warning
Be careful when handling the power cord.
Otherwise, it could cause a fire or electric shock.
Note the following when handling the power cord.
•
Only use the specified power-supply voltage.
•
Do not plug multiple power cords in a single electric outlet.
•
Do not plug in the power cord if there are any foreign substances, such as dust, stuck to it.
•
Make sure you insert the power cord all the way in.
•
Do not plug in or unplug the power cord with wet hands.
•
Do not pull the cord when unplugging the power cord. Make sure you hold it by the plug.
Do not use a damaged power cord.
Otherwise, it could cause a fire or electric shock.
Note the following when handling the power cord.
•
Do not alter the power cord.
•
Do not place any heavy objects on the power cord.
•
Do not tie the power cord and other connection cables together.
•
Do not bend, twist, or pull the power cord forcibly.
•
Do not layout the power cord near a heating device.
Attaching the lens unit
The projector supports lens units with the following model numbers.
•
ELPLR05
•
ELPLU05
•
ELPLW07
•
ELPLM12
•
ELPLM13
•
ELPLM14
•
ELPLL09
•
ELPLL10
Caution
When attaching the lens unit, remove the power plug from the electrical
outlet first.
Do not touch the lens section with your hand or fingers.
If fingerprints or oils are left on the surface of the lens, projection quality deteriorates.
10
Page 12

Transport and Installation Handbook
Caution
Do not attach the lens unit when the lens insertion section is facing up.
Dust or dirt could enter the projector.
While pressing the tabs on both sides of the lens replacement cover, pull it towards you to
remove it.
a
b
Turn the lock lever counterclockwise.
11
Page 13

Transport and Installation Handbook
Insert the lens unit straight so that the protruding points on the lens fit through the holes
(2 points) at the top of the lens unit.
c
When attaching the lens unit, do not touch the mot or covers shown in the following illustration
c
(2 points). Otherwise, the lens unit may malfunction.
d
e
While holding the lens unit firmly, hold the lock lever and turn it clockwise until you hear
it click to lock the lens unit.
Check that the lens cannot be detached.
Attach the lens replacement cover.
12
 Loading...