

ENERGY SISTEM Xperience1000 User Manual

TABLE OF CONTENT page
Warning & Importance 1
General Information 2
1. Disc information 2
2. Select a DVD disc 3
3. Care of disc 4
Preparation
1. Unpack the unit 5
2. Loading batteries into the Remote Control 5
System Connections
1. Connecting to TV set 6
2. Connecting to TV & Stereo Amplifier 7
3. Connecting to 5.1 channels Amplifier 8
4. Connecting to a AC3 or DTS Decoding Amplifier 9
Panel Description
1. Front Panel 10
2. Rear Panel 10
3. Remote Control 11
Getting Start
1. Play a Disc 12
2. Picture Setup 13
3. General Setup 14
4. Speaker Setup 16
5. Audio Setup 18
6. Preference Setup 20
JPEG, MP3, DIVX Format 22
Basic Operation 25
Function Buttons 27
Troubleshooting 32
Specification 34
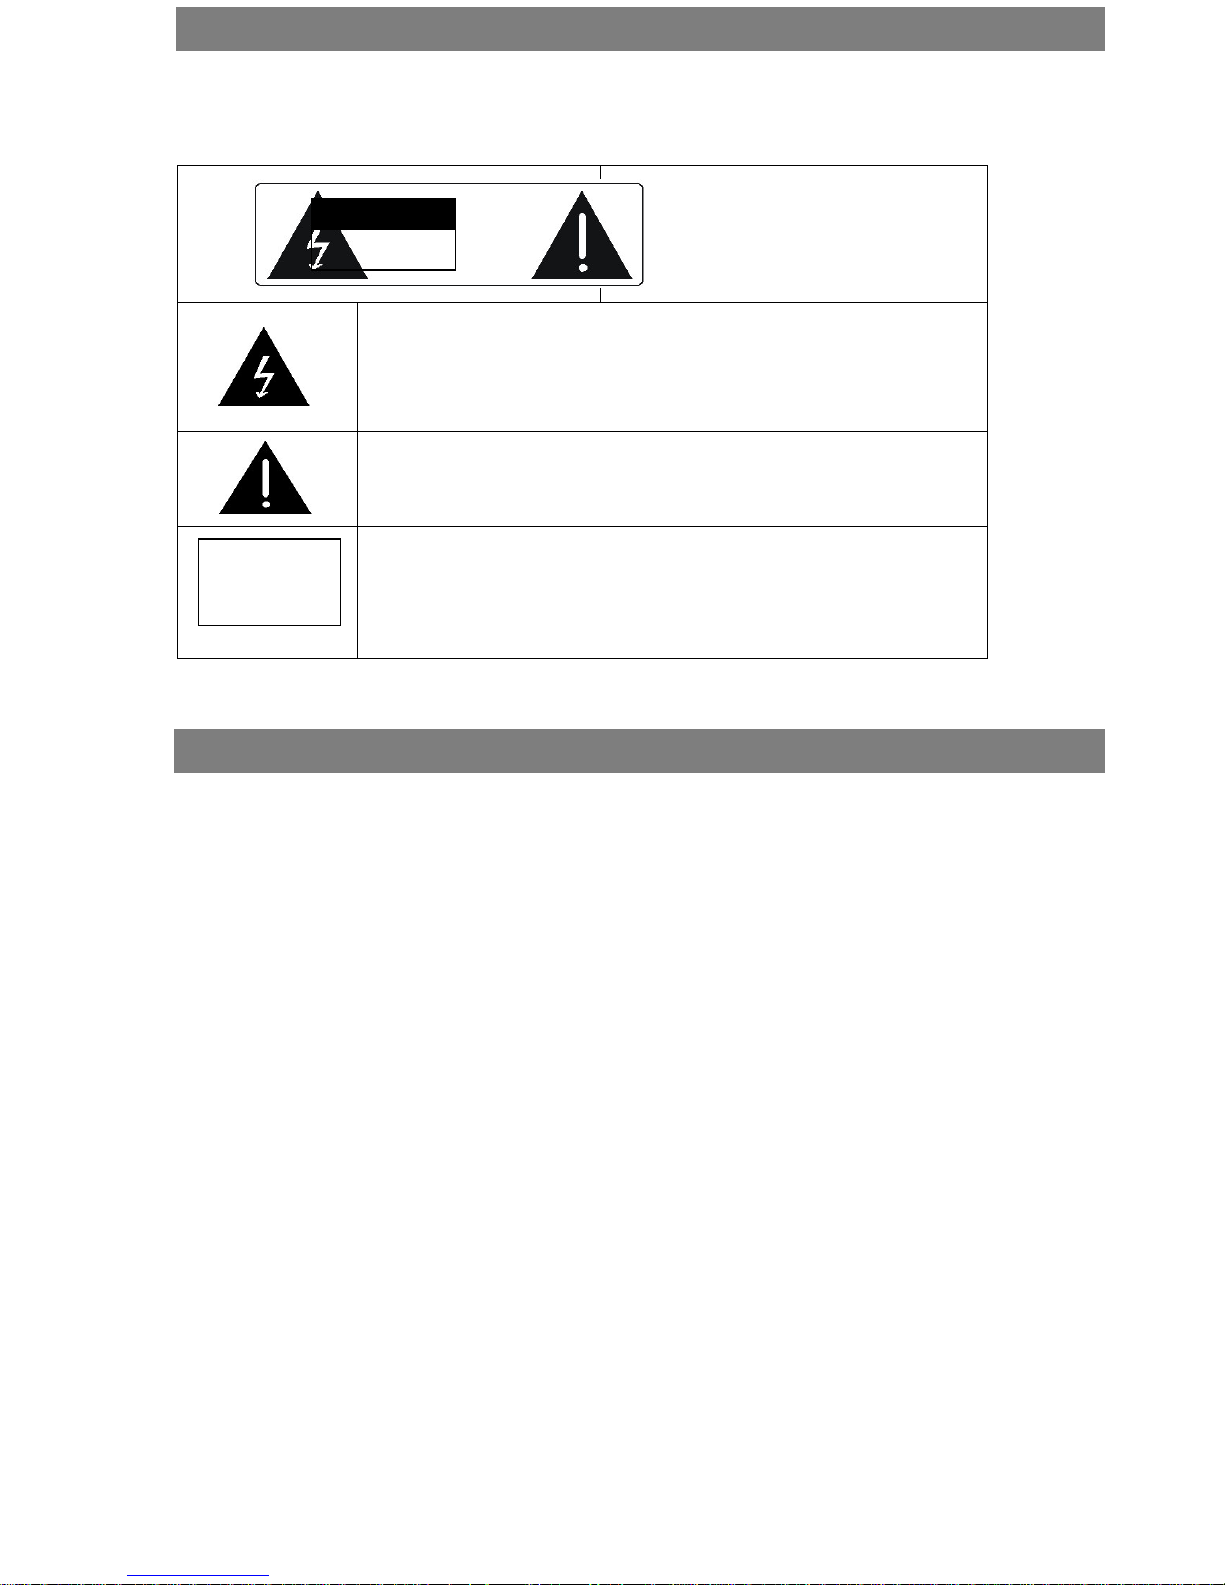
WARNING
TO REDUCE THE RISK OF FIRES AND ELECTRIC SHOCKS, DO NOT EXPOSE THIS
UNIT TO RAIN OR MOISTURE
CAUTION
RISK OF ELECTRIC SHOCK
DO NOT OPEN
REFER SERVICING ONLY TO QUALIFIED SERVICE PERSON
IMPORTANCE
CAUTION:
electric shock, do not remove the cover of the unit.
Refer servicing only to qualified person
To reduce the risk of fires and
This lighting flash arrow symbol in a triangle is intended to alert users to
the presence of non-insulated high voltage within the product’s enclosure
that may be of sufficient magnitude to constitute a risk of electric shock
to person
The exclamation point symbol in a triangle is intended to alert users to
the presence of important operating and maintenance instructions in the
literature accompanying the unit
The marking of products using lasers. The marking will be shown at the
rear panel of the unit, means the unit have been classified as Class 1,
and are utilizing laser beams that are of weaker class. There is no
danger of hazardous radiation outside the unit
Read through this instruction manual before installation and use.
Do not touch the power plug with wet hand.
When disconnecting the power cord from the power outlet, hold the plug, do not pull the wire.
Switch off the main power when the unit is not in use. (Disconnect the power plug from the power outlet
when you do not intend to use the unit for a prolonged period of time.)
Before moving the unit, remove the disc from the unit’s tray first.
Do not open the cover or touch any of the components inside the unit.
Do not install or operate the unit direct exposed to sunlight or nearby objects radiating heat that may lead to
overheat and dangerous to the unit.
Do not install or operate the unit to moisture or humidity that may affect the laser head.
Install the unit on flat surface with good air circulation. Do not cover the ventilation holes on the unit by
any kind. Otherwise, the unit would possibly overheat and malfunction.
Wipe the panel and case with soft dry cloth only. Do not apply any kind of thinner, alcohol or sprays when
the cleaning of the unit.
1
GENERAL INFORMATION
COMPACT
DIGITAL AUDIO
This unit can play the following types of disc:
DVD
DivX
single side / double sides
single layer / double layers
Ver. 3.11 / 4.xx / 5.xx
CD-DA
MP3
CD-R
CD-RW
Photo CD (JPEG)
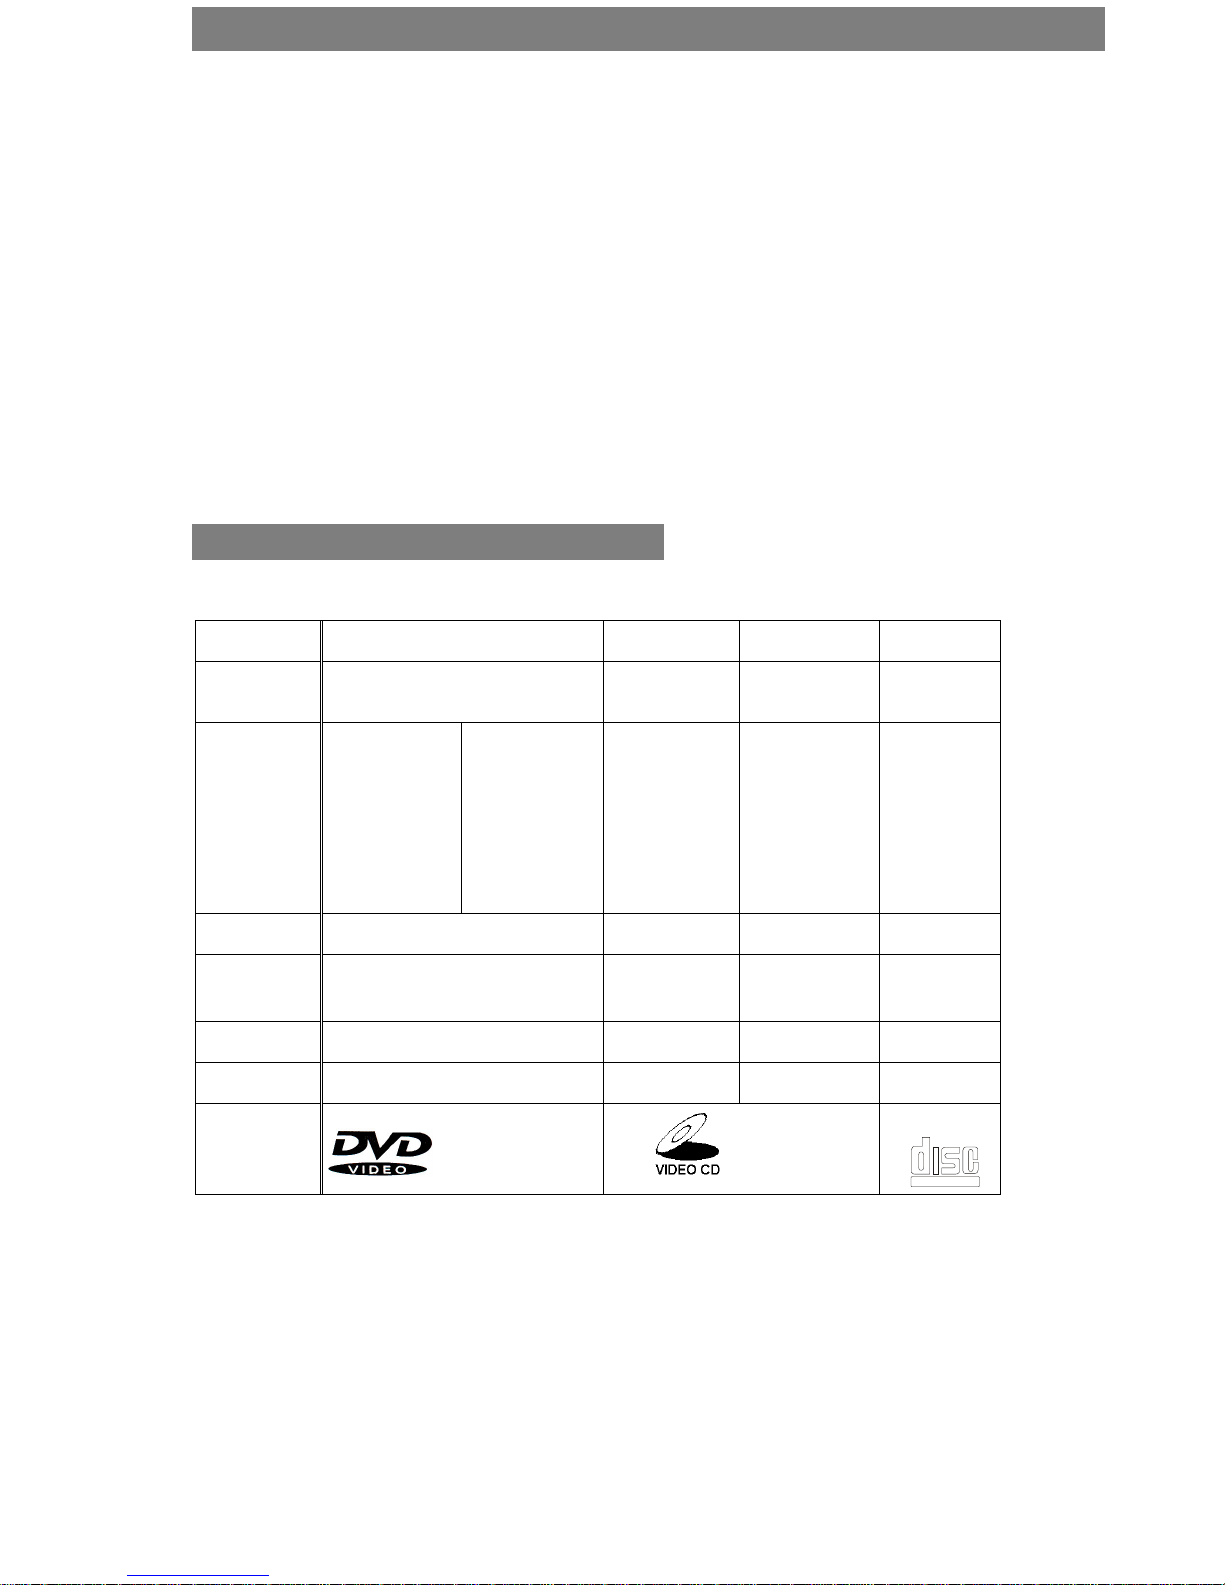
1. DISC INFORMATION
Disc types DVD VCD DIVX CD
Recording
method
Capacity
Digital / MPEG II Digital / MPEG I MPEG 4 Digital
Single layer
Single side
4.7GB = 2 hr
650MB
74min
650MB 650MB
74min
Single layer
Double sides
8.5GB =4 hr
Disc size 12cm / 8cm 12cm 12cm / 8cm
Horizontal
500 lines up 240 lines up -
Resolution
Sub-titles 32 - - -
Sound tracks 8 2 - -
Symbol
2
2. SELECT A DVD DISC
NTSC
DOLBY
D I G I T I A L
2
R E S T R I C T E D
DVD discs and DVD players are manufactured under the worldwide agreed DVD Regional Code System that
the player will operate only with corresponding disc of the same Regional Code.
DVD Regional Code:
Regional Code Region
1
2
Canada, USA
Europe (incl. Poland, Romania, The Czech republic), Japan,
Middle East (incl. Saudi Arabia, Egypt, Iran, South Africa)
3 East Asia (incl. Hong Kong, Taiwan, South Korea), Southeast
Asia
4 Australia, Caribbean, Central & South America, Mexico, New
Zealand
5 Africa, Former Soviet Union, India, North Korea, Pakistan,
Turkmenistan
6
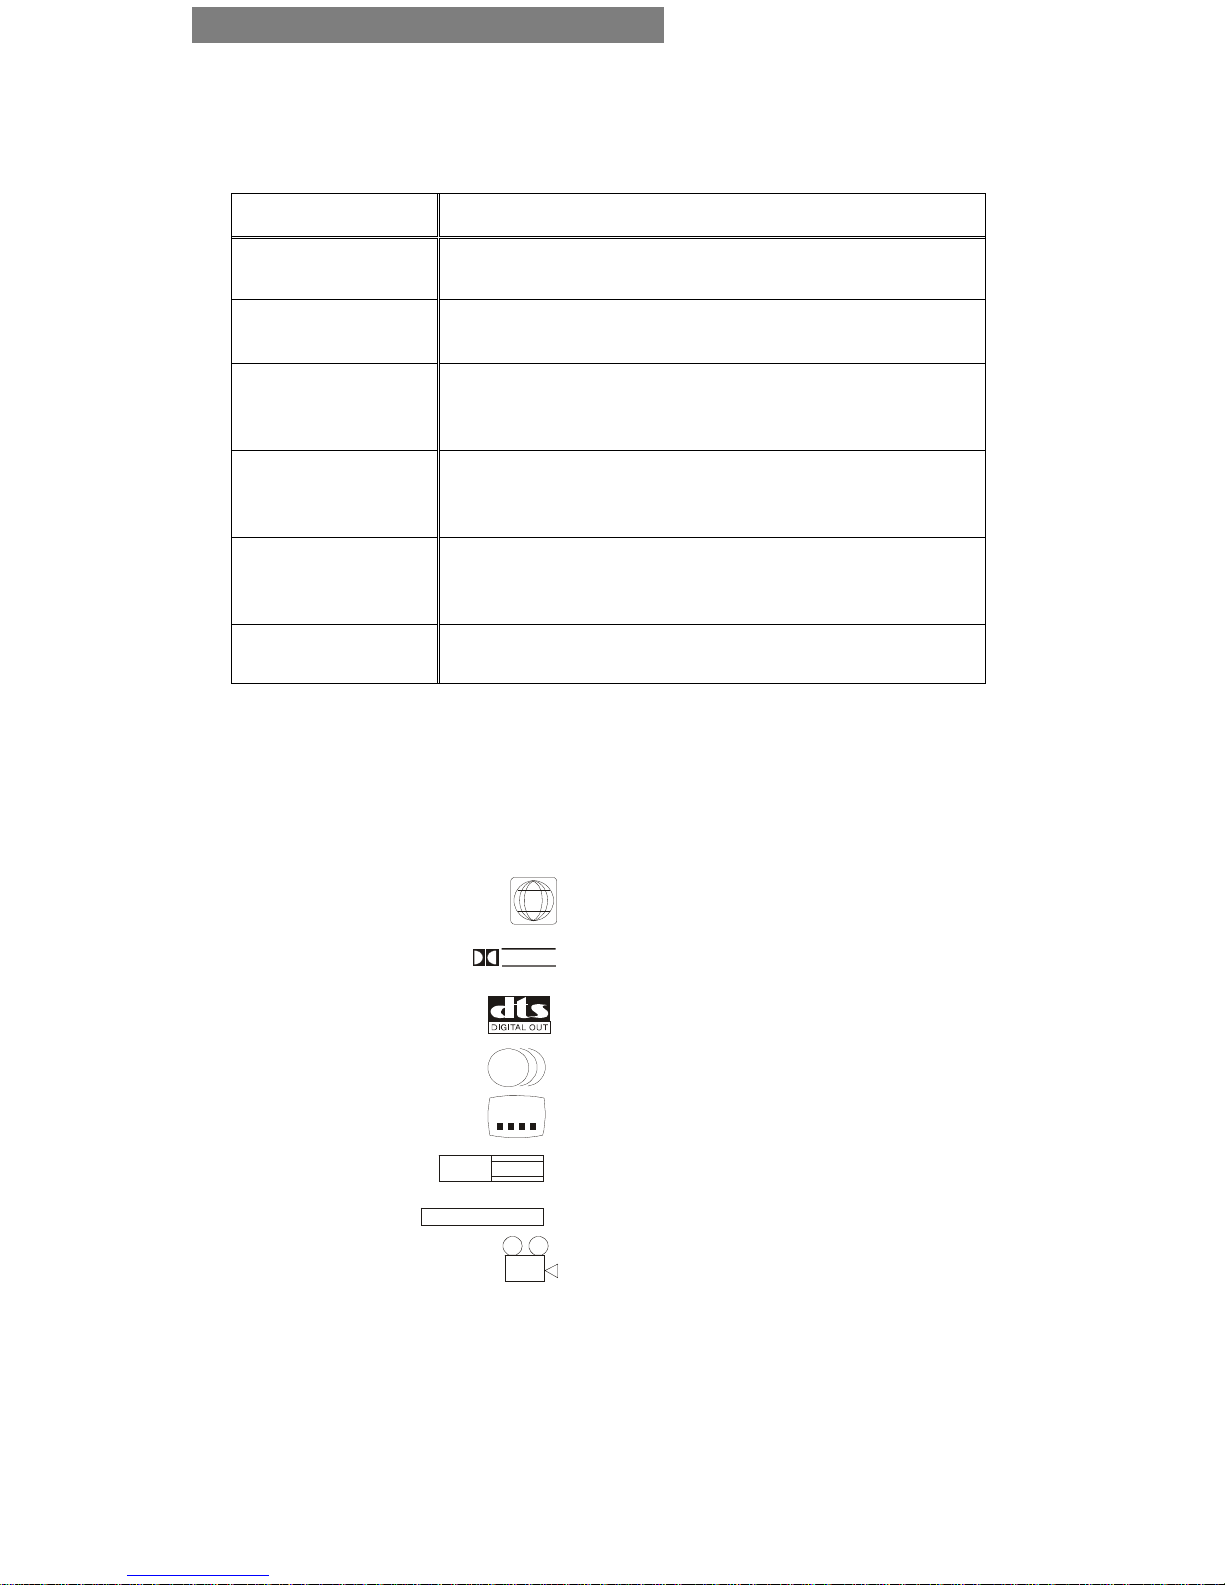
Features of a DVD disc:
China
Each DVD disc contains different combinations of features depending on the design and production of the
disc. The following symbols representing some DVD features:
16 : 9
2
Regional Code / Video Output System
Dolby Digital Surround
DTS Digital Surround
2
Number of audio Tracks
Number of Sub-titles
L B
Screen modes
Child Lock
2
Number of Angles
3

REMARK
Some features of this unit are relating to the DVD disc’s software. Some
features of this unit cannot be preformed if the disc does not support
the features, or required special settings. Check the features of the disc
before playing it, or follow the instruction on screen menu of the disc.
3. CARE OF DISC
Video disc contains high density compressed data that needs proper handling.
Hold the disc with fingers, holding the hole at center and the edge, do not touch the disc
surface.
Do not bend or press the disc, do not explore the disc to direct sunlight or heating source.
Store discs in cabinet, vertically, in dry condition, prevent moisture or humidity.
Clean the disc with soft dry cloth only, wipe gently, radically, from center to the edge. Do
not apply thinner, alcohol or sprays when cleaning.
4

PREPARATION
1. UNPACK THE UNIT
The standard packing contains the following items:
The DVD player unit.
Infra red remote controller
AV Cables
Two AAA batteries
User’s instruction manual
2. LOADING BATTERIES INTO THE REMOTE CONTROL
Remove the battery compartment cover.
Load two AAA batteries into the battery compartment.
Make sure that the batteries have been inserted in the right polarities matching to the symbols +, - as
indicated in the battery compartment.
When replacing batteries, replace both batteries. Do not mix new and used batteries operating together;
otherwise, the operation lifetime will be much shorter than normal.
Do not dispose batteries as normal rubbish. Be environment friendly, dispose batteries according to the
Government’s regulation.
Remove the batteries if you do not intend to use the unit for a prolonged period of time.
5

SYSTEM CONNECTIONS
DO NOT connect the AC power socket
to the wall outlet before the system
connection completed
1. CONNECTING TO TV SET
6
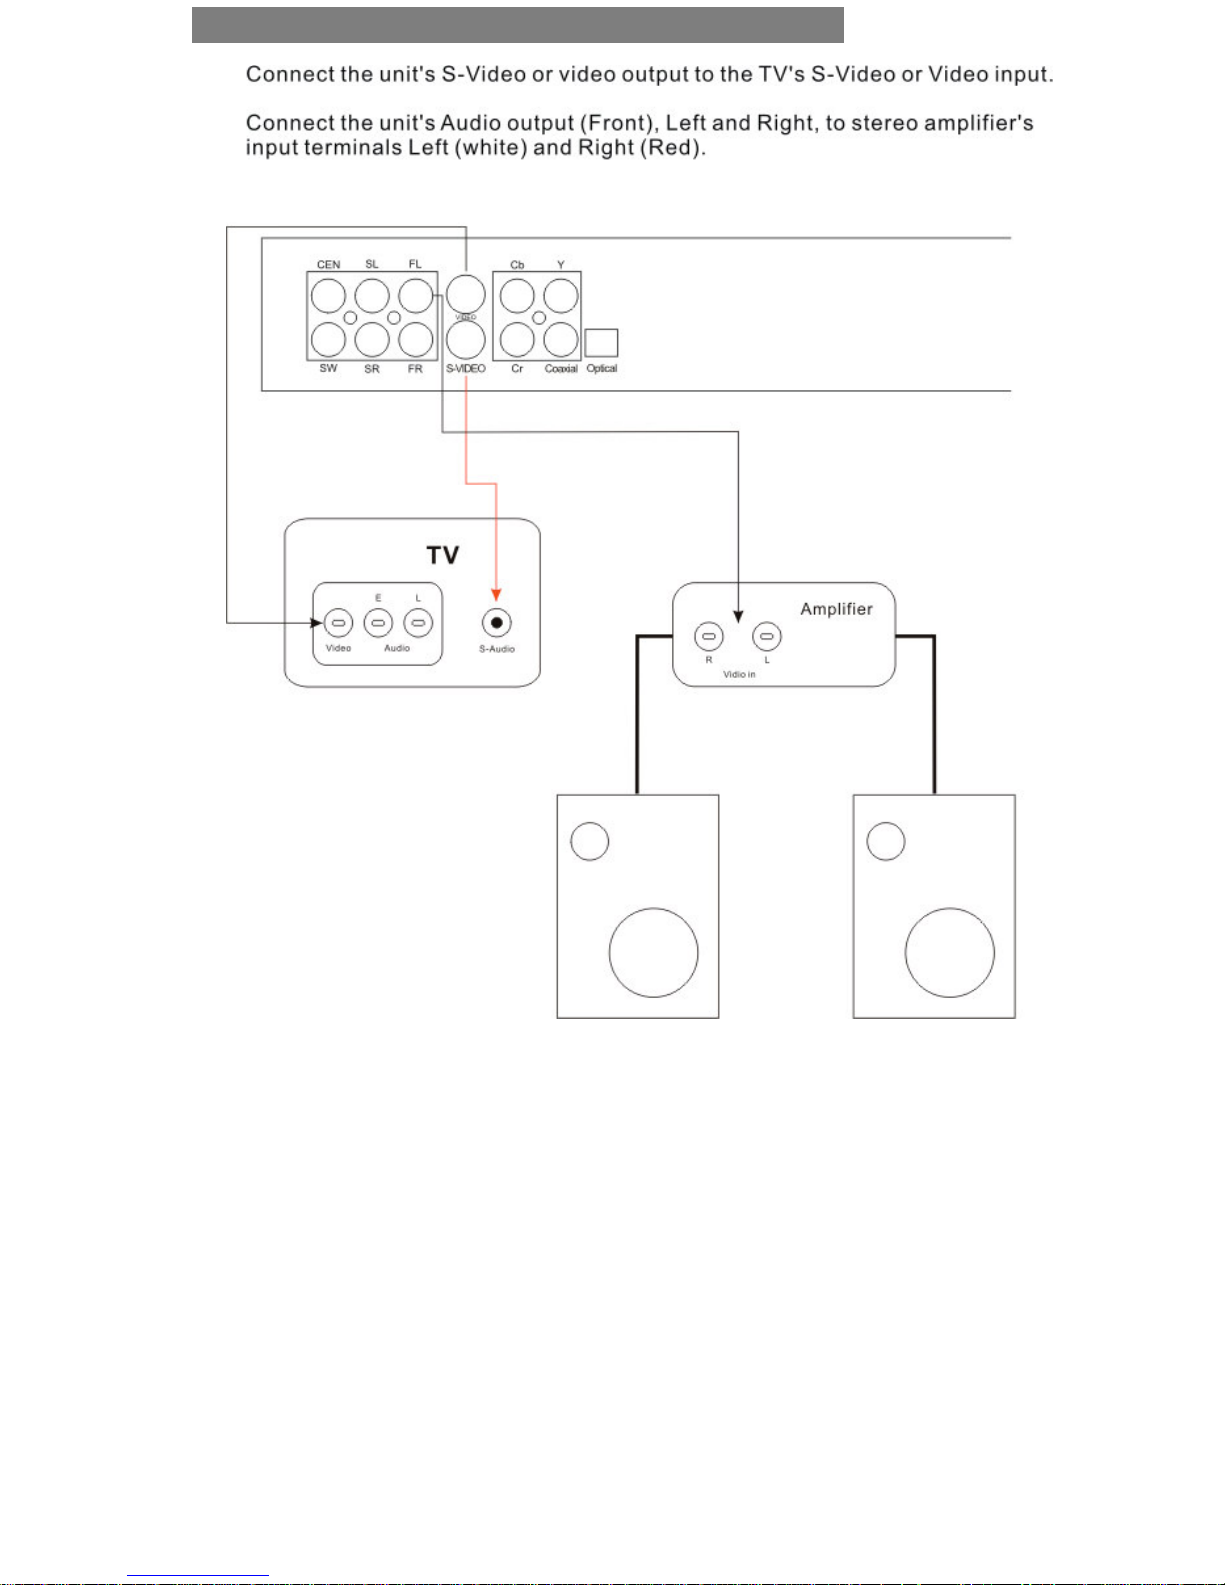
2. CONNECTING TO TV & STEREO AMPLIFIER
7
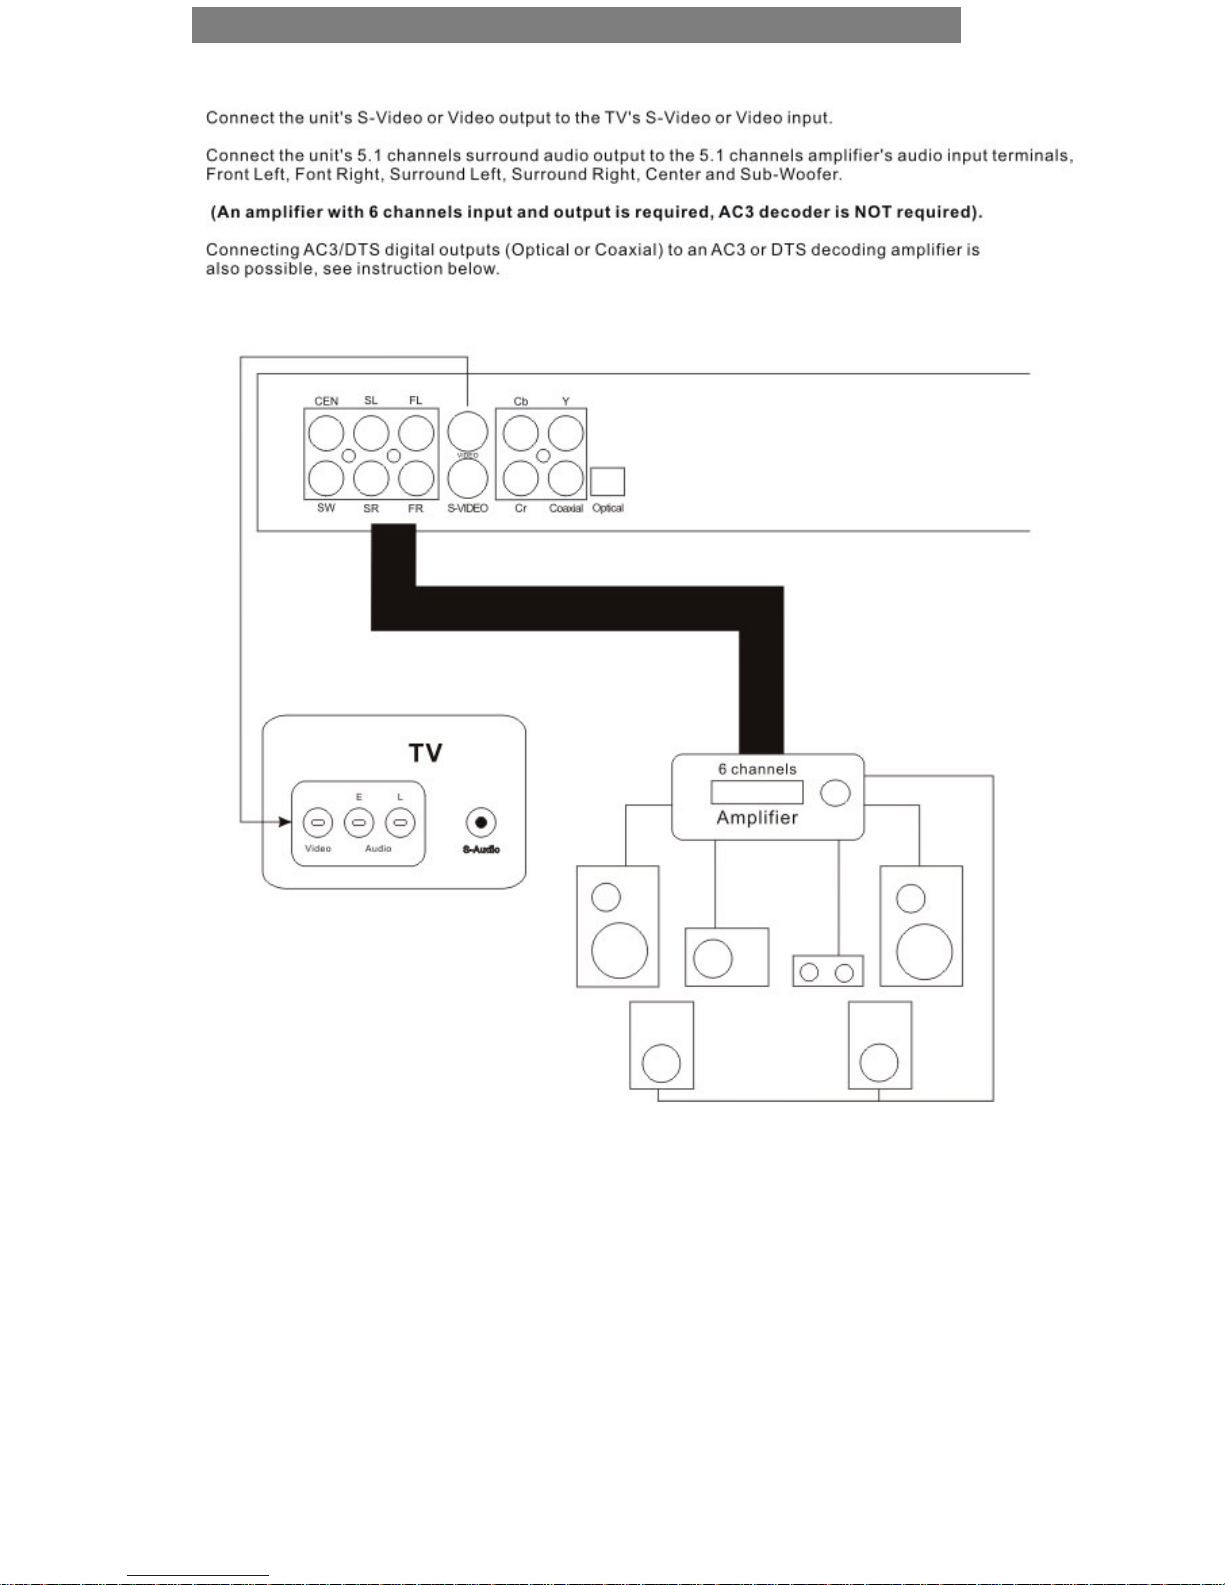
3. CONNECTING TO 5.1 CHANNELS AMPLIFIER
8
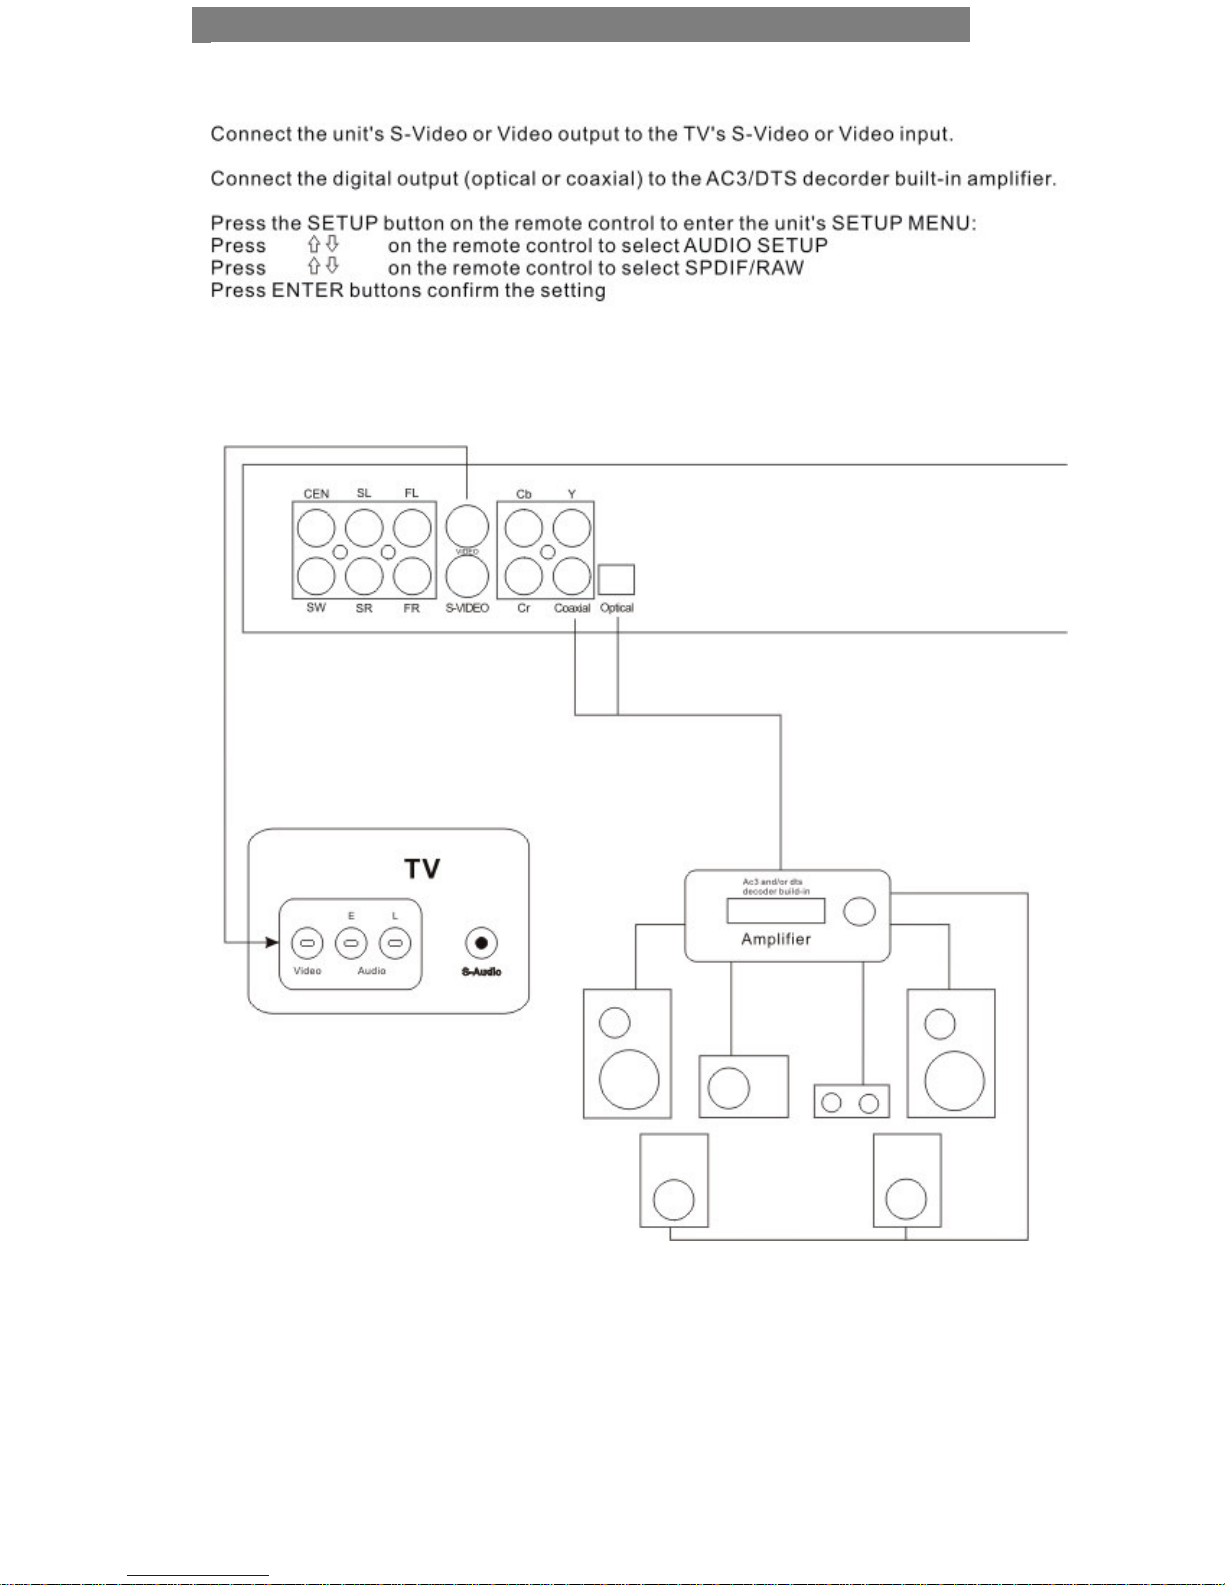
4. CONNECTING TO AC3 OR DTS DECODING AMPLIFIER
9
 Loading...