

ELRO C803IP P User Manual
More Security, More Convenience
Wired/Wireless IP Camera
Quick Installation Guide
(IE Browser)
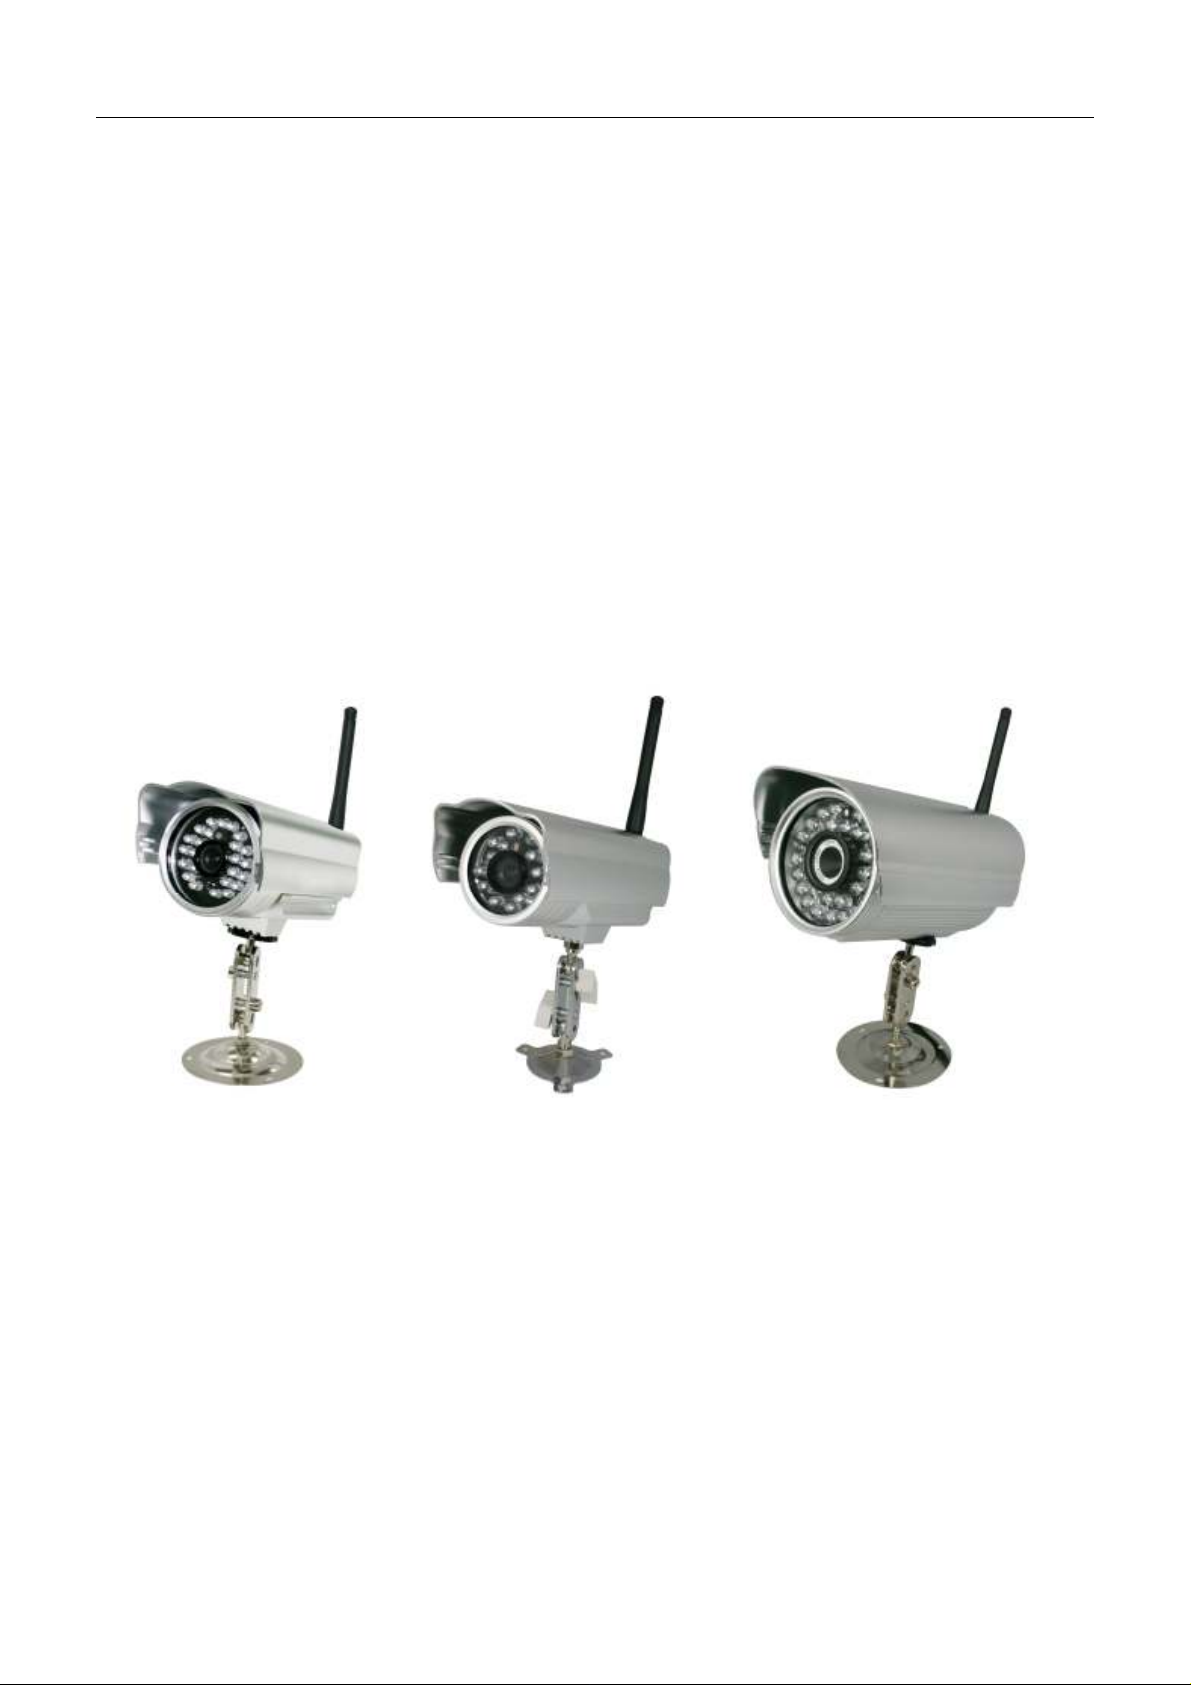
Model 1 Model 2 Model 3
More Security, More Convenience
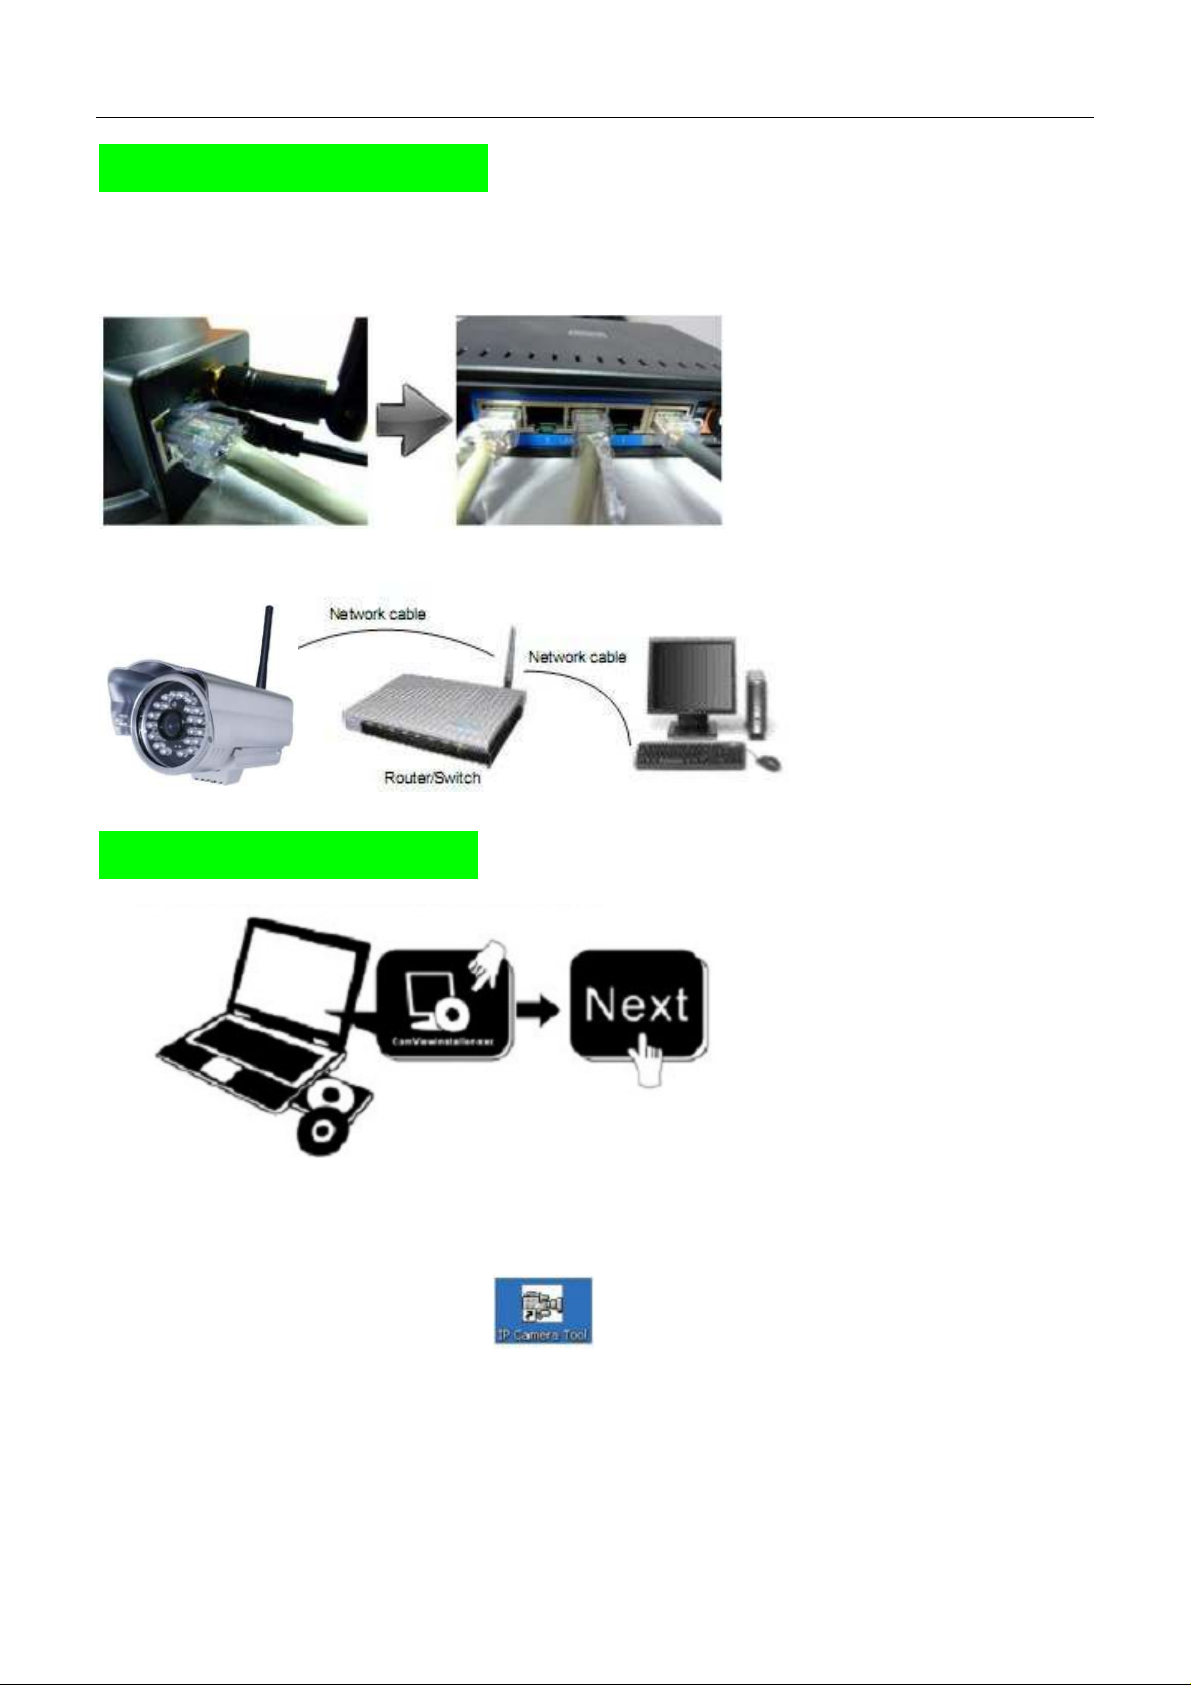
Step 1: Hardware Installation.
1. Install the Wi-Fi antenna.
2. Plug the power adaptor into camera.
3. Plug the network cable into camera, the other side to the router/switch.
Step 2: Software Installation.
Install the follow software:
1. IP Camera Tool: Open the CD, click “IPCamSetup.exe”—“Next”—“Next”—“Close”.
2. ActiveX: Click “Appinstall.exe”—“Next”—“Install”—“Finish”.
After this done, the icon “IP Camera Tool” will be displayed on desktop.

More Security, More Convenience
Step 3: Real-time Video Demonstration.
1. Login:
Double click “IP Camera Tool” icon on desktop, search the IP address, choose the one of your camera,
double click to go to IE login interface.
Default username: admin
Password: no password.
2. Choose the language.
English, Chinese, Spanish, Korean, German, French, Italian, Portuguese optional.
3. Choose the work mode.
IE browser: choose ActiveX mode.
Safari, Firefox, Google chrome browser: Server push mode.
Mobile phone: sign in mobile phone mode.
4. Sign in.
Click Sign In, then can get video on real-time.
More Security, More Convenience
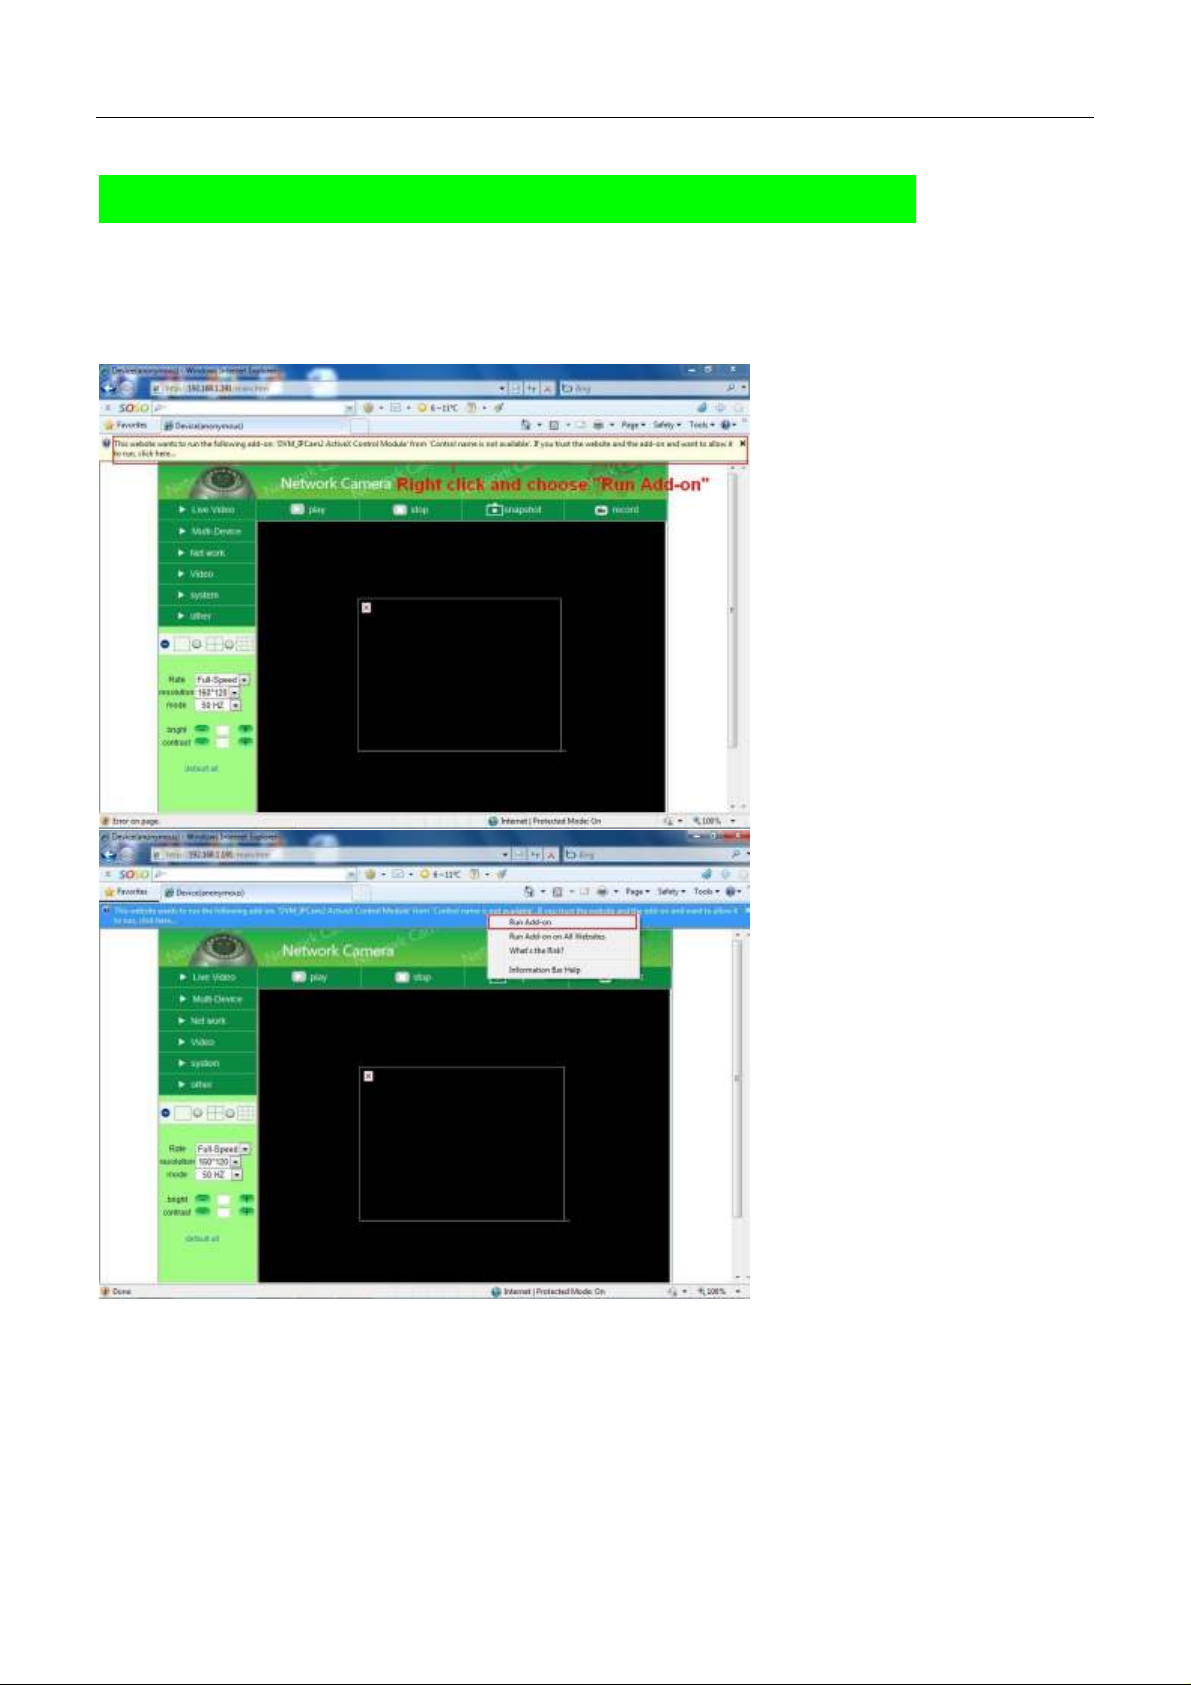
Q1: No pictures problem with ActiveX Settings for IE Browser
If use IE browser to connect the camera for the 1st time, maybe there is no image displayed, there will be an
ActiveX prompt, please click the prompt and choose Run Add-on, refresh the IE interface, and login the
camera again, then will see live video.
If there is still no live video after run ActiveX, please try to enable the ActiveX options of IE security settings,
please do the follow steps:
1. Close the firewall of your computer.
2. Change the ActiveX settings, “IE” browser > “Tool” > “Internet Options” > “Security”> “Custom
Level” > “ActiveX control and Plug-ins”, all the ActiveX options set to be “Enable”: Especially:
Enable: Download unsigned ActiveX controls
 Loading...