

Page 1

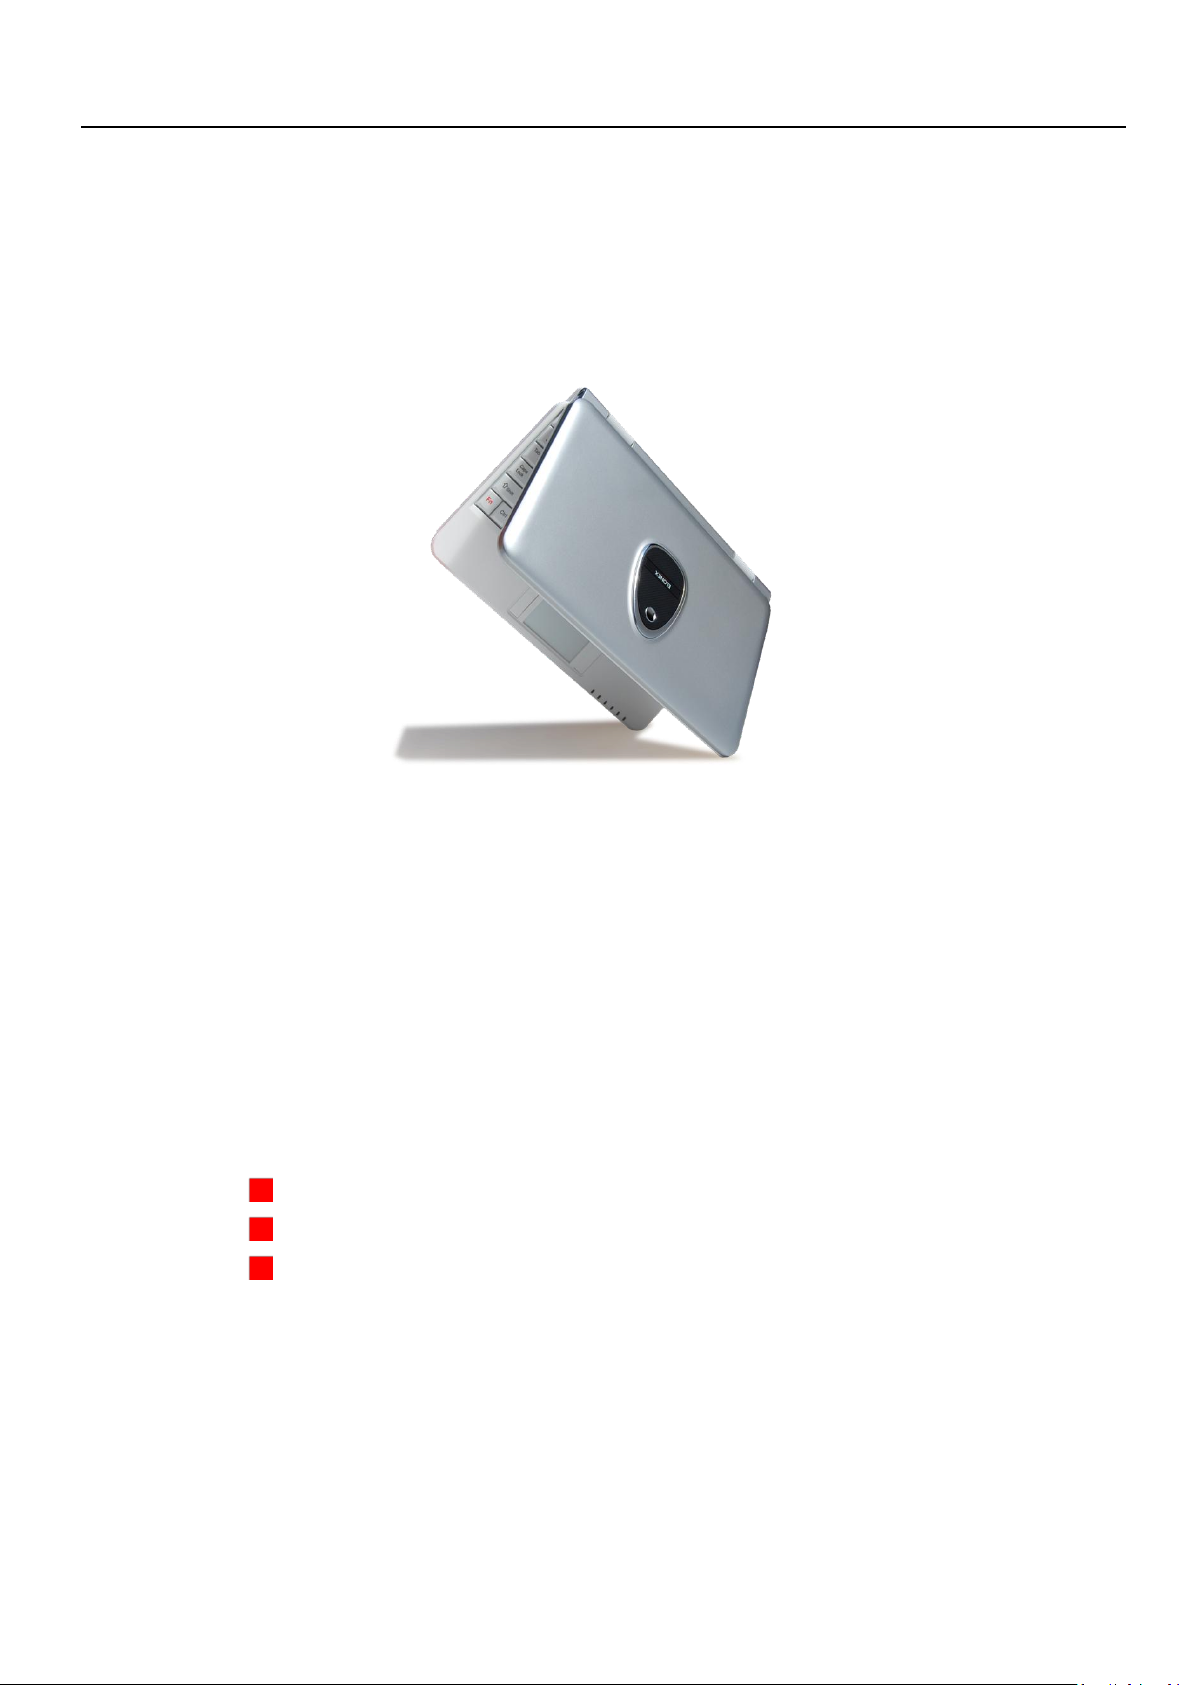
ONEt
User Manual
Page 2
user manual
Introduction
Welcome to the world of wireless internet, eMail, messaging, word processing
and MP3s. The ONEt is your gateway to a truly mobile life and a whole new way
to keep in contact with friends, family & colleagues, get access to the web, and
relax with music, photos and videos.
Please read this user manual carefully to help you get the most out of your
ONEt. Also please observe the safety warnings so you don’t damage your ONEt
or more importantly yourself. A full support site and trouble-shooting tips are
available at www.elonex.com/support or you can call our technical support
helpdesk on 0871 90 296 90
Package Contents
Your package includes the following contents:
ONEt laptop
Power Adapter
User Manual
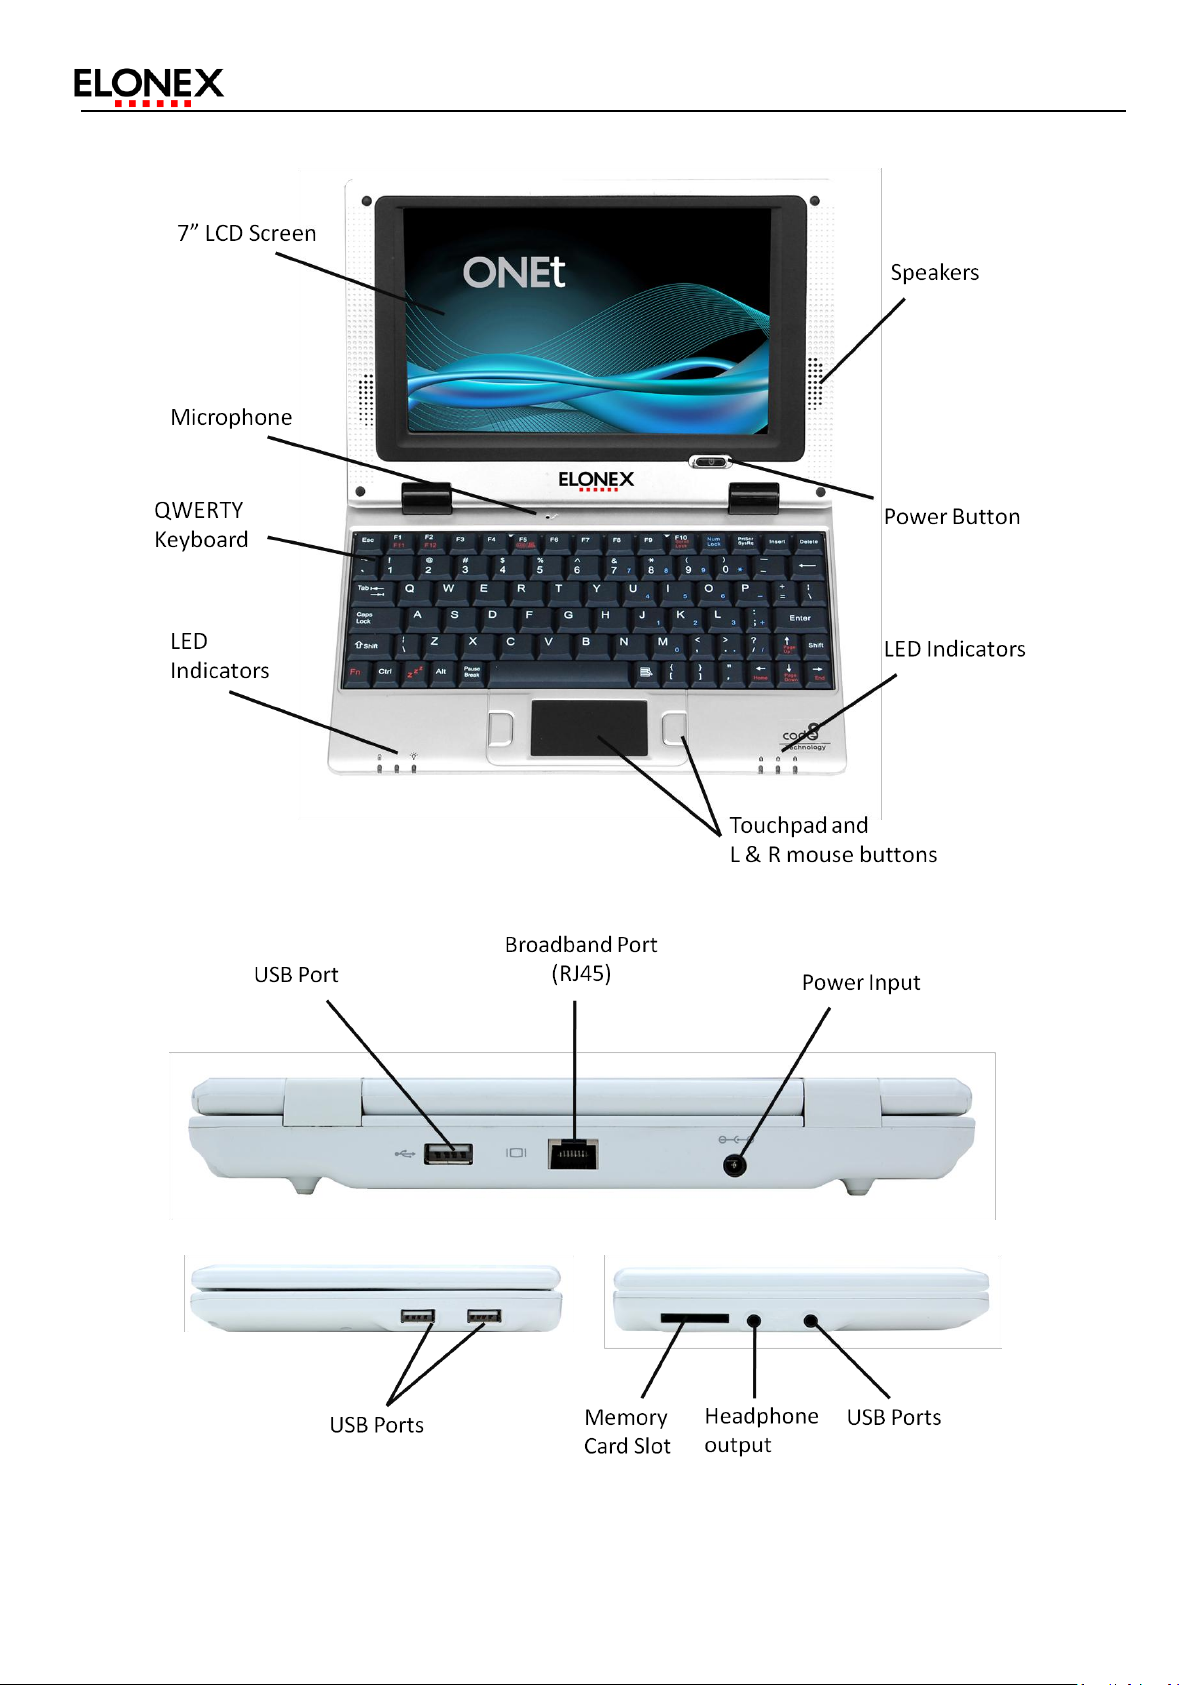
Appearance
Please refer to the diagram on the next page for details on the ONEt’s hardware
Page 3
Page 4

user manual
Getting Started
After unpacking your ONEt please check you have all the package contents and
they are in good order. If you are missing anything or any item has been
damaged please contact your place of purchase.
Power and Battery Charging
The ONEt has a rechargeable battery which will give you usage on the move
when fully recharged. You can also use the power adapter plugged into mains
electricity for continuous use (the ONEt will recharge its battery while in
operation).
Elonex recommends that the first time you charge your battery you should
charge it for 8 hours to get the best battery life from your ONEt. Plug the power
adapter into the power port (see Appearance). When the battery is charging the
Charging Indicator (14) will go orange, when fully charged it will turn green. To
turn your ONEt on, press the Power Button (19) and wait for the operating
system to fully load.
Page 5

Turning On
To turn your ONEt on, press the power button and the system will automatically
load.
Shutting Down
To shut down the ONEt;
Full system shutdown: use the Shut Down function of the operating system to
fully shut the software and hardware down.
One click shutdown: press and hold the power button to shut down the system.
Please note that any unsaved information will be lost.
Low power shutdown: when the ONEt detects that its battery is very low it will
automatically power down. It is recommended that you regularly save your
work to prevent any data loss when this happens.
Note: If the system crashes due to an unknown cause press and
hold the power button to force a shutdown. You can then start up normally.
Page 6
user manual
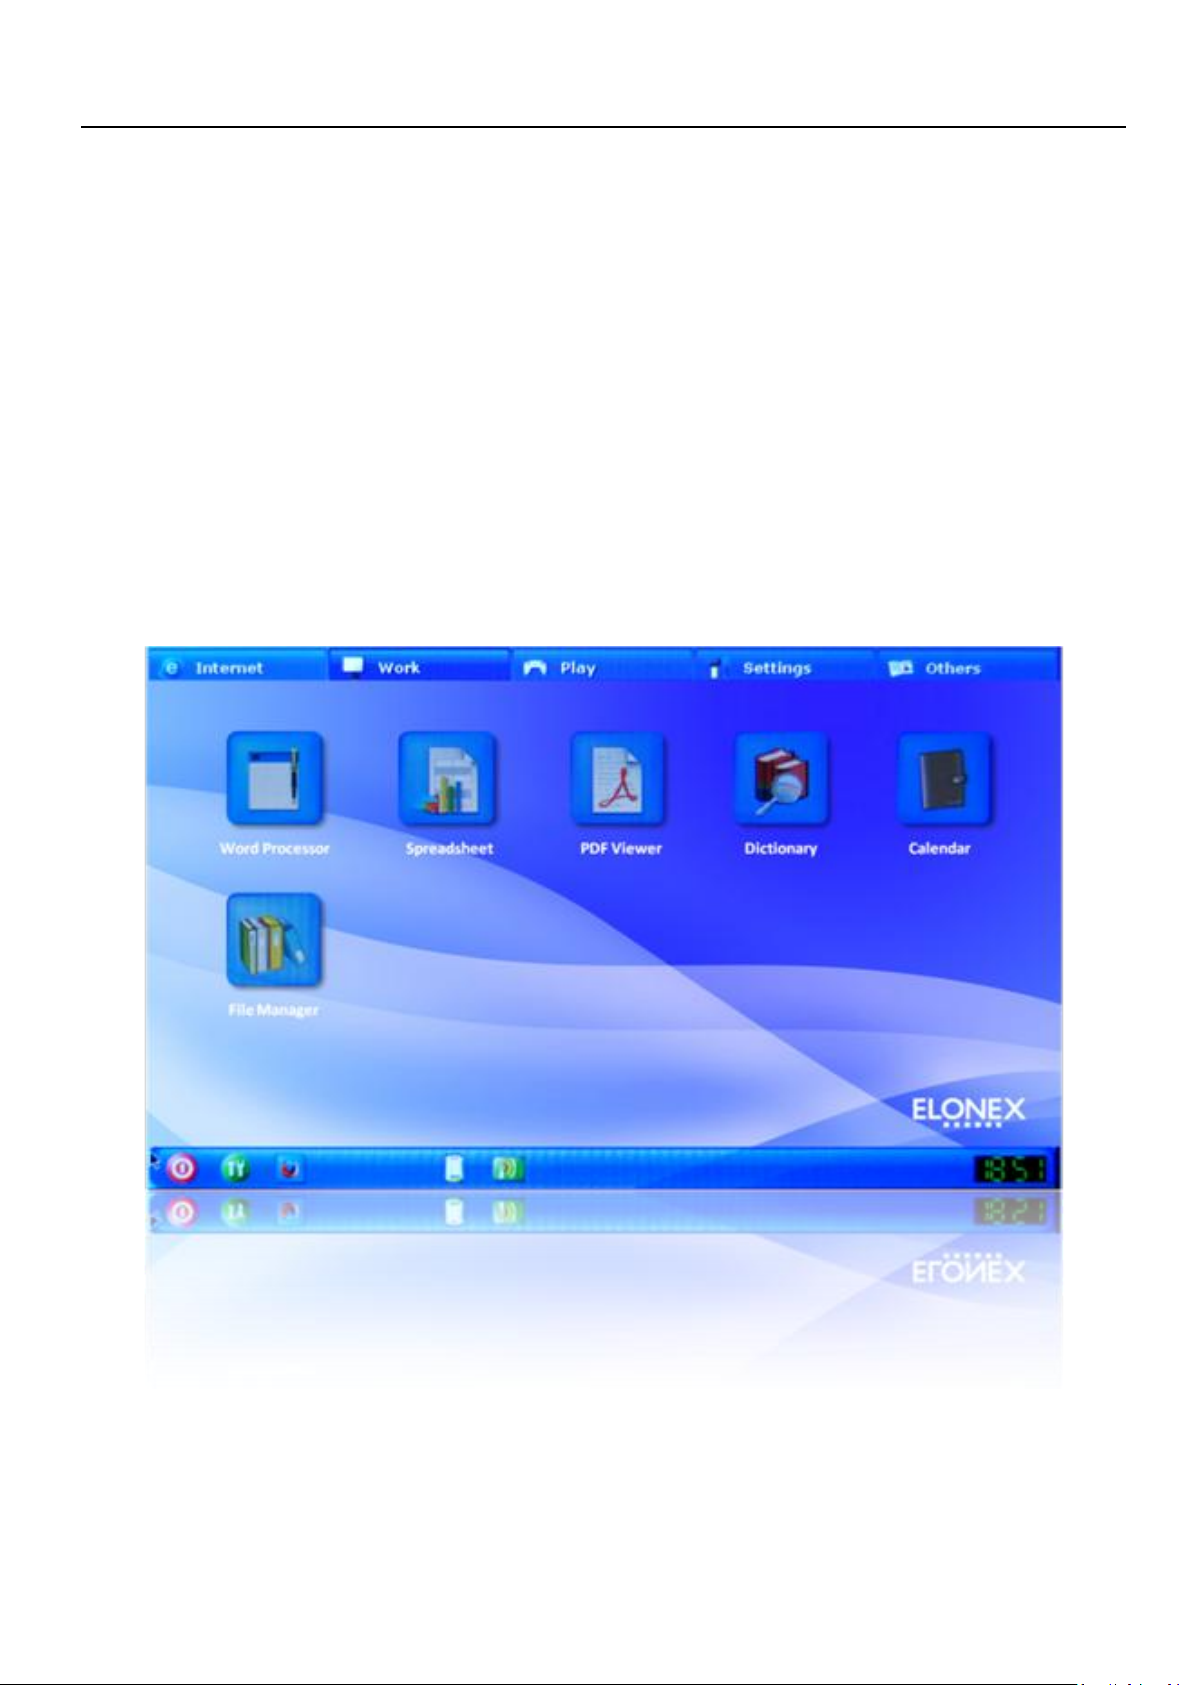
Using your ONEt
The ONEt has been designed to be as straightforward and easy to use as
possible. All the programs have been arranged into groups ( Internet | Work |
Play | Settings | Other ) that you can access by clicking on the tab at the top of
the desktop. So for internet, eMail and messenger you need to click on the
“Internet” tab to bring up all the program icons. Then to open a program, press
the relevant icon to load the software.
Page 7
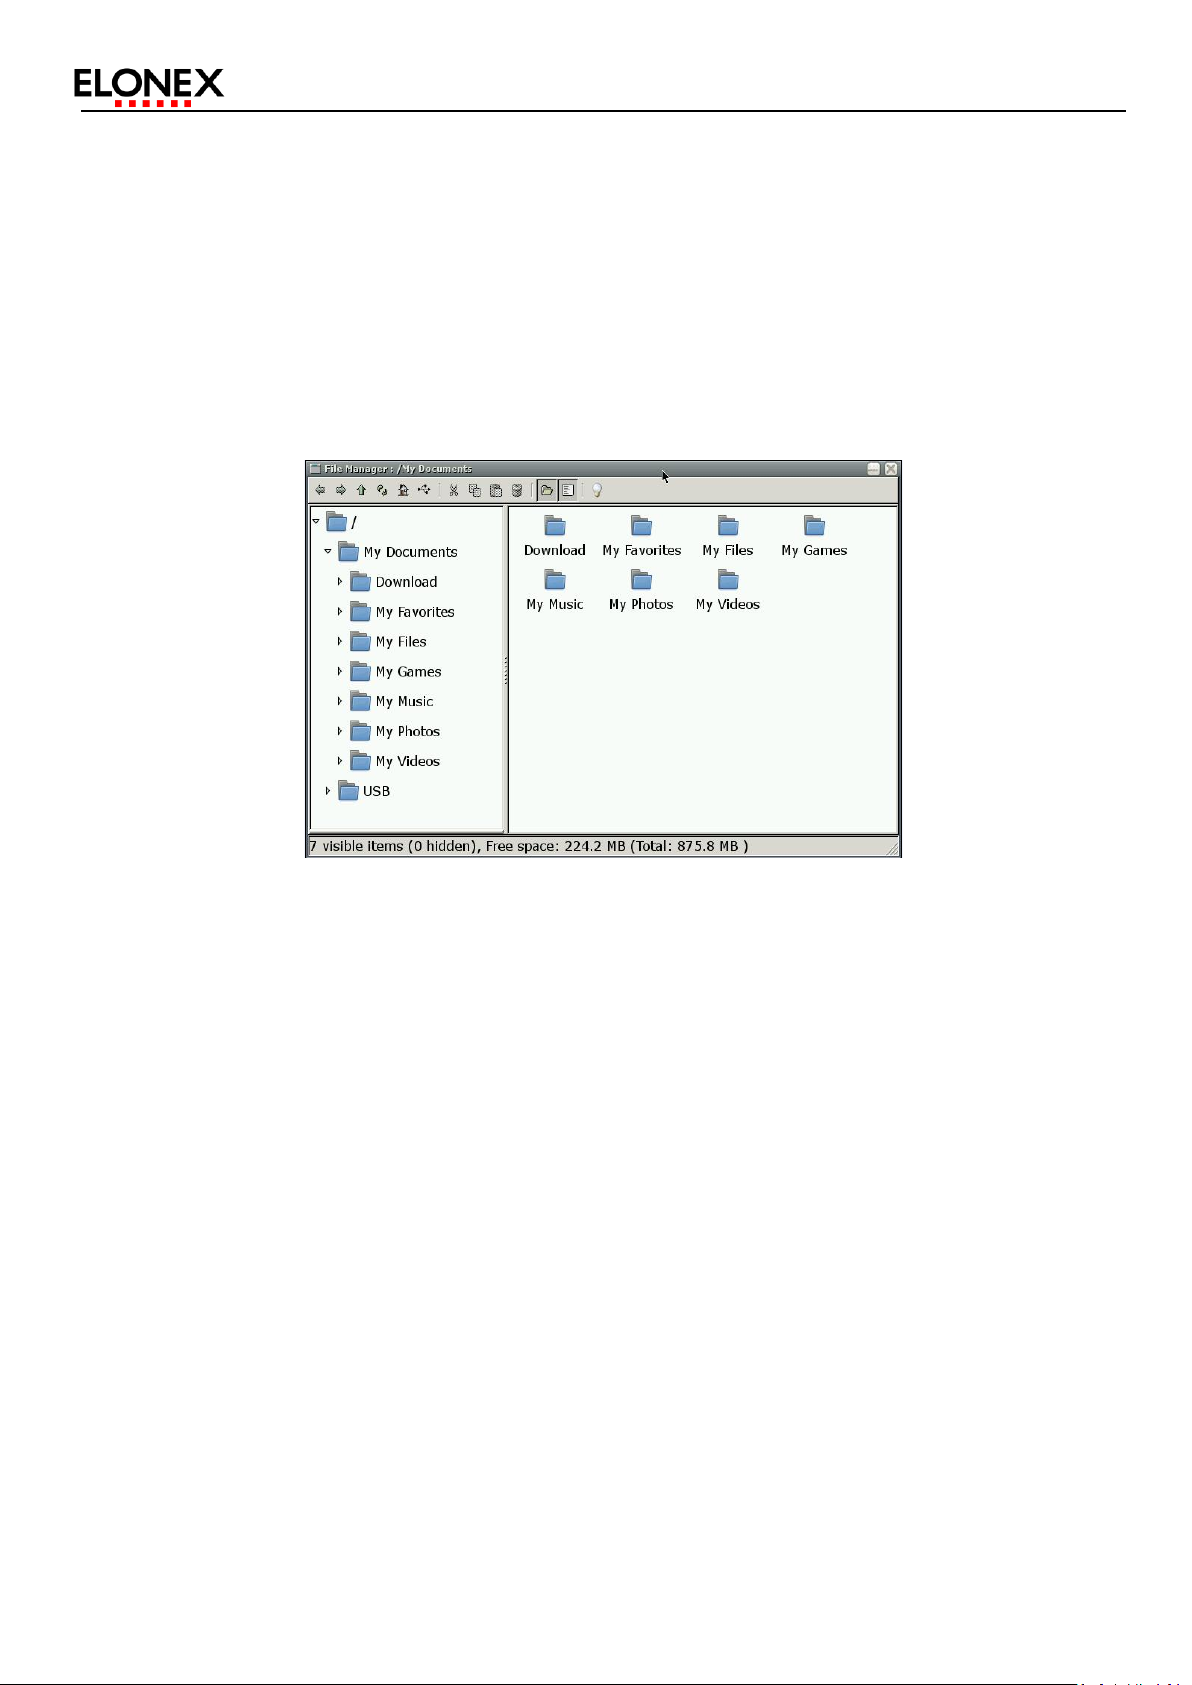
File Manager
File Manager is used to store and manage your files and documents.
Double click the “File Manager” icon in the desktop to open the file manager
and explore the files saved on your ONEt, USB device or SD card.
Open folders and files by double clicking on them. You can also explore the
contents of USB devices of SD cards you have attached.
To help you manage your files in an organized way you can create your own
folders. To create a new personal folder click File then New and then Folder.
Then name your folder and click OK.
Page 8
Software Suite
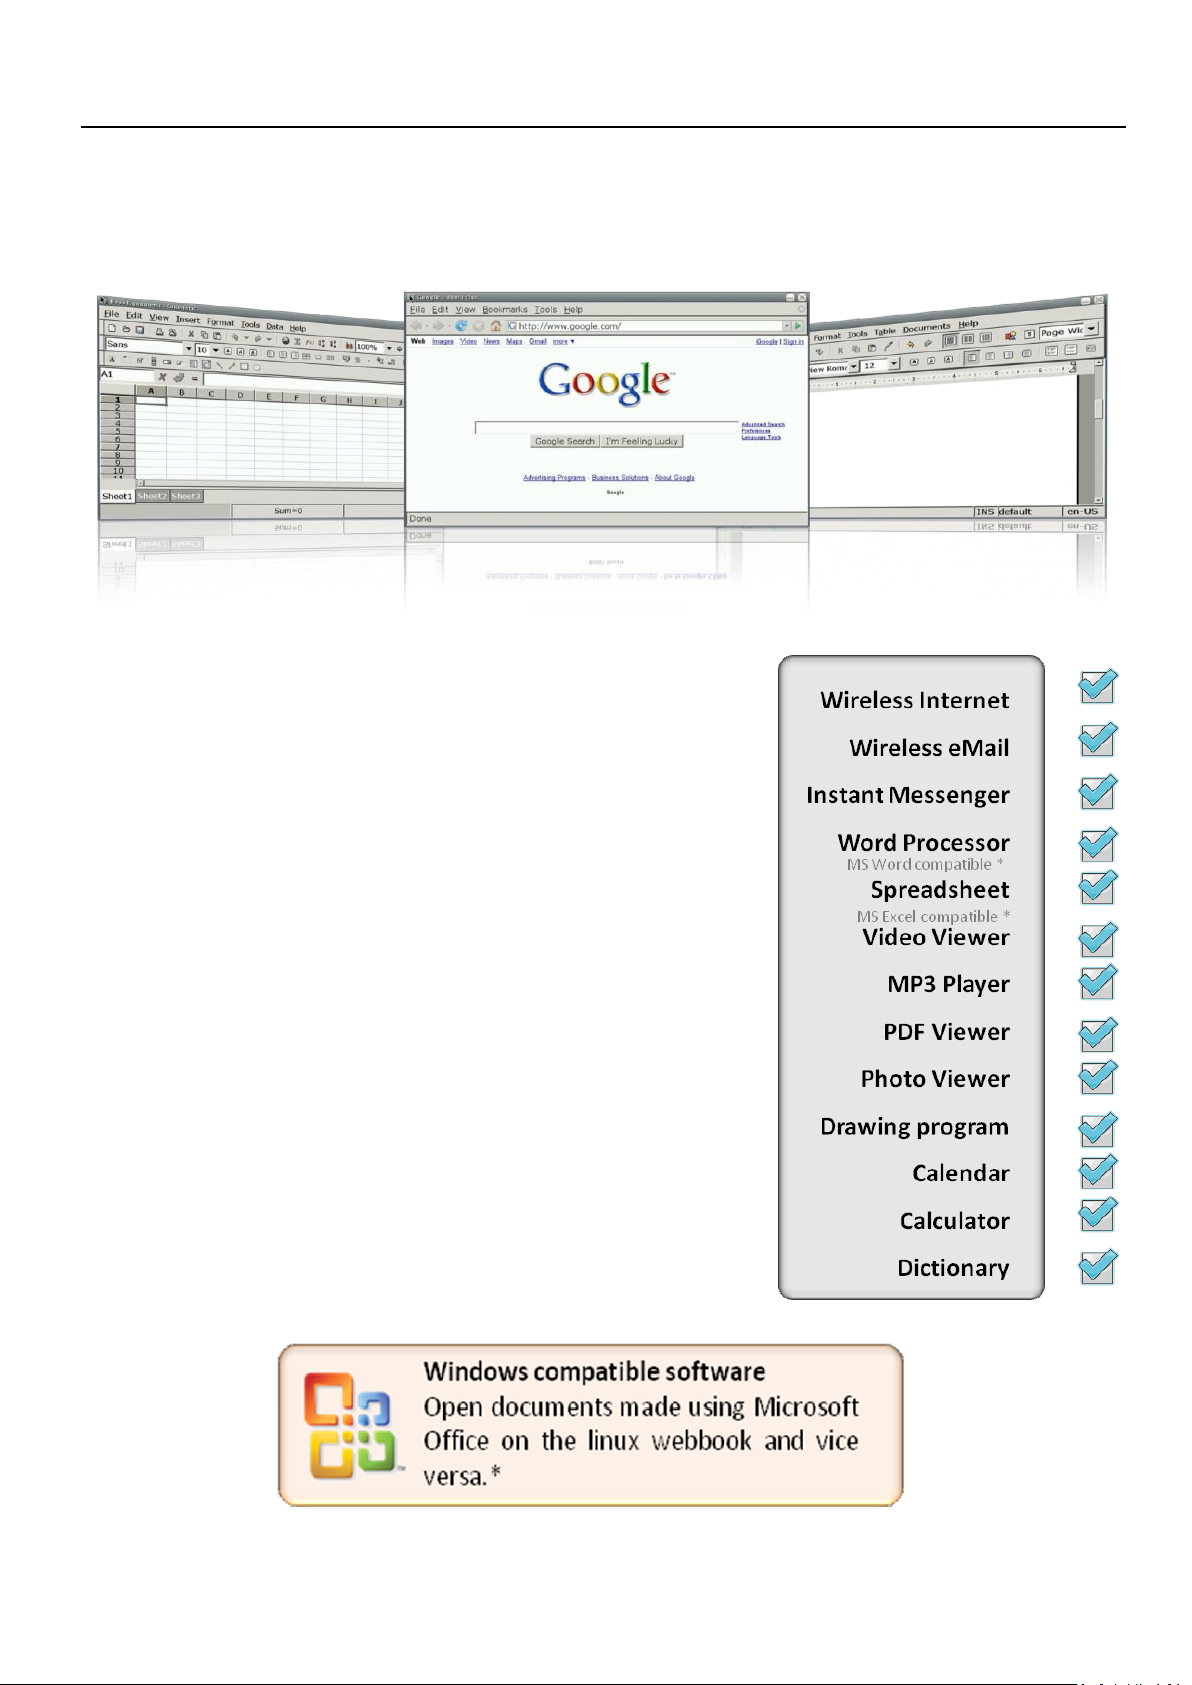
The ONEt has a whole software suite preinstalled to
user manual
both save you time, hassle and money. Youll find all
the standard software you would expect and youll
be able to get on the internet wirelessly, eMail, use
a word processor, spreadsheet, play MP3s and
watch videos.
Much of the software is compatible with Microsoft
Windows so you can work on documents on other
computers. (Note: Compatible with Office 2003 and previous)
Page 9
1 Surfing the Internet
To start surfing the internet you must be connected to a broadband or Wi-Fi
internet connection.
Connecting to Wi-Fi
As some Wi-Fi access points are password protected, to connect to WiFi you
may need some information from your Internet Service Provider or from the
owner of the Wi-Fi hotspot you are trying to connect to (ie coffee shop).
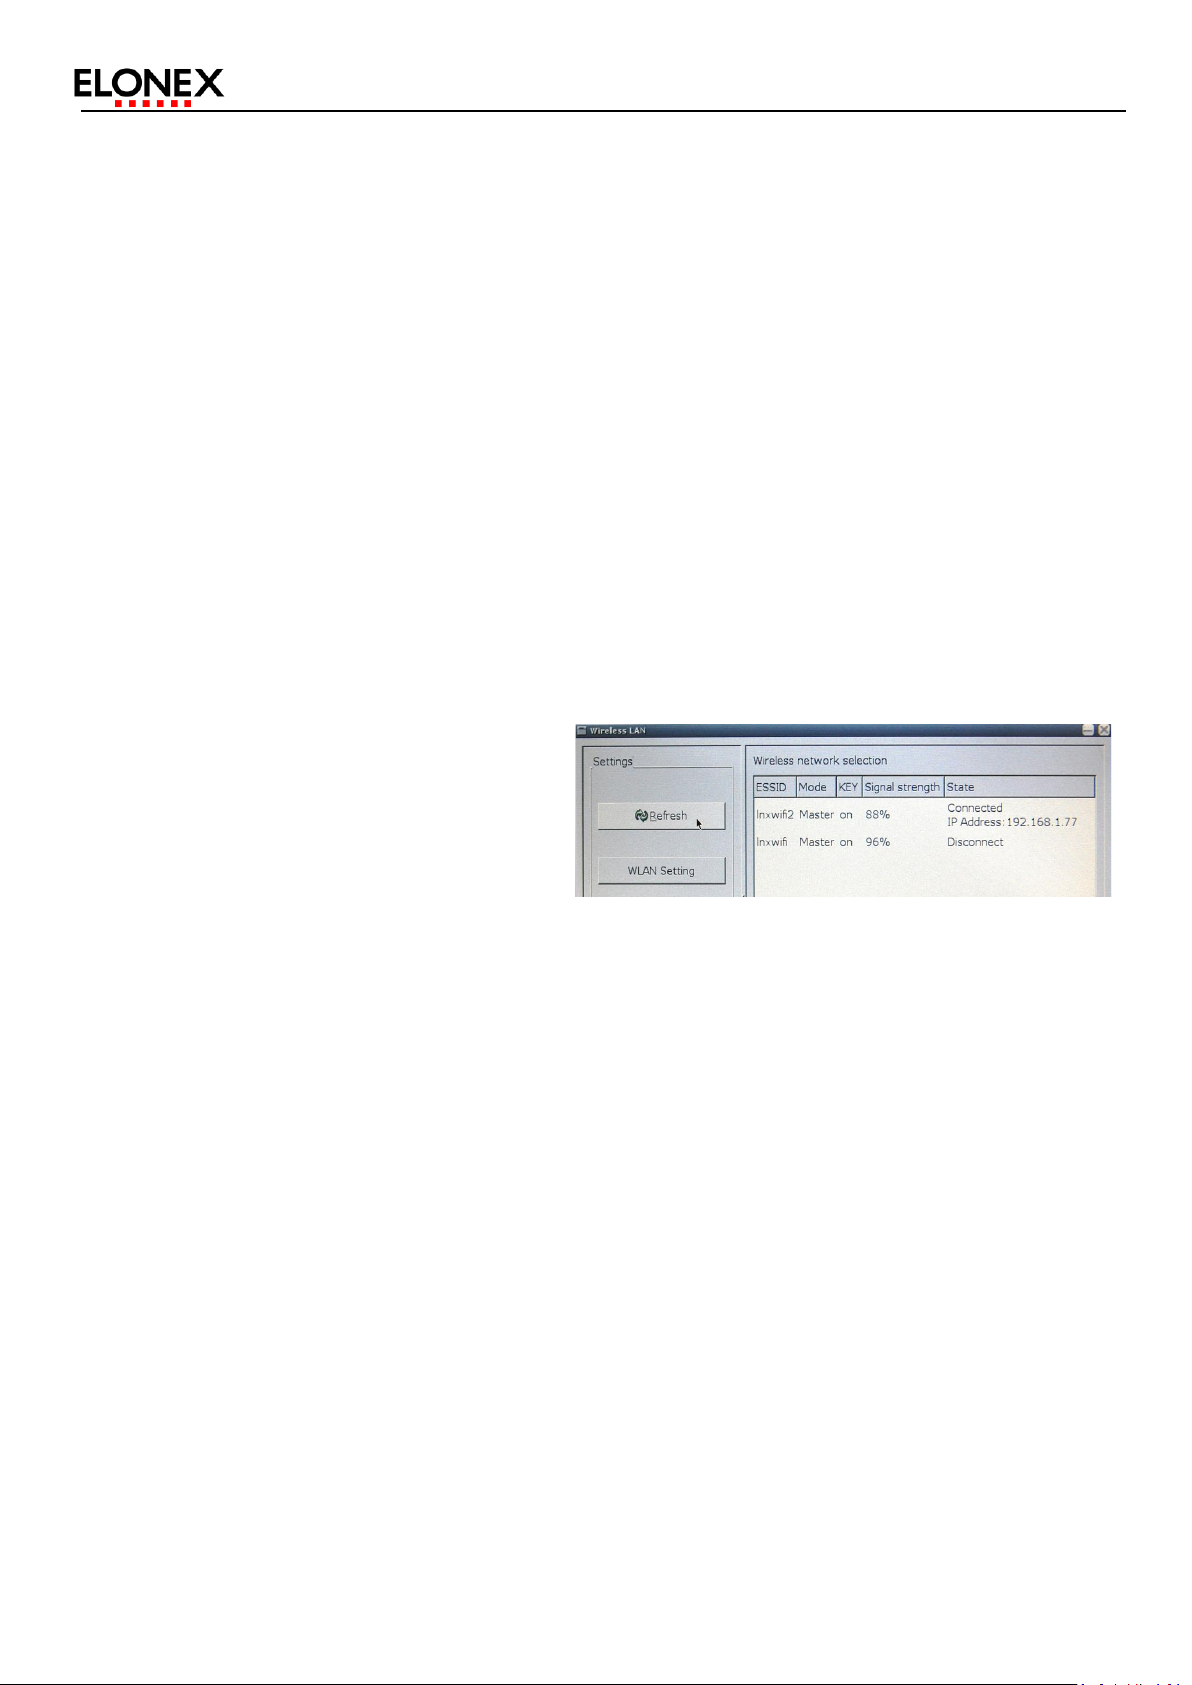
Click the Wi-Fi icon on the desktop
to bring up the wireless connection
manager. The ONEt will
automatically bring up a list of all the
available wireless access points. From the list choose the access point you would
like to connect to and press the connect button in the bottom right corner. If
your access point is open the ONEt will now connect and you can start surfing
the internet.
If your access point is password protected a dialogue box will open. Choose your
authentication method (if you are unsure choose WEP) and then enter your
network key. Enter your network alias (the name your ONEt will appear to other
WiFi enabled devices) and click connect. Wait a few moments while your
information is verified and then you can start to surf the internet.
Page 10
user manual
Connecting to Broadband Internet
If you want to connect to Broadband internet firstly try plugging in your
Broadband Ethernet Cable into the RJ45 port in the back of your ONEt. It should
automatically connect and you should be able to start surfing the internet
straight away.
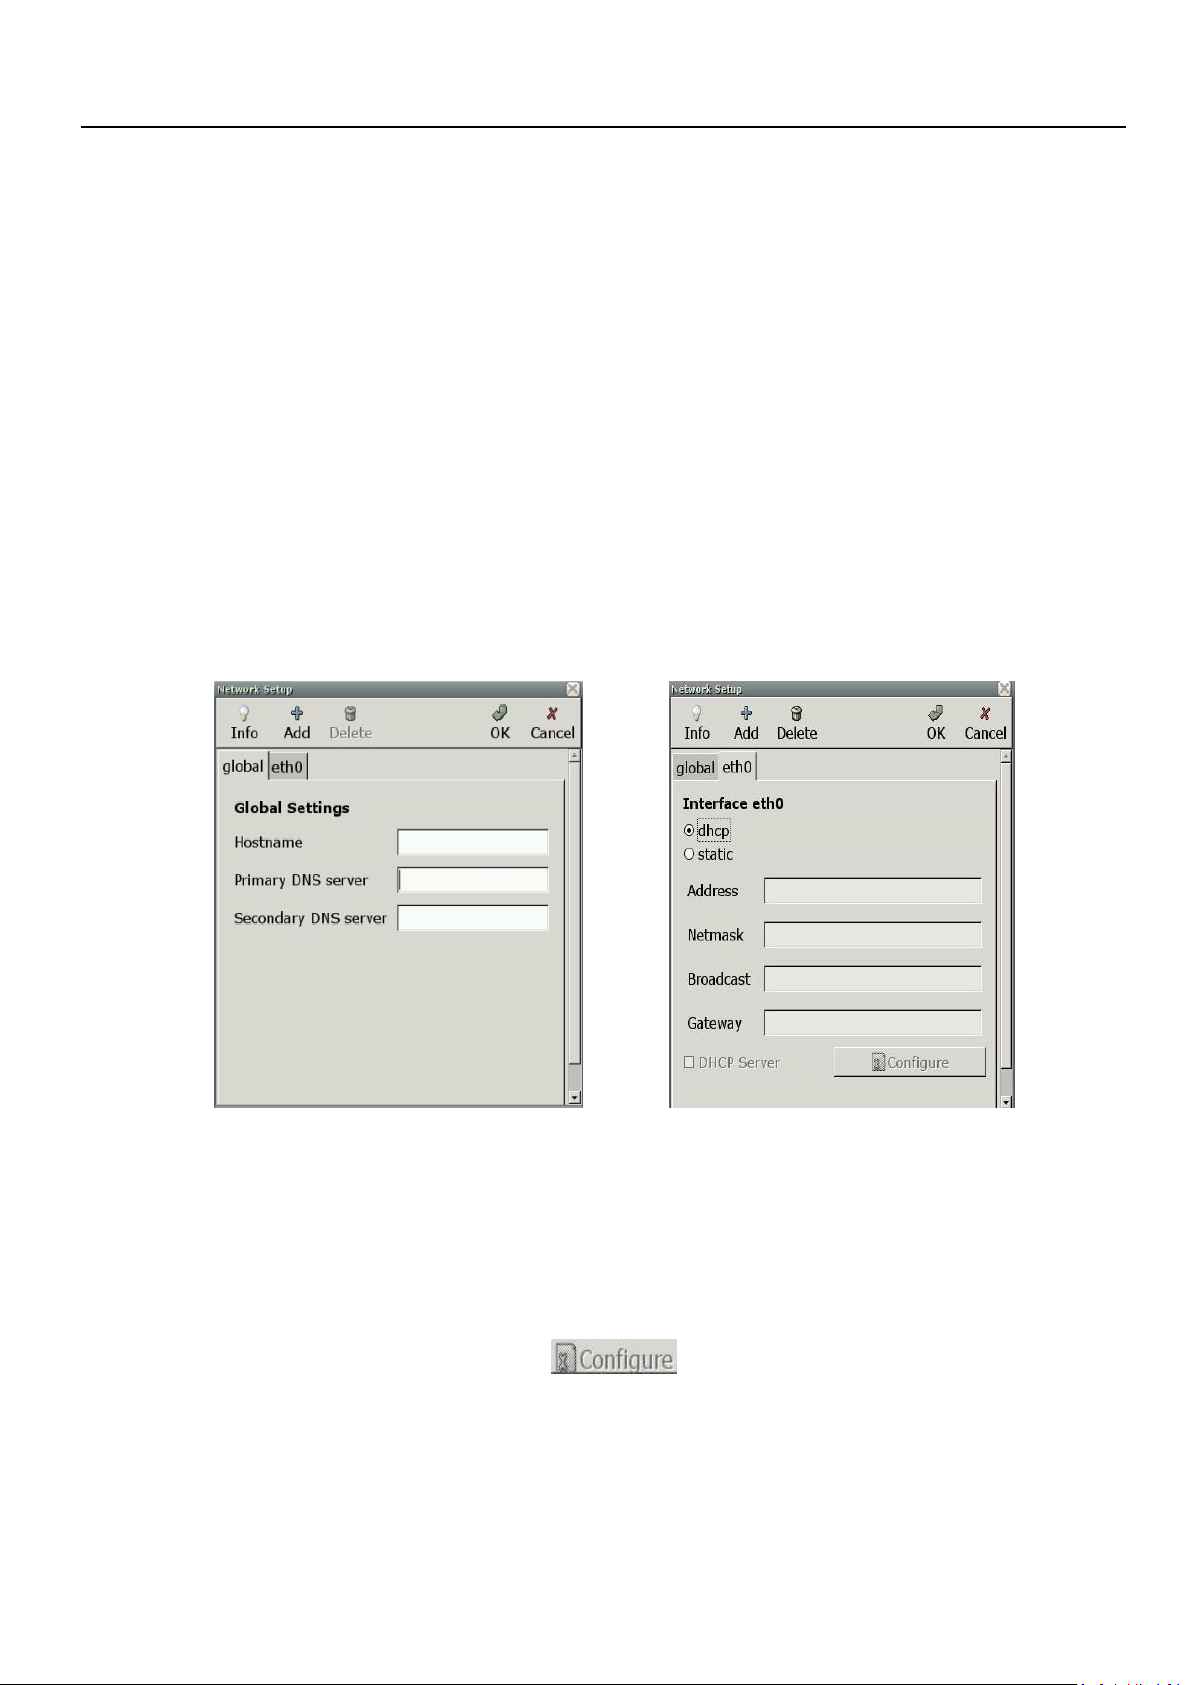
If it does not connect then please amend the following information:
Double click Network Setup to open the network connection manager as shown;
You can use dhcp (automatic IP) or static IP to connect to broadband.
DHCP server option
Select DHCP Server option and click button to set up the
corresponding facility.
Page 11
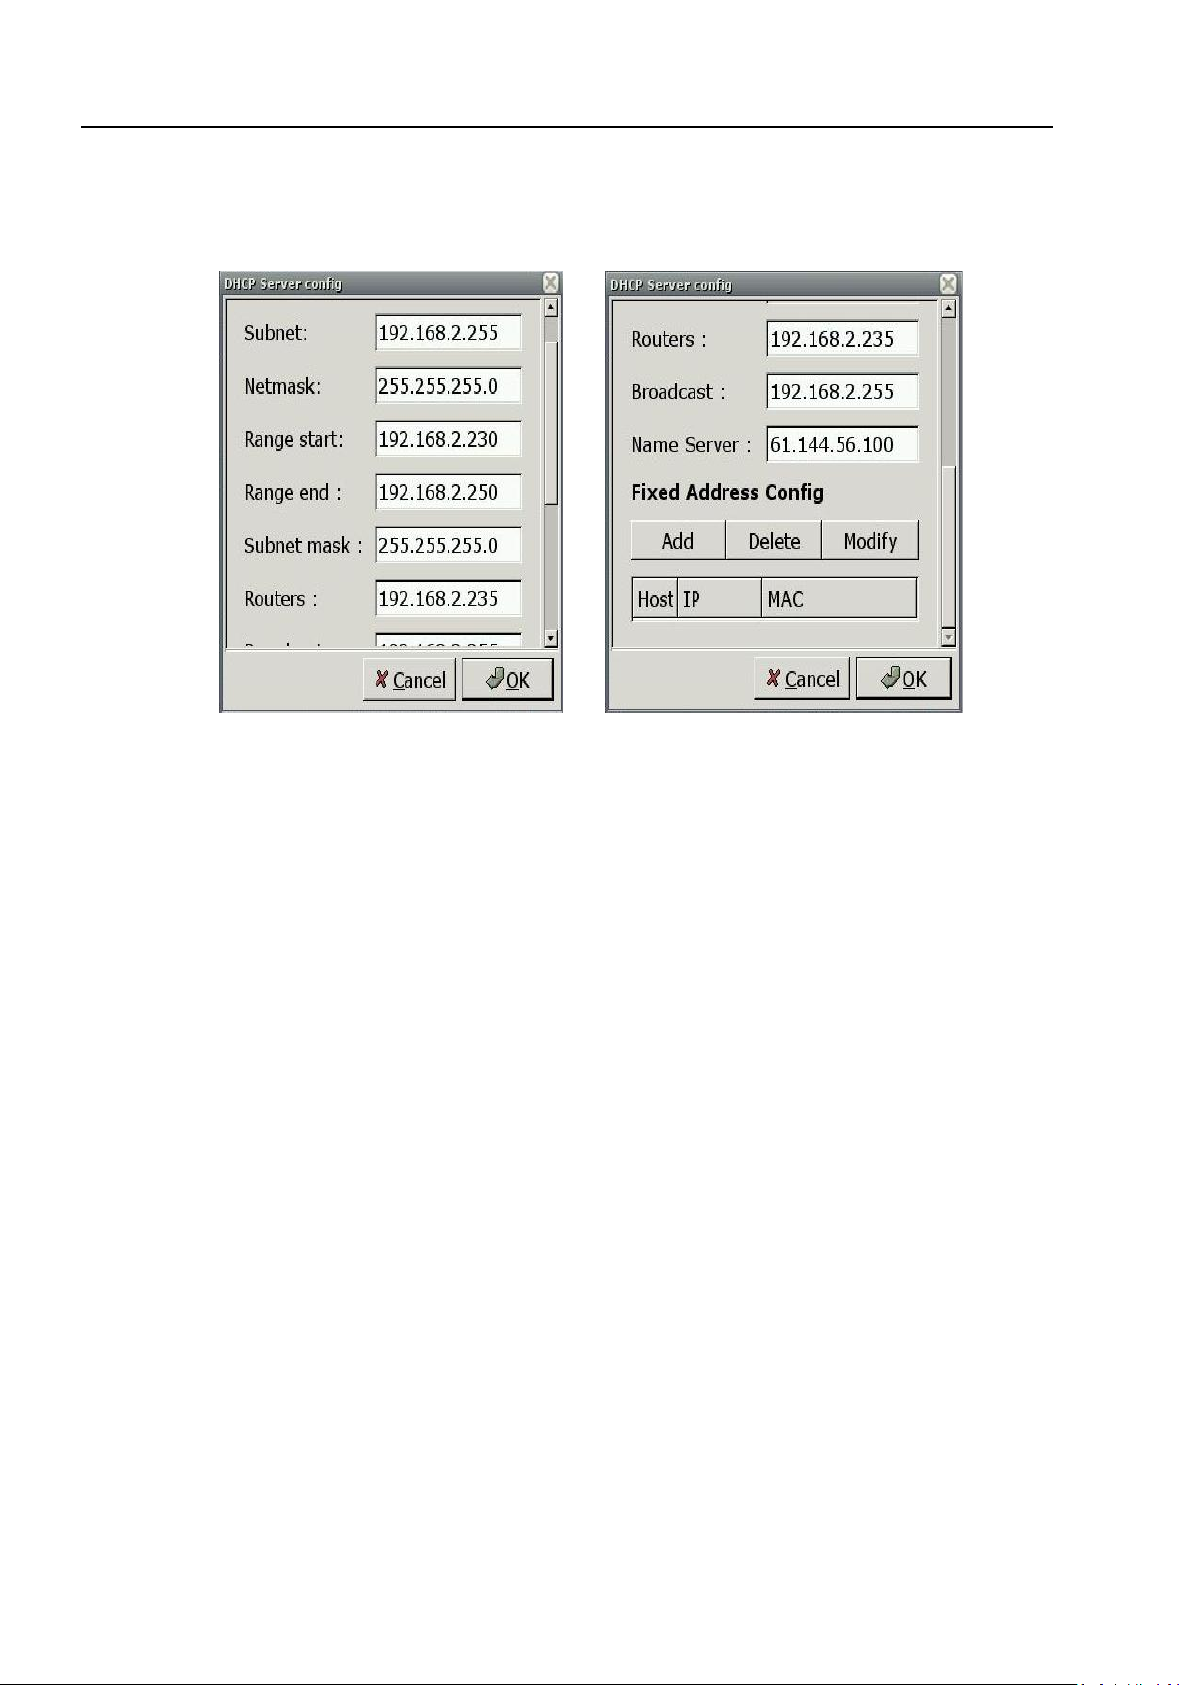
user manual
After the above steps, the DHCP can start now. You should now enter
relevant information into your ONEt depending on your network settings
(provided by your ISP).
Page 12

Connecting to a Network
Double click the Network Dial-up icon in
the desktop to open the dial up setting
screen
Click the button and enter
the Advanced tab
Fill in the necessary data (provided by
your ISP) and click ok to go back to the
previous screen. The click to connect, to
dial your ISP and use the “Internet” icon
to start your web browser to surf the internet.
Page 13

user manual
Surfing the Internet
From the desktop click the Internet tab and then the Internet icon to start
the ONEt’s web browser.
One the web browser is open your screen will look like the above
picture. To surf the internet type in a websites URL (web address) into the
address bar and press Enter. This will now load the desired internet page.
Alternatively you can use a web search engine (such as Google.com /
Yahoo.com amongst many others) to browse the internet for relevant
topics. Then just click links or pictures to navigate around the internet.
Surfing
To open multiple websites: you can open more than one website but
only the one can be shown at any one time. Select File then New Tab (or
Page 14

Ctrl + T). Tabs will appear under the address bar with the various websites
you have open. Click on a tab to bring that page to the front, or click on
the icon to close each tab.
Bookmarking: A bookmark is like a digital dog-ear of website, a quick link
to your favourite websites. To bookmark a webpage press Bookmarks and
Bookmark this page (or press Ctrl + D). When you want to revisit the site
you can find a list of all your bookmarks in the Bookmarks menu; click the
webpage and it will open.
Clearing private data: The ONEt’s web browser
will save some information to help you
browser the internet faster, and to give you a
more personal experience. To clear this
information select Tools then Clear private
data. A dialogue screen will appear, check all the relevant boxes and then
press Clear Private Information Now
For more information on browsing the internet press F1 to bring up a
complete help file
Page 15

user manual
2 eMail
It is very simple to send and receive eMails once you are setup. You will
need some information to setup your account, this will have been
provided by your Internet Service Provider (ISP).
Setting up your eMail account
From the desktop click Internet and then eMail.
The following dialogue box will appear the first
time you open eMail. Click OK to enter your
personal settings
Specify the location of the mailbox. If you arnt sure what to enter leave
the contents as Mail and press OK
Page 16

Entering your settings
Basic Tab:
Use your eMail account ie
name@address.co.uk, and your
personal information.
Choose your server type, POP3 /
IMAP4 (this will be supplied by
your ISP).
Receive Tab:
Select “Filter message on
receiving” (user can select when
necessary)
Set your Default inbox to inbox
(Default receiving mail box is
usually “inbox”, but you can
change it later if you want)
Select “Get all’ checks for new messages on this account"
Page 17

Send Tab:
Add the details of the header (an
automatic addition to the top of all
your emails)
Tick the SMTP Authentication (SMTP AUTH) box
Authentication method: Automatic
user manual
User ID: Your user name Password: Your Password
Compose Tab:
Your Signature is a personalized
sign off that will get added to the
bottom of your emails. Fill in the
details here regarding the content
of your email. Don’t worry; you can
change these at a later date.
Direct input: this is where you add
the content that will be added.
Page 18

SSL Tab:
Choose your SSL settings
depending on the
recommendations of your ISP.
Advanced Tab
Specify your SMTP/POP3 ports as
provided by your ISP or if you’re
unsure leave these as the default
settings.
Then select where you would like
your eMails to be collected.
Then, once you have added all your information click the button.
You are now setup to send and receive email.
Page 19

user manual
Using your eMail
When you open your eMail you
will see the following screen.
Click or button
to check if you have received any
new eMails.
The column on the left shows your eMail folders. Any new emails you
receive will get deposited into your Inbox. Any emails you send will be
shown in your Sent folder. If you save an email you are working on
without sending it, it will appear in the Drafts folder. All emails you delete
will stay in the Trash until you clear it out.
Page 20

Editing your eMail details
If at any time you wish to change your
email details or add a new account you
can open your email, press Configuration
then Edit Accounts.
You can add an eMail account by clicking button,
Edit any existing account by clicking ,
Delete any existing account by clicking button,
You can arrange you accounts by clicking and button,
And select your default eMail account by clicking
Page 21

user manual
3 Instant Messenger
Instant Messaging lets you chat with friends and colleagues over the
internet. You can use your existing accounts and even log into lots of
different ones at the same time.
Setting up your accounts
From the Internet tab on the desktop, open
the Instant Messenger
The following dialogue box will appear.
Click Add to enter your first IM account.
Add Account:
◆ Protocol: Choose the IM you have an account (eg MSN, AIM etc)
◆ Screen name:Enter your user name
◆ Password:for security reason, it is advised to leave it blank and fill
in your password each time you log on, but if you want to
automatically log on then enter your password.
◆ Local alias: Please leave blank
◆ Remember password:Click to save your password to automatically
log you on every time you start IM.
◆ New Main Notifications:Click to receive any new email you get
whilst logged on (dependent on IM provider)
◆ Use Buddy Icon:Choose the icon your friends will see.
Click Save to store your details. You can
now start Instant Messaging your online
Buddies, or repeat the above process to
add more accounts.
Page 22

4 Word Processing
The ONEt has a standard format word processor so the layout and buttons
you can press are similar to programs you may already be familiar with. It
also means that word processing skills you learn on the ONEt are
transferrable to other computer systems.
The ONEts Word Porcessor can save files that can be opened by Microsoft
Word®. You need to save these as a .doc file. The ONEt can also save
files as .abw, .awt, .dot, .rtf, .txt, .zabw, .htm, .html, .xht
Page 23

user manual
5 Spreadsheet
You can use the Spreadsheet to compare, analyse and calculate all sorts of
information. You can use functions to do heavy number crunching for you
and output the results in colorful graphs to represent your information in
an easy to understand fashion.
Page 24
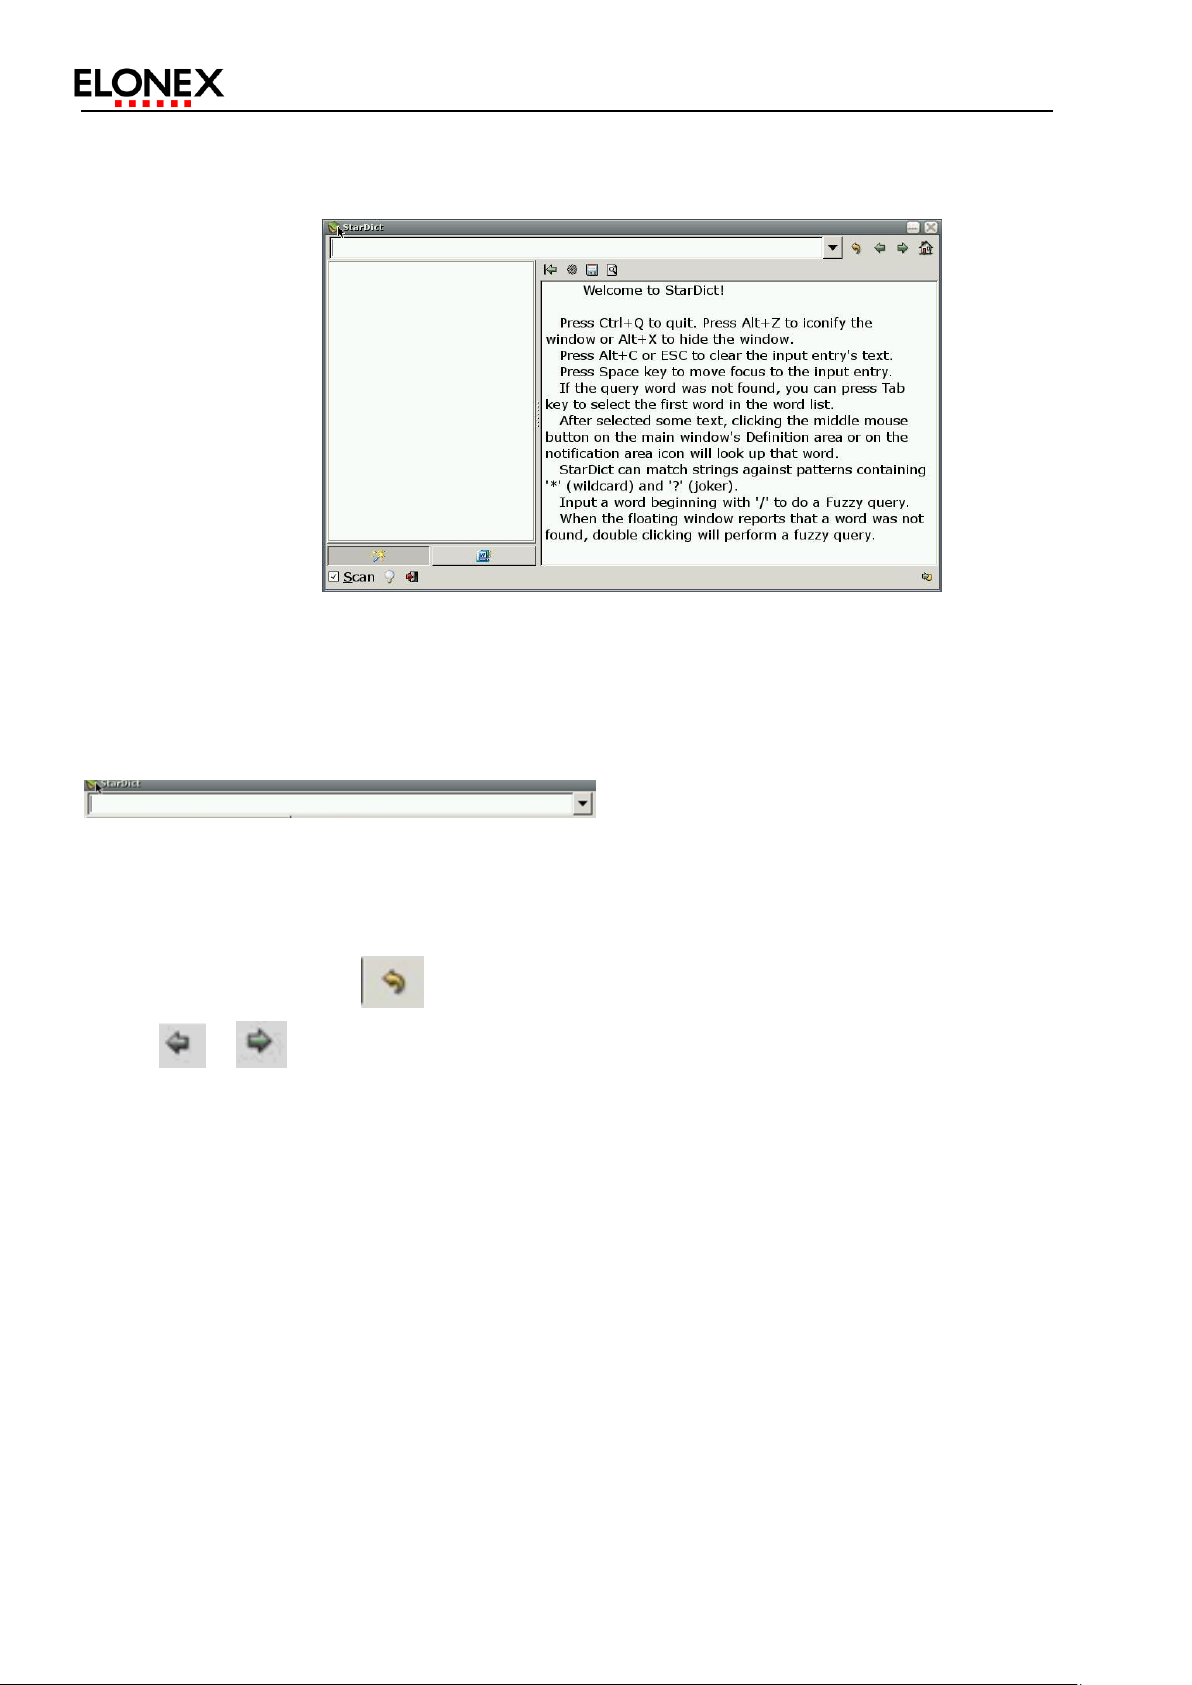
6 Dictionary
Enter the word you want to know the meaning of in the search bar:
The meaning will then appear I the dictionary window.
Click on the tool bar button to search the previous word.
Click , buttons to scroll through the next word in the dictionary
(alphabetic order)
Page 25

user manual
7 PDF Viewer
PDF Viewer lets you view and print PDF documents. To view a PDf; double
click the PDF Viewer icon, it will open the program, click File Open
option, select a document and press “open” button.
Once the PDF is open you can scroll through the pages either using the left
and right arrow keys on your keyboard or the screen .
You can zoom in or out using the Magnifying glass icons (+ to zoom in, and
– to zoom out) or alternatively type in an exact percentage that you want
the document scaled (eg 95%)
8 E-book Guide
FB Reader is a electronic book reading
tool (supports e-book formats fb2、
HTML、CHM、plucker、Palmdoc、zTxt、
TCR、RTF、OEB、OpenReader, Plain
text)
When you open FB Reader the main
page will give you more details of how to use it
Page 26

9 Media Player
Media Player is a multi-media player, which lets you playback mp3, avi and
wma files on your ONEt.
Once you have opened a file you can click the play, fast forward or rewind
buttons, pause or stop buttons. You can also drag the scroll bar along to
skip to a particular part of the film.
You can view video clips full screen by pressing the full screen button
located bottom right of the screen.
Page 27

10 Image Gallery
Once you have opened Image
Gallery, open the folder that
contains your pictures, click the
picture in the folder to start
viewing the pictures.
user manual
To set the current picture as your desktop image right click the mouse,
select Set as Wallpaper and you picture will appear as your background.
To view a collection of photos as a slideshow right click on the picture and
select Start Slideshow to start your show.
Click the icon to go back to the previous picture
Click the icon to view the next picture
As required, click the toolbar , , , icon for enlarge, reduce, fill
the screen or display 1 to 1 functions.
Click the button to delete. Click the button in the pop up
screen to confirm delete.
Page 28

Click the button to Rename your picture.
Enter the new name in the pop up screen and click
the button to confirm.
Click toolbar button or right click the mouse to
select Full Screen, to exit full screen, right click the
mouse to select.
To edit the picture right click the mouse to select Edit in Paint, and you
can use your creative skills to make the most out of your masterpiece.
Page 29

user manual
11 Calendar
Calendar is a daily planner and
management software.
To enter a new event select file then new open a new dialog box. Enter
the corresponding events in the dialog box and click to create a
new event.
Click the , , , icons to view your calendar by day, week, or
month or your daily scedule
Page 30

One Day View
One week schedule
One month schedule
Daily schedule
Page 31

user manual
12 Important Safety Precautions
Please read and follow all these safety instructions and
precaution. Failure to do so may result in damage to your
ONE laptop or yourself, and may invalidate your warranty.
CAUTION- To reduce the risk of
electrical shock do not remove the
cover as there are no user serviceable
parts inside. Refer all servicing to Elonex Service Personnel only.
To prevent fire or shock hazard, do not use near water or expose the
unit to rain or moisture. Do not spill any kind of liquid on the unit.
Do not block any ventilation openings, adequate ventilation is
essential to prevent heat buildup that can reduce the service life of
your unit or lead to failure of electronic components.
Avoid exposing the unit to direct sunlight. Do not place the unit near
any heat sources such as radiators, heaters, stoves, or naked flame
sources.
Do not place next to any sources of EM or magnetic radiation, eg
microwaves, large speakers
Do not drop or push any objects into holes or slots in the case.
Always store your unit carefully and avoid shocks or dropping
Page 32

Power Safety
It is advised that you unplug the unit from mains electricity during
prolonged periods of unuse or during lightning storms.
Avoid directly pulling out the power cord when unplugging from the
mains.
Before running out of power plug in the adapter to recharge the
battery as this can extend the lifecycle of the battery.
Cleaning
Before cleaning always shut down your unit and unplug the adapter. You
should clean with an anti-static dry cloth only. Do not clean with water,
abrasive cleaners or any other fluid.
Ergonomics
Here are some suggestions on how to best position and use the
computer:
The top of the LCD should be slightly below eye-level or slightly below and
directly in front of you. Sit with good posture and use a chair which offers
good back support (especially lower-back). The seat should allow your
feet to rest flat on the floor. Where possible, illuminate your working
environment with natural daylight or use a non-flickering light source.
Place the keyboard and mouse so that your arms are at your sides and
Page 33

user manual
your forearms are roughly parallel to the floor. Take a break, get up,
stretch, flex your wrists, walk about, and look at something else for about
10 minutes every hour.
Servicing
Do not attempt to service the computer yourself. Doing so may violate
your warranty and expose you and the computer to electric shock. Refer
all servicing to authorized serviced personnel.
Page 34

NOTES
Page 35

NOTES
user manual
 Loading...