

Page 1
Page 2

Introduction
Preface
Please read this user manual carefully to help you get the most out of your miniPCTV
Dongle. Also please observe the safety warnings so you do not damage your device
or more importantly yourself. A full support site is available at
www.elonex.com/support
Package Contents
Before using your dongle, please check your package contents to ensure there are
not any items missing. If any of the listed items are missing, please contact your point
of purchase for assistance.
The package includes:
1* miniPCTV USB Dongle
1* DVB-T Antenna
1* Remote Control
CD Rom including:
. HDTV Player /Recorder Application
If you have any problems or questions please DO NOT take your
item back to the store – contact us for some helpful advice.
Tel – 0871 222 3456
eMail – support@elonex.com
Web – www.elonex.com/support
Page 3

Page 4

Important Safety Instructions
1. All the safety and operating
instructions should be read before the
product is operated.
2. Retain Instructions
The safety and operating instructions
should be retained for future reference.
3. Heed Warnings
All warnings on the product and in the
operating instructions should be
adhered to.
4. Follow Instructions
All operating instructions should be
followed.
5. Cleaning
Unplug this product from the wall outlet
before cleaning. Do not use liquid
cleaners or aerosol cleaners. Use a
damp cloth for cleaning.
6. Attachments
Do not use attachments not
recommended by Elonex as they may
cause hazards.
7. Water and Moisture
Do not use this product near water for
example, near a kitchen sink etc.
8. Accessories
Do not place this product on an unstable
surface. The product may fall, causing
injury or damage to the product.
9. Cleaning
If fingerprints or dust make the LCD
screen dirty, we recommend using a soft,
non-abrasive cloth to clean the LCD
screen. Please do not apply too much
pressure as this may cause damage to
your screen.
If you use an LCD Cleaning Kit, apply
the cleaning liquid to the cloth. Do not
apply the liquid directly to your LCD
screen
10. Ventilation
Slots and openings in the cabinet are
provided for ventilation and to ensure
reliable operation of the product and to
protect it from overheating, and these
openings must not be blocked or
covered.
11. Power Sources
This product should be operated only
from the type of power source indicated
on the marking label.
12. Grounding
This product should only be used with
proper electrical grounding. Please only
use power supplies supplied by Elonex
as this may cause damage to the
electronics or injury to yourself.
13. Power Cord Protection
Power supply cords should be routed so
that they are not likely to be walked on
or pinched by items placed upon or
against them.
14. Outdoor Antenna Grounding
If an outside antenna or cable system is
connected to the product, be sure the
antenna or cable system is grounded so
as to provide protection against voltage
surges and built-up static charges.
Page 5

15. Lightning
For added protection for this product
during a lightning storm, or when it is left
unattended and unused for long periods
of time, please unplug it from the power
socket and disconnect the antenna or
cable system.
16. Power Lines
An outside aerial system should not be
located in the vicinity of overhead power
lines or other electric light or power
circuits, or where it can fall into such
power lines or circuits. When installing
an outside antenna system, extreme
care should be taken to keep from
touching such power lines or circuits as
contact with them might be fatal.
17. Overloading
Do not overload wall outlets, extension
cords, or integral convenience
receptacles, as this can result in a risk of
fire or electric shock.
18. Object and Liquid Entry
Never push objects of any kind into this
product through openings as they may
touch dangerous voltage points or
short-out parts that could result in a fire
or electric shock. Never spill liquid of any
kind on the product.
19. Servicing
Do not attempt to service this product
yourself as opening or removing covers
may expose you to dangerous voltage or
other hazards. Refer all servicing to
qualified service personnel.
20. Damage Requiring Service
Unplug this product from the wall outlet
and refer servicing to qualified service
personnel. Please refer all warranty
claims to Elonex Warranty Service.
21. Replacement Parts
Only use replacement parts specified by
Elonex. Unauthorized substitutions may
result in damage to your unit.
22. Safety Check
Upon completion of any service or
repairs to this product, ask the service
technician to perform safety checks to
determine that the product is in proper
operating condition.
23. Heat
The product should be situated away
from heat sources such as radiators,
heat stoves, or other products that
produce heat.
24. EM
The product should be situated away
from all sources of Electro Magnetic
radiation, ie microwaves, amplifiers,
speakers etc
Page 6

Installation Overview
Connecting the PCTV MICRO -DVB-T USB Stick
Please ensure that windows is correctly installed and booted before connecting the MiniPCTV Dongle
to your computers USB 2.0 port. Due to power and bandwidth requirement, we do not recommend
connecting the unit into a USB Hub. Connect the MiniPCTV Dongle to the USB connection of your
computer.
Connecting the Aerial
It is recommended to connect to a roof top aerial during the first time installation as this may provide a
better signal quality then the provided portable antenna.
Please Note: TV Licence required. RF Input required. Digital services are dependent on the quality of
the coverage in your area and the environment you are using the dongle in (ie service may be
diminished inside buildings). Please check the coverage in your area at www.digitaluk.co.uk
To receive Digital TV and Radio you must use an external RF antenna.
IMPORTANT!
The base of the provided antenna generates a magnetic field. If you have a heart pacemaker and
notice any anomalies, you should keep away from this device and seek advice from your doctor.
Always keep the antenna away from all equipment that is sensitive to electromagnetic fields, e.g. PCs,
notebooks, hard drives, diskettes, credit cards etc. Improper use may result in data loss or other faults.
Page 7

Driver-Installation
Note: If you have any anti-virus software enabled, please disable it during the installation of the
software.
When you first connect the PCTV MICRO -DVB-T USB Stick to your computer, a Hardware Assistant
will appear, the “USB Device ” will be recognized.
Insert the “HDTV Player for Windows Installations CD-ROM” into your CD drive.
Select the option “Install Driver” and click “Next”.
If prompted select “No, not this time” and select “Next”. Select the option “Install the software
automatically” and click “Next”.
A window may appear about the “USB Device” not passing the windows logo testing, select “Continue
Anyway”.
When “Completing the Found New Hardware wizard” window appears click the “Finish” button to
complete the driver installation.
ote”If any further components are found please repeat the above process until you receive the
message “Found new hardware: Your hardware is installed and configured use”
You will now need to check that the drivers are installed correctly.
Right click on My Computer and left click on Properties. Click on Hardware tab and then Device
Manager. In the Device Manager, click on the +symbol on the Sound Video and Game controllers
Page 8

section. If the driver is installed correctly you should see the “EC168 DVB-T Device”. If it has a yellow
mark next to it then this means that the driver is not installed correctly. You will need to remove the
driver and disconnect the PCTV MICRO -DVB-T USB Stick from the computer and re-connect is to
install the driver again.
Picture for PCTV MICRO-DVB-T USB Stick
Page 9

HDTV Player Software Installation
To start the DVB-T Stick software installation, click Start / Run then type your CD-ROM drive and click
“Install Blaze HDTV Player”.
Select your language for the installation and Click “Next” or / and “Install”.
Click “finish” to complete setup, restart your computer if needed.
Run HDTV player which you just installed, enter user name and serial number ( you can find out the
serial number on driver CD bag)
To start the HDTV Play application, A message will appear a skin
Page 10
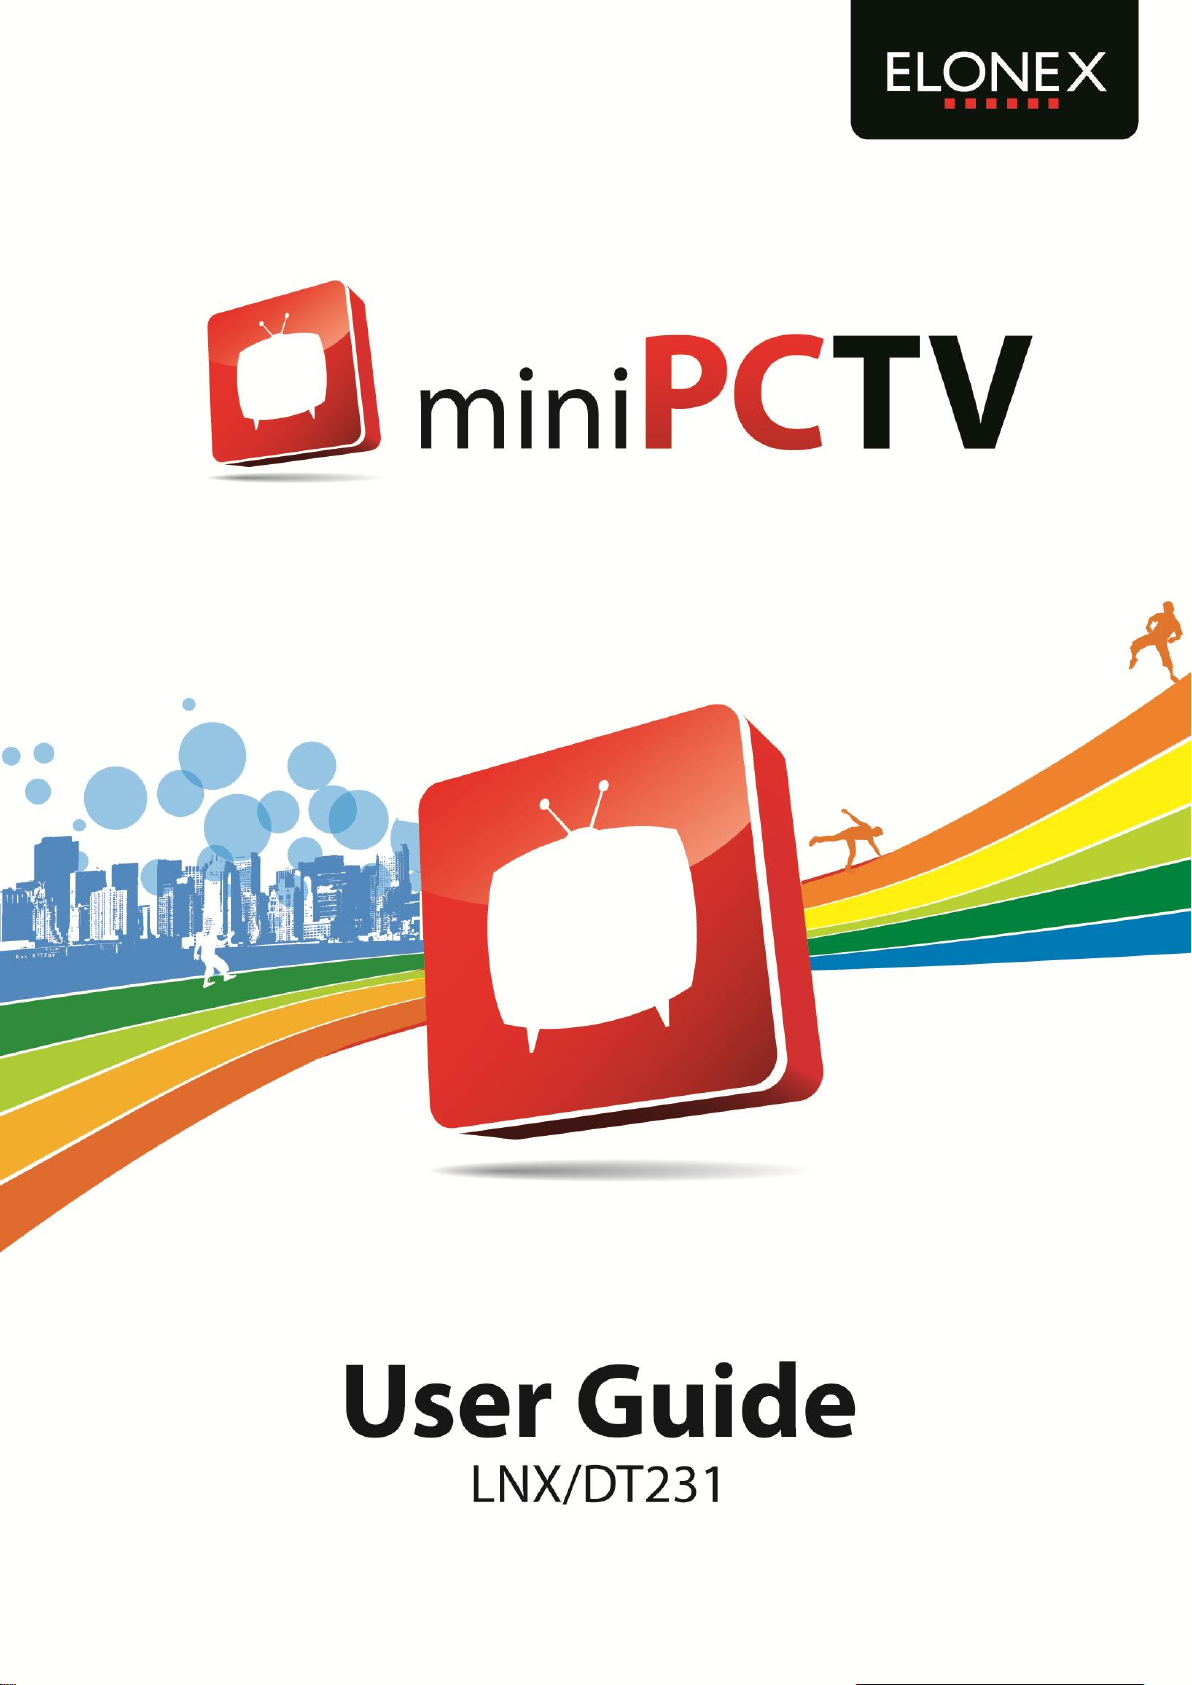
Do you want to scan for tuner channel now, click “YES”.
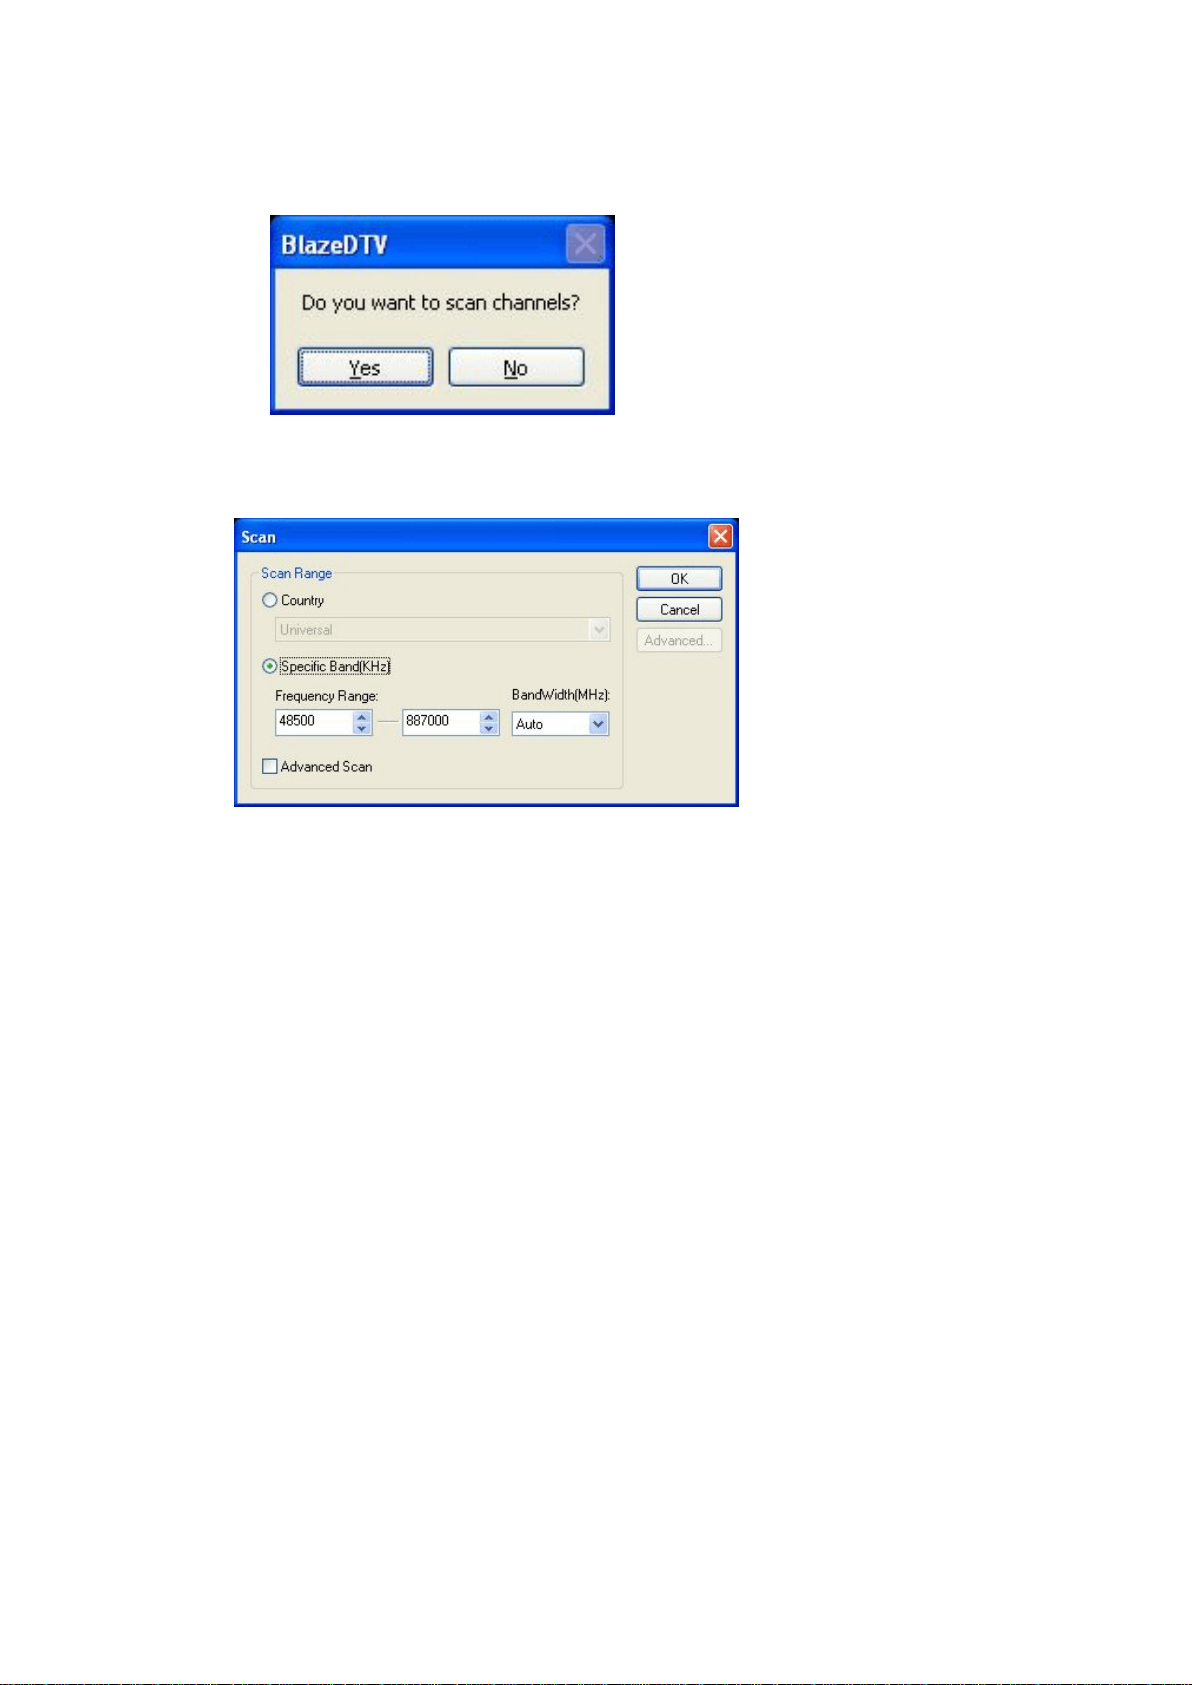
Select your country location, and then, select “scan”.
That’s it you’re done- enjoy watching digital TV.
Page 11

HDTV Player v3.5a
Welcome to use all-in-one HDTV Player! Let’s see what can HDTV Player do for you?
Playing HDTV program
Realtime record favorite HDTV program
Schedule record favorite HDTV program
Live update program list and program guide
Schedule watch HDTV program at specified time
TimeShifting, pause watching HDTV program
Playing teletext broadcasting
Playing FM radio with Visualization effect
Capture HDTV program video as still image
Manage favorites program
Multi-channel preview to quickly access favorite programs
Playing DVD/SVCD/VCD/CD disc
DVD bookmark preview to quickly access favorite title/chapter
Playing most popular media files
Playing picture as slide show with background music
Playing external video devices
Support Microsoft Vista system
Page 12

Major Features
Advanced HDTV Playback Features:
Auto scanning channels and save all channels
Support Electronic Program Guide(EPG) navigation
Support teletext & FM radio broadcasting
Live update and forecast HDTV Program
Support multi-channel preview, easily access target channel
Support TimeShifting function
Check programs info, such as service provider, channel frequency, service type, etc
Notify current program's duration time, the start time and the end time
Advanced Power Saving Scheme for notebook PC
Support Multiple Real-time & Schedule Task:
Real-time record and save your favorite program while watching HDTV program
Schedule record HDTV program, never miss any wonderful programs
Schedule watch program at specified time
Real-time capture favorite video as still image
Easily Manage HDTV Programs:
Support favorite program list
Support Parental Control
Support Multiple Source Files Playback:
Compliant with DVB-T based protocol
Support playback HDTV, DVD/VCD/CD disc, media file, video device, etc
Playback picture as slideshow
Support Teletext broadcasting
Support MPEG-2 decoder
Page 13

Outstanding Video & Audio Quality:
High video quality, support multiple aspect ratio and video hardware accelerating
Video desktop lets you view video in true background mode, just like wallpaper
Smart stretch lets video smart fit on all monitor with different aspect ratio, avoid video loss or
distortion
Enhanced audio effect and equalizer, supports 5.1, 6.1, 7.1 channel output
Other Features
Record DVD segment into MPEG2 video or MP3 audio file
Capture your favorite DVD Movies scenes, preview the images and save the favored ones.
Bookmark preview, quickly access desired DVD title/chapter
2X, 4X, 8X, 16X Fast Forward/Fast Backward
Step forward for precise title/chapter watching
Freely select Menus: Title, Root, Chapter, Subtitles, Language, camera Angles
Repeat title/chapter
Number of subtitles: 32
Close captioning
Multiple angles: 9
Automatically resuming from the last scene
Parental control level
Configurable user Interface
Zoom in Video Images, maximize eight times.
Language learning function
Support files : MPG, VOB, AC3, ASF, M1V, M2V, MOV, QT, AVI, WMV, DAT, VRO, WAV,
MID, WM, WMA, MP2, MP3, RMI, RM, RMVB, MOV, QT, SWF, OGG, OGM and other popular
media formats.
Page 14

HDTV Player Panel and Function
Button/Icon
Name
Description
EPG
Open EPG window for HDTV playback
Play
Play HDTV or Media
Pause
TimeShift during the HDTV playback
or pause during the DVD playback
Stop
Stop the current playback. Click play to restart playback.
Record
Record HDTV or DVD file
Previous
Skip to previous HDTV channel or DVD chapter to play
Browse
Browse channel
Next
Skip to next HDTV channel or DVD chapter to play
Open
Select playback type
Subtitles
Select Subtitles. Select language caption when there are multiple
language captions.
Audio
Select Audios: Click to select audio if there are various audio
options
Capture
Capture video as .bmp still image
Main Control Panel:
Page 15

Volume Control
Drag slider right/left to increase/decrease volume.
Mute
Click it, the audio is muted, click once again, get back the previous
conditions.
Media Type
Display current media type, vary with different media type
Playback status
Display current playback status, vary with different playback status
Signal Quality
Display HDTV signal quality (Available when playback HDTV)
Signal Strength
Display HDTV signal strength (Available when playback HDTV)
Channel/chapter
Display current HDTV channel or DVD chapter info
time
Display hours, minutes, seconds of the current HDTV time or DVD
chapter time
Fast backward
Fast backward, switch between 1X, 2X, 4X, 8X, 16X at each press
Slider bar
Drag the slider to new position for playback.
Fast Forward
Fast forward, switch between 1X, 2X, 4X, 8X, 16X at each press
Open Floating
Panel
Show Floating Panel
Show Advanced
Panel
Show/Hide Advanced Panel
Minimize
It is a standard windows icon. Click it, the control panel and the view
window will be minimized and displayed as icons on system toolbar.
Exit
Exit HDTV Player.
Advanced Panel (Click on Main Control Panel) :
Click to show TV advanced panel.
1. Scan: Click to scan channels.
2. Recall: Click to return to last channel
3. Favorite: Click to add current channel in favorite list.
4. Teletext: Display teletext
Page 16

5. Previous: Skip to previous page of the teletext
6. Next: Skip to next page of the teletext
7. display total and current teletext page info
8. Save current page of teletext as a .txt file.
Click to show DVD advanced panel, please refer to DVD Navigator.
Click to show color advanced panel, please refer to Color Adjustment.
Click to show equalizer advanced panel, please refer to Equalizer.
Click to show zoom panel, please refer to Zooming Video.
Click to show screen panel, please refer to Screen Control.
Page 17

TimeShifting
HDTV Player supports TimeShift function, which enables you to pause the live playback program, but
never miss any part of the wonderful program. You can pause a live program or skip a boring ad to
have a break, then continue to watch from the pause position; or directly skip to the real-time playback
status. For instance, you can freely pause watching a program to enjoy a cool drinker, then go back to
continue watch the paused program.
1. Launch TimeShift
Just press Pause button during HDTV program playback status, you will pause watching and
launch TimeShift function, then you will do any other thing if you want.
In TimeShift status, playback status displays as , the time stops at the TimeShift stat time, and a
green bar will display and keep changing at the center of Main Control Panel.
Depending the TimeShift buffer size you preset in DTV Options, the whole TimeShift duration time will
be different, which can be estimated by contrasting the TimeShift start time and the current System
time.
Note: Due to the certain size of TimeShift buffer file, upon green bar reaching at the end, if you do not
cancel TimeSift, the previous TimeShift program will be removed, what you reserved will be the latest
program. You can also enlarge the Buffer Size in DTV Optons.
2. Play TimeShift Program:
Press Play or press Pause button again, you will play timeshift program, continue to watch
HDTV program from the paused position, thus you will never miss any of the wonderful instance of the
HDTV programs.
In TimeShift playback status, there is still a green bar displaying.
3. Exit TimeShift, Resume Live Playback:
Page 18

Press Play button two times, you will skip some content (such as boring Ad.), resume live
playback and keep along with the actual playback status offered by HDTV service provider. This
function is useful for you to skip the boring Advertisement and enjoy a short time break.
In Live Playback status, the green bar disappears and the Main Control Panel returns to normal status.
Record TV
You can real-time record your favorite HDTV program into MPEG2 video file while you are watching
HDTV program. The record file will be saved as ".mpg" file in the folder you have preset in Record
Setting page for your future viewing.
The operation is very easy, just directly click Record button on Main Control Panel, or click
in Floating Panel to activate Record page, then click record button, you will begin to record file.
Record
Click to start to record, during recording procedure, the file size will keep dynamically changed
Stop Record
Click to stop record, then the record file will be auto saved as ".mpg" file named by record time in the
specified folder you have set in Record Option page.
Play Record
Click to playback the selected record file
Schedule Record TV
HDTV Player allows you to schedule record HDTV program, if you have to be away from PC at the
time of your favorite program playback; or you can not bear sitting in front of PC to wait your desired
program to begin; or you have multiple favorite programs to watch at the same time. Don't worry, the
Schedule Record feature will assure you never miss any of your favorite programs. Your favorite
program will be automatically recorded and saved on your hard disk as MPEG2 video file for your
future viewing.
Page 19

Click "EPG" button on Main Control Panel to popup "EPG" window, then click "Show Schedule"
button to switch to Schedule page, here you can freely add schedule task.
Create Task: Click this button to eject "Task" window for you to set the task details.
: Modify Task: select a created task and click this button, you will modify the task details.
: Delete the selected task.
Schedule Watch TV
HDTV Player allows you to schedule watch HDTV program, it will remind you to watch your favorite
program at the specified time, so that you will never miss any of your favorite program.
The operation is similar with schedule record HDTV program, the only difference is you should set
Task Type as "Viewing Reminder", instead of "Recording File", then specify the task start time, HDTV
Player will automatically switch to playback your scheduled channel's program.
Please see Schedule Record HDTV Program page for detailed schedule task operation.
Page 20

Capture Image
In Floating Panel, click the third button to switch to
Capture page. You can capture your favorite video as .bmp still
image with one click of a button, and preview them for the
convenience of saving.
1.The captured bitmap image will be stored in "My Pictures"
directory as default.
2.They are saved in sequence number by default as 1.bmp,
2.bmp and so on.
Capture Capture the video as BMP still image.
Preview Preview the selected image in Paint application.
Delete Delete: Delete the selected images.
Delete All: Delete all the images in list.
Copy to Clipboard Copy the selected images to clipboard.
Save
Save: Save the selected image
Save All: Save all images in the list
Save As: Rename the selected image
Page 21

Notice
Elonex reserves the right to revise this publication or to change its contents without
notice. Information contained herein is for reference only and does not constitute a
commitment on the part of the manufacturer or any subsequent vendor. They assume
no responsibility or liability for any errors or inaccuracies that may appear in this
publication nor are they in anyway responsible for any loss or damage resulting from
the use (or misuse) of this publication.
This publication and any accompanying software may not, in whole or in part, be
reproduced, translated, transmitted or reduced to any machine readable form without
prior consent from the vendor, manufacturer or creators of this publication, except for
copies kept by the user for backup purposes.
Brand and product names mentioned in this publication may or may not be copyrights
and/or registered trademarks of their respective companies. They are mentioned for
identification purposes only and are not intended as an endorsement of that product
or its manufacturer.
©2010 Elonex International
After the implementation of the European Directive 2002/96/EU in the national legal
system, the following applies: Electrical and electronic devices may not be disposed
of with domestic waste. Consumers are obliged by law to return electrical and
electronic devices at the end of their service lives to the public collecting points set up
for this purpose or point of sale. Details to this are defined by the national law of the
respective country. This symbol on the product, the instruction manual or the package
indicates that a product is subject to these regulations. By recycling, reusing the
materials or other forms of utilizing old devices, you are making an important
contribution to protecting our environment. WARNING! This product contains
batteries and electronics that may be harmful to the environment; they should not be
discarded with normal household waste but taken to your local collection centre for
recycling.
Elonex follows a principle of constant improvement and is not held responsible for any
changes that are made to the unit nor accepts any liabilities for these changes.
Trademarks:
All trade names and trademarks are the properties of their respective companies.
Copyright © 2010 Elonex International, All Rights Reserved.
 Loading...