


Peak

POWER ASSISTED BICYCLES
OWNERS MANUAL

Welcome to the World of e.bike cycling.
POWER ASSISTED BICYCLES
Firstly may we congratulate
you on purchasing your new
electric power assisted e.bike.
Please take time to read your
manual. We have tried towrite
it in a way that is simple and
easy to follow, whilst
explaining how your bike
works and how it is maintained.
At any point if you feel you
need help we have a tehnical
helpline for support.
Please call our
Technical help line:
(weekdays 9am-5pm)
01702208187
(standard call rate charge applies)
Simply explained this is how your e.life bike basicallyworks.
1.
Use the key to switch the battery ON.
(Fig.5)
2.
Switch the power on by pressing button on your controller on the
handlebars.
(Fig.4)
2.
As you begin to pedal a sensor will read the level of effort needed to
turn the wheels of your bike.
3.
After one complete turn of the pedal the electric motor kicks in making
pedaling much easier.
4.
There are 3 setting on your controller on the handlebar, allowing you to set
the level of assistance you require.
(Fig.4)
For example: Riding up a hill you’ll probably use ‘High’, mode.
5.
Change the level of assistance you need at any time and as often as you wish.
6.
The motor works to assist pedaling, stop pedaling and the motor stops too.
7.
Applying the brakes cuts the motor
(Fig.3)
8.
Youcan also choose to switch the assist OFF and ON on the controller at any
point in your journey. This helps to save battery power when its not needed.
The more you use the assist, the more power it uses, each rider is different so figures can vary
considerably with different rider weight and the terrain you ride. Generally with normal use, you
should be able to obtain around 20 miles, before you need to re-charge your battery.
We Recommend that you get used to your new e.life bike and the level of assist you place on
it, you’ll soon be able to work out how long a journey you can make and safely return under
assist. You can of course ride as you would a normal bike if the charge runs out.
1
M

INDEX
Page 1
Page 2
Page 3
Page 3
Page 4
Page 5
Page 6
Page 7
Page 8
Page 9
Welcome to E.Life
Index & Check List
Page 10
Page 11
Page 12
Fitting the saddle
Pre-Ride checks
Getting Started Understanding
yourcontroller
Understanding
your Battery
Charging your Battery
Maintenance of your E.Life
Simple Troubleshooting
Warranty
Replacement Batteries &Chargers
National ServiceCentre
2
POWER ASSISTED BICYCLES
Thereare video tutorialsonline or on IdealWorld’s
websitedesigned to assist you if you need help.
Please call our
Technical help line:
(weekdays 9am-5pm)
01702208187
(standard call rate charge applies)
Contents check list
1.
Your E.Life
2.
Box containing:
a.
B
a
ttery
Cha
rger
3.
Box containing:
a.
Tool k it and bag
b.
This
M
anual
4.
Set of Keys
( a
tt
a
c
h
e
d
t
o handl
e
ba
r c
abl
e
s)
IMPORTANT!
P
LE
A
SE
R
E
M
E
MB
E
R
TH
A
T
I
T
I
S
IMP
O
R
T
AN
T TO
K
EE
P
THE C
AR
TO
N
YO
UR BIK
E
ARRI
VED
IN ,
CO
URI
E
R
S
C
ANN
OT COLLECT YO
UR
BIK
E
WI
THO
U
T
A
C
AR
TO
N
SHO
U
LD YO
U
H
A
VE
N
EED
TO
R
ET
URN I
T TO
U
S.
POWER ASSISTED BICYCLES
Fitting the Saddle
The Saddle and Seatpost are already fitted together.
Fig.1
1.
Adjust the saddle height to suit you by releasing the quickrelease
3
NOTE: Be sur e not raise th e seatpost higher than
the minimum insertion mark clearly o n the
seatpost.
Pre-Ride Checks
Complete these checks before every ride
1.
Check to make sure all nuts/fastenings are tight
2.
Check that your tyres are inflated sufficiently (see tyre wall )
3.
Check that the brakes are working correctly. (These are set by the factory
and should not require adjusting).
4.
Check your battery for charge.
(Note: Your new e.life battery is supplied with a partial charge)
Fig.2
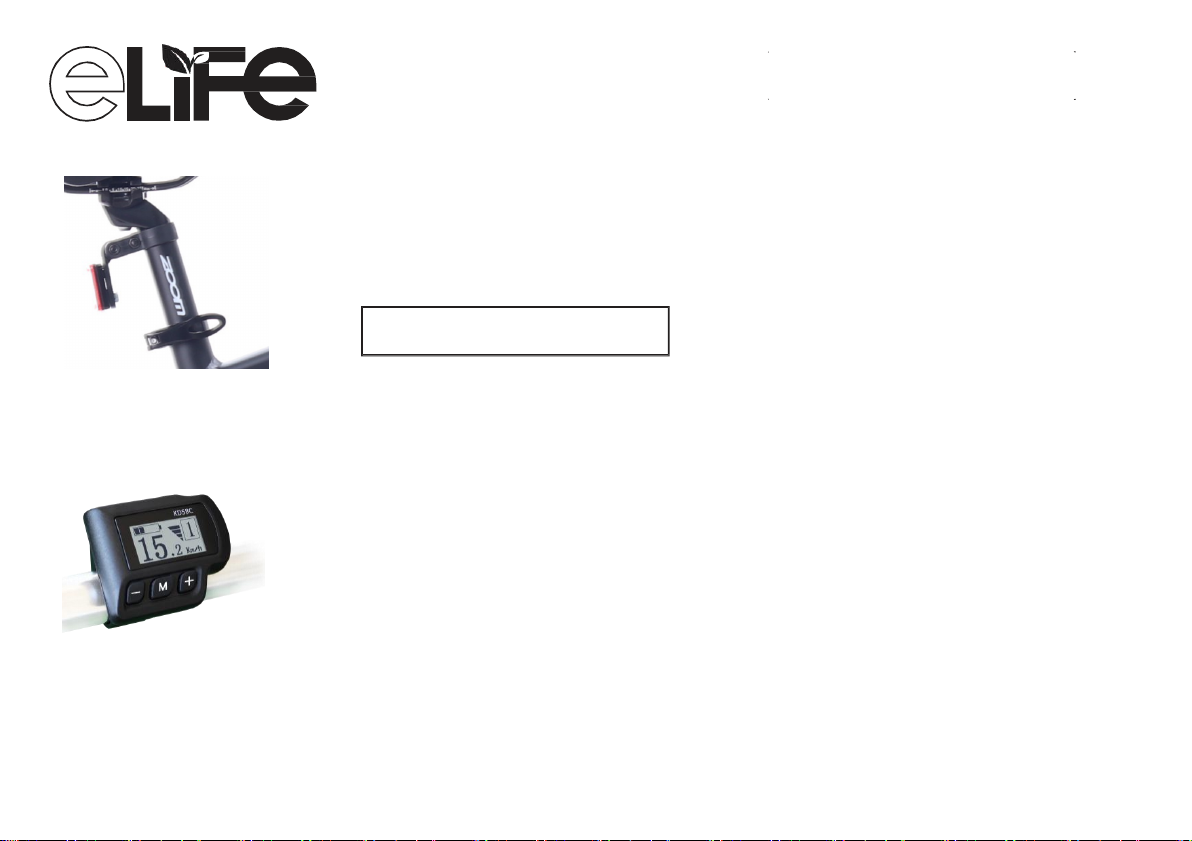
The Battery charge level is shown
on the Control module on your
handlebar.

POWER ASSISTED BICYCLES
Getting Started
Fig.3
Switch the battery on with the button on the battery.
1.
Press top button on the Controller on your handlebars
2.
‘MODE’ is set on‘1’ - This is a default setting.
THAT‘S IT........You’re ready to go.
3.
To start , simply begin to pedal. Once the crank is turning you will feel
the motor kick-in and the electric system begin to assist you.
4.
You have 4 levels of assist and its a good idea to try all levels to give you
a
feel of the effect this has on your riding.
5.
Remember, stopping pedaling or braking cuts the motor assist, so you can
always feel safely in total control.
Applying the brakes activates the brake sensor which
cuts the power to the motor.
4
 Loading...