

Electrolux Salamander 283001 User Manual
ELECTRIC SALAMANDERS

2
INSTRUCTIONS FOR THE INSTALLER
It is required that installation of the unit and its electrical
connection be professionally carried out in compliance
with the current regulations.
Note: The features plate is at the back of the devide on
the
right-hand side.
Technical Data
Single phase electric supply V 220
Frequency Hz 50/60
Max. power input:
- model SEA45 Kw 2,0
- model SEA65 Kw 3,8
Positioning
The salamander can be installed on shelf or no stand
according to the space available and the manner of use.
Slowly remove the appliance protective film without
tearing it, for the glue could remain on the appliance outer
casing. Should this happen, remove the glue using a
suitable solvent.
Power Supply
The appliance operates on a 220 V single phase - 50 Hz
power supply. Therefore, in order to connect the appliance
to its power supply, it will be necessary to provide the
power supply cable with a normalized plug suitable to the
absorbed load and then to connect it to a proper main
socket, while making sure that in this last there is an
efficient earthing contact.
Between main socket and electric supply line it is
necessary to insert an automatic suitable circuit breaker
that, when switched off, between its stationary and movable
contacs there is a gap of at least 3 mm.
The Manufacterer disclaims any liability in case these
accident-preventing rules are not observed.
INSTRUCTIONS FOR THE USER
Note: This machine has been built according to the EEC
regulations 82/489 for the suppression of
radiodisturbances.
OPERATION
Preleminary
The salamander is suitable for normal and “au gratin”
cookings or for warming up the food by means of the
irradation coming from a high temperature heating source
placed over the food to be cooked.
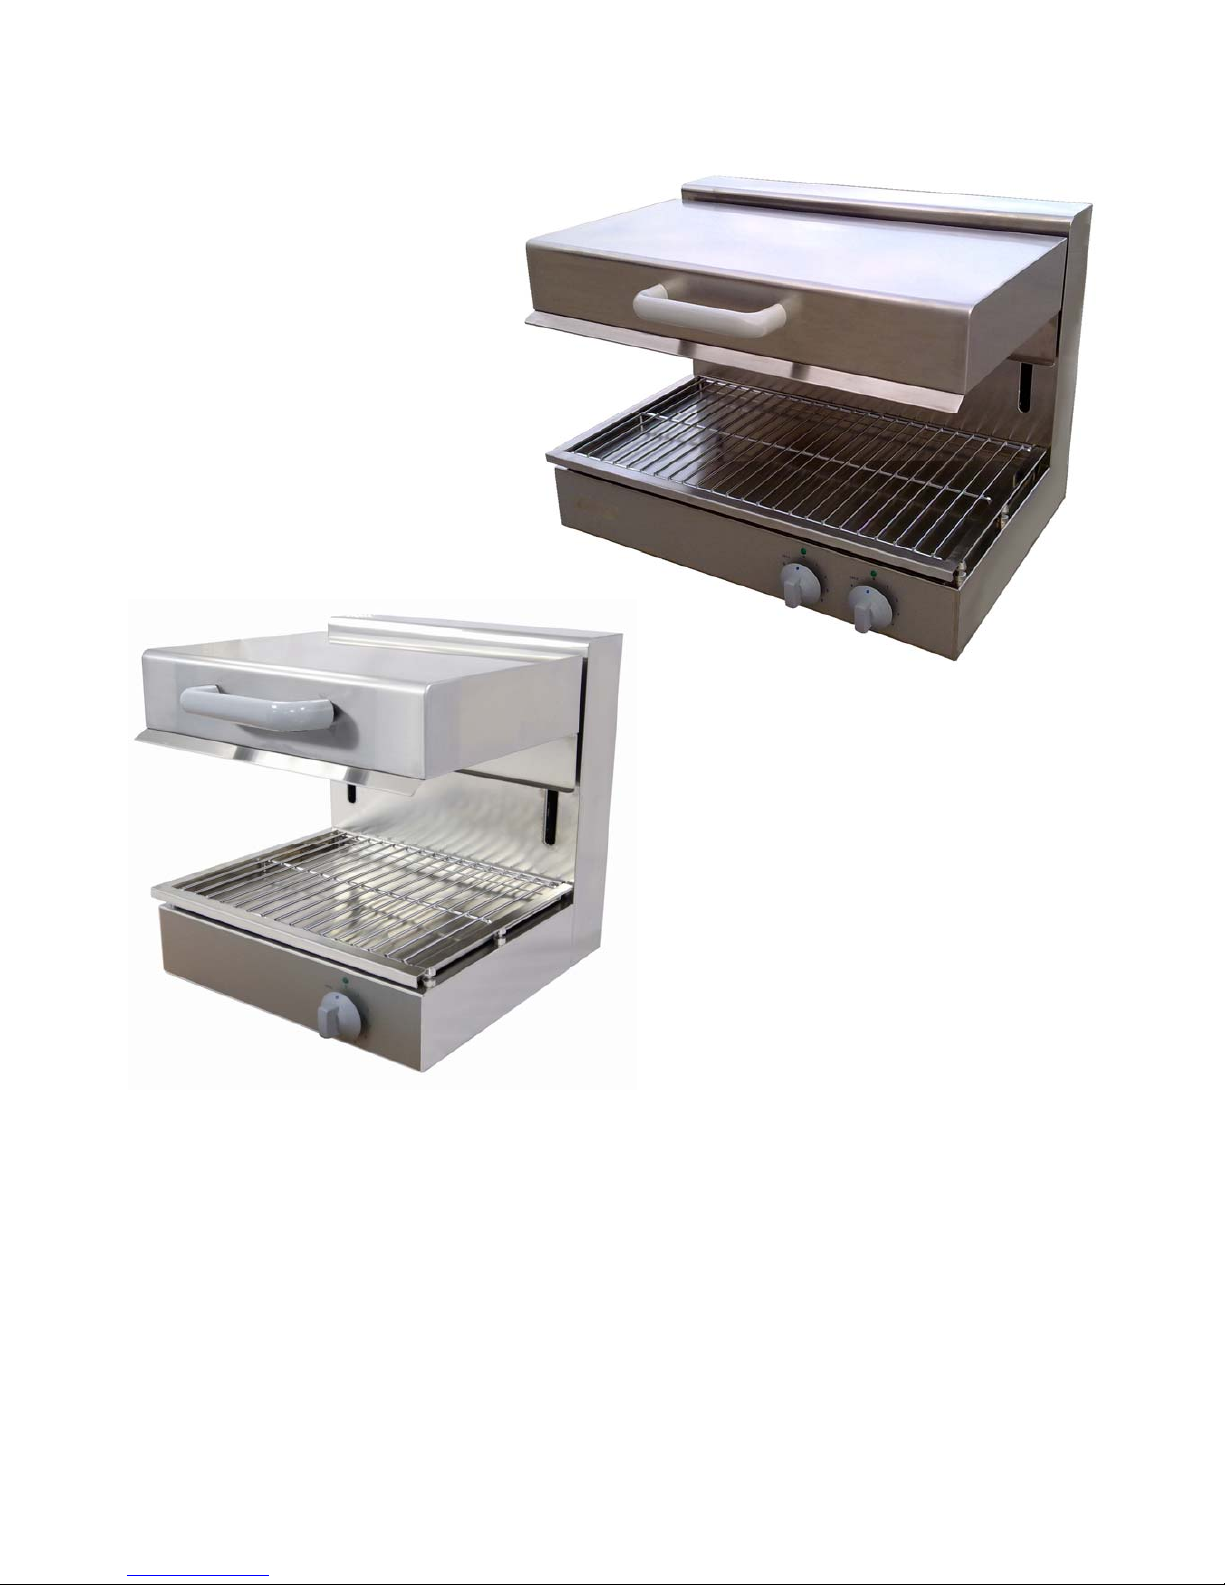
The appliance is equipped with a device which allows to
lift or lower the radiant plate “C” (fig. 1) in order to heat
the food more or less respectively.
The heating system consists of one heating element on
model SEA45 and, on model SEA65, of two groups of
heating elements the temperature of which is individually
controlled by an energy regulator.
To start the machine (fig. 1)
Switch on the automatic circuit breaker on the supply
line back of the appliance.
Turn the energy regulator control knob “A”
anticlockwise on the setting corresponding to the desired
temperature bearing in mind that the higher the number the
higher the temperature.
The signal lamp “B” indicates when the heating is on.
The
heating elements will turn on automatically as soon
as the
temperature sinks below the chosen temperature
value and
will turn off whenever the temperature reaches
its selected
value. On the setting “” the heating
elements are kept
always on for the utmost temperature.
Switching off (fig. 1)
Turn the control knob of each energy regulator to the
setting “0”.
Switch off the circuit breaker on the electric supply
line.
MAINTENANCE
The maintenance must be always carried out with the
appliance electrically switched off.
At the end of each cooking cycle, careful clean the
grid
and the pan for collecting the sauces.
Daily clean the stainless steel surfaces with luke warm
soap water, then rinse them again and again with fresh
water and wipe them thoroughly.
Do not use steel wool, wire brushes, or similar
abrasive
cleaning material on these parts as damage can
occur.
Stainless steel wool can be also used but it is
necessary to
rub the surfaces always on the direction of
the stainless
steel satin finish.
Apply a thin layer of vaseline oil on all steel surfaces
in
the event of the machine not being used for any length
of
time. Periodically air the room in which the appliance is
installed.
Caution
Do not wash the appliance with direct or high
pressure water jets since possible leakings on the
electric
components might prejudice the regular
working of the machine as well as the safety devices.
 Loading...