

Electrolux E30GF74HPS1 Owner’s Manual
Care Guide
Gas Range
% E_
Finding information
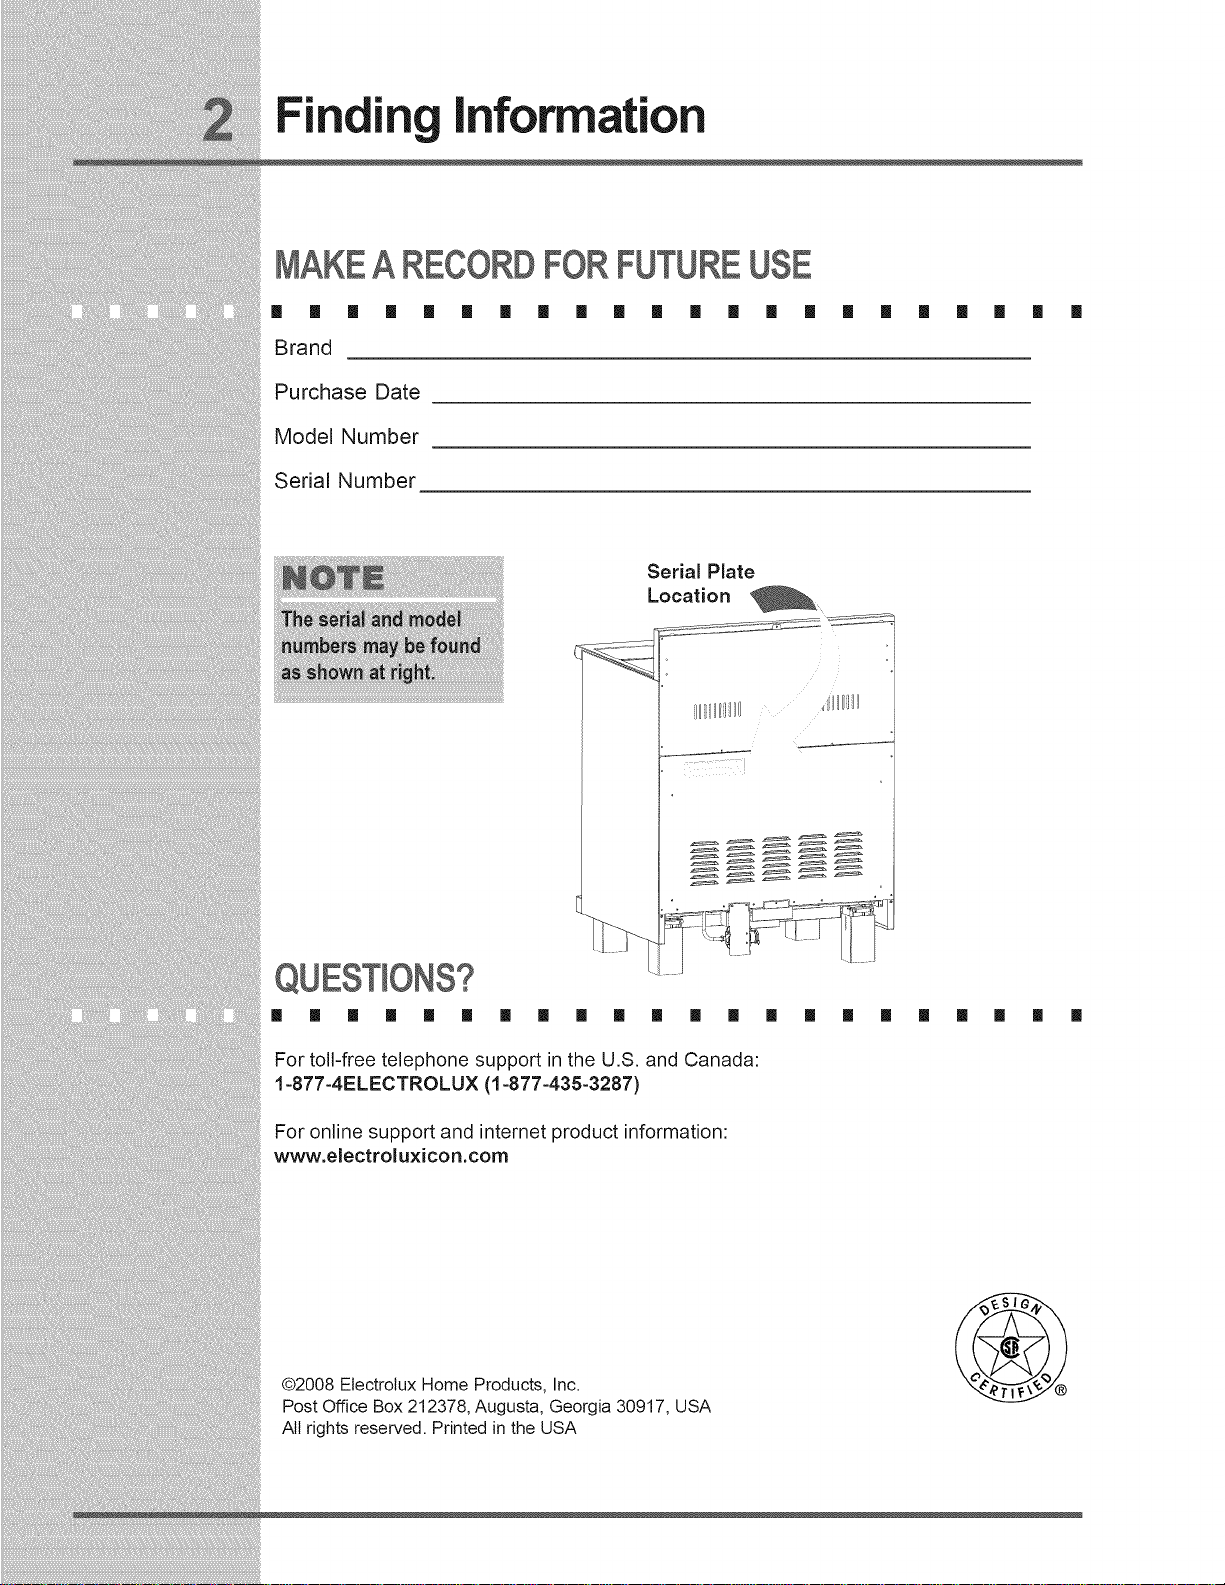
MAKE A RECORD FOR FUTURE USE
[] [] [] [] [] [] [] [] _ [] [] [] [] [] []
Brand
Purchase Date
Model Number
Serial Number
Serial Plate
Location
[] [] [] [] n []
QUESTIONS?
[] [] [] [] [] [] [] [] [] [] [] [] []
For toll=free telephone support in the U.S. and Canada:
1-877=4ELECTROLUX (1=877=435=3287)
For online support and internet product information:
www.electroluxicon.com
@2008 Electrolux Home Products, Inc.
Post Office Box 212378, Augusta, Georgia 30917, USA
All rights reserved. Printed in the USA
[] [] [] [] [] [] [] []
Findi Information
TABLEOFCONTENTS
I [] I I [] I I I I I I I I [] I I I I I I I I
FindingInformation ...........................................2-3
Makea Recordfor Futureuse................................2
Questions?..............................................................2
Safety ..................................................................4-8
ImportantSafety Instructions..................................4
GettingStart ..........................................................9
LiquefiedPetroleum(Propane)Gas Conversion.... 9
RangeFeatures...................................................10
30"RangeFeatures..............................................10
Surface Cooking ............................................11-16
Flamesize.............................................................11
ProperBurnerAdjustments...................................11
BurnerLocations...................................................11
Placementof BurnerHeadsandCaps .................12
Placementof BurnerGrates.................................12
SurfaceCookingUtensils......................................13
UsingtheGriddle..................................................13
UsingtheWokStand ............................................14
UsingtheSimmerPlate ........................................15
SettingSurfaceControls.......................................16
Getting Started...............................................17-18
BeforeSettingOvenControls..........................17-18
Setting the Oven Controls ............................19-24
OvenControlFeatures..........................................19
GettingStarted......................................................19
Baking...................................................................19
BakingProblems...................................................20
ConvectionBaking................................................21
ConvectionRoasting.............................................21
Broiling..................................................................22
SettingBroil...........................................................23
UsingtheSelf-CleanFeature................................24
StartingtheOvenSelf-CleanCycle ......................25
GeneralCleaning..................................................26
CleaningtheBurnerGrates,BurnerCaps,Burner
Heads,SimmerPlateandGriddle........................27
CooktopCleaningand Maintenance.....................28
Cleaningrecommendationsforthe Ceramic
GlassCooktop.................................................28-29
Careand Cleaningof StainlessSteel...................29
ToRemoveand ReplacetheOvenDoor..............30
SpecialDoorCareInstructions.............................30
OvenLight.............................................................31
Solutions to Common Problems..................32-35
SurfaceBurnersDoNot Light...............................32
BurnerFlameonlyLightsHalfWay
AroundBurner.......................................................32
BurnerFlameisOrange........................................32
ScratchesorAbrasionsonCeramicGlassCooktop
Surface..................................................................32
MetalMarkson CeramicGlassCooktopSurface... 33
BrowStreaksandSpecksonCeramicGlass
CooktopSurface...................................................33
Areasof DiscolorationonCeramicGlassCooktop
Surface..................................................................33
AppliancenotLevel...............................................33
PoorBakingResults.............................................33
EntireOvenDoesNotOperate.............................34
OvenLight DoesNotWork ...................................34
FanNoiseDuringCookingOperation...................34
OvenSmokesExcessivelyDuringBroiling...........34
Self-CleaningCycleDoesNotWork.....................34
Soil NotCompletelyRemovedAfter Self-Cleaning
Cycleis Completed...............................................35
FlamesInsideOvenor SmokeFromVent............35
Care& Cleaning .............................................24-31
WarrantyInformation ..........................................36
y
MPORTANTSAFE NSTRUCT ONS
[] [] [] [] [] [] [] [] [] [] [] [] [] [] [] [] [] [] [] []
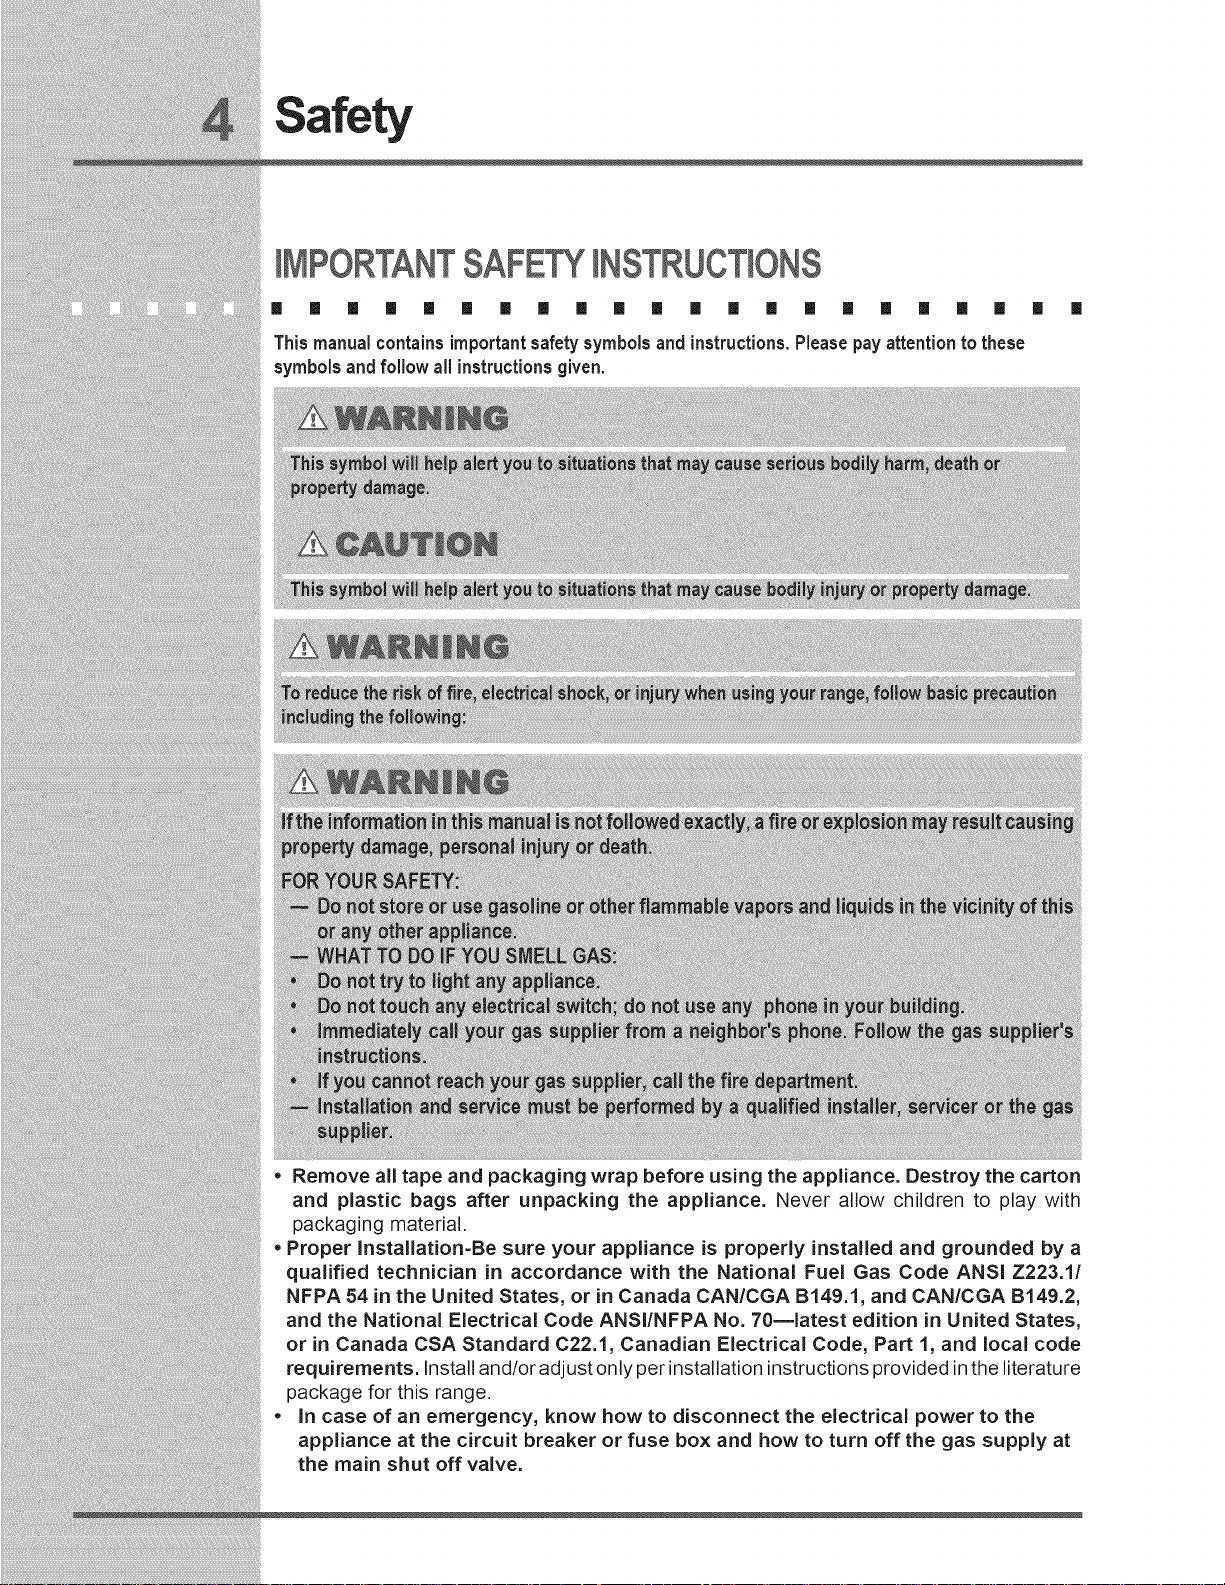
This manual contains importantsafetysymbols and instructions.Pleasepay attention to these
symbolsandfollow all instructionsgiven.
[] []
• Remove all tape and packaging wrap before using the appliance. Destroy the carton
and plastic bags after unpacking the appliance. Never allow children to play with
packaging material.
• Proper Installation-Be sure your appliance is properly installed and grounded by a
qualified technician in accordance with the National Fuel Gas Code ANSi Z223.1/
NFPA 54 in the United States, or in Canada CAN/CGA B149.1, and CAN/CGA B149.2,
and the National Electrical Code ANSI/NFPA No. 70mlatest edition in United States,
or in Canada CSA Standard C22.1, Canadian Electrical Code, Part 1, and local code
requirements. Installand/or adjust only per installation instructions provided in the literature
package for this range.
• in case of an emergency, know how to disconnect the electrical power to the
appliance at the circuit breaker or fuse box and how to turn off the gas supply at
the main shut off valve.
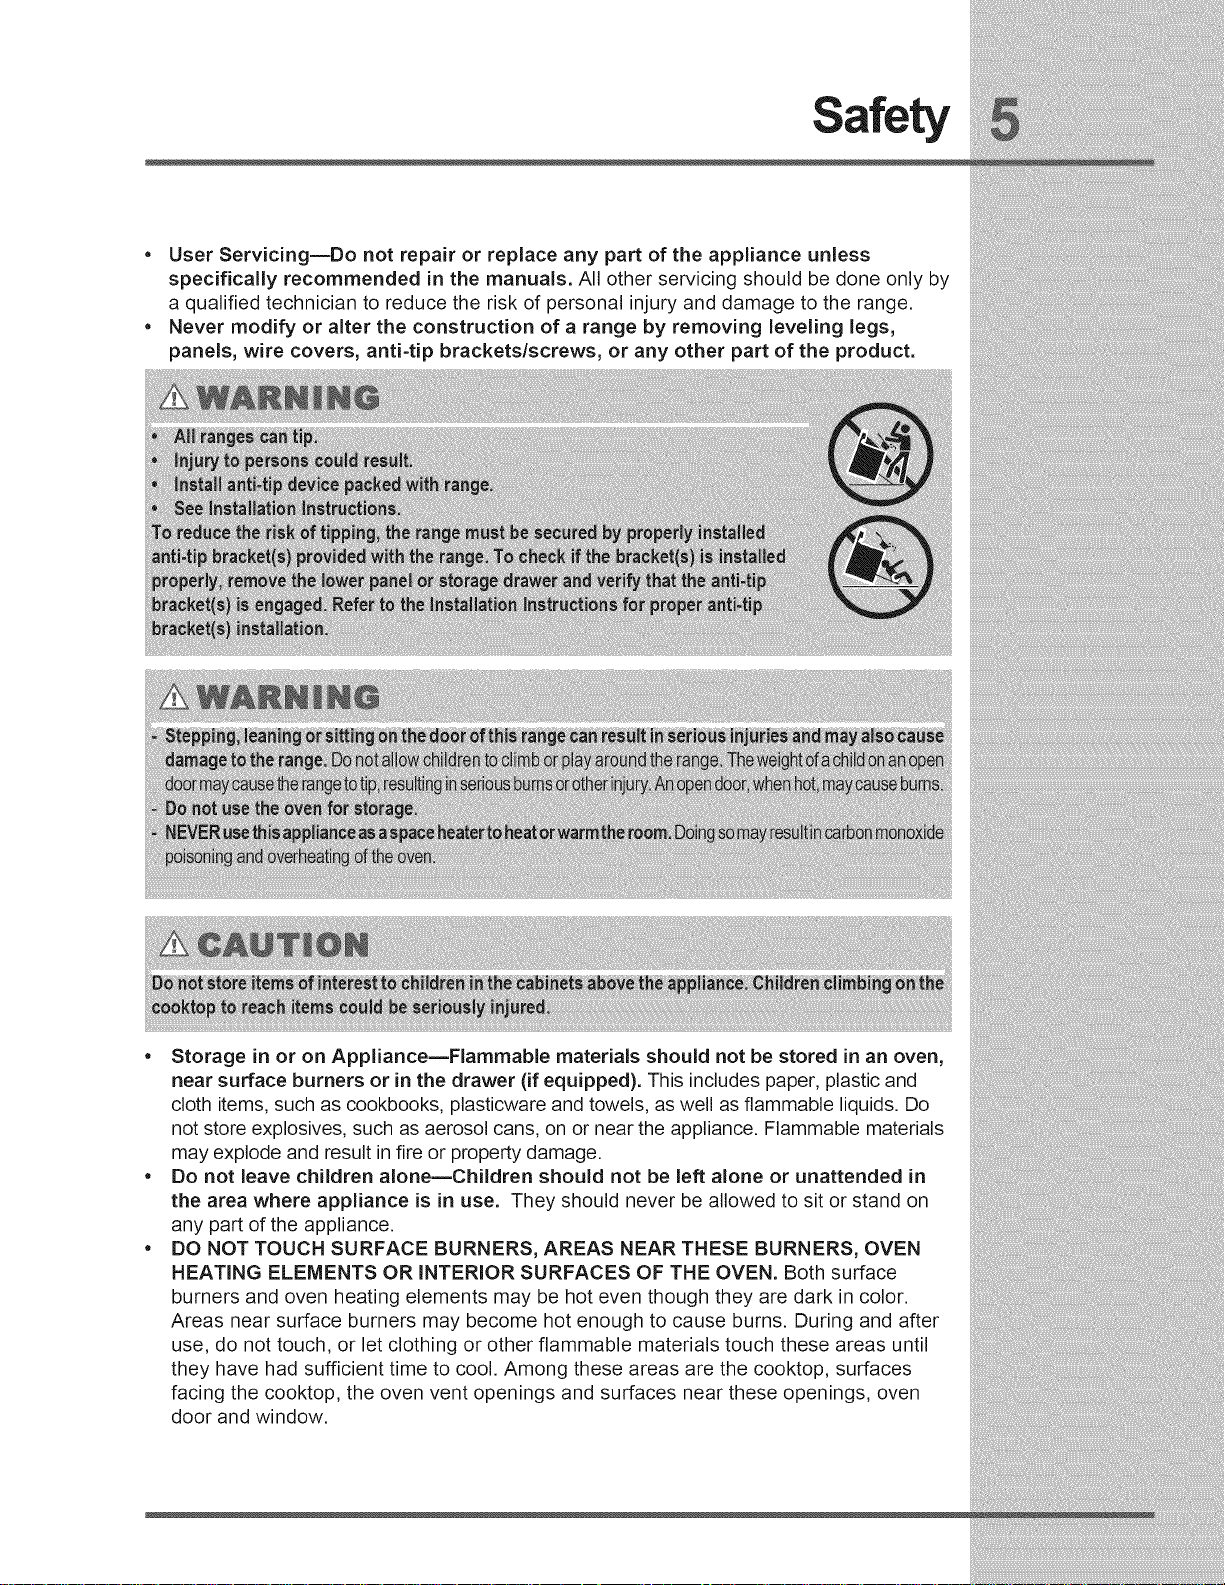
• User ServicingmDo not repair or replace any part of the appliance unless
specifically recommended in the manuals. All other servicing should be done only by
a qualified technician to reduce the risk of personal injury and damage to the range.
• Never modify or alter the construction of a range by removing leveling legs,
panels, wire covers, anti-tip brackets/screws, or any other part of the product.
• Storage in or on AppliancemFlammable materials should not be stored in an oven,
near surface burners or in the drawer (if equipped). This includes paper, plastic and
cloth items, such as cookbooks, plasticware and towels, as well as flammable liquids. Do
not store explosives, such as aerosol cans, on or near the appliance. Flammable materials
may explode and result in fire or property damage.
• Do not leave children alone=Children should not be left alone or unattended in
the area where appliance is in use. They should never be allowed to sit or stand on
any part of the appliance.
• DO NOT TOUCH SURFACE BURNERS, AREAS NEAR THESE BURNERS, OVEN
HEATING ELEMENTS OR iNTERiOR SURFACES OF THE OVEN. Both surface
burners and oven heating elements may be hot even though they are dark in color.
Areas near surface burners may become hot enough to cause burns. During and after
use, do not touch, or let clothing or other flammable materials touch these areas until
they have had sufficient time to cool. Among these areas are the cooktop, surfaces
facing the cooktop, the oven vent openings and surfaces near these openings, oven
door and window,
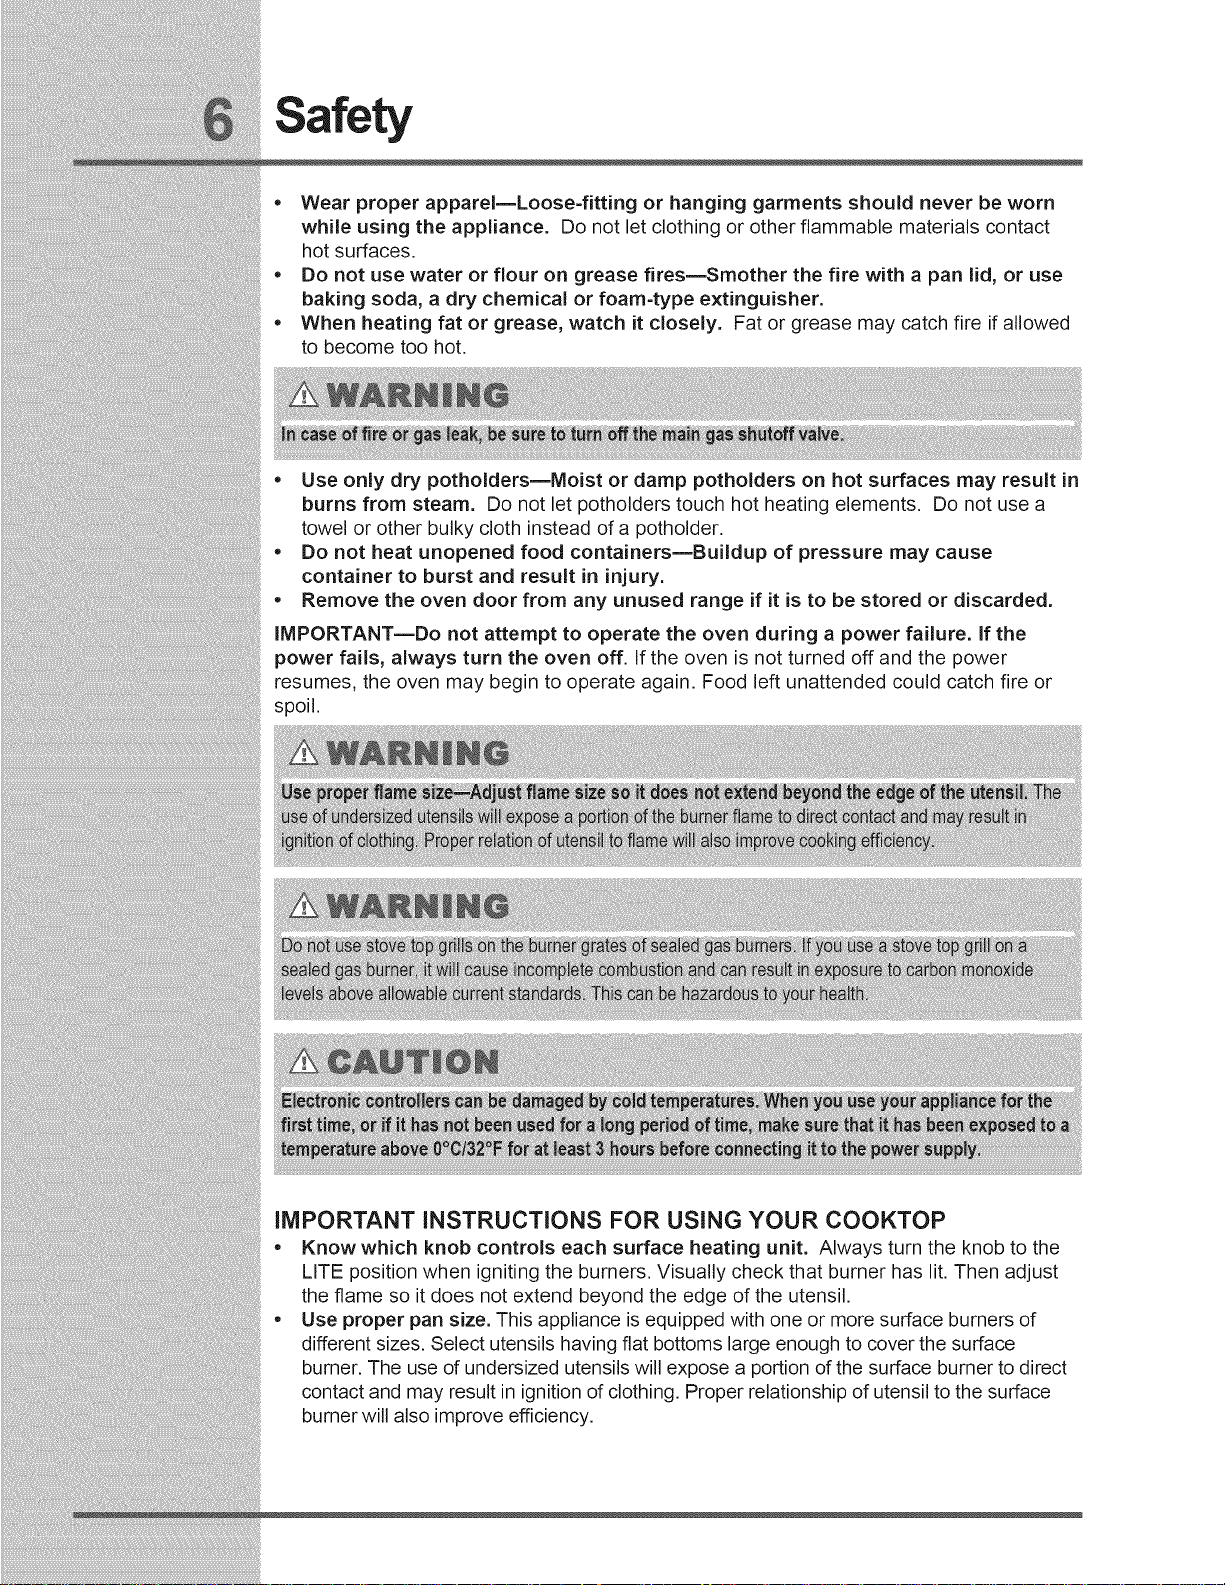
• Wearproper apparelmLoose-fitting or hanging garments should never be worn
while using the appliance. Do not let clothing or other flammable materials contact
hot surfaces.
• Do not use water or flour on grease firesmSmother the fire with a pan lid, or use
baking soda, a dry chemical or foam-type extinguisher.
• When heating fat or grease, watch it closely. Fat or grease may catch fire if allowed
to become too hot.
• Use only dry potholders=Moist or damp potholders on hot surfaces may result in
burns from steam. Do not let potholders touch hot heating elements. Do not use a
towel or other bulky cloth instead of a potholder.
• Do not heat unopened food containers=Buildup of pressure may cause
container to burst and result in injury.
• Remove the oven door from any unused range if it is to be stored or discarded.
IMPORTANT=Do not attempt to operate the oven during a power failure. If the
power fails, always turn the oven off. If the oven is not turned off and the power
resumes, the oven may begin to operate again. Food left unattended could catch fire or
spoil.
iMPORTANT iNSTRUCTiONS FOR USING YOUR COOKTOP
• Know which knob controls each surface heating unit. Always turn the knob to the
LITE position when igniting the burners. Visually check that burner has lit. Then adjust
the flame so it does not extend beyond the edge of the utensil.
• Use proper pan size. This appliance is equipped with one or more surface burners of
different sizes. Select utensils having flat bottoms large enough to cover the surface
burner. The use of undersized utensils will expose a portion of the surface burner to direct
contact and may result in ignition of clothing. Proper relationship of utensil to the surface
burner will also improve efficiency.

• Utensil handles should be turned inward and not extend over adjacent surface
burners--To reduce the risk of burns, ignition of flammable materials, and spillage due to
unintentional contact with the utensil. The handle of the utensil should be positioned so that
it is turned inward, and does not extend over adjacent surface burners.
• Never leave surface burners unattended at high heat settings--Boilovers cause
smoking and greasy spillovers that may ignite, or a pan that has boiled dry may melt.
• Glazed cooking utensils--Only certain types of glass, glass/ceramic, ceramic,
earthenware, or other glazed utensils are suitable for rangetop service without breaking
due to the sudden change in temperature. Check the manufacturer's recommendations
for rangetop use.
• Do not use decorative surface burner covers, if a burner is accidentally turned on,
the decorative cover will become hot and possibly melt. Burns will occur if the hot covers
are touched. Damage may also be done to the cooktop or burners because the covers
may cause overheating. Air will be blocked from the burner and cause combustion
problems.
• Do not clean or operate a broken cooktop--lf cooktop should break, cleaning
solutions and spillovers may penetrate the broken cooktop and create a risk of electric
shock. Contact a qualified technician immediately.
• Clean cooktop glass with caution--if a wet sponge or cloth is used to wipe spills on a
hot cooking area, be careful to avoid a steam burn. Some cleaners can produce harmful
fumes if applied to a hot surface.
• Avoid scratching the cooktop glass with sharp objects.
iMPORTANT iNSTRUCTiONS FOR USING YOUR OVEN
• Use care when opening oven door or warmer drawer (if equipped)--Stand to the side
of the range when opening the door of a hot oven. Let hot air or steam escape before you
remove or replace food in the oven/warmer drawer,
• Keep oven vent ducts unobstructed. The oven vent is located under the cooktop,
Touching the surfaces in this area when the oven is operating may cause severe burns,
Also, do not place plastic or heat-sensitive items on or near the oven vent, These items
could melt or ignite,
Nevercoveranyslots,holesor passagesinthe ovenbottomorcoveranentirerackwithmaterialssuchas
alm_numfoil. Doingso blocksairflowthroughtheoven andmaycausecarbonmonoxidepoisoning.
Aluminumfoil liningsmayalsotrap heat,causingafire hazard.
• Placement of oven/warmer drawer (if equipped) racks. Always place oven racks in
desired location while oven/warmer drawer (if equipped) is cool. If rack must be moved
while oven is hot use extreme caution. Use potholders and grasp the rack with both
hands to reposition. Do not let potholders contact the hot heating elements in the oven/
warmer drawer (if equipped). Remove all utensils from the rack before moving.
• Do not use the broiler pan without its insert. The broiler pan and its insert allow
dripping fat to drain and be kept away from the high heat of the broiler.
• Do not cover the broiler insert with aluminum foil. Exposed fat and grease could
ignite.
• Do not touch a hot light bulb with a damp cloth. Doing so could cause the bulb to
break. Disconnect the appliance or turn off the power to the appliance before removing
and replacing light bulb.
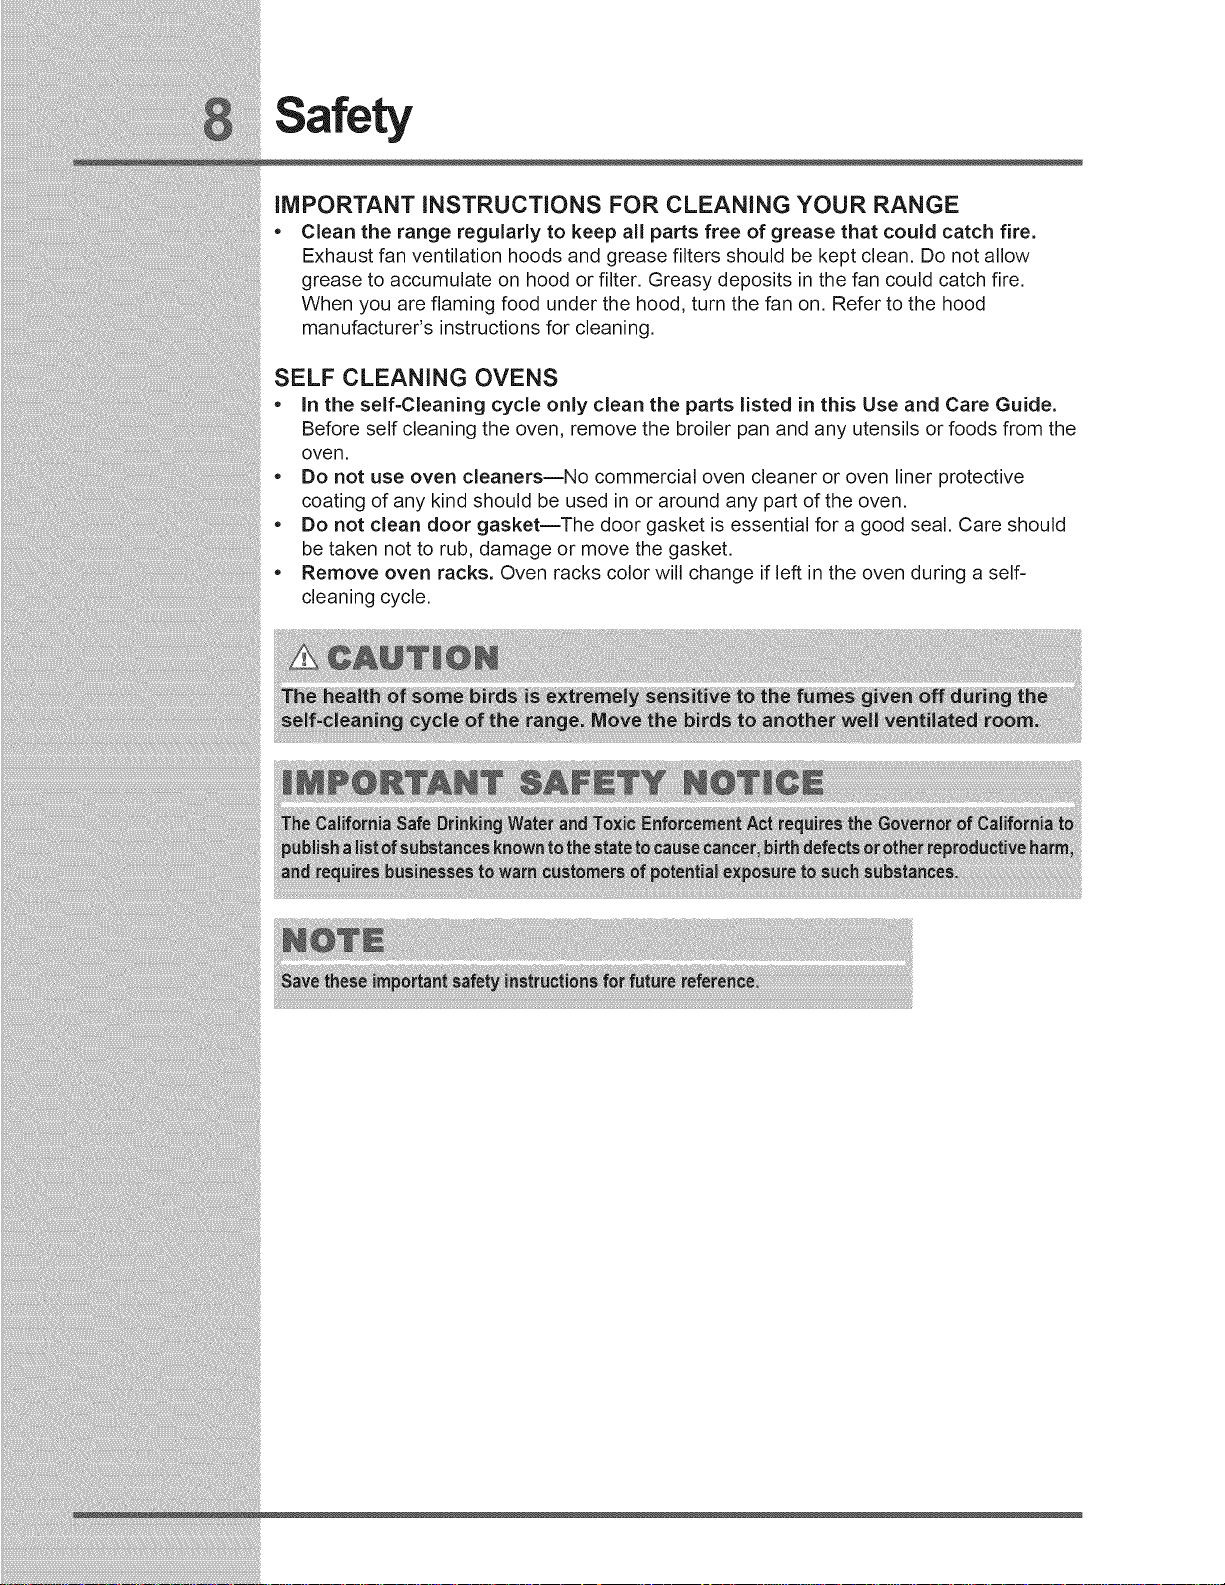
iMPORTANT iNSTRUCTiONS FOR CLEANING YOUR RANGE
• Clean the range regularly to keep all parts free of grease that could catch fire.
Exhaust fan ventilation hoods and grease filters should be kept clean. Do not allow
grease to accumulate on hood or filter. Greasy deposits in the fan could catch fire.
When you are flaming food under the hood, turn the fan on. Refer to the hood
manufacturer's instructions for cleaning.
SELF CLEANING OVENS
• in the self-Cleaning cycle only clean the parts listed in this Use and Care Guide.
Before self cleaning the oven, remove the broiler pan and any utensils or foods from the
oven.
• Do not use oven cleaners--No commercial oven cleaner or oven liner protective
coating of any kind should be used in or around any part of the oven.
• Do not clean door gasket--The door gasket is essential for a good seal. Care should
be taken not to rub, damage or move the gasket.
• Remove oven racks. Oven racks color will change if left in the oven during a self-
cleaning cycle.
L)QUEF)EDPETROLEUM(PROPANE)GASCONVERS(ON
il il il il il il il [] [] il [] [] il il il il [] il [] [] il
This appliance can be used with Natural Gas and Propane Gas. It is shipped from the
factory for use with natural gas.
A kit for converting to LP gas is supplied with your cooktop. The kit is marked "FOR LP/
PROPANE GAS CONVERSION". Follow the installation instructions which are inside the
envelope.
The conversion must be performed by a qualified service technician in accordance with
the kit instructions and all local codes and requirements. Failure to follow instructions
could result in serious injury or property damage. The qualified agency performing this
work assumes responsibility for the conversion.
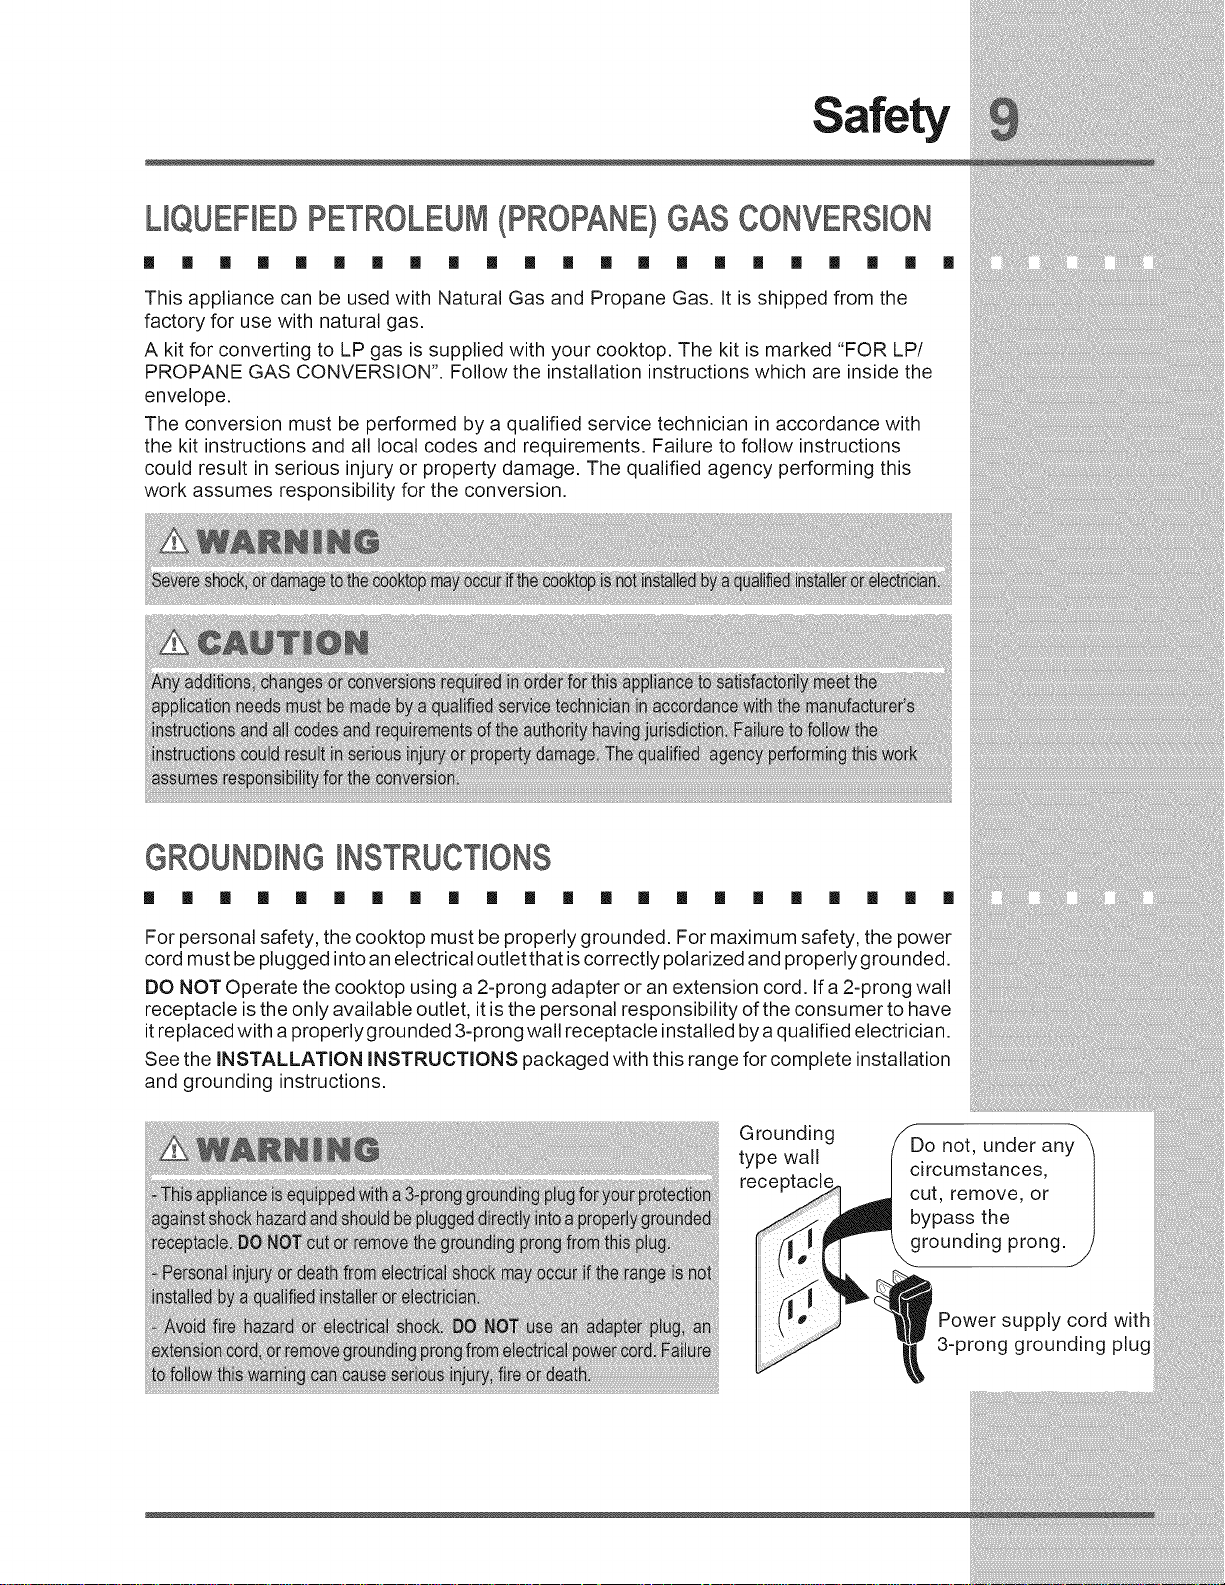
GROUND(NG)NSTRUCT(ONS
il il il il il il il il [] il il [] il il il il [] il il il il []
For personal safety, the cooktop must be properly grounded. For maximum safety, the power
cord must be plugged into an electrical outlet that iscorrectly polarized and properly grounded.
DO NOT Operate the cooktop using a 2-prong adapter or an extension cord. If a 2-prong wall
receptacle is the only available outlet, it is the personal responsibility of the consumer to have
it replaced with a properlygrounded 3-prong wall receptacle installed by a qualified electrician.
See the INSTALLATION INSTRUCTIONS packaged with this range for complete installation
and grounding instructions.
Grounding
type wall
receptacl
Do not, under any
circumstances,
cut, remove, or
bypass the
grounding prong.
3-prong grounding plug
Power supply cord with
Range Features
30" NGE FEATURES
[] [] [] [] [] [] [] [] [] [] [] [] []
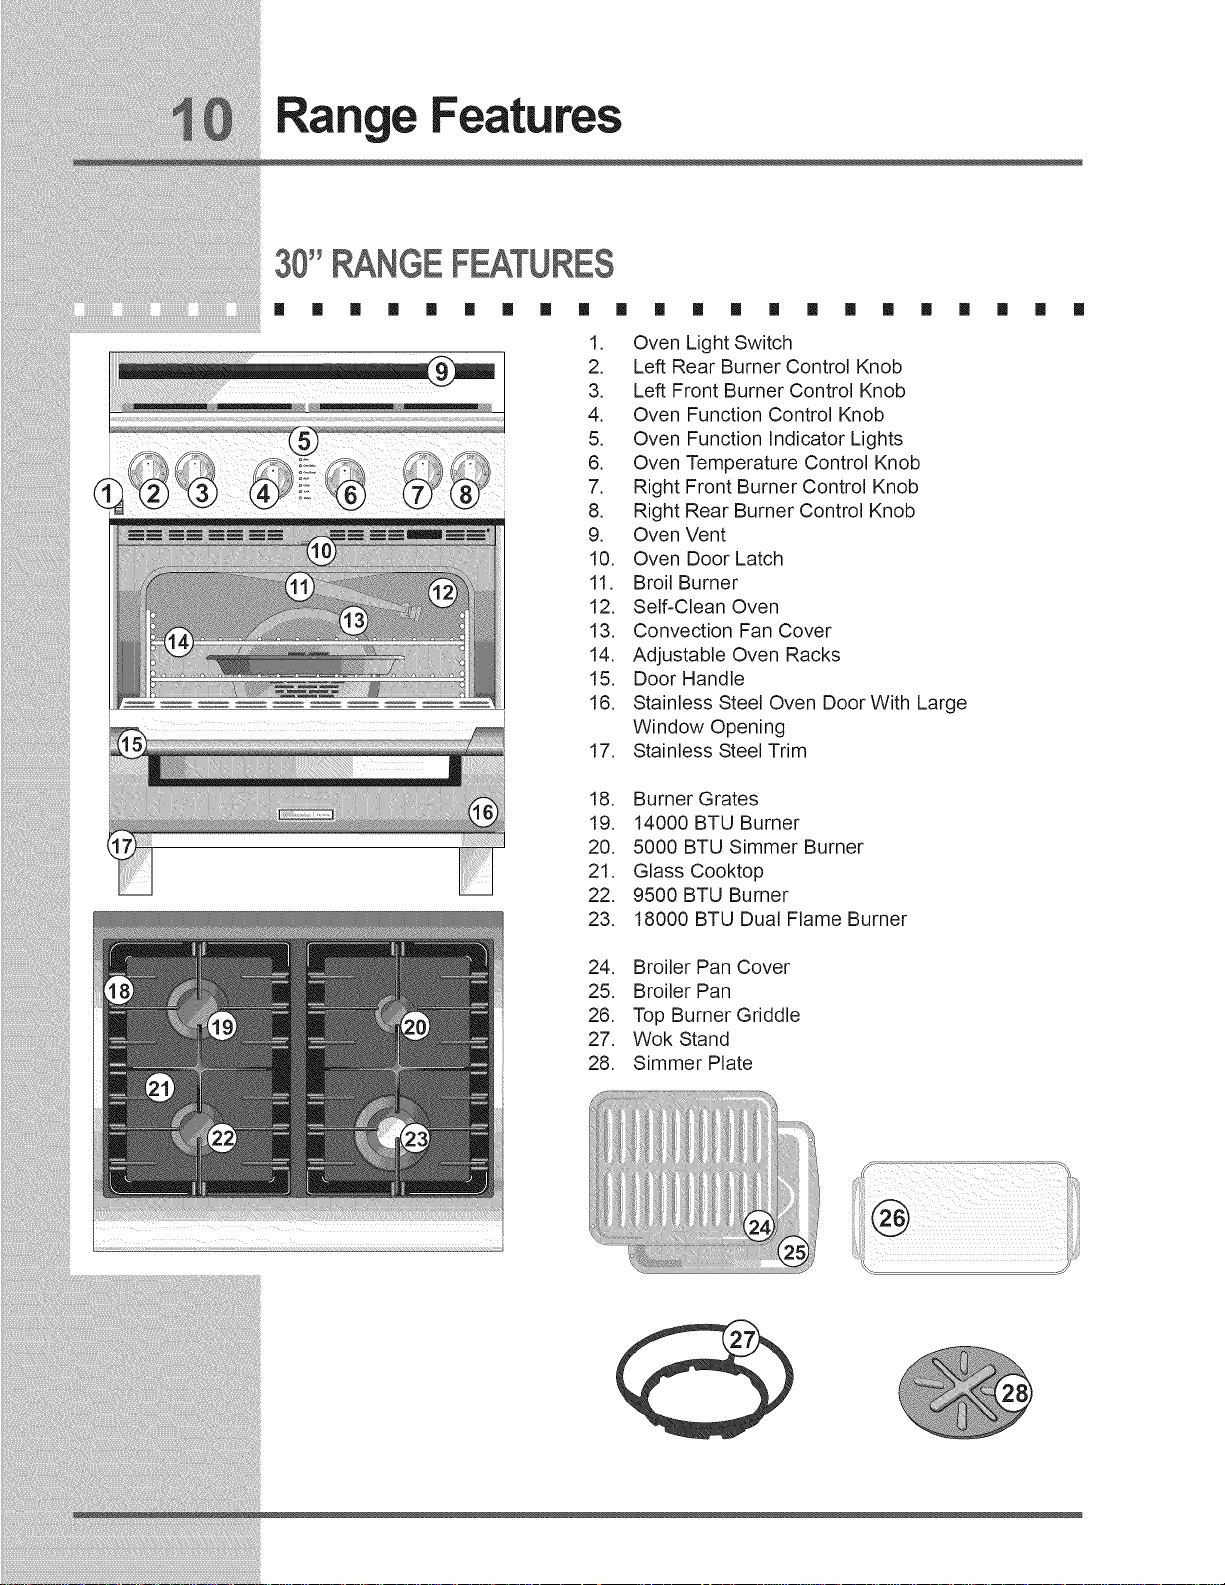
1. Oven Light Switch
2. Left Rear Burner Control Knob
3. Left Front Burner Control Knob
4. Oven Function Control Knob
5. Oven Function Indicator Lights
6. Oven Temperature Control Knob
7. Right Front Burner Control Knob
8. Right Rear Burner Control Knob
9. Oven Vent
10. Oven Door Latch
11. Broil Burner
12. Self-Clean Oven
13. Convection Fan Cover
14. Adjustable Oven Racks
15. Door Handle
16. Stainless Steel Oven Door With Large
17. Stainless Steel Trim
Window Opening
18. Burner Grates
19. 14000 BTU Burner
20. 5000 BTU Simmer Burner
21. Glass Cooktop
22. 9500 BTU Burner
23. 18000 BTU Dual Flame Burner
24. Broiler Pan Cover
25. Broiler Pan
26. Top Burner Griddle
27. Wok Stand
28. Simmer Plate
Surface Cooking
F ME S ZE
[] 1 [] [] 1 [] [] [] [] [] [] [] [] 1 [] [] [] [] [] [] [] []
For most cooking, start on the highest control setting and then turn to a lower one to
complete the process. Use the chart below as a guide for determining proper flame size
for various types of cooking. The size and type of utensil used and the amount of food
being cooked will influence the setting needed for cooking.
For deep fat frying, use a thermometer and adjust the surface control knob accordingly.
If the fat is too cool, the food will absorb the fat and be greasy. If the fat is too hot, the food
will brown so quickly that the center will be undercooked. Do not attempt to deep
fat fry too much food at once as the food will neither brown nor cook properly.
*Flame Size
High Flame
Medium Flame
Low Flame
*These settings are based on using medium=weight aluminum pans with
lids. Settings may vary when using other types of pans.
Never extend the flame beyond the outer edge of the utensil. A higher flame
simply wastes heat and energy, and increases your risk of being burned by the
flame.
Type of Cooking
Start most foods; bring water to a boil; pan broiling
Maintain a slow boil; thicken sauces, gravies; steam
Keep foods cooking; poach; stew
PROPERBURNERADJUSTMENTS
[] [] [] [] [] [] [] [] [] [] [] [] [] [] [] [] [] [] [] [] [] []
The color of the flame is the key to proper burner adjustment. A good flame is clear, blue
and hardly visible in a well-lighted room. Each cone of flame should be steady and sharply
defined. Adjust or clean burner if flame is yellow-orange. To clean burner, see instructions
under General Care & Cleaning.
BURNERLOCATIONS
[] [] [] [] [] [] [] [] [] [] [] [] [] [] [] [] [] [] [] [] [] []
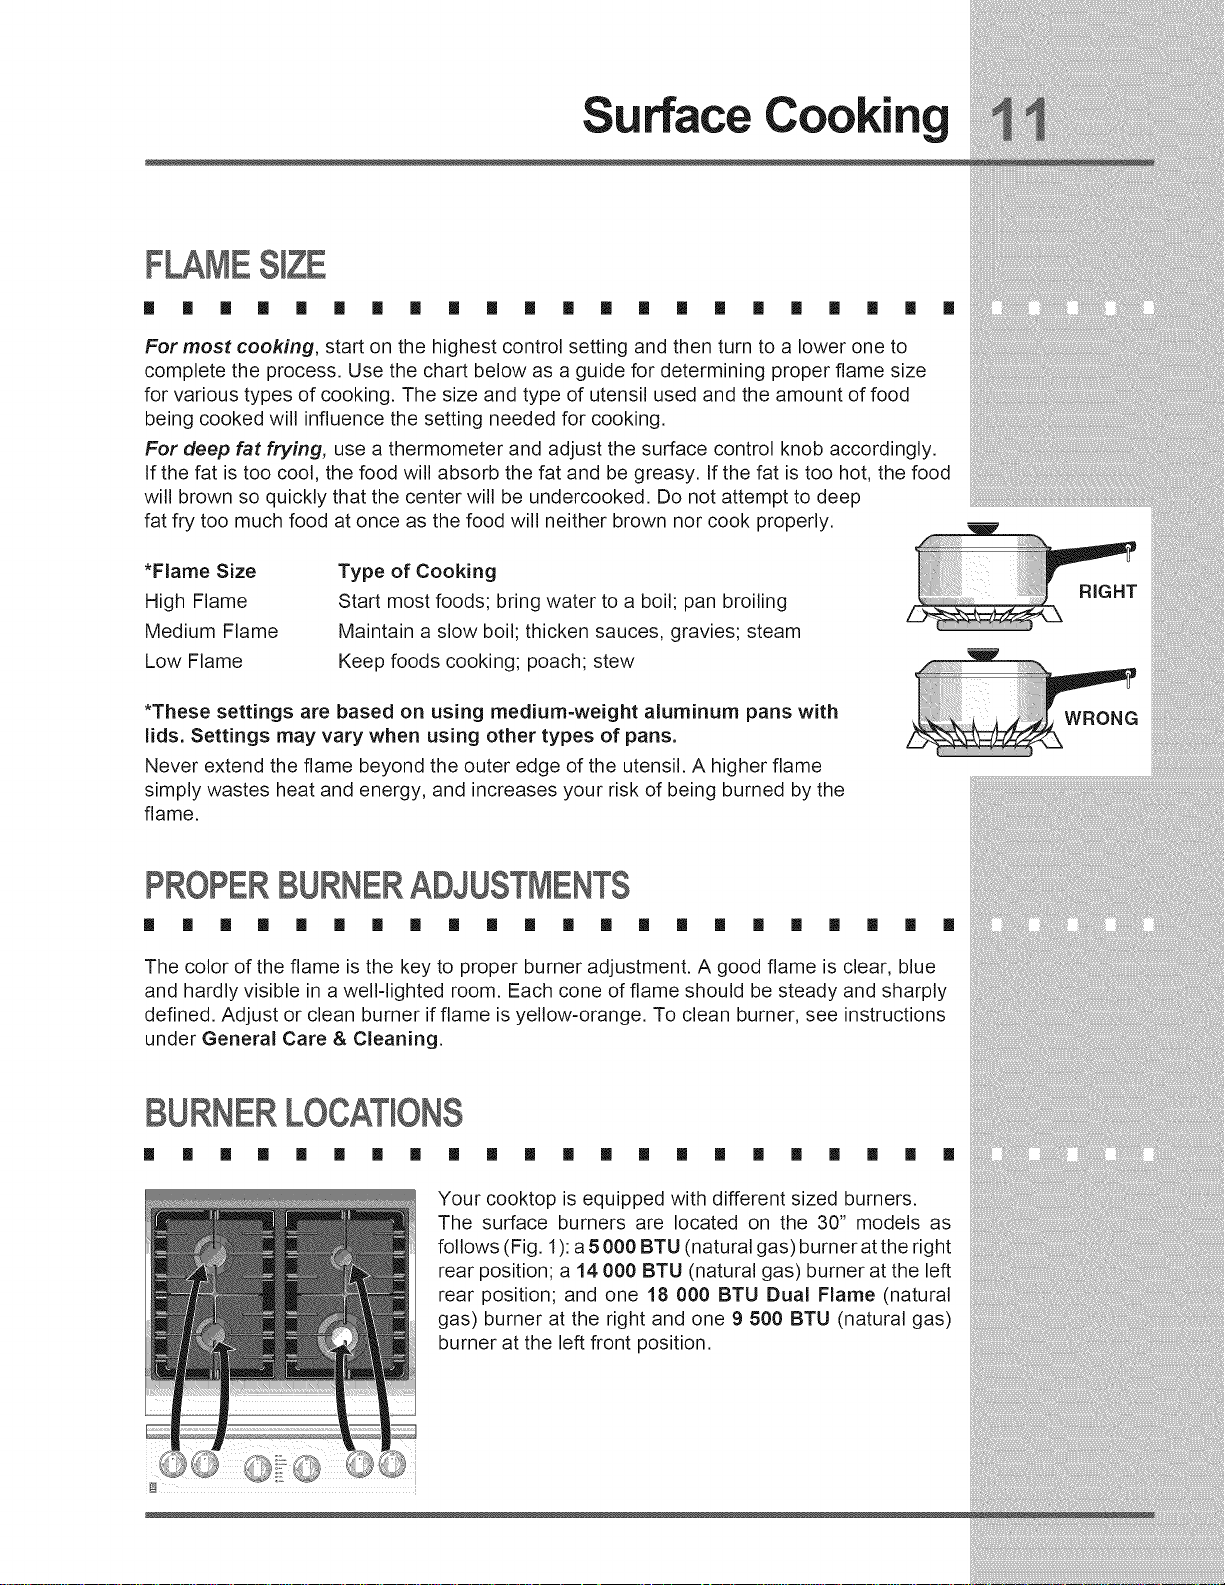
Your cooktop is equipped with different sized burners.
The surface burners are located on the 30" models as
follows (Fig. 1): a5 000 BTU (natural gas) burner at the right
rear position; a 14 000 BTU (natural gas) burner at the left
rear position; and one 18 000 BTU Dual Flame (natural
gas) burner at the right and one 9 500 BTU (natural gas)
burner at the left front position.
 Loading...