

Electrolux E24RD75KPS1, E24RD75KPS0, E24RD75HSS1, E24RD75HSS0, E24RD75HPS1 Owner’s Manual
...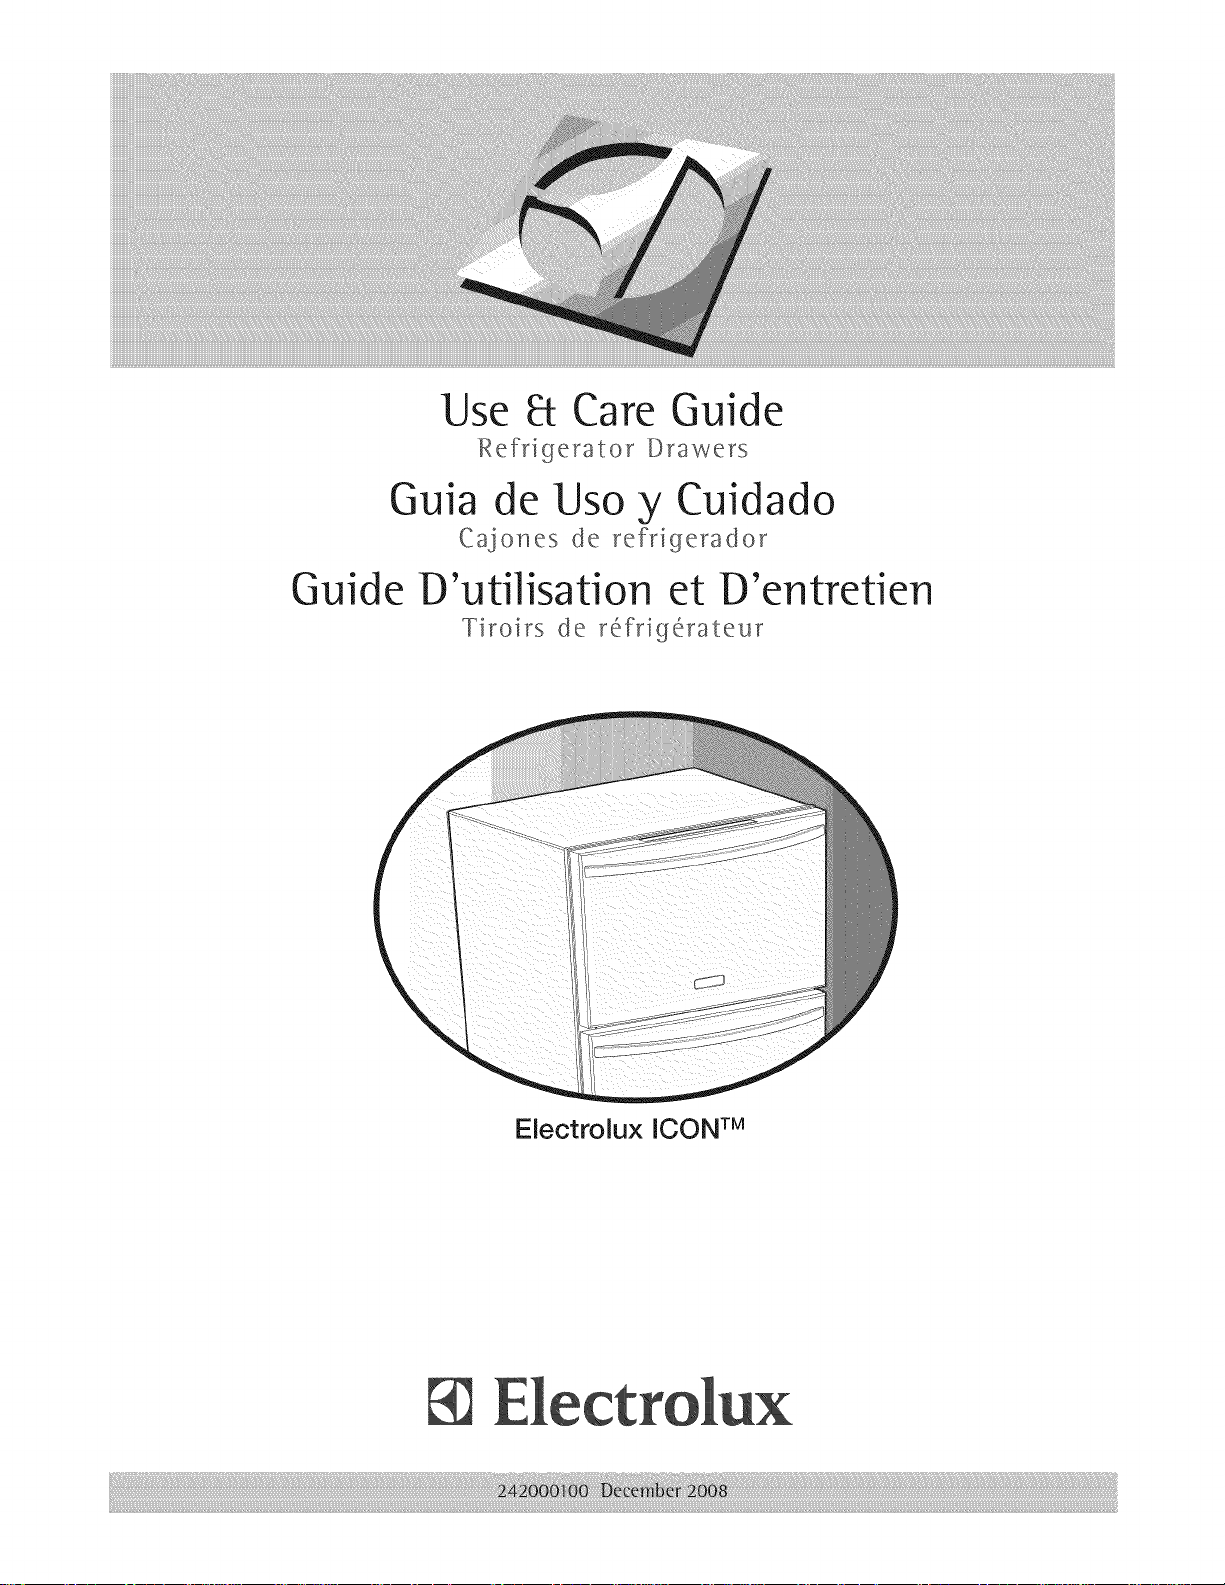
Use E-tCare Guide
Ref_rige_ator Drawers
Guia de Uso y Cuidado
Cajones de refrige_ador
Guide D'utilisation et D'entretien
Tiroirs de r_frig_ateur
Electrolux ICON TM
:ililiiiiiii!i!ii_i_ii_ii_ii;_i_i_i_i_!_i_i_!_ii_i!_!_ii!_!_ii_!_!ii_!_ii_i!_!!_!i_ii_i!ii_iiii_iiii_i!ii!iliiii_!i!!iiiiiiiiii_iiiili_iiiii_ii
indi information
, ab @ 0 Co @ S
$ _ f nt nt p ate ocated on the ce ng of your un t and on the
F_nd_ng_nformat_on...........................................2 ..........
Safety .................................................................. 3 _[O_U©[ Negls_ra_lon tare
Installation .......................................................... 4 The package containing this manual also includes
Start-Up and Temperature Control ................... 7 your product registration information. Warranty
Operation ............................................................ 8 coverage begins at the time your Electrolux
Maintenance ....................................................... 9 refrigerator drawers were purchased.
Troubleshooting ................................................. 11
Warranty_nfor_at_on........................................12
product registration card.
a f::
Please record the purchase date of your Electrolux
unit and your dealer s name, address, and telephone
number.
i!_!_i!i_ii_!i!_!_i!i_ii_!i!_!_i!i_ii_!i!_!_i!i_ii_!i!_!_i!i_ii_!i!_!_i!i_ii_!i!_!_i!i_ii_!i!_!_i!i_ii_!i!_!_i!i_ii_!i!_!_ii_i

Safety
Important Safety Instructions
Safety Precautions
Do not attempt to install or operate your unit until
you have read the safety precautions in this manual.
Safety items throughout this manual are labeled with a
Danger, Warning, or Caution based on the risk type.
Definitions
This is the safety alert symbol. It is used to alert
you to potential personal injury hazards. Obey all
safety messages that follow this symbol to avoid
possible injury or death.
Genera[ Precautions
stallation
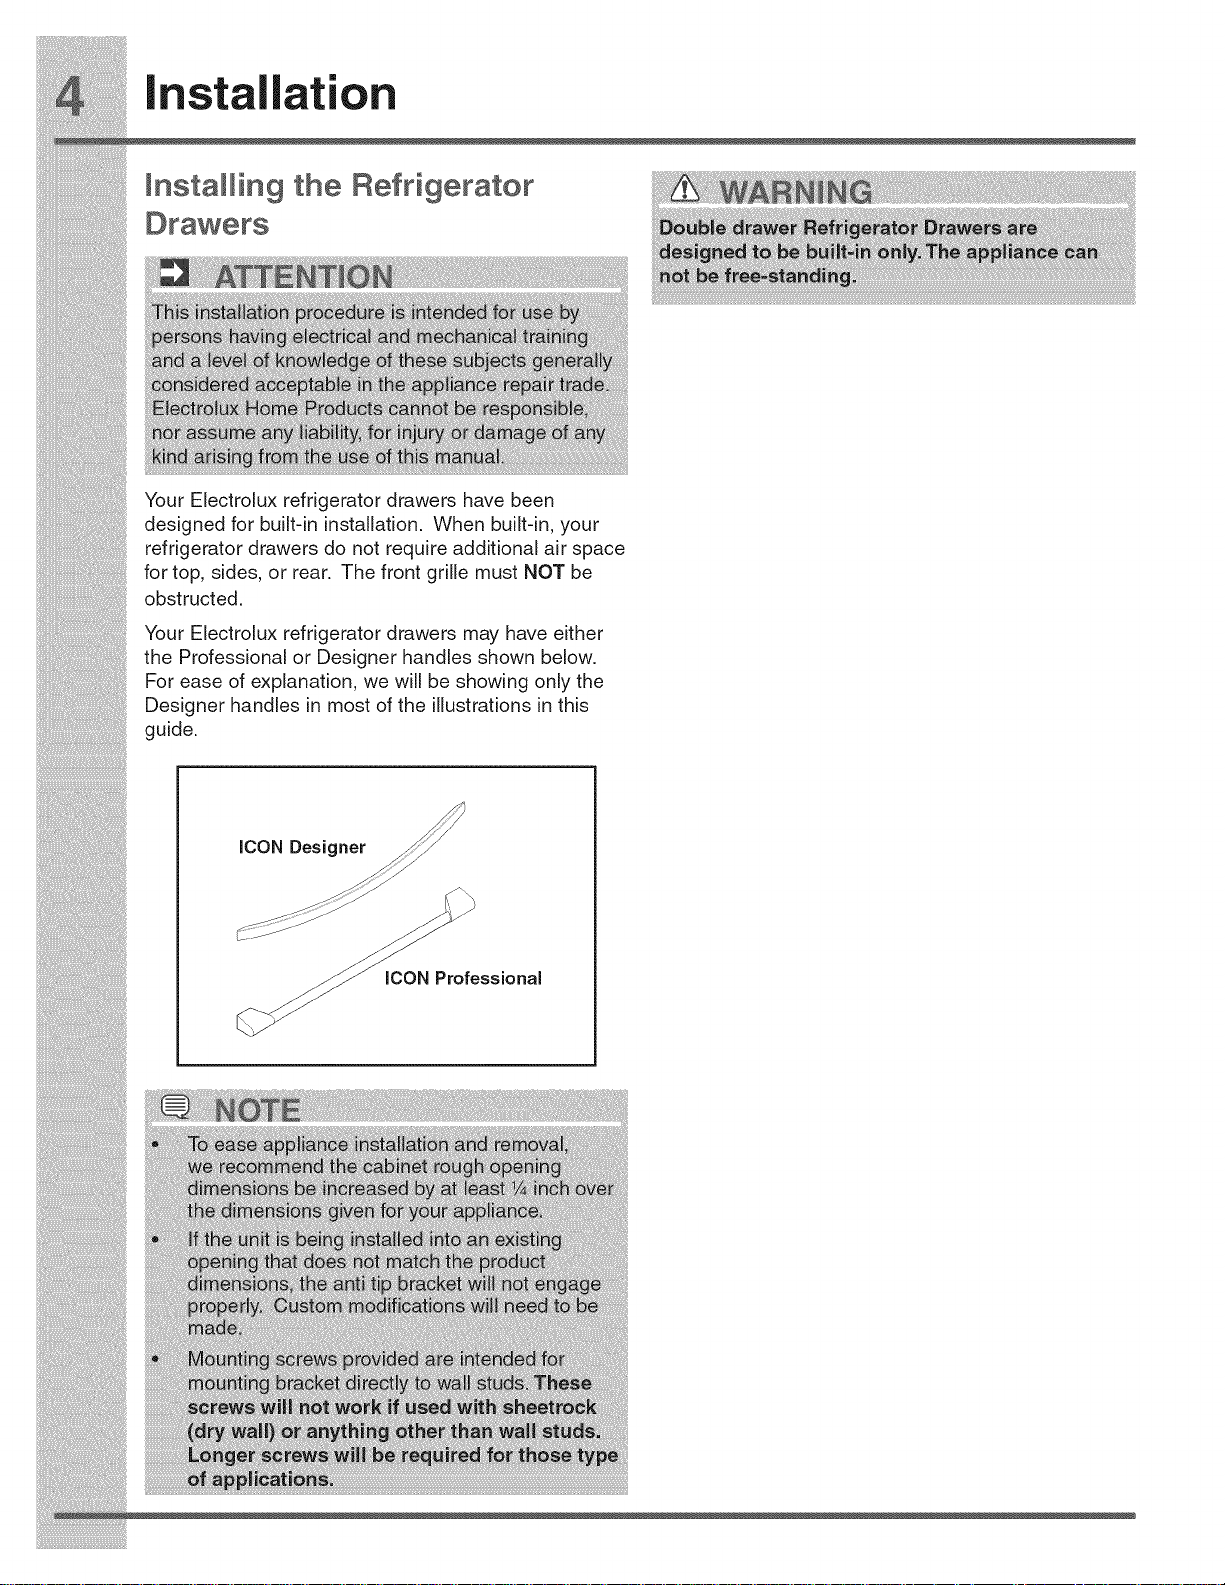
Installing the Refrigerator
Your Electrolux refrigerator drawers have been
designed for built-in installation. When built-in, your
refrigerator drawers do not require additional air space
for top, sides, or rear. The front grille must NOT be
obstructed.
Your Electrolux refrigerator drawers may have either
the Professional or Designer handles shown below.
For ease of explanation, we will be showing only the
Designer handles in most of the illustrations in this
guide.

2._
i_i!_!_i!i_ii_!i!_!_i!i_ii_!i!_!_i!i_ii_!i!_!_i!i_ii_!i!_!_i!i_ii_!i!_!_i!i_ii_!i!_!_i!i_ii_!i!_!_i!i_ii_!i!_!_i!i_ii_!i!_!_iii_

stallation
Site Preparation
1 Position the appliance on a fiat, level surface
capable of supporting the entire weight of
the unit. Remember the appliance will be
significantly heavier once it is fully loaded.
2 This appliance requires a grounded and
polarized 115 VAC, 60Hz, 15A circuit (normal
household current).
3 Avoid connecting the unit to a Ground Fault
Interruptor (GFI). GFIs are prone to nuisance
tripping which will cause the unit to shut down.
GFIs are generally not used on circuits which
power equipment that must run unattended for
long periods of time.
4 The appliance must be installed according to
your local codes and ordinances.
Levelingthe Appliance
Position the appliance on a fiat, level surface capable
of supporting the entire weight when full.
i!_!_i!i_ii_!i!_!_i!i_ii_!i!_!_i!i_ii_!i!_!_i!i_ii_!i!_!_i!i_ii_!i!_!_i!i_ii_!i!_!_i!i_ii_!i!_!_i!i_ii_!i!_!_i!i_ii_!i!_!_ii_i
This appliance contains four (4) adjustable
i!_!_i!i_ii_!i!_!_i!i_ii_!i!_!_i!i_ii_!i!_!_i!i_ii_!i!_!_i!i_ii_!i!_!_i!i_ii_!i!_!_i!i_ii_!i!_!_i!i_ii_!i!_!_i!i_ii_!i!_!_ii_i


peration
Description of Features
vacationmode Conservesenergyby disabling interior
lights and keypad inputs.
mute sounds Tonesemitted by eachkeypress can be
turned off basedon userpreference. The
sounds are mutedwhen the redindicator
is lit. Themute sounds keyalso is used
to acknowledgealarm conditions, denoted
by aflashing redindicator. Press and
hold the mute sounds keyfor three (3)
secondsthen releaseto enablecontrol
lock, which preventsundesiredchanges
to the unit settings. Temperaturedisplay
will show "LOC".
temperature Simultaneously pressand hold the (+) and
(-) keysfor three (3) secondsthen releas-
ing the keycausesthe temperaturedisplay
i!_!_i!i_ii_!i!_!_i!i_ii_!i!_!_i!i_ii_!i!_!_i!i_ii_!i!_!_i!i_ii_!i!_!_i!i_ii_!i!_!_i!i_ii_!i!_!_i!i_ii_!i!_!_i!i_ii_!i!_!_ii_i
to toggle from Fahrenheitto Celsiusand
powerfail
"HI" wiii stay illuminated until a normal
safe rangeoperatingtemperature hasbeen
reached,atwhich time thetemperature
display will show the actual temperature.
In theevent of a powerfailure or initial
power-up, an audible alarm will sound
and the power fail indicatoron the right
side of the display will blink. The mute
sounds indicator will blink. Pressing
and releasingthe mute sounds keywill
acknowledgethe alarm anddisable the
audible portion. All otherfunctions are
disabled until the alarm is acknowledged,
at which point the power fail indicatoris
turned off andthe unit will resume normal
operation. Thehigh temp alarmmay
also be illuminated until a safetemperature
hasbeenreached.
i!_!_i!i_ii_!i!_!_i!i_ii_!i!_!_i!i_ii_!i!_!_i!i_ii_!i!_!_i!i_ii_!i!_!_i!i_ii_!i!_!_i!i_ii_!i!_!_i!i_ii_!i!_!_i!i_ii_!i!_!_ii_i

pull up,
,
Reverse procedure to reinstall drawer.
Maintaining Your Refrigerator
i_i!_!_i!i_ii_!i!_!_i!i_ii_!i!_!_i!i_ii_!i!_!_i!i_ii_!i!_!_i!i_ii_!i!_!_i!i_ii_!i!_!_i!i_ii_!i!_!_i!i_ii_!i!_!_i!i_ii_!i!_!_iii_:_

aintenance
in the direction of the grain. Always finish this
process with a high quality, all-in-one stainless
steel cleaner/polish to prevent further problems.
USE OF ABRASIVE PADS SUCH AS
SCOTCHBRITE WILL CAUSE THE GRAINING
IN THE STAINLESS TO BECOME BLURRED.
Rust that is allowed to linger can penetrate into
the surface of the stainless steel and become
impossible to remove.
Interior Cleaning - as Required
1 Disconnect power to the refrigerator drawers.
2 Wipe down the interior with a solution of non-
i!_!_i!i_ii_!i!_!_i!i_ii_!i!_!_i!i_ii_!i!_!_i!i_ii_!i!_!_i!i_ii_!i!_!_i!i_ii_!i!_!_i!i_ii_!i!_!_i!i_ii_!i!_!_i!i_ii_!i!_!_ii_i
abrasive mild detergent and warm water,
i!_!_i!i_ii_!i!_!_i!i_ii_!i!_!_i!i_ii_!i!_!_i!i_ii_!i!_!_i!i_ii_!i!_!_i!i_ii_!i!_!_i!i_ii_!i!_!_i!i_ii_!i!_!_i!i_ii_!i!_!_ii_i

blocked
,, Door gasket not sealing
"Installation" Section.
• Adjust door gasket.
i_i!_!_i!i_ii_!i!_!_i!i_ii_!i!_!_i!i_ii_!i!_!_i!i_ii_!i!_!_i!i_ii_!i!_!_i!i_ii_!i!_!_i!i_ii_!i!_!_i!i_ii_!i!_!_i!i_ii_!i!_!_iii_

CUSTOMER 2. Proper installation by an authorized servicer in accordance with instructions provided with the
EXCLUSIONS This warrantydoes notcoverthe following:
IF YOU NEED Keep your bill of sale, delivery slip, or some other appropriate payment record. The date on the bill
SERVICE establishes the warranty period should service be required. If service is performed, it is in your best
This warrantyonlyapplies in the 50 Statesofthe U.S.A. and Puerto Rico, and Canada. Product features orspecifications
as described or illustrated are subect to change without notice. All warranties are made by Electrolux Home Products,
Inc. In Canada, your appliance is warranted by Electrolux Canada Corp.
appliance and in accordance with all local plumbing, electrical and/or gas codes.
3. Proper connection to a grounded power supply of sufficient voltage, replacement of blown fuses,
repair of loose connections or defects in house wiring.
4. Expenses for making the appliance accessible for servicing, such as removal of trim, cupboards,
shelves, etc., which are not a part of the appliance when it was shipped from the factory.
5. Damages to finish after installation.
6. Replacementof light bulbs and/orfluorescenttubes (on models with thesefeatures).
1. CONSEQUENTIAL OR INCIDENTAL DAMAGES SUCH AS PROPERTY DAMAGE AND
INCIDENTAL EXPENSES RESULTING FROM ANY BREACH OF THIS WRITTEN OR ANY
IMPLIED WARRANTY.
Note: Some states do not allow the exclusion or limitation of incidental or consequential
damages, so this limitation orexclusion maynotapplytoyou.
2. Service calls which do not involve malfunction or defects in workmanship or material, or for
appliances not in ordinary household use. The consumershall pay for such service calls.
3. Damages caused by services performed by servicers other than Electrolux Home Products, Inc.,
Electrolux Canada Corp., or its authorized servicers; use of parts other than genuine Electrolux
Home Products parts; obtained from persons other than such servicers; or external causes such
as abuse, misuse, inadequate powersupplyor acts of God.
4. Products with original serial numbers that have been removed or altered and cannot be readily
determined.
interest to obtain and keep all receipts. This written warranty gives you specific legal rights. You may
also have other rights that vary from state to state. Service under this warranty must be obtained by
contacting Electrolux Home Products, Inc. or Electrolux Canada Corp.
USA Canada
877-435-3287 866-213-9397
Electrolux Home Products Inc. Electrolux Canada Corp.
P.O. Box212378 6150 UcLaughlin Road
Augusta, GA 30917 Mississauga, Ontario
L5R 4C2
 Loading...