

EKWB EK-Loop INSTALLATION MANUAL
EKLoop
Connect
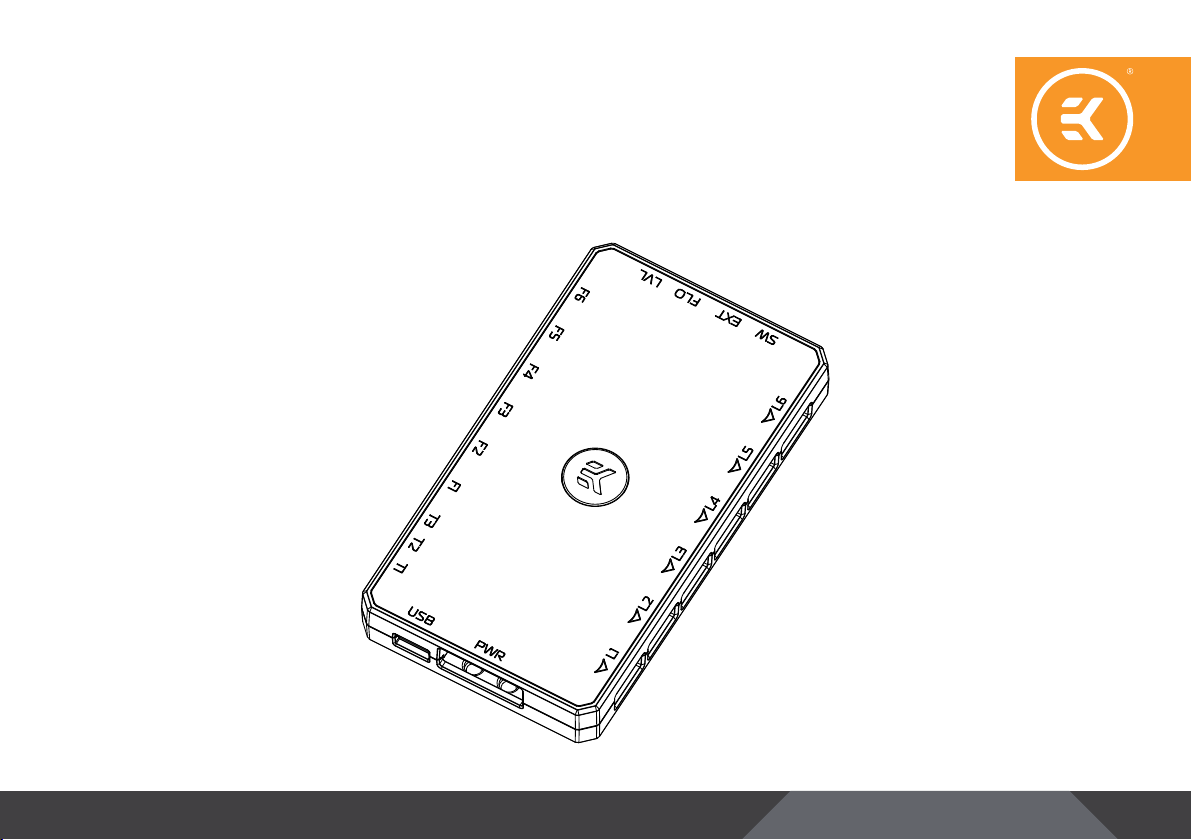
CONTROLLER
2nd Revision – February 24, 2021
INSTALLATION MANUAL

This product is intended for installation only by expert users. Please
consult with a qualified technician for installation. Improper installation
may result in damage to your equipment. EK Water Blocks assumes no
liabilit y whatsoever, expressed or implied, for the use of these pro ducts,
nor their installation. The following instructions are subject to change
without notice. Please visit our web site at www. ekwb.com for updates.
Before installation of this product please read important notice,
disclosure and warranty conditions printed on the back of the box.
This guide details the physical installation of your EK-Loop
Connect controller and all of the standard connections which may
be used to link your components.
- 2 -

TABLE OF CONTENT
INSTALLING THE EK-LOOP CONNECT IN TO THE CHASSIS 4
CONNECTING THE FAN-S 5
CONNECTING THE D-RGB LED 6
TEMPERATURE SENSOR 6
INSTALLING THE EK-LOOP CONNECT - FLOW METER 7
INSTALLING THE EK-LOOP CONNECT - LEVEL SENSOR 8
CONNECTING THE USB CABLE 10
CONNECTING THE POWER ADAPTER 11
SOFTWARE 11
SUPPORT AND SERVICE 12
SOCIAL MEDIA 12
- 3 -
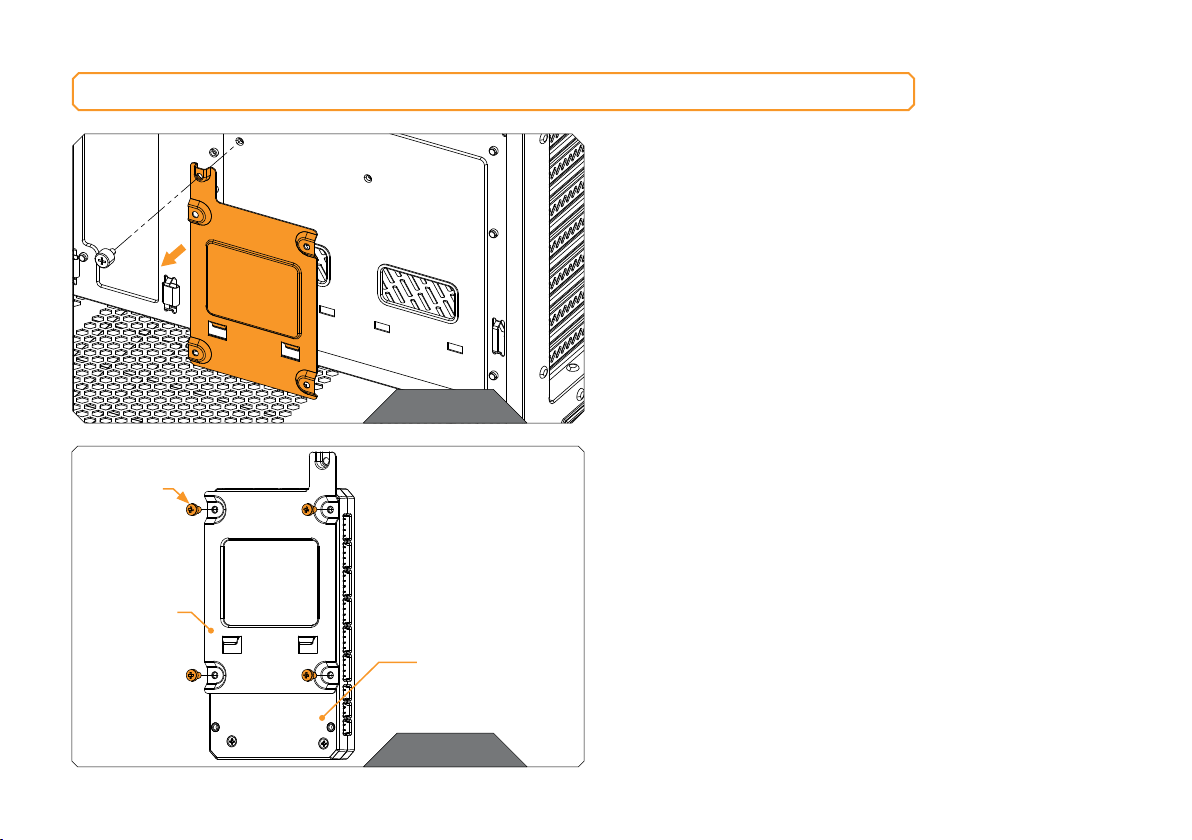
INSTALLING THE EK-LOOP CONNECT IN TO THE CHASSIS
STEP 1
Remove the desired 2.5” SSD tray
STEP 1
M3x5
DIN7985
SCREW
2.5” SSD
TR AY
STEP 2
Install the EK-Loop Connect on to the metal plate using M3X5
DIN7985 Screws.
EK- LOOP
CONNECT
STEP 2
- 4 -
 Loading...