

Page 1

0
802.11g Wireless LAN
High-Gain USB 2.0 Adapter
Q
Quuiicckk IInnssttaallllaattiioonn
G
Guuiiddee
Version 1.0 January, 2006
Page 2

1
M
Muullttii--LLaanngguuaaggeess QQIIGG iinn DDrriivveerr CCDD
==========================================================
Č
Č
eesskký
ý: Anglického průvodce rychlou instalací naleznete
na přiloženém CD s ovladači
DDeeuuttsscchh:
: Finden Sie bitte das englische QIG beiliegend in
der Treiber CD (German)
EEssppaaññool
l: Incluido en el CD el QIG en Ingles.
FFrraannççaaiiss:
: Veuillez trouver l’anglais QIG ci-joint dans le CD
driver
IIttaalliiaannoo:
: Incluso nel CD il QIG in Inglese.
MMaaggyyaarr::
Az angol telepítési útmutató megtalálható a
mellékelt CD-n
NNeeddeerrllaanndds
s: De engelstalige QIG treft u aan op de
bijgesloten CD
PPoollsskki
i: Skrócona instrukcja instalacji w języku angielskim
znajduje się na załączonej płycie CD
PPoorrttuugguuêês
s: Incluído no CD o QIG em inglês.
РРууссссккиий
й
::
Найдите QIG на анлийском языке на
приложеном CD
TTüürrkkççee:
: Ü rün ile beraber gelen CD içinde Türkçe Hızlı
Kurulum Kılavuzu'nu bulabilirsiniz
Page 3
2
English.
*Windows 98SE/Me/2000/XP:
The following installation operates under Windows XP.
Procedures are similar for Windows 98SE/Me/2000/2003 Server.
A. Install the Configuration Utility
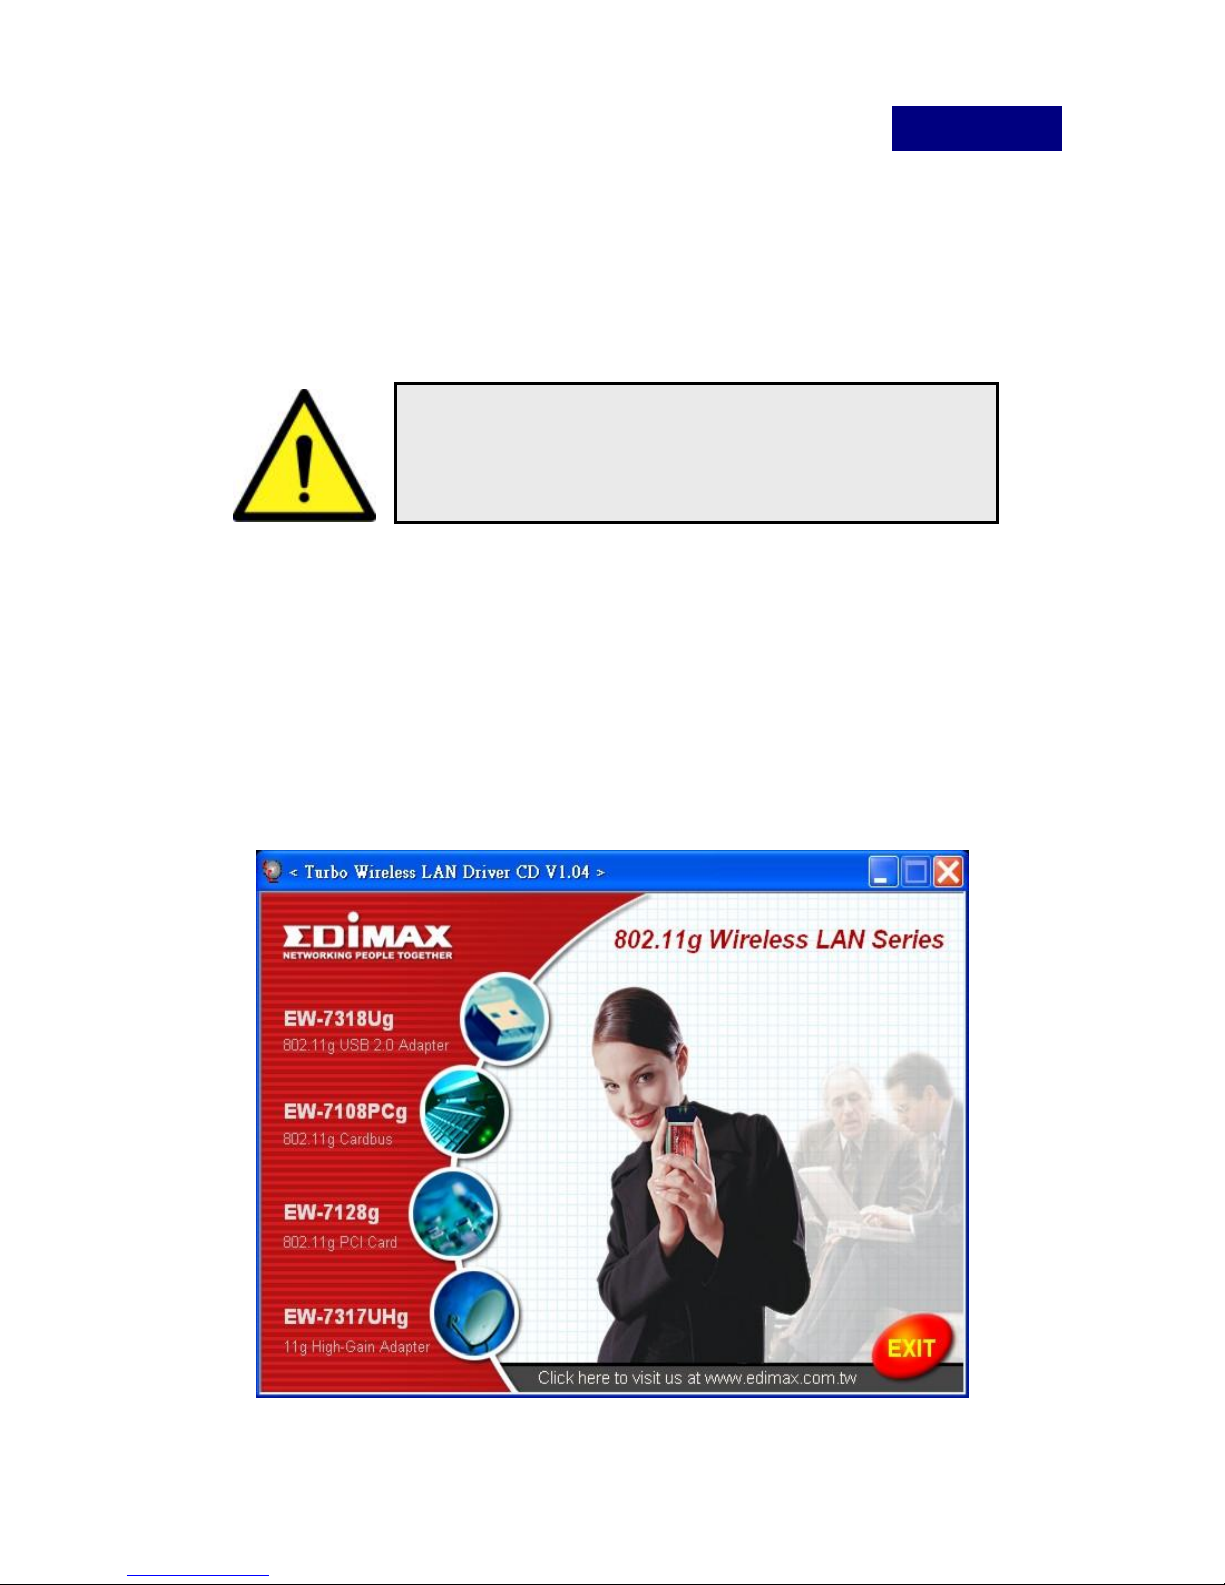
Insert the Installation CD to your CD-ROM drive, the setup
programs will appear.
1. Click the “EW-7317UHg” then execute the “Product Utility”. the
setup programs will be start
Please do not install the USB adapter
into your computer before installing
the software program from the CD.
Page 4

3
2. Execute the “setup” program then click “Next” to continue
3. If you want to install the software program in another location,
click “Browser” and select an alternative destination. Then,
click “Next” to continue
Page 5

4
4. Click “Continue Anyway” to finish the installation.
B. Install the USB Adapter
1. Plug the USB Adapter into the USB port of your computer.
Page 6

5
2. The “Found New Hardware Wizard” is displayed, select “Install
the software automatically (Recommended)” and click “Next”.
3. Click “Continue Anyway” and the system will start to install the
USB adapter.
Page 7

6
4. Click “Finish” to complete the installation.
C. Using the Configuration Utility
To setup the USB adapter, double-click the icon in the system tray.
For Windows XP, there is a “Windows Zero Configuration
Tool” by default for you to setup wireless clients.
If you want to use the Utility of the USB adapter, please follow
one of the ways as below.
1. Double-click the ZyDAS utility icon in the system tray.
Page 8

7
2. Click “Yes” to use the utility of the USB adapter
3. Double-click the “Windows Zero Configuration Tool” icon
4. Click “Advance”.
Page 9

8
5. Uncheck “Use Windows to configure my wireless network
settings” and click “OK”.
D. Wireless Connection Status
When you open the Configuration Utility, the system will scan all
the channels to find all the access points/stations within the
accessible range of your card and automatically connect to the
wireless device with the highest signal strength. From the screen,
you may know all the information about the wireless connection.
Page 10

9
Available Network: Display the available networks and the
signal strength information nearby. To connect to one of the
network, double-click the network.
Current Network Information: Display the information of the
network which the adapter is connecting to.
Link Status: Show the link status, signal strength and link
quality of the network for you to adjust the best location for
wireless connection.
NOTE : Please check user’s manual in driver CD for more
setting information’s
 Loading...