

Page 1
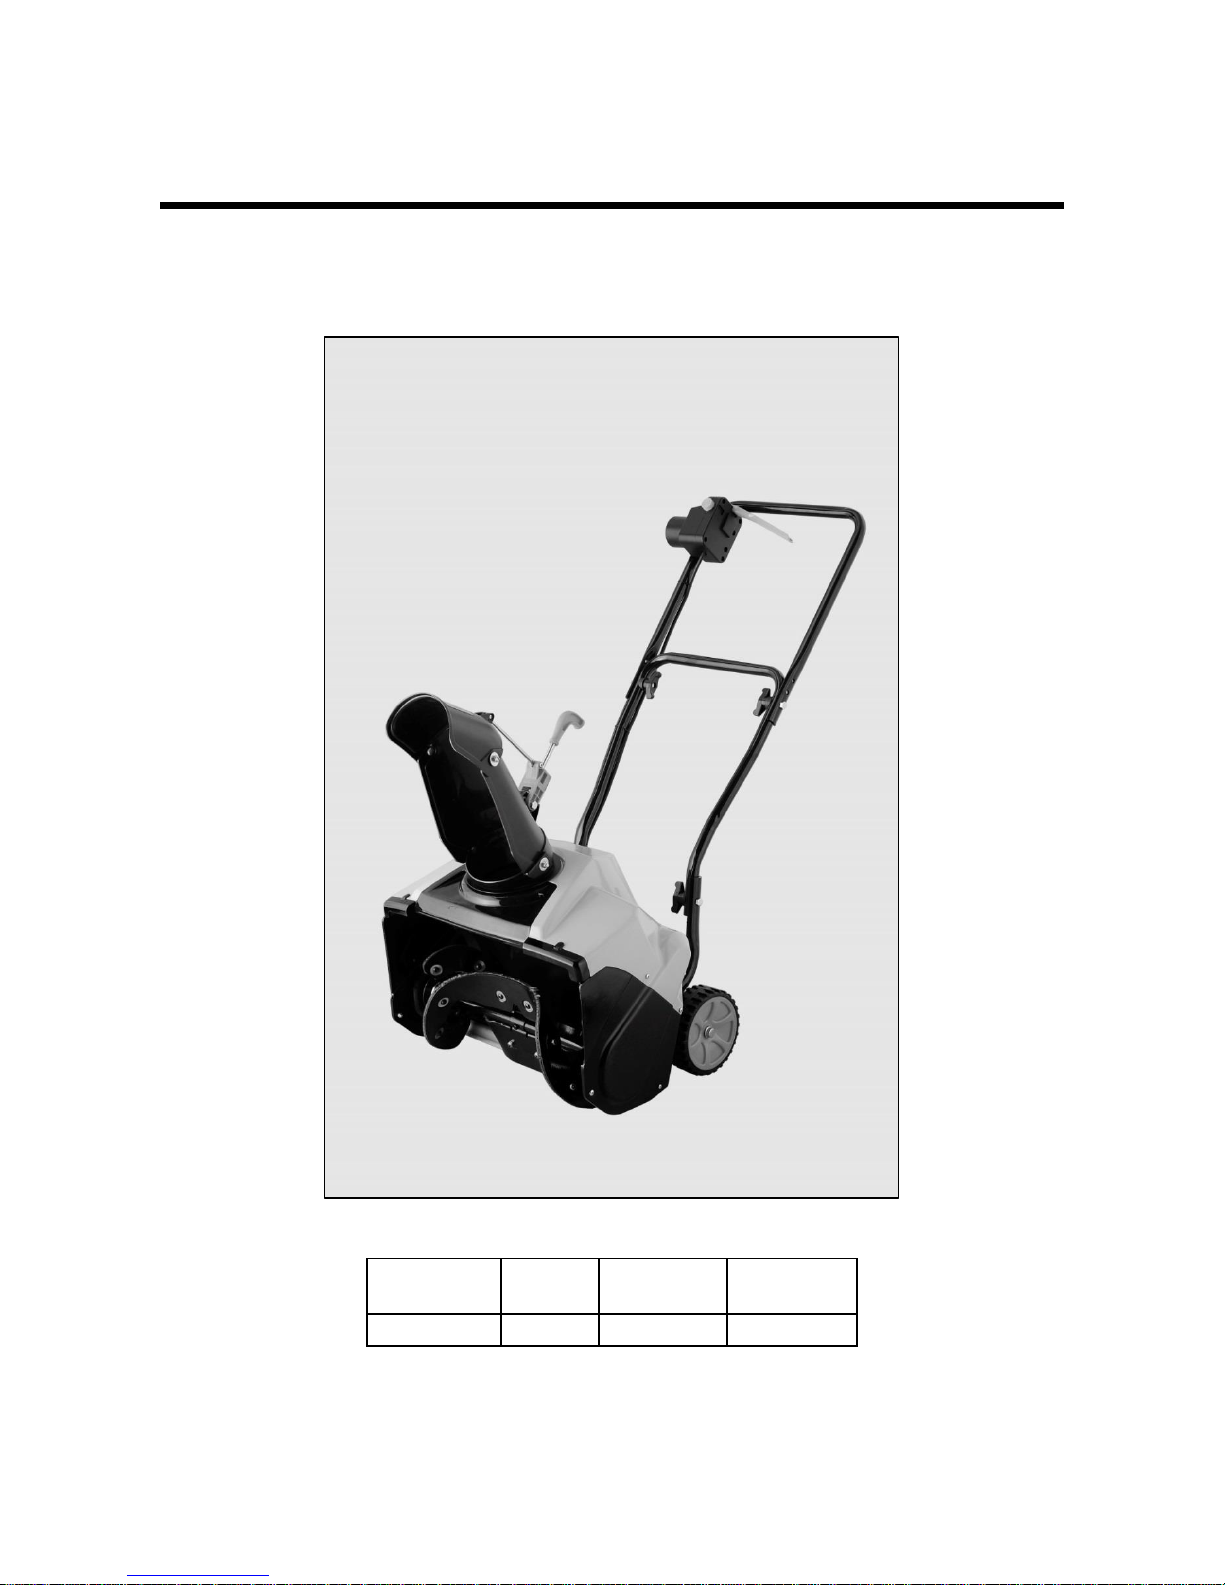
Power
Source
Motor
Intake
Width
Intake
Height
Electric
14 Amp
18"
11"
™
ECHELON
SNOW BLOWER
INSTRUCTION MANUAL
SKU: SNOW18E
IMPORTANT: PLEASE READ MANUAL BEFORE ASSEMBLY OR USE
BASEMENT BRANDS ● WWW.BASEMENTBRANDS.COM ● CustomerService@BasementBrands.com ● 515-577-0977 1
Page 2
Introduction
This machine is intended for use by residential
homeowners. It is primarily designed to remove
snow from paved surfaces, such as driveways,
sidewalks, and other surfaces for traffic on
residential or commercial properties. It is not
designed to remove materials other than snow, nor
is it designed to clear off gravel surfaces.
Read this manual carefully to learn how to operate and
maintain your product properly, and to avoid injury and
product damage. You are responsible for operating the
product properly and safely.
Safety
This is the safety alert symbol. It alerts you
to potential personal injury hazards. Follow
all safety messages that follow this symbol
to avoid possible injury or death.
Read and understand the contents of this manual
before you start the motor.
This machine is capable of throwing objects and of
injuring hands and feet. Failure to observe the
following safety instructions could result in serious
injury.
Improperly using or maintaining this machine could
result in injury or death. To reduce this potential,
comply with the following safety instructions.
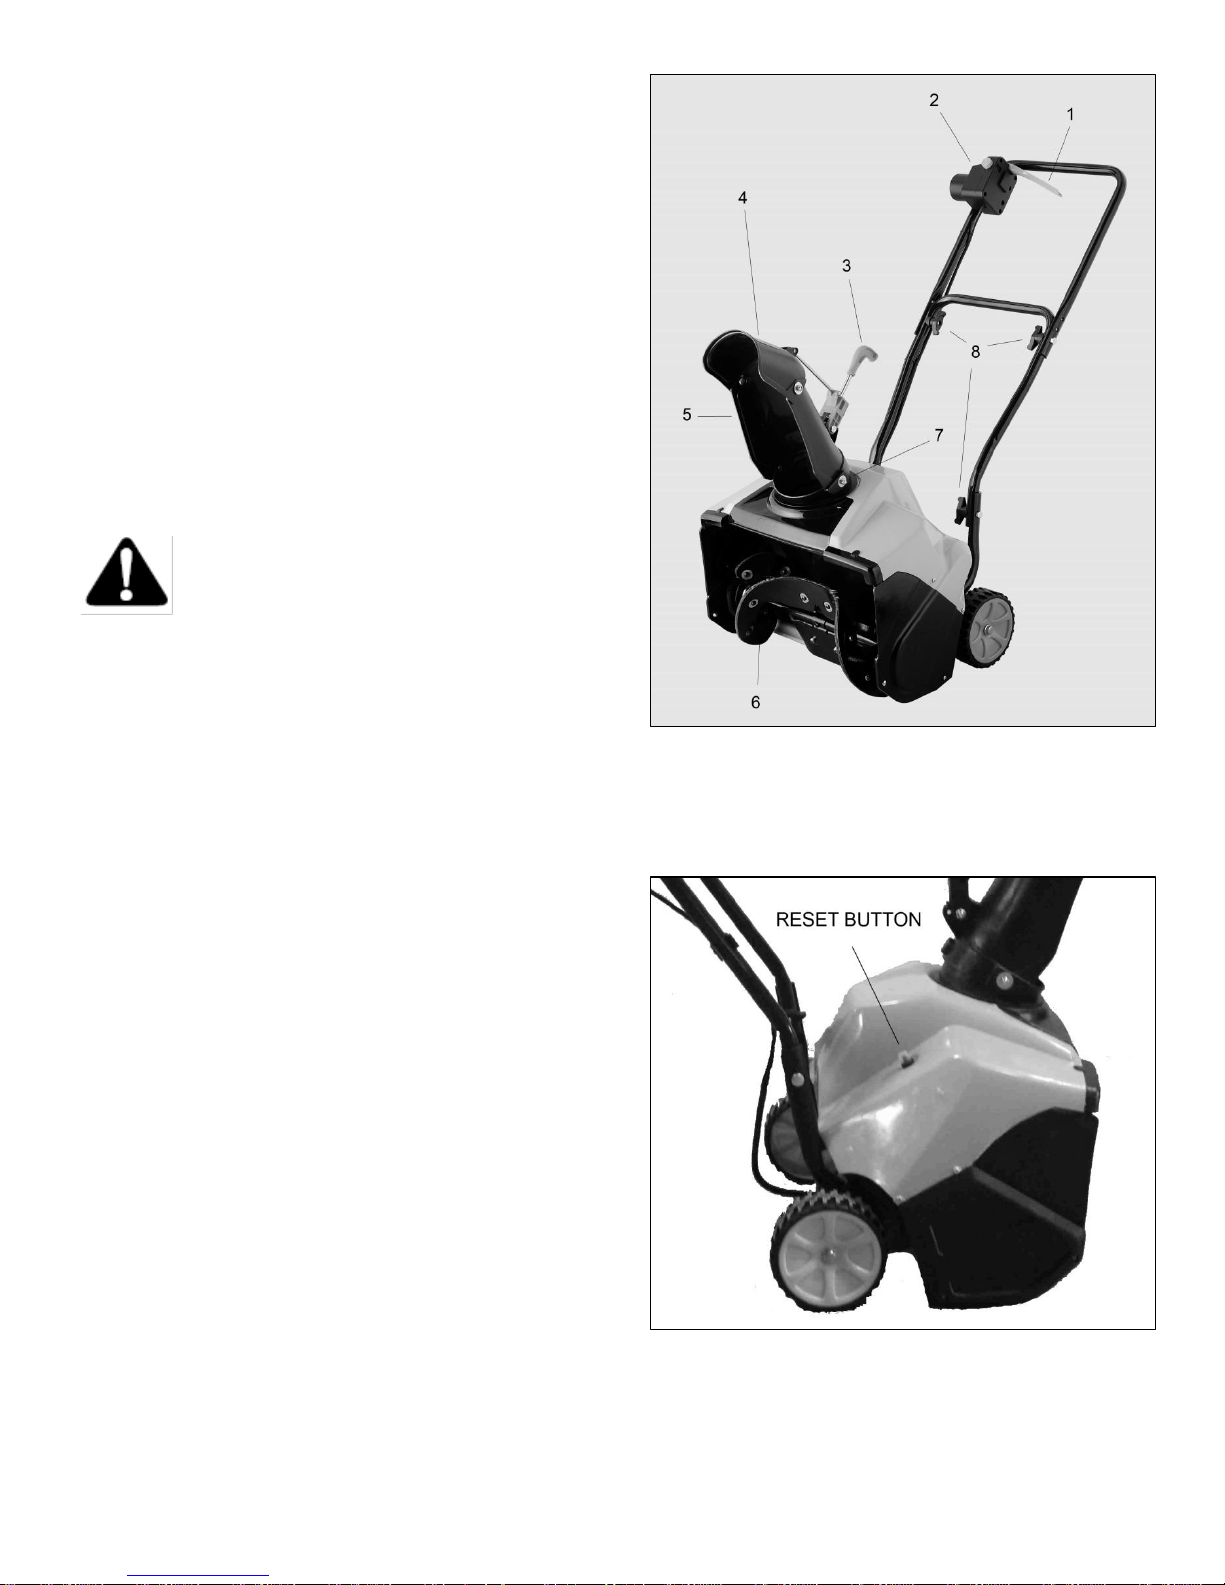
1. Control Handle 5. Discharge Chute
2. Safety Switch 6. Auger Assembly
3. Chute Control Handle 7. Chute Bolts
4. Chute Cap 8. Handle Bolts
Training
Read, understand, and follow all instructions on the
machine and in the manual(s) before operating this
machine.
Thoroughly familiarize yourself with the controls and
proper use of the machine. Know how to stop the
machine and disengage the controls quickly.
Never allow children to operate the machine. Never
allow adults to operate the machine without proper
instruction.
Keep the area of operation clear of all persons,
particularly small children.
Exercise caution to avoid slipping or falling.
Product Overview
BASEMENT BRANDS ● WWW.BASEMENTBRANDS.COM ● CustomerService@BasementBrands.com ● 515-577-0977 2
Page 3

1. Control Handle 2. Safety Switch
3. Cord Retention Clips 4. Power Cord
Preparation
Thoroughly inspect the area where the machine is to
be used. Remove all door mats, sleds, boards,
wires, and other foreign objects.
Do not operate the machine without wearing
adequate winter garments. Avoid loose fitting
clothing that can get caught in moving parts. Wear
footwear that will improve footing on slippery
surfaces.
Use only heavy duty extension cords and
receptacles as specified by the manufacturer for all
machines with electric-starting motors.
Do not use cords longer than 100 feet.
Do not attempt to clear snow from a gravel or
crushed rock surface. This product is only intended
for use on paved surfaces.
Never attempt to make any adjustments while the
motor is running, unless specifically recommended
by the manufacturer. Always unplug the snow
blower first.
Always wear safety glasses or eye shields to protect
eyes from foreign objects that may be thrown from
the machine during operation, or while performing
an adjustment or repair.
Operation
Do not put hands or feet near or under rotating parts. Stay
clear of the discharge opening at all times.
Exercise extreme caution when operating on or crossing
gravel drives, walks, or roads. Stay alert for hidden
hazards or traffic.
After striking a foreign object, stop the motor, unplug the
snow blower, remove the ignition key (If equipped),
thoroughly inspect the machine for any damage, and
repair the damage before restarting and operating the
machine.
If the machine should start to vibrate abnormally,
immediately stop the motor and check the machine for the
cause of vibration. Vibration is generally a warning of
trouble.
Stop the motor whenever you leave the operating position,
before unclogging the rotor blade housing or discharge
chute, and when making any repairs, adjustments or
inspections.
When cleaning, repairing, or inspecting the machine, stop
the motor and make certain that the rotor blades and all
moving parts have stopped. Unplug the snow blower.
Exercise extreme caution when operating the machine on
sloped surfaces.
Never operate the machine without proper guards and
other safety protective devices in place and working.
Never direct the discharge toward people or areas where
property damage can occur. Keep children and others
away.
Do not overload the machine capacity by attempting to
clear snow at too fast a rate.
Look behind you and use care when backing up with the
machine.
Disengage power to the rotor blades when machine is
transported or not in use.
Never operate the machine without good visibility or light.
Always be sure of your footing, and keep a firm hold on
the handles. Never run with the machine.
Always disconnect power cord to prevent accidental
starting when setting up, transporting, adjusting or making
repairs.
To prevent accidental starting do not carry plugged in
snow thrower with finger on switch. Be sure switch is off
when plugging in.
If cord is damaged in any manner while plugged in, pull
extension cord from wall outlet.
Do not abuse the cord. Never carry snow thrower by cord
or yank it to disconnect from receptacle. Keep cord from
heat, oil, and sharp edges.
BASEMENT BRANDS ● WWW.BASEMENTBRANDS.COM ● CustomerService@BasementBrands.com ● 515-577-0977 3
Page 4

Clearing a Clogged Discharge
Chute
Important: The most common cause of injury
associated with snow blowers is from hand contact
with rotating rotor blades inside the discharge
chute. Never use your hand to clean out the
discharge chute.
To clear the chute:
Shut the motor off and unplug the snow blower.
Wait 10 seconds to be sure the rotor blades have
stopped rotating.
Always use a clean-out tool, not your hands.
Maintenance & Storage
Check all fasteners often to ensure proper tightness
and that the machine is in safe working condition.
Allow the motor to cool before storing it in any
enclosure. Unplug the snow blower before storing
the machine.
Always refer to the manual for important details if the
machine is to be stored for an extended period.
Maintain or replace safety and instruction labels as
necessary.
Continue running the machine for a few minutes
after throwing snow to prevent rotor blades from
freezing up.
Before leaving the operating position, stop the
motor, remove the ignition key (if equipped), and
wait for all moving parts to stop.
If a shield, safety device, or decal is damaged,
illegible or lost; repair or replace it before beginning
operation. Tighten any loose fasteners.
Do not use the machine on a roof.
Do not touch the motor while it is running.
Only perform those maintenance instructions
described in this manual. Before performing any
maintenance, service, or adjustment, stop the stop
the motor, remove the key (if equipped). Contact an
Authorized Service Dealer if major repairs are
necessary.
Unplug the snow blower and remove the key (if
equipped) from the ignition switch before storing the
machine.
Safety and Instructional
Decals
Important: Safety and instruction decals are located
near areas of potential danger. Replace lost or
damaged decals.
Snow Blower Safety
The following list contains safety information that you
must know before operating this machine.
Rotating rotor blades can injure fingers or hands.
Stay behind the handles and away from the
discharge opening while operating the machine.
Keep your face, hands, feet, and any other part of
your body or clothing away from moving or rotating
parts.
Before adjusting, cleaning, repairing, and inspecting
the machine, and before unclogging the discharge
chute, stop the motor, remove the key (if equipped),
unplug the snow blower, and wait for all moving
parts to stop.
DO NOT ATTEMPT TO DISABLE THE SAFETY
SWITCH!!
BASEMENT BRANDS ● WWW.BASEMENTBRANDS.COM ● CustomerService@BasementBrands.com ● 515-577-0977 4
Auger hazards - Cutting/dismemberment hazard,
impeller and cutting/dismemberment hazard - do not
place your hand in the chute; remove the ignition key
(If equipped) unplug the snow blower and read the
instructions before servicing or performing maintenance.
Page 5

1. Warning: read the Operator's Manual.
2. Cutting/dismemberment hazard, impeller - stop the motor before leaving the machine.
3. Thrown object hazard - keep bystanders a safe distance from the machine.
4. Fuel spill hazard - do not tip machine forward or backward.
5. To engage the auger, squeeze the control bar.
6. Release the control bar to disengage the auger.
WARNING: The motor is equipped with a protector that will disconnect power to the motor
temporarily if the snow thrower is overworked, and will automatically reset as the motor cools. If the
motor stops, release the control bar, disconnect the extension cord and allow the motor to cool 5
minutes before continuing operation.
WARNING: To prevent electric shock, use U.L. listed two conductor extension cords suitable for
outdoor use in cold. Do not use cords longer than 100 feet.
Assembly
Attach Lower Handle to handle brackets
using 2 Handle Bolts and thumb nuts. Hand
tighten these bolts.
Attach Upper Handle to Lower Handle using
2 Handle Bolts and thumb nuts being careful
not to pinch the power cord. Hand tighten
these bolts.
Attach the Discharge Chute to the discharge
outlet using the 2 nuts and bolts provided.
The nuts should be on the outside of the
chute, not the inside. Chute should turn
freely.
Secure the power cord to the handle using
the cord retention clips.
1. Control Handle 6. Auger Assembly
2. Safety Switch 7. Chute Bolts
3. Chute Control Handle 8. Handle Bolts
4. Chute Cap 9. Upper Handle
5. Discharge Chute 10. Lower Handle
BASEMENT BRANDS ● WWW.BASEMENTBRANDS.COM ● CustomerService@BasementBrands.com ● 515-577-0977 5
Page 6

Operation
Use only heavy duty U.L. listed two conductor extension
cords suitable for outdoor use in cold weather. Do not
use cords longer than 100 feet.
Always connect extension cord to control switch on snow
thrower first, then connect the other end to a wall outlet
installed in accordance with local codes and inspection
authorities.
To prevent accidental disconnection of extension
cord from control switch during operation, loop
extension cord through strain relief clip on control
switch.
Snap strain relief clip down over loop of extension
cord. Connect extension cord to power plug on
control switch.
To start snow thrower operation, proceed as follows:
Confirm the unit is plugged in
Depress the button on the Safety Switch
Pull Control Handle and the motor should start
Release the Control Handle to stop the snow blower
Disconnect the power cord when finished
WARNING: If snow thrower frequently trips
circuit breaker or blows fuses, DO NOT
replace with higher rated fuse without
consulting your power company.
Snow Throwing Tips
The distance snow will be discharged can be
adjusted by moving the discharge chute deflector.
Raise the deflector for more distance or lower the
deflector for less distance.
In windy conditions, lower the chute deflector to
direct discharged snow close to the ground where it
is less likely to blow into unwanted areas. Move the
handle down to raise the auger slightly.
The allowable forward speed of the snow thrower is
dependent on the depth and weight of the snow.
Experience will establish the most effective method
of using the snow thrower under different conditions.
Snow up to eight inches deep can be removed
rapidly and easily by walking at a moderate rate. For
snow or drifts of a greater depth you may find it
desirable to slow your pace to allow the discharge
chute to dispose of the snow as rapidly as the auger
receives the snow.
Wet packed snow - move slowly into snow of this
condition. The greater the depth, the slower you
should go. When it appears that the wet, packed
snow is causing the auger to slow down and the
chute to clog, back off and begin a series of short
jabs into the snow. These short back and forth, 4 to
6 inch, jabbing motions will “belch” the snow from
the chute.
In snow of greater depth than the unit, use the
“jabbing” technique described above. Turn the
discharge chute away from the snow bank. More
time will be required to remove snow of this type
than level snow.
This snow thrower will propel itself forward when the
handle is raised enough to cause the auger blades
to contact the ground. The auger will stop when
control switch lever is released.
For most efficient snow throwing, turn the discharge
chute deflector to throw snow downwind and slightly
overlap each swath.
Keep the area to be cleared free of stones, toys and
other foreign objects for safety and to prevent
damage to the snow thrower.
Do not use the auger propelling feature when
clearing gravel or crushed rock drive ways.
In light snow take up to a full cut and in heavy snow
take less than a full cut.
BASEMENT BRANDS ● WWW.BASEMENTBRANDS.COM ● CustomerService@BasementBrands.com ● 515-577-0977 6
Maintenance
AFTER FIRST USE
Check for any loose or damaged parts after each
use.
Tighten any loose fasteners.
AFTER EACH USE
Run the machine to clear the auger of snow.
Remove all snow and slush from the snow thrower
to prevent freezing of auger or controls.
BEFORE EACH SEASON
Check drive belt
Lubricate Chute Control Flange
 Loading...