

Page 1
Steam Wallpaper Stripper
SS125 SS76 SS77
OPERATING INSTRUCTIONS
Thank you for purchasing a Steam Wallpaper Stripper. This is a highly versatile machine for
use all around the home. In order to obtain the best results please read the instructions
before commencing any work.
THE MANUFACTURER WILL ACCEPT NO RESPONSIBILITY FOR THE USE OF THIS PRODUCT IF USED FOR ANY
PURPOSES OTHER THAN THOSE DETAILED HEREIN.
BEFORE USE - PLEASE READ THE MANUAL AND SAFETY INSTRUCTIONS.
Please retain for future use
SAFETY CUT-OUT
A safety cut-out is fitted to prevent overheating of the element if the water boils low. If unit stops boiling during use
.this may be the cause. Wait for 2 minutes before removing filler cap then re-fill with water. The cut-out will self-
.reset and steam be produced again within 5-15 minutes.
The cut-out will not protect the element if a part-filled unit is tilted during use in a way which enables part
.of the element to be out of the water for longer than 15-20 seconds. Failure to do so can result in severe
.overheating, complete element failure and void your guarantee.
IF YOU HAVE ANY PROBLEMS WITH YOUR STEAM WALLPAPER STRIPPER OR IF YOU BELIEVE A PART
IS MISSING, DO NOT RETURN TO STORE. PLEASE CONTACT EARLEX LTD ON 01483 454666.
Page 2

SAFETY RULES
l
Keep equipment away from children and pets.
l
Ensure boiler is placed on a flat level
surface, and should the boiler become
tilted in use - level again immediately.
Failure to do so can result in severe
overheating, complete element failure and
void your guarantee.
l
Block boiler unit securely if using on stairs.
l
The boiler becomes hot in use. Move only by
using the carrying handle.
l
Steam is produced at 100ºC. Be careful, wear
protective clothing and protect your hands with
heat-resistant gloves or mitts.
l
Never point hose or steamplate at anyone.
l
Always keep steamplate tilted away from face
and body, beware of hot drips and regularly
empty collected condensation from
steamplate - especially when stripping ceilings
and high areas.
l
Never remove filler cap or detach hose whilst
unit is operating.
l
Use only standard tap water. Never add
detergents or chemicals.
l
Extreme care must be taken if the unit is used
in bathrooms. Always be aware of danger of
electrocution from stored water in
baths and sinks.
l
Never change tools when the unit is operating.
l
Always store upright.
l
It is recommended that a RCD (residual
current device) rated at 30mA is fitted into the
mains supply socket for added protection
against electric shock.
l
Use only genuine manufacturer’s parts.
l
WARNING! Hot liquid or steam can burn.
Steam may also condense into boiling
droplets. Steam should not be directed
towards electrical appliances (e.g. the inside of
an oven).
l
The equipment must be unplugged after
use and before cleaning.
l
Never block the safety valve.
l
Never use outside when raining.
l
Switch off and wait for 2 minutes before
removing filler cap to refill boiler.
l
Do not overfill the reservoir.
l
Allow to cool completely before emptying
boiler.
l
Do not stand on boiler or hose.
l
Do not drag or try to move boiler by pulling
either the hose or the mains cord.
l
Do not allow water or steam to enter light
switches or power points.
l
Do not leave unattended.
l
If the supply cord is damaged, it must be
replaced by Earlex or its appointed agents to
avoid a hazard.
l
This appliance can be used by children
aged from 8 years and above and persons
with reduced physical, sensory or mental
capabilities or lack of experience and
knowledge if they have been given
supervision or instruction concerning use
of the appliance in a safe way and
understand the hazards involved. Children
shall not play with the appliance. Cleaning
and user maintenance shall not be made
by children without supervision.
2
Page 3
AUTION !
C
Check the state of your plaster before starting work.
Steam can loosen weak, porous or poorly bonded plaster - which also loosens readily if cracked, holed or if the steamplate is held in
one position for too long after the paper is soaked.
Weak plaster can normally be detected by tapping a few areas of wall. A hollow sound indicates that you should proceed only with
extreme care - stopping immediately if you hear a cracking sound or plaster starts to break loose.
The steam stripper is safe for drywall/plaster board surfaces but whatever the material, it is always wise to check a small area before
starting work properly.
PROTECT YOUR HOME
The heat generated by the boiler unit can mark carpets, soft furnishings, table tops, cabinets, etc. To prevent this it is recommended
to place the unit on a wooden board, tray or other barrier - making sure it will not slip off one side or tilt during use. Dust sheets or
newspapers are not suitable heat protectors for delicate surfaces.
PREPARATION
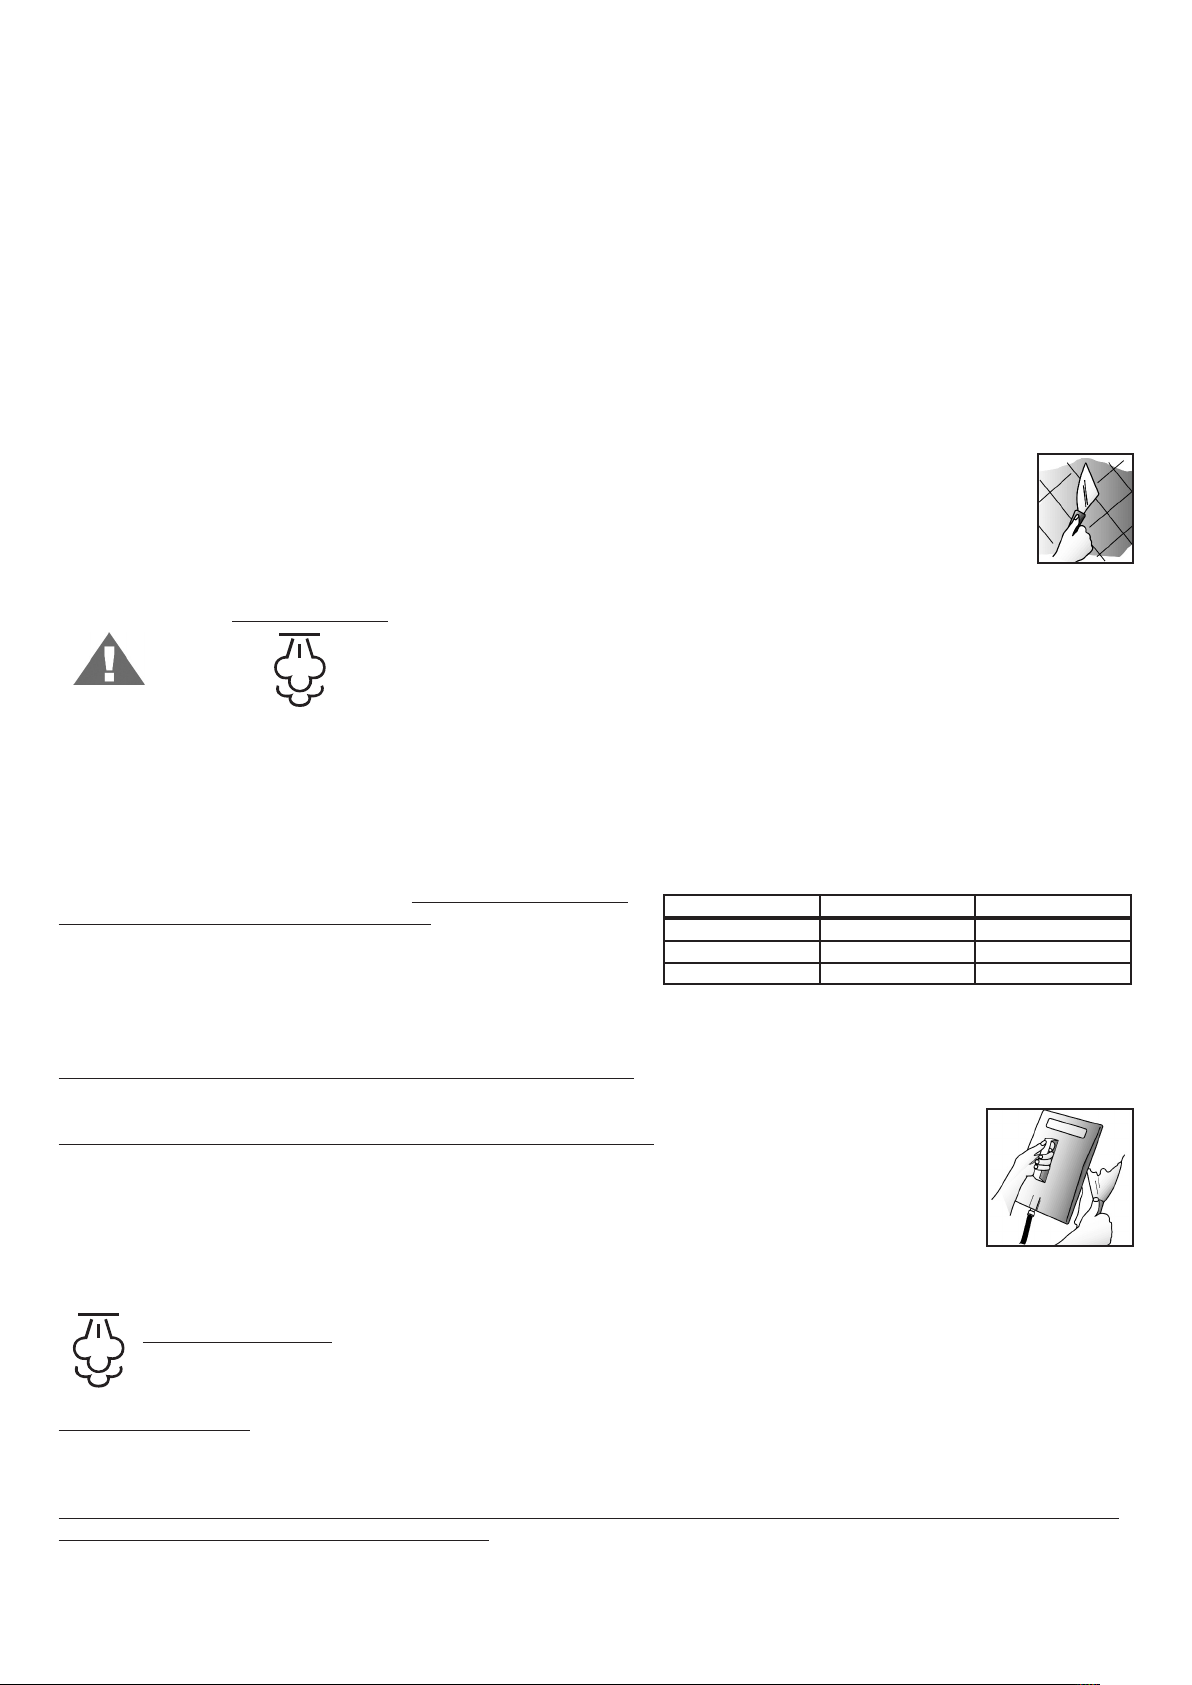
To achieve faster paper removal always gently score the areas to be stripped.
With heavily embossed, vinyl-coated or painted papers this is essential. Either use a proprietary perforator tool or
alternatively score the paper with the edge of a wall scraper in a criss-cross pattern with 150mm (6 inch) spacing.
As with all decorating work be sure to protect carpets and furniture with covers.
SYMBOLS
CAUTION STEAM IS HOT!
WARNING: Hot liquid or steam can burn. Danger of scalding. Steam may
also condense into boiling droplets. Steam should not be directed towards
electrical appliances. Danger of scalding appears on the cap as either
symbol.
OPERATION
The unit is designed for safe, fast removal of wallpaper but please be aware that steam is produced at 100˚C - so be careful, wear
protective clothing and protect your hands with heat-resistant gloves or mitts.
FILLING STEAM WALLPAPER UNITS: Remove filler cap and fill unit to MAX. level line or indicator with clean - preferably hot water. Replace filler cap.
For a shorter steaming time use less water. Do not overfill the unit or
hot water will be forced up the steam hose.
Screw hose onto threaded outlets of boiler and steamplate, hand-tight is
sufficient. Do not overtighten but do check for hand-tight fit from time to
time during use.
Connect mains cord from unit to power socket and switch on. lt can take
up to 15 mins (approx.) before steam is produced - depending on fill water
quantity and temperature.
Do not leave unattended and keep children & pets out of the room.
Just before full steam production a small amount of bubbling and water will occur at the steamplate.
BEWARE OF HOT WATER DISCHARGE PRIOR TO STEAM EMISSION.
STRIPPING: Remember to check a small area first.
Operation is simple for both right and left-handed people. Simply hold the steamplate flat against the wallpaper for
approx. 10 seconds. Now move the steamplate to the spot immediately next to the one just steamed - from which
the paper should now easily come away with a little help from a wallpaper scraper.
Working this way should enable continuous paper removal although it may be necessary to steam for longer
periods with some papers, or if not completely removed first time.
Operate steamer until water level is low, then unplug unit and allow to cool for at least 2 minutes.
SWS MODEL BOILER CAPACITY STEAM TIME
SS76 5L 90 Mins*
SS77 5L 78 Mins*
SS125 4L 72 Mins*
* Approx steam time before the safety cut-out operates.
BEWARE OF STEAM
unit. Always store unit empty.
- before removing the filler cap and re-filling unit. When finished, allow to cool completely and empty
SAFETY CUT-OUT
A safety cut-out is fitted to prevent overheating the element if the water boils low. If unit stops boiling during use this may be the
cause. Wait for 2 minutes before removing filler cap then re-fill with water. The cut-out will self-reset and steam be produced again
within 5-15 minutes.
The cut-out will not protect the element if a part-filled unit is tilted during use in a way which enables part of the element to
be out of the water for longer than 15-20 seconds.
3
Page 4

THER USES FOR THE STEAMPLATE
O
Artex®- Normally Artex®can be removed using the same method as for wallpaper although the steaming time will be longer.
CAUTION!
controls operated by the HSE (Health & Safety Executive).
Vinyl Floor Tiles - Vinyl floor tiles can also be removed if the steamplate is left long enough for the heat to penetrate the adhesive.
Once the adhesive is hot it softens and the tile can be peeled from the floor.
Disinfecting Soil - To disinfect soil in seed trays or greenhouses rake the soil to obtain a fine surface. Leave the steamplate on each
ection, for 2 to 2½ minutes which should ensure that the steam has penetrated the surface.
s
Killing Weeds - Steam will kill weeds on paths and patios without the use of chemicals. You will need to steam the weeds for 1 to 1½
minutes in order to kill them.
Some textured finishes may contain asbestos which may be hazardous to health and which are subject to licensing
SMALL STEAMPLATE
(Optional Accessory - Not included in all kits)
DANGER FROM STEAM! Always be aware that steam is being produced whilst the tool
s in operation. Always wear a protective glove when using the small steamplate.
i
This tool can be used to strip wallpaper in awkward areas, i.e. around door frames and in corners, etc.
Use similarly to the large steamplate, steaming one area whilst stripping a previously steamed area.
This will ensure quick and efficient removal of the wallpaper.
JET NOZZLE CLEANER
(Optional Accessory - Not included in all kits)
IMPORTANT: Always check the suitability of materials before steam cleaning.
Steam s being generated at 100˚C. Do not use on any surfaces that cannot
stand this temperature, e.g. Draylon®, delicate fabrics, etc. Always test a small
area of the material - preferably a portion that is normally unseen - and allow
to dry before starting the full cleaning task. Do not soak materials being cleaned.
Only light application of steam is required.
Strips hard to reach areas
ASSEMBLINGTHETOOL
The Universal Handle (AC302) is used in conjunction with the Jet Nozzle Cleaner. Align the outline triangle
on the handle with the triangle on the accessory. Push the handle into the accessory and twist so that the
solid triangles on the handle and accessory are aligned (Diagram 1). Over time, you may find that
your steam cleaning accessories become awkward to assemble to the Universal Handle. This is due
to the steam reducing the lubrication properties of the O-Ring seals. In this event, simply lubricate the
O-Ring seals as illustrated (Diagram 2) using washing-up liquid or furniture polish.
OPERATING THETOOL
Connect the Universal Handle to the Jet Nozzle head. Select the scraper head or brush to fit the
Nozzle end if required and push on to the Nozzle.
PIug the boiler unit in and wait for steam to appear at the accessory head.
BEWARE OF HOT WATER DISCHARGE PRIOR TO STEAM EMISSION.
This accessory can be used for cleaning all round the house, stoves, cupboards, work surfaces,
toilets, sinks, lawnmowers, etc. It both cleans and disinfects at the same time. It can also be used
to defrost your freezer in minutes with no inconvenience. Check with fridge/freezer manufacturer
for advice before use.
Diagram 1
Assembling Handle
Diagram 2
Seal Lubrication
Cleans lawnmowers
Defrosts freezers
4
Page 5

TROUBLESHOOTING
l
Unit Fails to Boil
The unit has probably not been left long enough to cool - refer to section on safety cut-out. Check the fuse in the plug is sound and is
rated at 13 Amps.
If using an extension lead check that it is rated at a minimum of 10 Amps and fully unwound.
l
Unit Leaks Steam from Pressure Relief Valve
The pressure relief valve is a special low pressure valve and cannot be replaced by any other valve. If steam is leaking from the
valve, the most likely cause is a blockage in the hose. Allow the unit to cool then remove the hose and check for any blockage.
Always check the inlet in the tool you are using.
UNDER NO CIRCUMSTANCES FORCE THE VALVE SHUT. THIS IS OPERATING FOR YOUR PROTECTION.
o maintain peak performance of the unit, particularly in areas of hard water, it may be necessary to descale the element in the unit.
T
Proprietary kettle descaling products can be used in your unit - always follow the manufacturer’s instructions.
IF YOU REQUIRE FURTHER ASSISTANCE PLEASE CONTACT OUR HELPLINE ON:
Tel: 01483 454666 Fax: 01483 454548
Opening Hours: Monday - Thursday 08.30-17.00 and Friday 08.30-15.45 (Except Bank Holidays)
MAINS CONNECTION
Your unit has been supplied with a mains cord and a fitted plug. This is identified by the fuse holder in the base of the plug.
Please read the following safety instructions before use.
1. If the fitted plug is cut off from the mains lead then the plug must be disposed of safely. NEVER under any circumstances insert
such a plug into a 13 Amp socket-outlet.
2. NEVER under any circumstances use the appliance or mains lead without the fuse cover fitted. This is the little cover fixed
into the base of plug to hold the fuse in place.
3. If you lose the fuse cover then please contact any electrical dealer for a replacement or ring our helpline above.
4. A replacement fuse must be rated at 13 Amps. This must be manufactured and approved to BS1362.
5. IF IN ANY DOUBT PLEASE CONSULT A QUALIFIED ELECTRICIAN.
If you need to fit a plug to the mains lead, this should be fitted in accordance with the wiring instructions below, and will need
to be used with a 13 Amp fuse. If in doubt consult a qualified electrician.
WARNING - THlS APPLIANCE MUST BE EARTHED. If you are using an extension lead it must be rated at a minimum of 10
Amps and fully unwound. Do not operate with a cord rated at less than 10 Amps as this will cause premature failure of the element which
is not covered by the guarantee. As the colours of the wires in the mains lead of this appliance may not correspond with the coloured
markings identifying the terminals in your plug, proceed as follows:
The wire which is coloured green and yellow must be connected to the terminal in the plug which is marked
with the letter E or by the earth symbol, or coloured green.
The wire which is coloured blue must be connected to the terminal which is marked with the letter N or
coloured black.
The wire which is coloured brown must be connected to the terminal which is marked with the letter L or
coloured red.
DESCALING
INFORMATION ON THE DISPOSAL OF WASTE ELECTRICAL AND ELECTRONIC EQUIPMENT KNOWN
AS WEEE
Your attention is brought to new directives applicable to the disposal of this electrical equipment, where in accordance with
the legislation this product must not be disposed of in your normal household waste. Instead it is your responsibility to
dispose of this type of waste by handing it over to special designated collection points for recovery and recycling. This
product is marked with a ‘Wheelie bin’ symbol with a cross on it to remind you of this action. The objective of this directive
is to help conserve resources and ensure that it is recycled in a manner that protects human health and the environment.
For more information about where you can drop off your waste please contact your local authority, take back facilities are
free of charge.
5
Page 6

NOTES
6
Page 7

NOTES
7
Page 8

GUARANTEE
This product is guaranteed for a period of 24 months against faulty materials and workmanship. Whilst every possible care is taken by
the manufacturer to ensure that our products leave the factory in good working order, the manufacturer cannot under any
circumstances accept liability for problems or damage caused by their subsequent use. It is the responsibility of the user to ensure
that surfaces to be treated, cleaned or stripped are suitable for steam. This guarantee does not affect your statutory rights. This
guarantee excludes the use for hire purposes.
We declare that the units SS76, SS77 and SS125 conform to: LVD 2006/95/EC, EN60335-1, EN60335-2-54, EMF EN62233;
EC Declaration of Conformity
EMC 2004/108/EC, EN55014-1, EN55014-2, EN61000-3-2, EN61000-3-3.
Tim Hopper-Technical Director
Patents: GB2300698, GB 2422731
Design Registration Nos: GB 3004739, DE 40205274.9, US D496,504S.
Earlex Ltd., Opus Park, Moorfield Road, Guildford, Surrey, GU1 1SZ.
Tel: +44 (0) 1483 454666. Fax: +44 (0) 1483 454548.
email: enquiries@earlex.co.uk website: www.earlex.com
© Earlex Ltd. 2012
B40 10/12
 Loading...