

Page 1
Instruction Manual
by Al Doig
Page 2

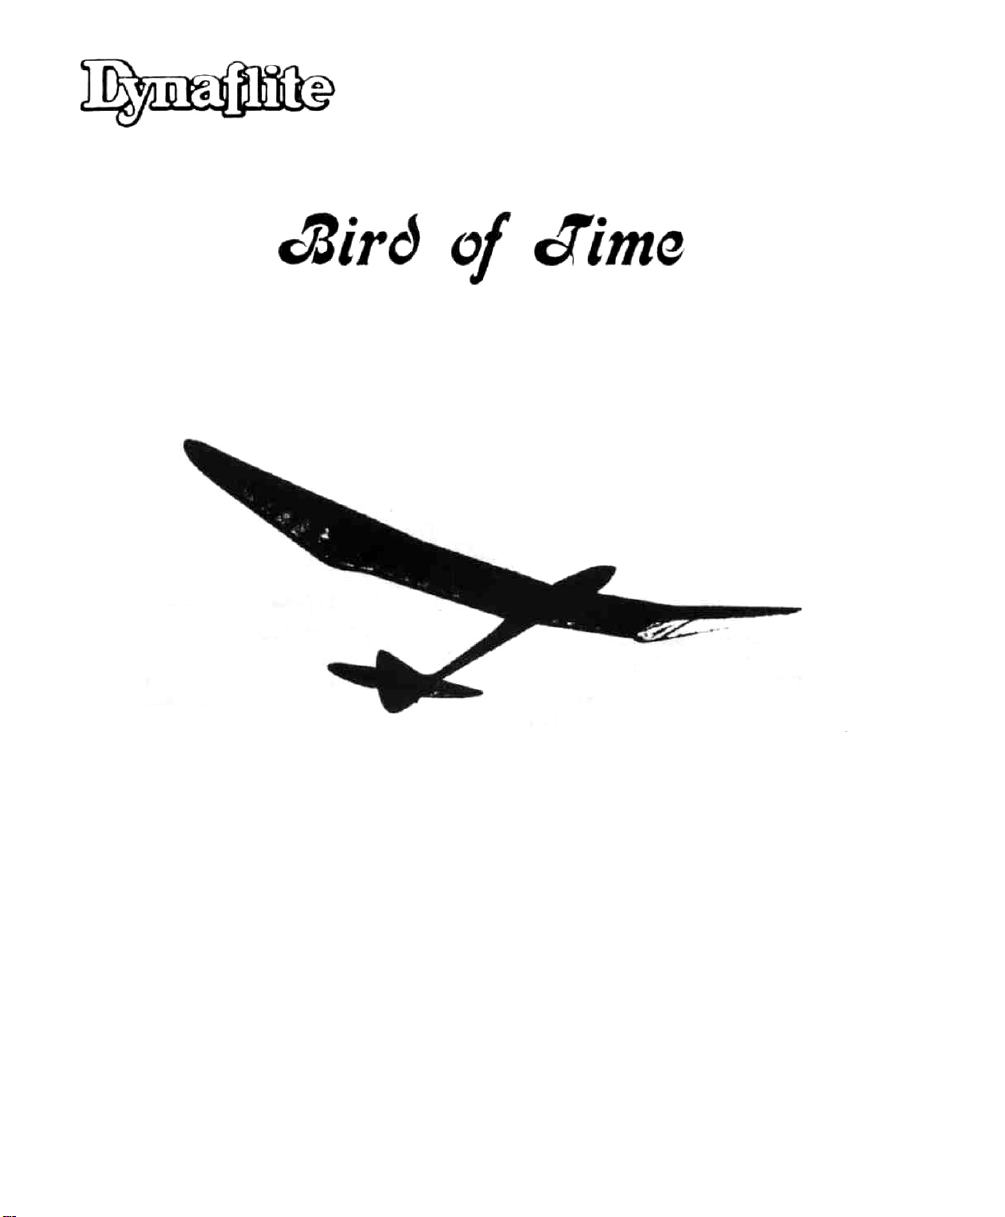
Supplemental Instructions for Bird of Time
After producing an initial run of Bird of Time kits Mark's Models has
come to a conclusion: Dave Thornburg's concise instructions may be a
tiny bit too brief. We have therefore taken the liberty of expanding
upon those areas where further clarification might even help experts.
WING
1. Join the plan-halves with Scotch tape or rubber cement and tape to
the building board - cover left panel drawing with wax paper. It Is
easier to build the inboard and outboard panels at one time but it is
not important to do so. Just don't glue them together.
2. Trim a piece of 1/16" X 3 5/8" balsa to 24" and pin this leading edge
sheeting over the inboard panel plan. Using the rest of the sheet, trim
the inner wing sheeting to shape, pin to board and cyanoacrylate.
3. The l/l6" X 3" X 36" outboard sheeting must be trimmed to shape and
the triangular scrap pieced to the Inboard end to bring it to the required
width. Use Cyanoacrylate to speed the process. Trim the inboard end to
an angle such that the scrap piece is to the rear If you wish. Pin the
lower leading edge sheeting In place over the plan with the aft edge flush
with the aft edge of the spar line.
4. Glue the 1/8" X 3/8" X 24" hardwood Inboard spar to the lower sheeting,
flush with the rear edge. Similarly, glue the 1/8" X 3/8" X 36" balsa
outboard spar to the outboard lower sheeting. Use Titebond or white glue.
5. Lightly sand the back of the die-cut sheets for a more clean removal.
Remove parts and lightly remove any fuzz with sandpaper. Be sure not to
change the contour of the parts in this process. Be sure the spar notches
are clean. Note the difference between the A and AA ribs and mark them.
(The aft end of AA ribs is narrower)
6. To facilitate gluing the ribs to the lower sheeting, slide the narrow
edge of a piece of trailing edge stock under the front edge of the sheeting.
This will form the sheeting Into the "Philllp's entry" airfoil required
and the ribs will fit snugly. Put the inboard (root) AA rib In place noting
that
it
is
tipped
as
shown In section RR
(3.5°).
Make sure the rib Is snug
against the lower sheeting and fasten with Cyanocrylate. Now fasten the
rear of the rib to the Inboard sheeting. Now, counting from the Inboard
end, fasten the 2nd, 3rd, 4th & 5th "A ribs to the foreward lower sheeting*
Pin the rear of these ribs securely to the building board.
7. Saw the main-spar polyhedral braces from the 1/8" plywood and sand
carefully to dimension. (These pieces are only lightly die-cut as full
die-cut results in ragged edge.) Check the fit of the 3/8" X 9/l6" X 2 7/8"
vertical-grain shear webs - make sure they don't protrude into spar notch.
Epoxy polyhedral brace and shear webs In place. Make sure webs are aligned
with the spars in the two bays with plywood shear webs.
1.
Page 3

8. Taper the outboard end of the 1/4" I.D. brass wing-wire tubes as shown
on section R-R. This will permit the proper angle of dihedral. Sharpen
the end of one tube and drill a hole in the proper location in the root
AA rib so the tube will Just touch the top spar. Roughen the outside of
the tubes with sandpaper. Using the piece of 3/8" sq. X l8" balsa, make
the fillers that support the brass tube. Make sure the top filler does
not protrude into the spar area. Set aside for now.
9. Put the top inboard spar in place but do not glue. Epoxy the 4
plywood shear webs to the lower spar and 3/8" shear webs using 5 minute
epoxy. Wipe the epoxy out of the top spar area and remove the top spar
before the epoxy sets up so it won't stick.
10. Make up 3 shear webs from scrap l/l6" balsa to fit between the spars
in the second and third bay which have no plywood shear webs. These will
act as dams to prevent epoxy from running out of the wing tube cavity.
Fasten these in place with Cyanoacrylate. Using a liberal quantity of
5 minute epoxy, install the filler blocks and tube from step 8. Make
sure the epoxy does not protrude into the spar area. Epoxy top spar
in place.
11. Cut the remaining 4 AA and 1 A ribs to fit and install with Cyanoacrylate. Install outboard ribs B through K and pin rear to worktable. Use
a piece of trailing edge stock to raise the lower leading edge forming
the "Philllp's entry". Do not install A rib at polyhedral Joint, yet.
12. Epoxy the trailing edges to the ribs. Note that the short trailing
edge at the polyhedral joint is made from the piece of 1/4" X 1 1/8" balsa.
13. Trim the outboard lower sheeting and the outboard spar to fit the
formed wingtip. Note that there is no rib at the tip. The tip block
is to be carved to the section shown. Glue wingtip and tip gusset in
place.
14. Using scrap l/l6" sheet, trim 3 shear webs and install in the
outboard panel as shown.
15. Using Titebond or white glue, run a liberal fillet around each rib
at the lower sheeting.
16. Remove the outer panel from the worktable, sand trailing edge to
proper angle and check that the polyhedral brace does not interfere
at rib B. Block the tip to the proper height. Using 5 minute epoxy,
glue the polyhedral brace to the outer spar and Join the trailing edges.
Trim the last rib A to fit at the polyhedral Joint and epoxy it and the
two plywood gussets in place.
17. Trim one of the l/l6" X 3 5/8" balsa sheets to 24". Glue this
inboard top L.E. sheet being extremely careful that the sheeting is
snug to the rib all the way to the foreward edge. Use lots of pins.
Using the remainder of the l/l6" X 3 5/8" sheet, cut the top inboard
sheeting to shape and glue in place. Trim and glue the 1/16" X 1/4" cap
strips
2.
Page 4

18. Unpin the Inboard panel from the building board. Block It up,
laying the outboard panel flat on the building board and pin it tightly.
Trim and splice another l/l6" X 3" X 36" balsa sheet for the top
leading edge sheeting.This sheeting may extend to the end of the tip,
if you wish. Glue in place again being careful that the sheeting is snug
against the ribs. Glue and pin the l/l6" X 1/4" cap strips in place.
When dry remove from the building board.
19. Sand the leading edge of both panels perfectly flat using a two or
three foot sanding block as Dave describes in his instructions. Cut 1/8"
from the A rib at the polyhedral joint. Carefully glue the 1/8" plywood
leading edge brace into place, flush with the sheeting. Trim the leading
edges for a good fit at the polyhedral joint and glue into place, holding
firm with strips of masking tape. Sand the root of the inner panel flat
and glue the plywood root
20. Cut the leading edge template from Dave's instruction sheet and rubber
cement it to a piece of scrap plywood. Carefully saw and sand the pattern
to shape. Carve and sand the wing panel using the leading edge template
as a guide. Take as much time as your patience will allow in shaping
the leading edge. The more true the leading edge airfoil, the better
the Bird will fly. Of course there is a point of diminishing return.
21. Before building the right hand wing, finish the left hand panel at
least to the point of having the plywood root rib in place. The right
wing is built exactly like the left with one exception: the fitting and
epoxying of the brass wing-rod tube is done with the left hand panel
blocked in place to the proper height and the panels connected with the
wing rod. This procedure not only establishes the correct dihedral but
aligns the root ribs for a clean joint. Also, when epoxying the right
hand plywood root rib in place, do it with the wing rod in place and
both halves pressed together. Don't let them get stuck though, a ten
foot wing is hard to get into a Volkswagen.
rib in place.
22. You have probably noticed that the wing rod is shorter than the length
of both tubes. Left to it's own devices, the rod will slide to one side
and you will have two and one-half inches in one wing and five and onehalf inches in the other. So - push a snug-fitting short length of 1/4"
dowel to the bottom of both brass tubes. Or - before assembling the wing,
center the wing rod in the two tubes and, using a center punch, dimple
the tubes a little beyond the ends of the rod. This of course can't be
done after the wing is built. So - if you didn't read the instructions
through first, like you're supposed to, it's too late.
After a thorough sanding your wing is now ready to cover.
STABILIZER
1. Using scrap balsa sheet cut a half-dozen each of 3/32" by about an
inch square and l/l6" by half an inch square. These will be used as shims.
Cyanoacrylate the die-cut 1/8" balsa trailing edge and tip together. Cut
the 3/l6" leading edge to length. Cyanoacrylate the 1/8" triangular diecut brace to the leading edge, centering it top to bottom.
3.
Page 5

2. Cover the plan with wax paper. Slide the 3/32" shims under the
wax
paper at the trailing edge of each of the four ribs. Let it protrude
from under the trailing edge 1/8" or so to support the ribs. Do the
same at the leading edge using the l/l6" shims. Pin the leading and
trailing edges in place over the plan supported by the shims, gluing the
leading edge to the tip with Titebond or white glue.
3. Trim the main spar to length from 3/16" hardwood. Taper the outboard
2" symmetrically to 1/8". Trim the four bottom ribs to length bearing
in mind they will bow around the main spar. Carry the inboard rib all
the way to the leading edge so it will glue to the triangular brace.
Glue in the ribs and main spar using Titebond or white glue. Pin the
spar down so the ribs are snug to the building board. Trim short pieces
of l/l6" X 1/4" balsa and glue them to the foreward end of the ribs
against the leading edge. These will support the top ribs. Trim the
top ribs to length and glue in place. Select material for the opposing
top and bottom ribs that have about the same bending strength so the
section will turn out symmetrical. Trim and glue the 3/l6 sq. root
pieces. Tapering of these pieces can be left until later. Remove from
the board and add 3/l6" sq. filler shown in section S-S. Build 2nd stab.
4. Use a scrap of 3/l6" sq. hardwood to make a drill jig for the stab
wire holes. Drill l/l6" holes In the Jig and then in the stabilizer root
ribs. Ream the aft hole to 3/32". Roughen the ends of the stab wires
with sandpaper, clean with lacquer thinner and epoxy into the stabilizer.
Ream the foreward hole in the other half to 3/32" and the rear one to
1/8" Roughen and clean the mating aluminum bearing tubes and epoxy them
in place as shown on the drawing.
5. Taper the inboard root pieces as shown and fit and glue l/l6" sheeting
in place. It will rest on the foreward triangular brace and stick up
1/32" but this will be sanded to fair with the leading edge.
A careful sanding to the airfoil shown on the drawing completes the
stabilizer construction.
FIN & RUDDER
1. Mark the position of the 3/4" sq. X 1/4" hardwood insert on the fin
using the die-cut l/l6" fin sides as a pattern. When marked, put the
die-cut plug back in the l/l6" fin side and cyanoacrylate in place. The
only purpose of the die-cutting is to give you a pattern for accurate
location of the cut-out. Cut the square hole in the fin. Drill a 1/8"
hose in the center of the hardwood insert. If a drill press is available
use it to drill this hole as it must be square with the fin surface.
Roughen and clean the 1/2" piece of 3/32" I.D. brass tubing and epoxy It
in the hole with 1/8" sticking out each side. Epoxy the insert in the
fin. Before the epoxy sets, put a piece of 3/32" wire through the tubing
(or use the completed stab and check the squareness with the fin. Make
any small adjustments by re-seating the insert in the fin. As every
ounce in the tail area requires 2-1/2 ounces in the nose to balance,
a lightening hole in the top of the fin is suggested.
4.
Page 6

2. The rudder is joined and sanded to the airfoil section shown on the
drawing. Again, it seems prudent to cut large lightening holes in the
rudder. For maximum lightness, a built-up rudder is easily built and
is extremely strong.
3. To construct a built-up rudder you will need 3 pieces of l/l6" X
1/4" X 36" balsa, 1 piece of 1/4" sq. X 12" balsa, and some scrap 1/4"
balsa sheet (these pieces are not furnished). Glue the 3/8" balsa rudder
together and sand the edge to the correct outline. Cut 1/4" off the
entire trailing edge, leaving the hinge edge as is and sand to a smooth
contour. This will be used as a form for laminating a trailing edge. Put
down a piece of wax paper on a building board and pin down the form. Cut
& 3/8" strip of wax paper and pin it around the contour of the form to
keep the assembly from sticking. Cut 4 pieces of l/l6" X 1/4" balsa l8"
long. Coat one side of one of these pieces with Titebond or white glue
and place around the form, glue side out. Hold in place temporarily
with pins. Coat both sides of two more pieces and put in position. Coat
one side of the last piece, place on the form, and put a row of pins
around the outside to hold tightly to the form. Let dry overnight and
remove from the form. You now have a very strong trailing edge that
will hold its shape. Trim this 1/4" laminated trailing edge to length
and trim and glue in place the 1/4" sq. balsa leading edge. Trim and
glue two corner gussets made from the 1/4" scrap sheet. Hake the lower
gusset large enough to mount the rudder horn. Add a triangular pattern
of fore and aft braces made from l/l6" X 1/4" balsa. Sand the assembly
and round the leading edge for hinging. The trailing edge may be left
square or slightly rounded. Cut the slot for the rudder horn but do not
install until the rudder is covered. Slot both the fin and rudder for
hinges but do not install at this time (plastic hinges are recommended
instead of Monocoat as suggested on the plan).
The partially assembled fin from step 1
be completed on assembly to the fuselage.
FUSELAGE
1. Determine which of the pieces of wood left in the box look most
like fuselage sides and give these a light sanding to remove any fuzz.
You will notice that the bottom edge of the sides are straight, but the
plans show a slight curve. We left the edge straight so the builders
who wish to, may pin the rear bottom edge flat to the work surface. Also,
the 1/64" plywood rear fuselage doubler has been omitted because the
fuselage sides are one piece.
2. Use contact cement to glue the 1/64" plywood nose doubler to the
foreward inside surface of the fuselage sides. I guess I don't have to
warn you to make a right hand and left hand side, but I will.
3. Lay the fuselage sides over the plan and mark the position of
bulkheads 1,2, and 3. Note that the foreward and aft bottom blocks in
the kit join at bulkhead #2 not where shown on drawing. Notch the foreward
block for towhook not the aft one. Also, lay the bottom front fuselage
block over the outline on the drawing and mark the position of bulkhead
#1 (shown as two dotted lines).
above is set aside and will
5.
Page 7

4. Use either epoxy or Titebond or white glue to fasten the noseblock
to the sides. Pin the bottom edge flat to the work surface while
drying so fuselage sides will be aligned.
5. Epoxy l/l6" plywood doublers to bulkheads 1, and 2 as shown on the
drawing. Drill 1/4" holes and epoxy the 1/4" dowel into the holes. Sand
the vee notch into the top of all three bulkheads - notch for Nyrods & antenna,
To digress a moment - most contest flyers are occasionally forced to make
those point-getting spear landings. One problem with the type wing
hold-down system used on the Bird is that sometimes during a spear, the
wing slides foreward, forcing the rubber bands, off the dowel, the wing
flies off and - zowie, no landing points.
So - if you will drill a vertical l/l6" hole about 1/8" from the end of
the dowel in bulkhead #1 and make a piano wire cotter pin to slide through
it, this will prevent the rubber bands from sliding off.
6. The bottom front fuselage block is jig-cut to the right width. This
should be installed first. Remember - the aft end is at bulkhead 2. With
the top of each bulkhead flush with the fuselage top, mark the location
of the bottom on the fuselage sides. To align the fuselage I stick a pin
in the exact center of the noseblock and run a thread from there to the
rear of the fuselage. Now, align the fuselage sides until the thread
exactly splits the fuselage all the way to the back. Pin the ends tightly
together using a 1/4" spacer to simulate the fin. Glue in the bottom
front fuselage block using epoxy. Align to the bulkhead bottom marks
and the center of bulkhead #2. Clamp tight until epoxy cures.
7. Using Titebond or white glue install the rear bottom block against
the front block and flush with the bulkhead bottom locations.
8. Sand bulkheads 1, 2, and 3 for a proper fit and epoxy into position.
If you have filed notches for an antenna tube, make sure they all line up.
9. Use Titebond or white glue to install the fin. The foreward fairing-
fin will be installed later.
10. Trim the nylon stabilizer horn leaving one hole on one leg. The
other leg may be also trimmed leaving one hole - or you can leave all
three "Just in case". Ream the bearing hole to provide a good fit for
the 1/8 tubing. Pile a notch in the 3/l6" square brass pushrod tube
to provide for attachment of the horn - as shown on the drawing. Take
a short length of 1/16" brass tubing, clamp in a vise and carefully pin
end into a small head. Use this as a bearing to assemble the horn and
square brass pushrod as shown on the drawing. Insert the bearing tubing,
cut to length, place on vise and pin the other side into a head. Pretty
clear, eh?... Or you can just solder it in.
6.
the
Page 8

31. Either install the servos temporarily or have a darned good idea
exactly where they will go. Install the Nyrod pushrods with the stabilizer
horn installed on it's pushrod. Epoxy the 1/8" aluminum pivot tube
to the top of the fuselage sides as shown. Make sure It is free with
the Intended servo throw. As previously noted, the pushrod should install
in the hole giving a 1:1 ratio. Secure the Nyrods in several places
using epoxy and microballoons.
12. As the fuselage sides are one piece, the rear fuselage stiffener
is not needed and in fact is undesirable. Glue the rear top deck in
place using Titebond or white glue. Trim the foreward fairing fin to
shape from the piece of 1/4" X 2" X 6" balsa. Glue it to the fin and
rear deck - use a straight edge to align it with the fin.
13. Cyanoacrylate the two sections of each l/l6" die-cut fin side. Notch
them for the foreward stabilizer wire as shown on the drawing. Glue
them to the fin with Titebond or white glue. Either pin them tightly or
clamp so they won't warp.
14. Trim the front and rear of the nose hatch cover to shape. You can
recognize this because it's the only piece of wood you have left.(I hope)
Although not shown on the plan it is advisable to glue some 3/l6" sq.
hardwood "keys" to the bottom of the hatch cover to keep it from sliding
around.
15. Carve the fuselage to the contours shown on the drawing. Sand smooth.
The filet around the fin should be rough carved then filled to a smooth
contour using either Dap or Micro-balloons. Before applying the filler,
poke lots of holes in the surface with a pin to provide a tooth for the
material to grab.
This completes the fuselage construction.
FINISH IN G
If you are a spear landing artist it Is advisable to cover the nose back to bulkhead #1 or so with fiberglass. If you're a Gentle Ben, don't.
The easiest finish is paint - either K&B Super Poxy or Pactra Formula-U
or whatever you like. If you regard Monocoating compound curves as
an interesting challenge you will have a ball. Anyway, at least use
Monocoat on the wings and tailfeathers.
When complete add the tallskid, rudder horn and, if you use one, nose skid.
Dave Thornburg can help you with the flying more than I can so - that's
all folks.
7.
 Loading...