Page 1

Bulletin F-46
Mini-Master®Flowmeter
Instructions
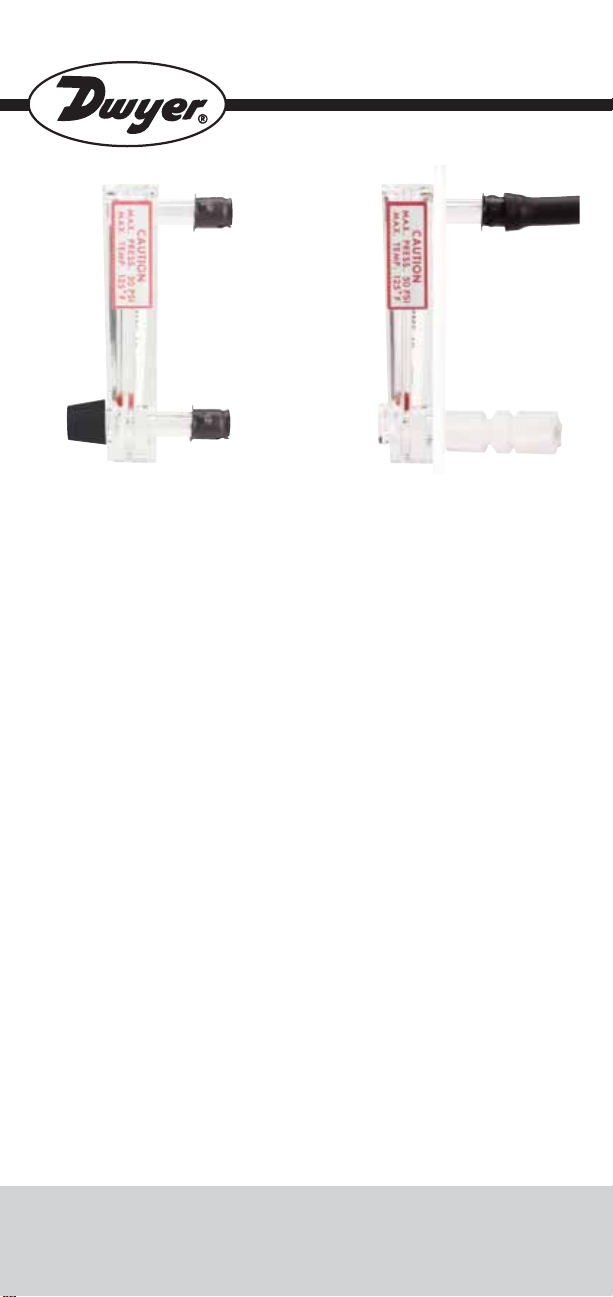
Mini-Master®flowmeter mounts
easily from front of panel. Drill two 9⁄32"
or 5⁄16" dia. holes in panel on 21⁄16"
centers. Insert mounting connector
spuds. From rear, slide on the two
spring retainers (furnished) and push
on rubber or plastic tubing.
Connector at top, installed in panel,
has retainer and flexible tubing in place.
Connector at bottom shows alternative
connection with metal or rigid plastic
tubing, using a double compression
nylon tube union (as Dwyer Instruments, Inc. Part No. A-328).
Inlet Piping Run
It is good practice to approach the flowmeter inlet with as few elbows
and restrictions as possible. In every case the inlet piping should be at
least as large as the connection to the flowmeter. Length of inlet piping makes little difference for normal pressure fed flowmeters.
For flowmeters on vacuum air service the inlet piping should be as
short and open as possible. This will allow operation near atmospheric pressure and thereby insure the accuracy of the device. (Note that
for vacuum air service the flow control valve if any, should be on the
discharge side of the flowmeter. Either the TMV unit or a separate in
line valve may be applied.)
Discharge Piping
As on the inlet, discharge piping should be at least as large as the
flowmeter connection. In addition, for pressure fed flowmeters on air
or gas service the discharge piping should be as short and open as
possible. This will allow operation of the flow tube at near atmospheric pressure and insure the accuracy of the device.
Cleaning
The flow tube and flowmeter body can best be cleaned with a little
pure soap and water. Avoid liquid soaps which may have chlorinated
solvents in them and avoid prolonged immersion. Flush thoroughly
with clear water to remove all soap. When the instrument can no
longer be cleaned by this method it should be replaced.
DWYER INSTRUMENTS INC.
P.O. Box 373 • Michigan City, IN 46361 U.S.A.
Phone: 219/879-8000 • Fax: 219/872-9057
e-mail: info@dwyer-inst.com • www.dwyer-inst.com
Page 2

The performance of low range units used in air or gas applications may
be affected by static electicity. Excessive static charge may cause the
ball float to behave erratically or provide a false reading. To ensure the
proper function of the unit, the application should be designed to minimize or dispel static electricity.
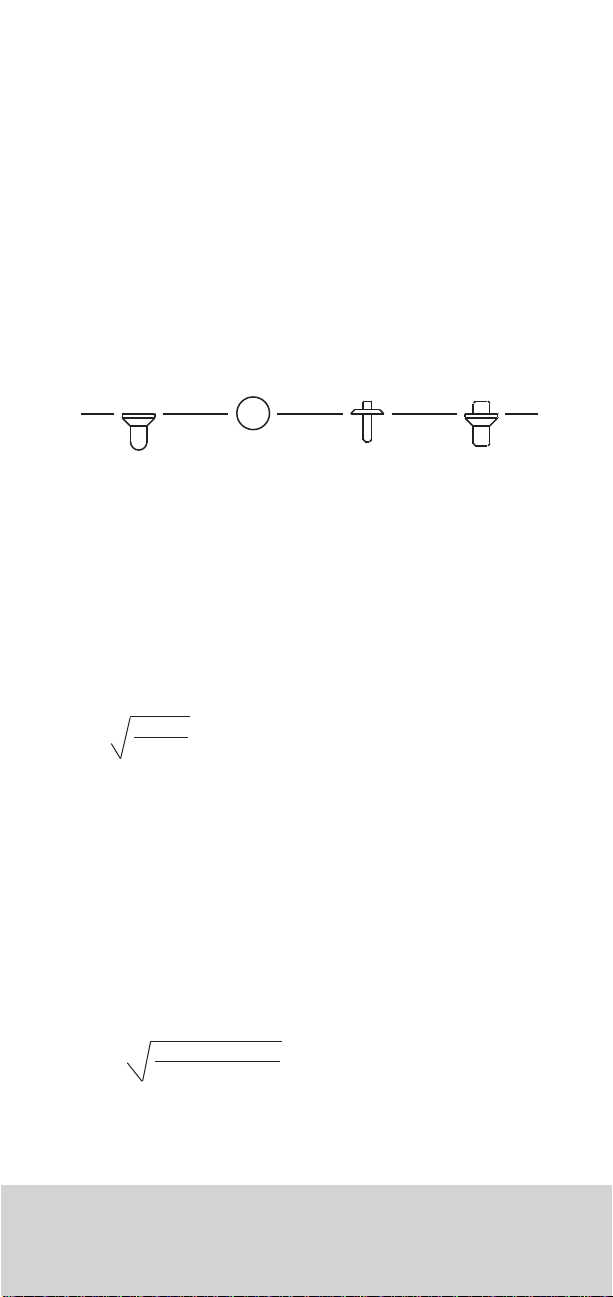
The standard technique for reading a Variable Area Flowmeter is to
locate the highest point of greatest diameter on the float, and then
align that with the theoretical center of the scale graduation. In the
event that the float is not aligned with a grad, an extrapolation of the
float location must be made by the operator as to its location between
the two closest grads. The following are some sample floats shown
with reference to the proper location to read the float.
Variable Area Flowmeters used for gases are typically labeled with the
prefix “S” or “N”, which represents “Standard” for English units or
“Normal” for metric units. Use of this prefix designates that the
flowmeter is calibrated to operate at a specific set of conditions, and
deviation from those standard conditions will require correction for the
calibration to be valid. In practice, the reading taken from the flowmeter scale must be corrected back to standard conditions to be used
with the scale units. The correct location to measure the actual pressure and temperature is at the exit of the flowmeter, except under vacuum applications where they should be measured at the flowmeter
inlet. The equation to correct for nonstandard operating conditions is
as follows:
2
= Q1x P1x T
Q
P2x T
2
1
Where: Q1= Actual or Observed Flowmeter Reading
2
Q
= Standard Flow Corrected for Pressure and
Temperature
1
P
= Actual Pressure (14.7 psia + Gage Pressure)
2
P
= Standard Pressure (14.7 psia, which is 0 psig)
1
T
= Actual Temperature (460 R + Temp °F)
T2= Standard Temperature (530 R, which is 70°F)
Example: A flowmeter with a scale of 10-100 SCFH Air. The float is sitting at the 60 grad on the flowmeter scale. Actual Pressure is measured at the exit of the meter as 5 psig. Actual Temperature is measured at the exit of the meter as 85°F.
2
Q
= 60.0 x (14.7 + 5) x 530
14.7 x (460 + 85)
2
Q
= 68.5 SCFH Air
©Copyright 2009 Dwyer Instruments, Inc. Printed in U.S.A. 7/09 FR# 59-440210-00 Rev. 9
DWYER INSTRUMENTS INC.
P.O. Box 373 • Michigan City, IN 46361 U.S.A.
Phone: 219/879-8000 • Fax: 219/872-9057
e-mail: info@dwyer-inst.com • www.dwyer-inst.com
 Loading...