

DVDO VS4 User Manual
DVDO VS4 HDMI Switch
User’s Guide
How to install, set up, and use your new DVDO product

TABLE OF CONTENTS
Table of Contents............................... 1
Introduction....................................... 1
Installation and Set-Up ....................... 2
Remote Control Operation.................. 3
Automatic Source Selection................. 3
Technical Specifications ...................... 4
Safety Information .............................. 5
Warranty ........................................... 6
INTRODUCTION
Welcome to the DVDO Family!
Thanks for buying the DVDO VS4 Four-Input HDMI Switch/Repeater.
It is our pleasure to bring you the VS4, which we are sure will deliver
years of reliable and enjoyable performance.
We look forward to helping you in any way that we can.
Should you need assistance, you can contact us via email,
or by calling our toll-free support line.
Email Help@DVDO.com
Toll-free in the USA 1-866-423-2826
From outside the USA 1-408-379-3836
Thanks again for your purchase of the VS4,
and welcome again to the DVDO Family!
The DVDO Team
September 2006
Campbell, California
1
INSTALLATION AND SETUP
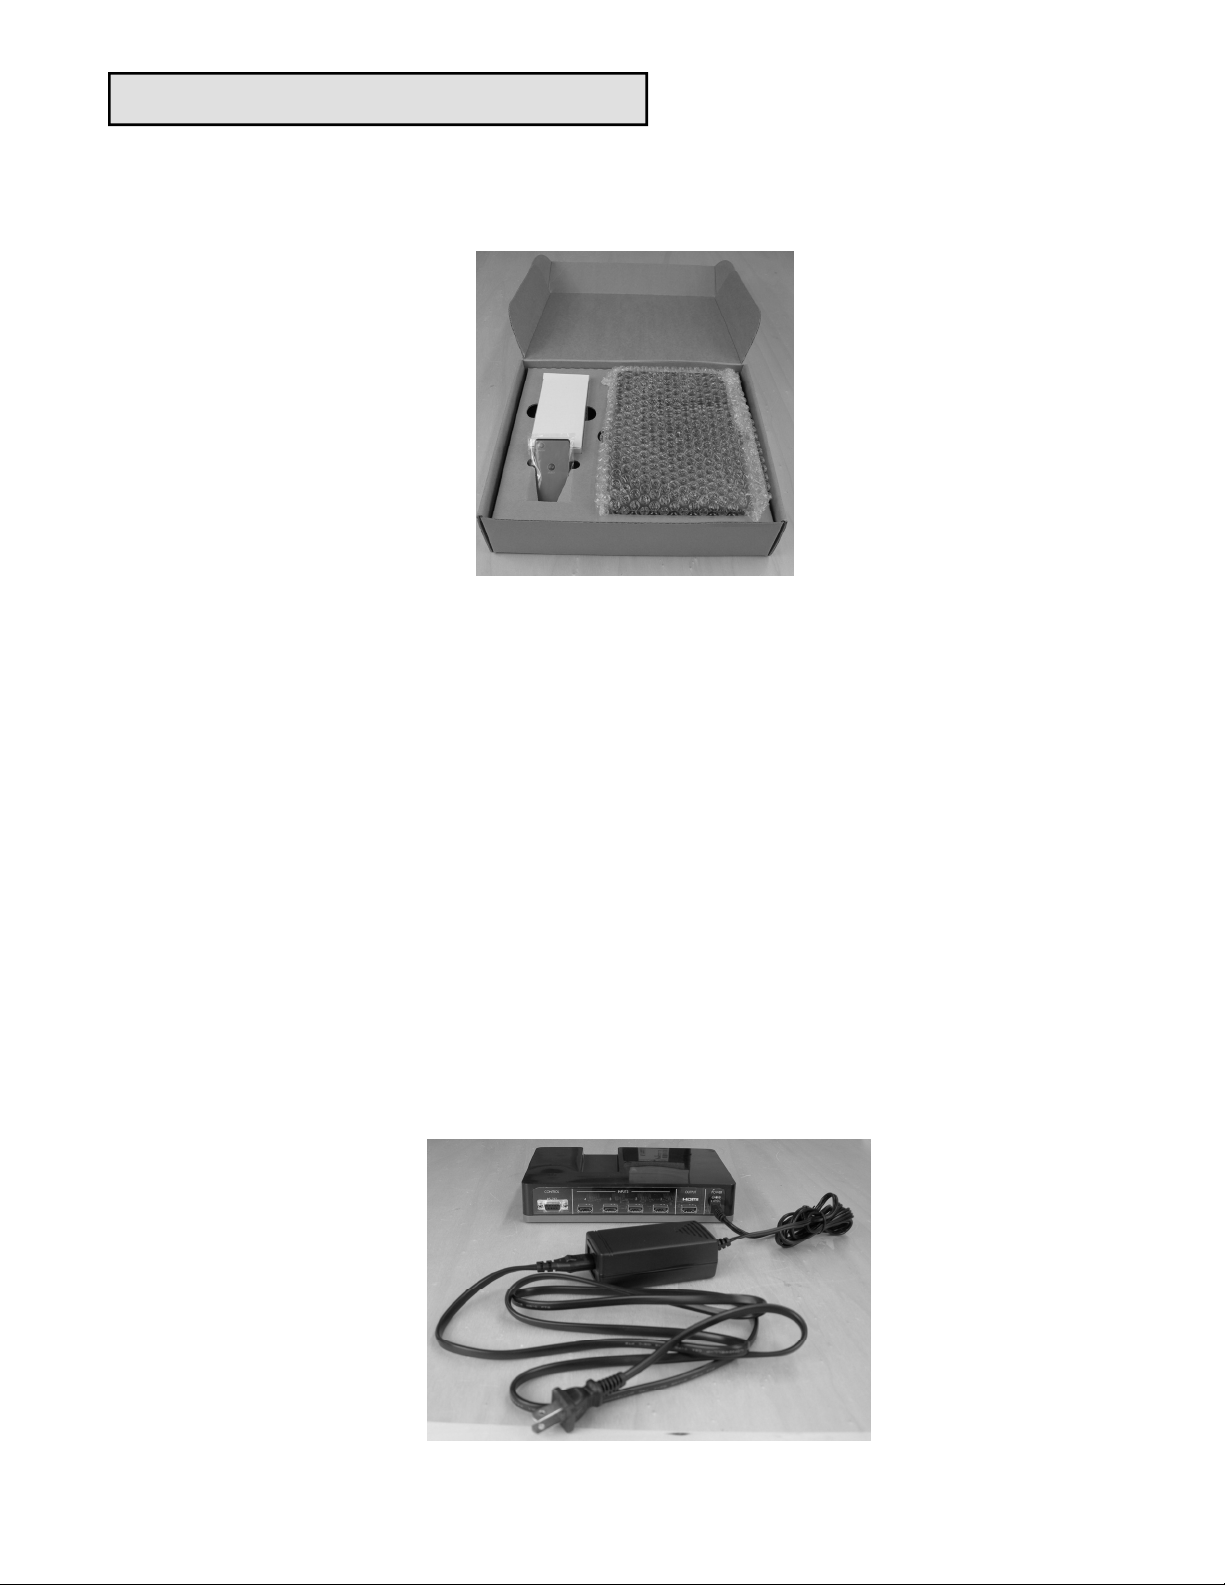
The VS4 package contains the VS4 switch unit, a power supply and two infrared
remote control units.
Remove and unwrap the components from the package. The infrared remote controls each contain a clear plastic battery protection tab. This tab must be removed
from the remote control units before use.
Connect the power supply to the VS4 unit as shown in the picture below.
Plug the power supply into a power outlet.
Connect HDMI cables (not included) from the HDMI or DVI source(s) to the VS4
inputs.
Connect an HDMI cable from the VS4 output to an HDMI or DVI display or to another HDMI receiving device, such as an AV receiver.
2
 Loading...