

Page 1
Design certified under ANSI Z21.97
-
2014/CSA2.41
-
2014 Standard for Outdoor Decorative Gas Appliance
570 Third Street, Lake Elsinore, CA 92530 1
-
833-334-3473 duraflamefireglass.com
Fire Place Pan Burner
(AFG-INST-013_REVG_07/18)
Manufactured and distributed by American Fire Glass™
Carlsbad Fire Pit Use and Care Instructions
(DFP-INST-002_REVB_08/18)
ATTENTION: READ INSTRUCTIONS CAREFULLY BEFORE ASSEMBLY OR USE
INSTALLER: LEAVE THIS MANUAL WITH THE APPLIANCE.
CONSUMER: RETAIN THIS MANUAL FOR FUTURE REFERENCE.
MODEL No. DFP-ND02
Carlsbad Fire Pit
1
Page 2
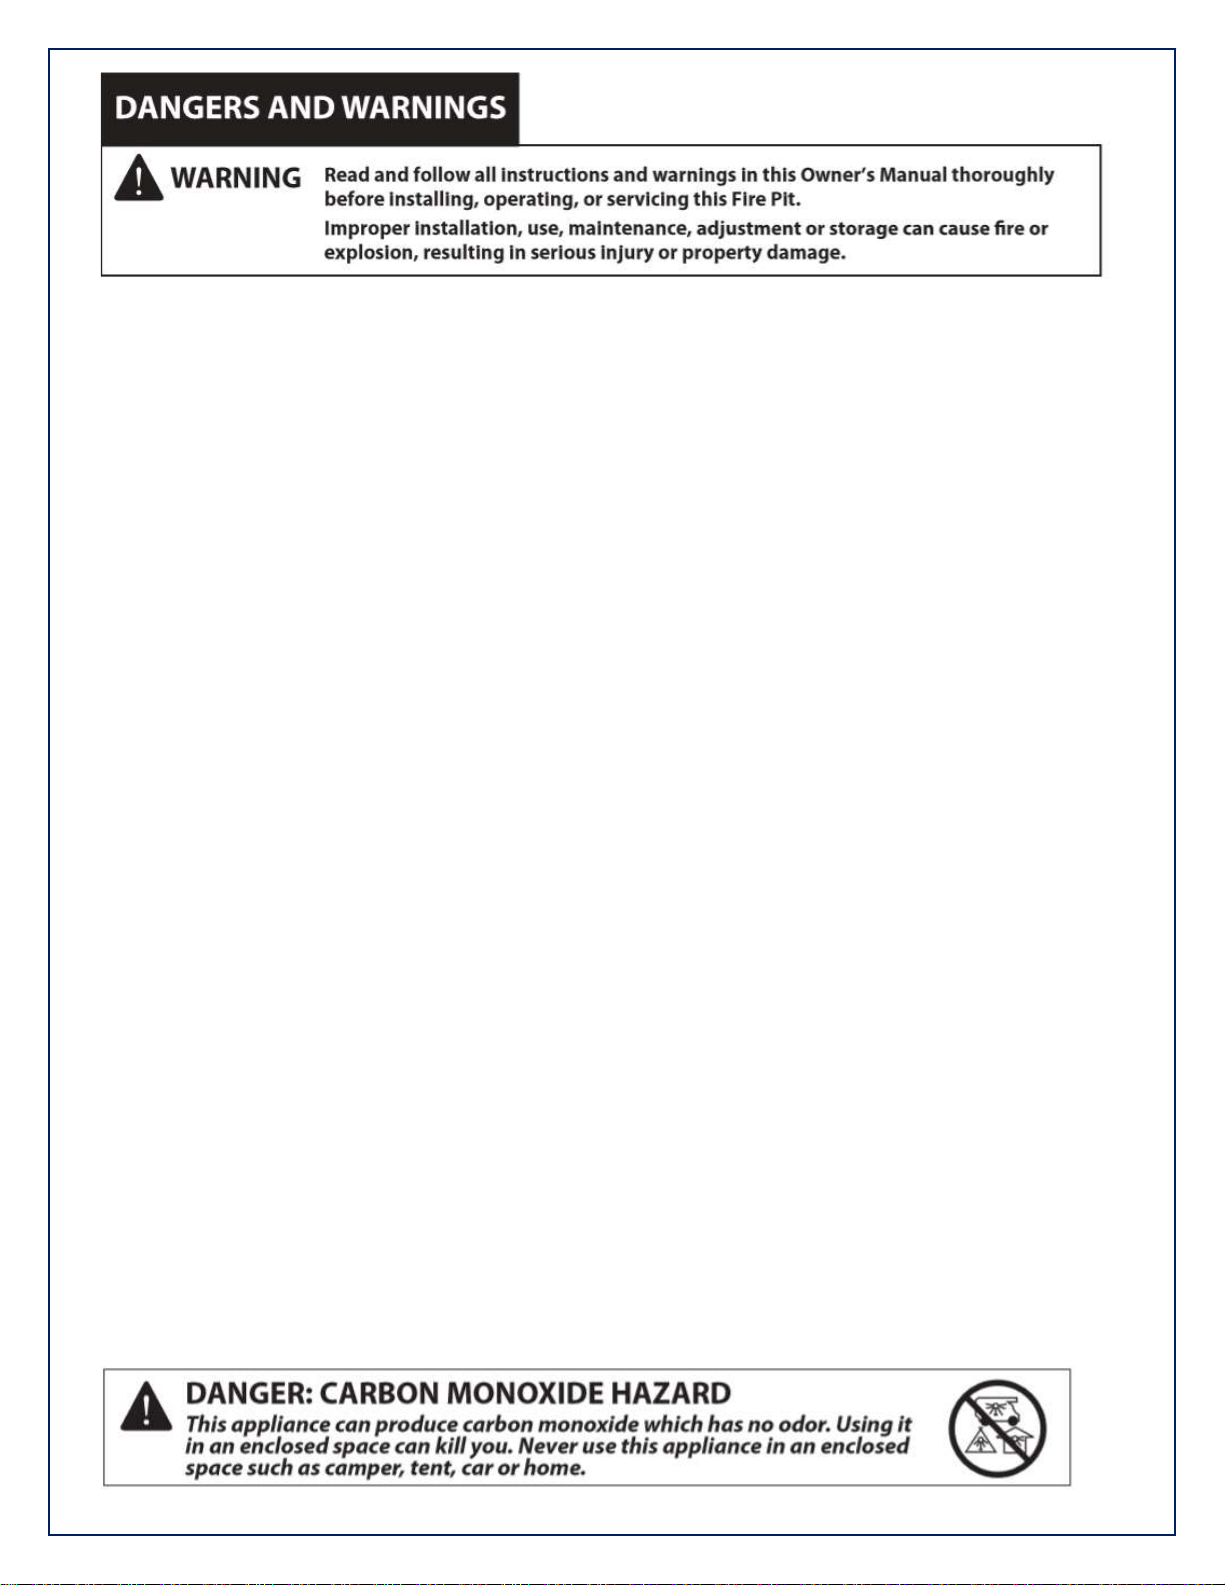
WARNING:
When Fire Pit is not in use – disconnect propane tank.
If Fire Pit is stored indoors – remove propane tank.
WARNING - Fire Pit must be attended at all times while in use!
WARNING – FIRE OR EXPLOSION HAZARD
If you smell gas:
1. Shut off gas to the appliance.
2. Extinguish any open flame.
3. If odor continues, leave the area immediately.
4. After leaving the area, call your gas supplier or fire department.
Failure to follow these instructions in this manual could result in fire or
explosion, which may cause property damage, personal injury, or loss of life.
WARNING
Do not store or use gasoline or other flammable vapors and liquids in vicinity of this appliance.
A propane tank not connected for use shall not be stored in the vicinity of this or any other appliance.
WARNING – USE PROPANE GAS ONLY.
For use with tanks marked PROPANE only. DO NOT connect to a remote gas supply.
WARNING – FOR OUTDOOR USE ONLY.
Installation and service must be performed by a qualified installer, service agency, or gas company.
2
Page 3
Prepare for use:
Keep away from Combustible/Flammable Items
Do not put any other fireplace cover or anything flammable on or beneath the fire pit.
Combustible material should never be within 1.83M/6 ft of the top, 1.22M/4 ft of back or sides of Fire Pit.
For use on noncombustible floor material only.
Keep Fire Pit area clear and free from combustible materials, gasoline, and other flammable liquids/vapors.
Inspect for leaks, wear and damage
Open door and check for gas leaks before use – see page 7, step #8 for instructions on how to check for leaks.
Inspect burner and hose before use. Replace if there is evidence of excessive abrasion, wear, or damage.
Inspect hose before each use. Hose assembly must be replaced prior to use if there is evidence of excessive
abrasion, wear, or if hose is damaged. Use a manufacturer-specified replacement hose only.
Prepare area, ensure proper us of Fire Pit Cover
Make sure ventilation opening on sides of Fire Pit (body) are open and clear of debris.
Do not lay nylon cover over fire pit for at least 4 hours after it is turned OFF and has completely cooled down.
Do not use fire pit if any part has been under water. Immediately call a qualified service technician to inspect
fire pit and to replace any part of the control system and any gas control that has been under water.
Remove nylon fire pit cover from fire pit before operating.
When in use:
Do’s
Use propane take with the following required measurements only: 30.5cm/12in (diameter) x 45.7cm/18in
(tall) with capacity 9kg/19.84lbs.
If flame goes out while operating, turn gas valve OFF. Wait 5 minutes before attempting to relight.
Due to high surface temperatures, always keep a safe distance to avoid burning or clothes catching fire.
Keep fuel supply hose away from any heated surfaces.
Dont’s
Never lean over the open fire pit or place hands or fingers on the upper portion while in use.
Do not use fire pits for cooking.
Do not burn any other materials other than what is supplied with and intended for use in the fire pit.
Solid fuels shall not be burned in this fire pit.
Do not pour water or liquids into fire pit.
Do not move fire pits while in operation.
Fire pit should not be operated by children. Children must be supervised when anywhere near fire pit.
Do not use fire pit on vehicles or boats. Always operate fire pit on flat ground outdoors.
When not in use:
Remove battery from Ignitor when not using fire pit for an extended length of time.
Clean battery contacts and also those of the device prior to battery installation.
3
Page 4

THIS PRODUCT USE PROPANE ONLY:
Use propane tanks with the following required measurements only 30.5cm/12in (diameter) x 45.7CM/18in
(tall) with capacity of 9kg/19.84lbs.
Max gas supply 28cm/11in w.c. (2.74kpa)
Only propane tanks marked “propane” may be used.
If you see, smell, or hear the hiss of escaping gas from the propane tank:
o Turn off the gas supply and get away from the propane tank and fire pit at once.
o Do not attempt to correct the problem yourself.
o Call your gas supplier and/or the fire department for help.
A dented or rusty propane tank may be hazardous and should be cleared by your gas supplier prior to use.
Do not attempt to disconnect gas regulator or any gas fitting while the fire pit is in operation.
The gas pressure regulator provided with the fire pit must be used.
Do not use a propane cylinder with a damaged valve and any other worn out parts.
Transport and store empty propane tanks carefully and properly.
Children and adults should be alerted to the hazards of high surface temperatures and should stay
away to avoid burns or clothes catching fire.
Young children should be carefully supervised when they are in the area of the fire pit.
Clothing or other flammable materials should not be hung from fire pit, or be placed on or near fire pit.
Propane gas supply tank to be used must be:
Constructed and marked in accordance with the U.S. Dept. of Transportation (DOT) Specifications for LP-Gas
Cylinders, or the Standard for Cylinders, Spheres, and Tubes for Transportation of Dangerous Goods and
Commission, CAN/CSA-B339 as applicable.
Provided with a listed overfilling prevention device; and
Provided with a cylinder connection device compatible with the connection for the appliance.
When Storing Fire Pit
Storage of fire pit indoors is permissible only if the propane
tank is disconnected and removed from fire pit. Propane tank must be stored outdoors in a well-ventilated
area out of reach of children. Disconnected cylinders must have threaded valve plugs tightly installed and
must not be stored in a building, garage or any other enclosed area.
Turn OFF control knob and close propane tank valve. Turn coupling nut counter-clockwise by hand only – do
not use tools to disconnect. Loosen cylinder screw beneath bottom shelf, the lift propane cylinder up and out
of shelf. Place dust cap on cylinder valve outlet whenever the propane tank is not in use.
WARNING: Improper installation, adjustment, alteration, service or maintenance can cause injury or property
damage. Refer to the owner’s information manual provided with this appliance. For assistance or additional
information, consult a qualified installer, service agency or the gas supplier.
The propane-gas supply cylinder must be disconnected when this appliance is not in use.
Any guard or other protective device removed for servicing the appliance shall be replaced prior to operating
the appliance.
Installation and repair should be done by a qualified service person. The appliance should be inspected
before use and at least annually by a qualified service person. More frequent cleaning may be require as
necessary. It is imperative that the control compartment, burners, and circulating air passageways of the
appliance are kept clean.
PREPARATION FOR ASSEMBLY
Before beginning assembly of this fire pit, make sure all parts are present. Compare parts with package contents
list. If any part is missing or damaged, do not attempt to assemble fire pit.
4
Page 5

Estimated Assembly Time: 25 Minutes
NOTE: You must follow all steps to properly assemble the fire pit. Make sure the gas valve is turned OFF before
assembly. Do not attempt to assemble without proper tools.
PACKAGE CONTENTS AND COMPONENTS
EXPANDED VIEW
5
Page 6

SEP 1 and 2.see the STEP 3 directly.
ASSEMBLY INSTRUCTIONS
Please keep these owner’s manual for future reference.
If you have opened the carton and removed all packages, please disregard and
STEP1.
(1) Open the carton and turn it upside down, make sure
the 4 pieces of carton open us as.
(2) Lift of the carton carefully and be wary of accessories
inside falling away.
(3) Take all the packing materials away except for the
paper honeycomb board
rounding top of the fireplace.
STEP 3.
1. Check each part before use the product.
Make sure the gas supply system is
turned “OFF” before assembling,
see Figure A.
2. Put the gas tank in the metal tank seat.
Make sure the tank sits on the metal seat
completely. Turn the win screw on the out
part of metal seat clockwise to secure
the tank tightly. See Figure D.
3. Locate the battery, remove the plastic
cover the first. Unscrew the rubber cap
of the Electric ignitor, place a AAA battery
Into battery case. Make sure the positive
pole (“+”) towards the cap. Screw the cap back
to the battery case tightly. See Figure B.
4. Place the lava rock averagely in the Fire
Pit on the top of fire pit. See Figure C.
DO NOT COVER THE IGNITION SCREEN.
When place the lava rock into the fire pit,
Always keep ignition SCREEN visible.
SEPT 4.
Connect the Pressure-Regulating valve to the
gas tank. See Figure E.
1. Turn the cylinder valve clockwise to the
The gas supply on the gas tan.
2. Screw regulator Coupling clockwise by hand
Only. Make sure it is fastened.
STEP2.
(1) Turn the fireplace heads up on a flat
ground.
(2) Removed all the paper honeycomb board
rounding top of the fireplace.
6
Page 7

WARNINGS and FIGURES:
Perform leak test in a well-ventilated area outside and where no source of spark an occur.
Remove battery from igniter. Open tank valve fully (counter-clockwise). Turn the on/off valve at the unit to
the ‘off’ position to pressurize the hose assembly. Use a soapy water solution to check all the connections leaks
before attempting to light the appliance. If a leak is found, turn the tank valve off and do not use the
appliance until repairs can be made.
TIPS: Before Starting
• Read the instructions thoroughly.
• Check and make sure that all parts are present.
• For future reference, save this instruction manual.
TO LIGHT
Before each use, inspect the hose. Replace hose if there are any signs of cutting, wear
or abrasion.
(1) Turn the cylinder valve on the gas tank counter-clockwise to open the gas supply.
(2) Close the storing door on the fire pit for the gas tank.
(3) Light the fire pit as below steps:
7
Page 8

A. Press and hold the Electric Ignitor. Meanwhile, push and turn the Control Knob counter-clockwise to the
cover, regulator, and feet.
"LOW" position. Keep pushing the Control Knob to light the burner.
B. After ignition, release the Electric Ignitor. Continue to push and hold the Control Knob for 45 seconds.
C. If ignition does NOT immediately take place in seconds, push and turn the Control Knob clockwise to
"OFF". Wait 5 minutes, then repeat the lighting procedure as above.
Caution: *If the burner does not ignite with the valve open, gas will continue to flow out of the burner and
could accidently ignite with risk of injury.
Observe flame height when lit:
Flame should possibly be a yellow/blue color between 2 and 10 inches high.
TO EXTINGUISH
the Control Knob and turn clockwise to the "OFF" position.
Turn
the cylinder valve on the gas tank clockwise to close the gas supply if not in use for a long time. (See
figure below)
1. Push
2.
ROUTINE CARE
1. Keep
2. Visually
3. After
your fire bowl free and clear from combustible materials.
inspect burner from obstructions and keep fireplace free and clear from debris.
the burner and lava rocks are completely cooled down, use a soft brush to get rid of the mild stains,
loose dirt and soil. Wipe with a soft cloth.
STUBBORN STAINS
1.
Stubborn stains, discoloration and possibly rust pitting can occur from exposure to harsh outdoor
conditions.
2.
Be careful not let any powder or solvent come in contact with painted or plastic components as damage
may occur.
MAINTENANCE
Store the fire pit in a cool dry place away from direct sunlight.
1.
2.
The propane cylinder must be disconnected and removed from the fire bowl before the appliance can be
stored indoors.
Make sure both the gas and the fire pit are turned off before changing battery. Please refer to the process
3.
of assembling battery.
4.
Use Manufacturer approved or supplied replacement parts and accessories only. Otherwise this may void
the warranty of this product
and result in a hazardous condition.
Please contact American Fire Glass™ at 1-833-334-3473 for information on replacement hoses, ignitors, lava rock or fire glass, nylon
8
Page 9

9
Page 10

LIMITED LIFETIME CONSUMER PRODUCT WARRANTY
The following warranty has been drafted to comply with the MAGNUSON-MOS-WARRANTY ACT
applicable to products manufactured after July 4, 1975. It replaces and supersedes any warranty in this
package or in any printed literature.
LIMITED WARRANTY
AMERICAN FIRE GLASS™, 570 THIRD STREET, LAKE ELSINORE, CA
U.S.A., NOT DURAFLAME®, INC, warrants all Duraflame® Fire Glass
and Fire Pit products and accessories against defects in materials
and workmanship, and suitable for a particular purpose, for a
period of:
1. TEMPERED GLASS – All glass is guaranteed against
burnout in the original installation for the lifetime of the
initial purchaser.
2. BURNERS/PANS – 5 years from date of purchase.
3. FITTINGS – 5 years from date of purchase.
4. IGNITION SYSTEM and PARTS – 1 year from date of
purchase.
5. LITE STONES – 2 years from date of purchase.
6. FIRE PITS – 2 Years from date of purchase.
THIS WARRANTY IS FOR THE BENEFIT OF THE ORIGINAL
PURCHASER.
WARRANTY ADJUSTMENT:
7. AMERICAN FIRE GLASS™, manufacturer and distributor of
Duraflame® Fire Glass and Fire Pits agrees to repair or
furnish a replacement for, but not remove or install any
product or component, which proves defective, within
the above warranty and appropriate time periods stated
8. BUYER shall notify AMERICAN FIRE GLASS™ of any defect
within this warranty no later the thirty (30) days after a
defect is discovered.
9. No product will be accepted for return or replacement
without authorization by AMERICAN FIRE GLASS™.
Before returning merchandise, contact AMERICAN FIRE
GLASS™ giving full details of the complaint, a copy of sales
receipt, invoice or other evidence of purchase date, and
an image of the item installed. Merchandise returned
without proof of purchase date will be serviced out of
warranty at our prevailing service and part rates. If
merchandise was damaged in transit, file claim
immediately with the carrier, and contact AMERICAN FIRE
GLASS™. Product returned must be addressed as follows:
AMERICAN FIRE GLASS™
570 THIRD STREET
LAKE ELSINORE, CA 92530
Shipping charges must be pre-paid by buyer.
REPAIR OR REPLACEMENT UNDER THIS WARRANTY WILL
BE SHIPPED AT NO CHARGE TO THE CUSTOMER.
EXCLUSIONS FROM WARRANTY:
1. The foregoing warranty is limited solely as set forth
herein and applies only for the periods designated
above.
2. AMERICAN FIRE GLASS™ or Duraflame®, Inc. shall not be
liable for any loss, damage, incidental or consequential
damages of any kind, whether based upon warranty,
contract, or negligence, arising in connection with the
sale, use, or report of the product. Some states do not
allow the exclusion or limitation of incidental or
consequential damages, so the above limitation or
exclusion may not apply to you.
3. The maximum liability of AMERICAN FIRE GLASS™ in
connection with this limited warranty shall not in any
case exceed the contract price paid for the product
claimed to be defective or unsuitable.
4. This warranty does not extend to any product provided
by AMERICAN FIRE GLASS™ which has been subjected to
misuse, neglect, accident, improper installation, or use
in violation of instructions furnished by AMERICAN FIRE
GLASS™.
5. This warranty does not extend to or apply to any unit
which has be repaired or altered at any place other than
an AMERICAN FIRE GLASS™ factory, or by persons not
expressly approved by AMERICAN FIRE GLASS™.
6. Components manufactured by any supplier other than
AMERICAN FIRE GLASS™ shall bear only that warranty
made by the manufacturer of that product.
7. Freight damage and color changes occurring from cause
beyond manufacturer’s control and are not covered by
any warranty.
THIS WARRANTY GIVES YOU SPECIFIC LEGAL RIGHTS,
AND YOU MAY ALSO HAVE OTHER RIGHTS WHICH VARY
FROM STATE TO STATE. AMERICAN FIRE GLASS™ shall
be held harmless from any and all claims by the buyer as
a result of injury or damage to an ultimate user or other
person caused by the product solid herein by the seller
to the buyer, whether the injury or damage results from
the assembly, installation, operation, shipment, storage
or manufacture of this product. AMERICAN FIRE
GLASS™ makes no warranties, expressed or implied,
other than those expressly stated herein.
Duraflame® Fire Glass and Fire Pits
Manufactured and Distributed by American Fire Glass™
570 Third Street, Lake Elsinore, CA 92530
www.duraflamefireglass.com
1.833.334.3473
DFP-INST-002_REVB_08/18
10
 Loading...