

Page 1
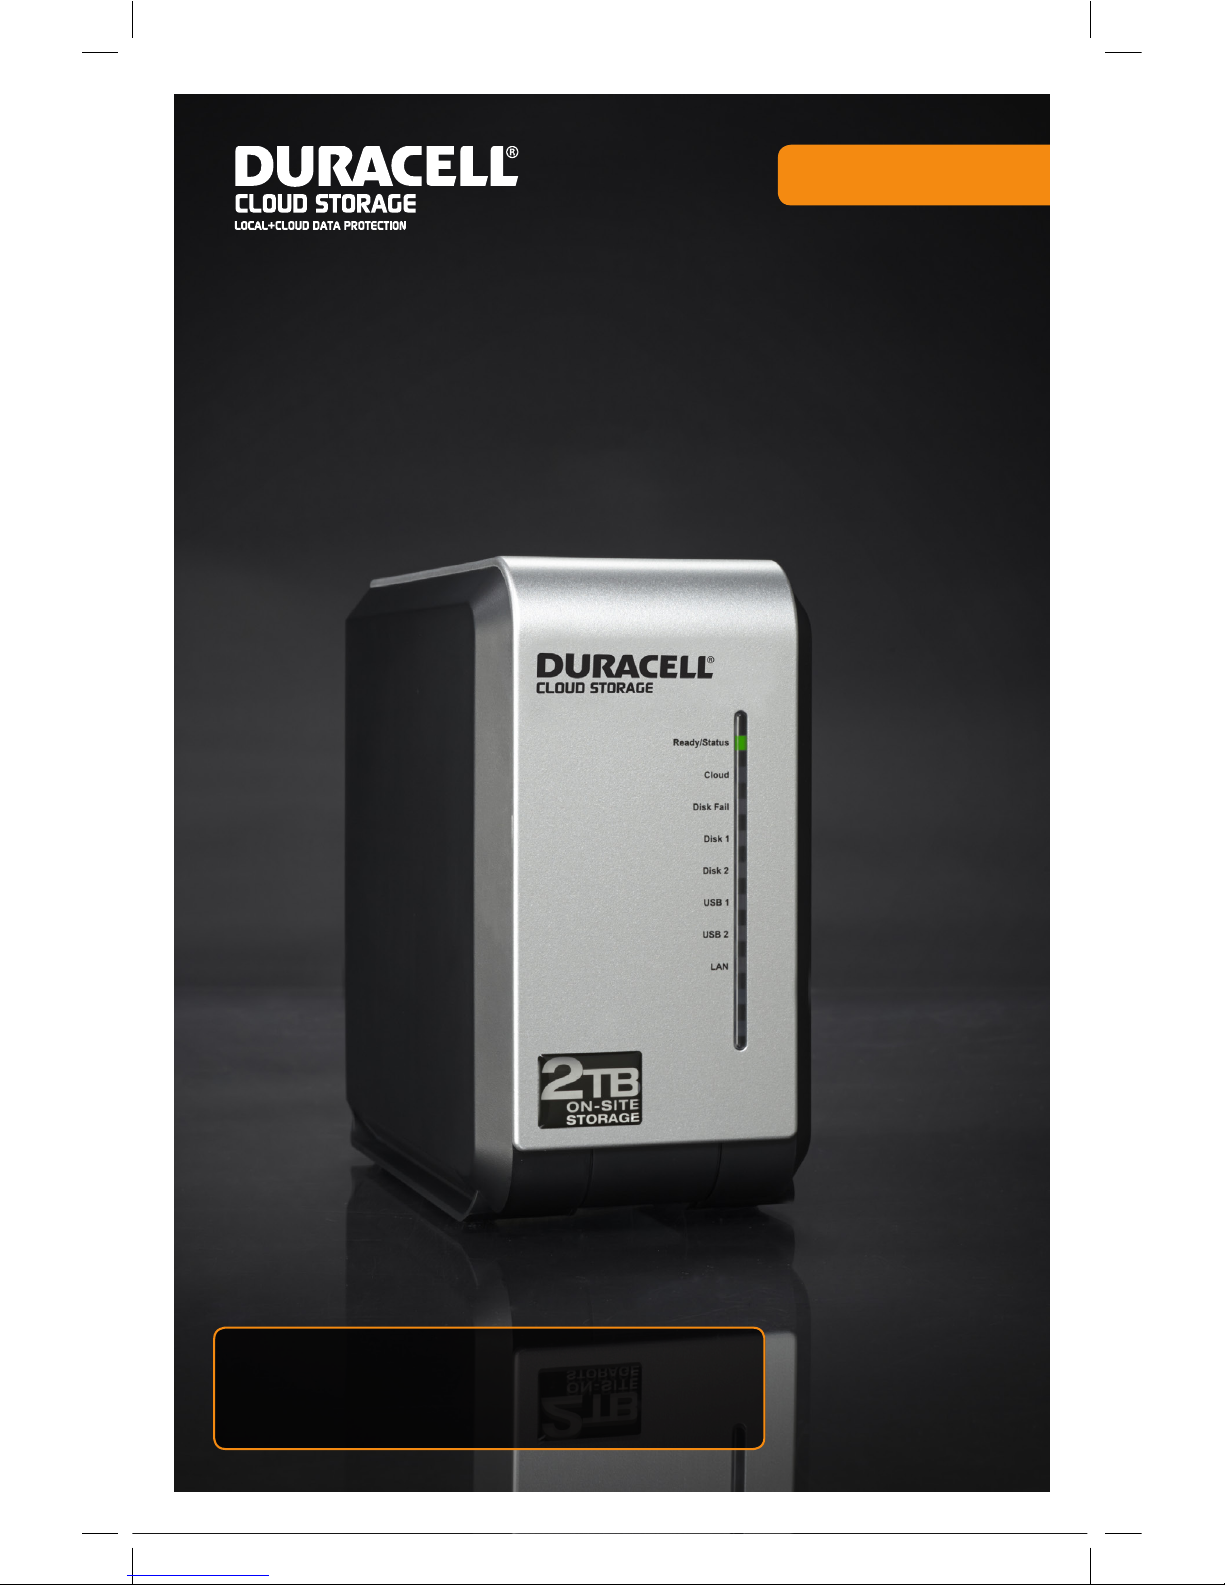
Quick Start Guide
You’re just a few steps away
from the fastest and most
secure data protection.
Important Note
Check your email for necessary login
information sent from backup.duracellcloud.com
Page 2
Quick Start Guide
DURACELL C LOUD STORAGE | QUIC K START GUIDE
Quick Start Guide
DURACELL C LOUD STORAGE | QUIC K START GUIDE
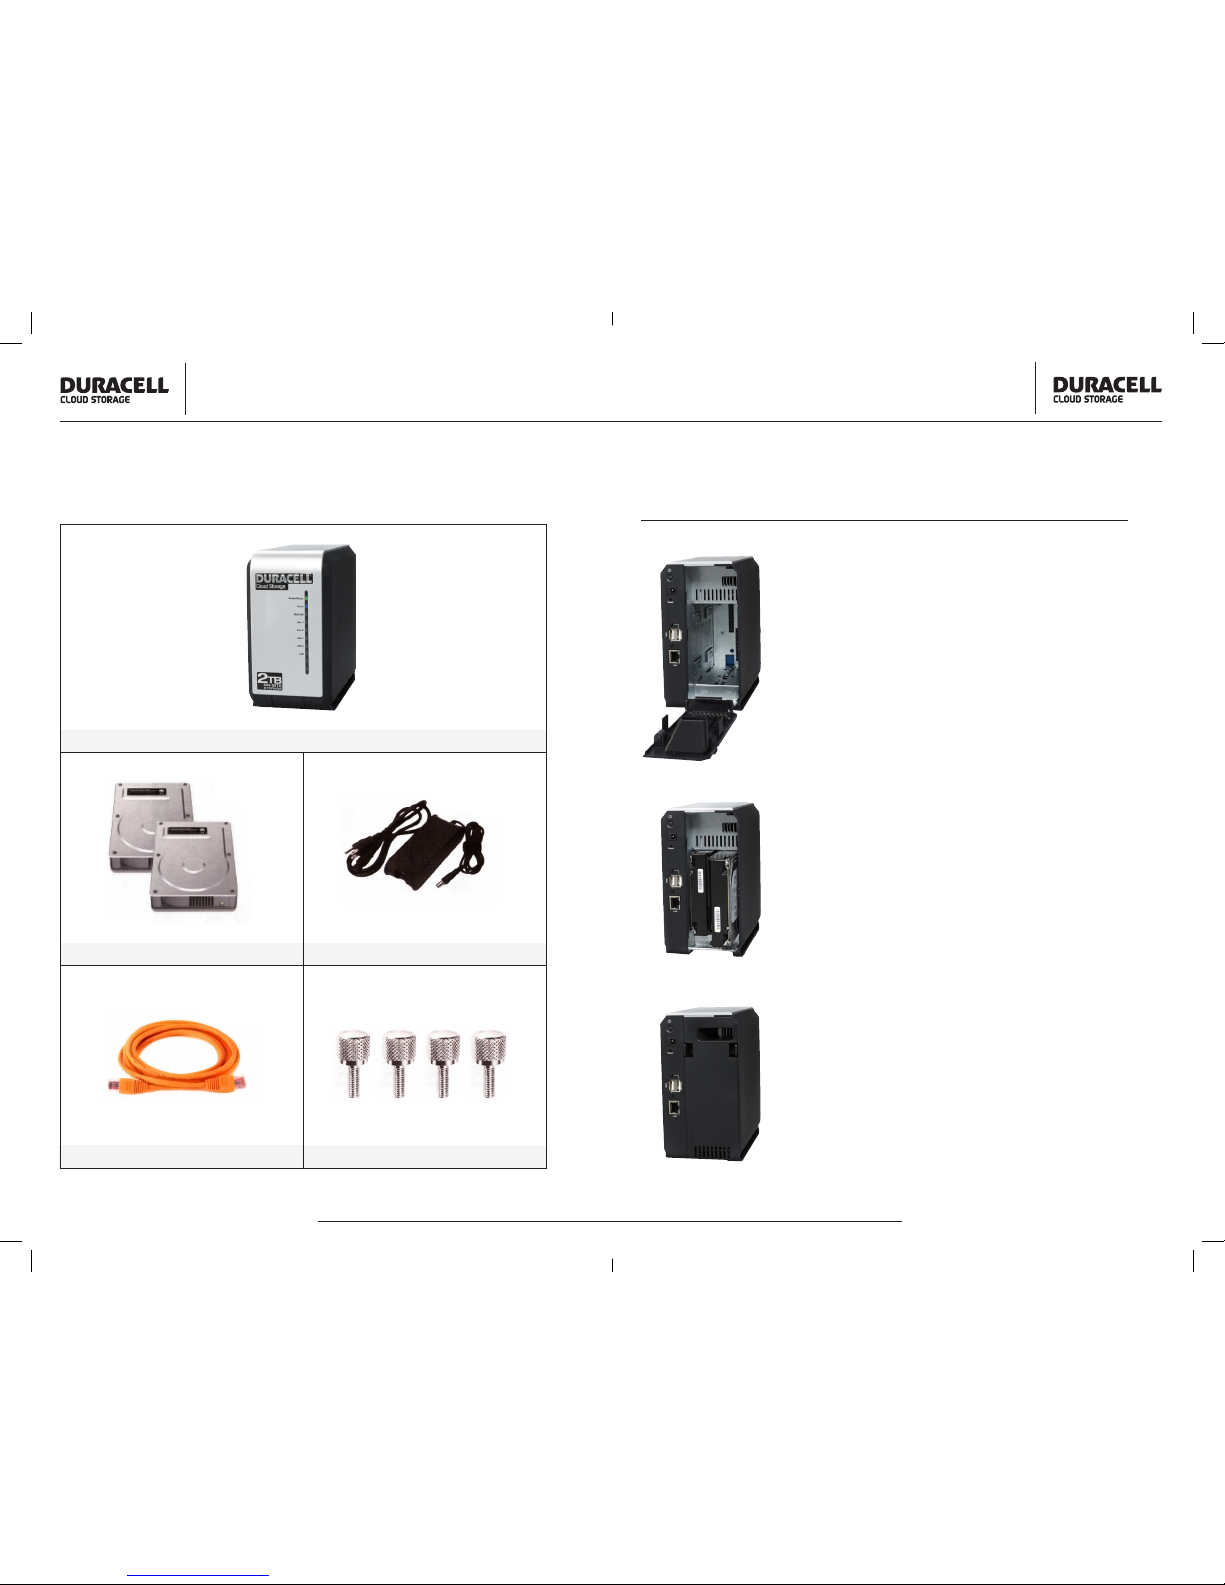
Step 1: Install Drives
Remove Back Cover
Pressing the tabs towards the center,
remove the back cover panel exposing
the drive chassis.
Insert Hard Disk Drives
Slide disk drives into chassis until fully mounted.
Turn the cloud appliance on its side so the bottom is facing you and screw in the 4 provided
thumbscrews to secure the disk drives.
Replace Back Cover
Close the appliance’s back cover, by inserting first
the bottom of the cover, pressing the tabs, and then
pushing forward. The cover should click into place.
Box Contents
1 Cloud Appliance
1 Power Adapter
4 Screws
2 Hard Disk Drives
1 Ethernet Cable
Page 3
Quick Start Guide
DURACELL C LOUD STORAGE | QUIC K START GUIDE
Quick Start Guide
DURACELL C LOUD STORAGE | QUIC K START GUIDE
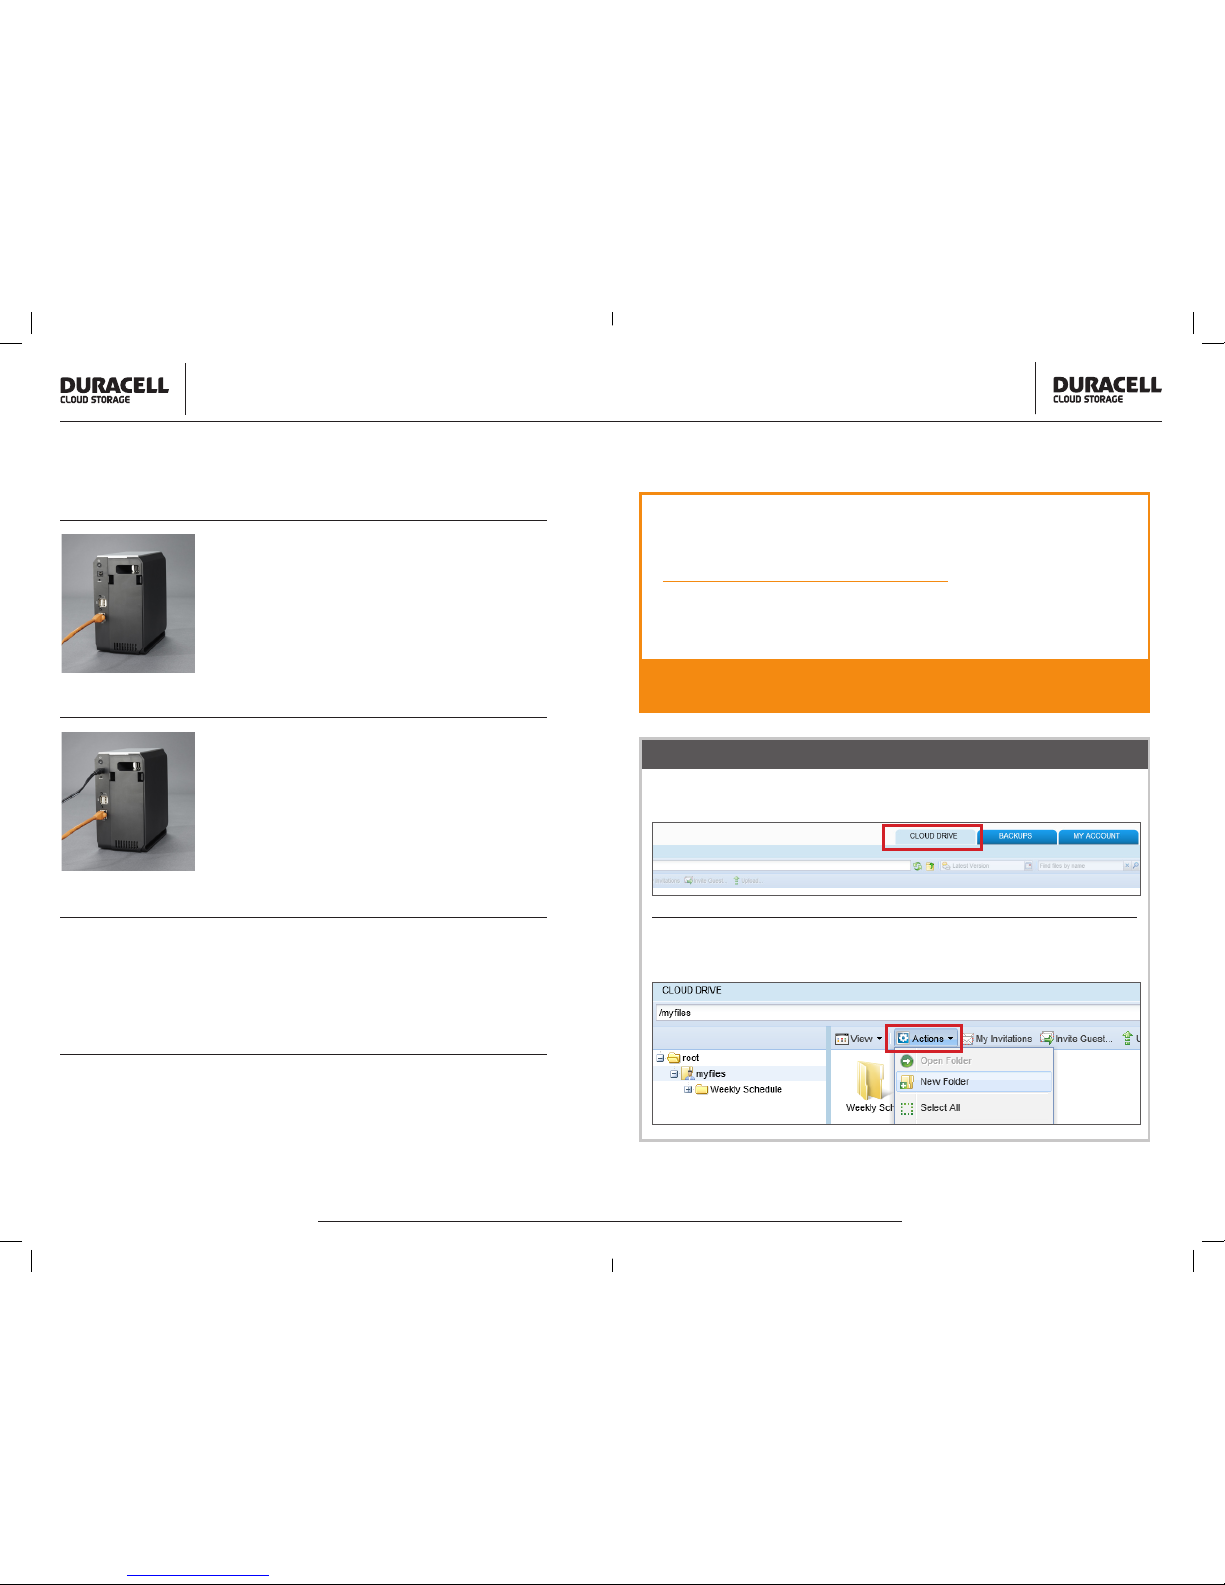
Step 2: Connect Ethernet
Step 3: Connect Power
Step 4: Power Up the Appliance
Step 5: Connect to the Web Interface
Connect Ethernet Cable
Plug one end of the Ethernet cable into the
LAN port on the rear of your Cloud Appliance
and the other end into a network port on your
Ethernet switch or router.
Connect Power Adapter
Plug the power cord into the power jack on the
rear of your Cloud Appliance and into a nearby
power outlet.
The Cloud Appliance should power on automatically. If not,
press the power button on the back. The LED turns steady
green when the Appliance is ready.
• Note that the Power On Self-Test may take up to 5 minutes.
On Windows Vista: Click Start > Network
On Windows XP: Click Start > My Network Places
Double-click on the Cloud Appliance icon
Prior to receiving your DuracellCloud DC202
appliance a new account was created for you at:
backup.duracellcloud.com
Your username is: John Smith (First and Last name)
Password: password (case sensitive)
To create a new folder to back up your data double click on my files. Click
on the drop down menu titled “Actions” to make a new folder.
After logging in you can access the “Cloud Drive” by selecting the tab below,
this is where you can create folders and manually upload data to the cloud.
To access the portal from any location go to:
backup.duracellcloud.com
Cloud Storage
Page 4

Quick Start Guide
DURACELL C LOUD STORAGE | QUIC K START GUIDE
Quick Start Guide
DURACELL C LOUD STORAGE | QUIC K START GUIDE
Another option involves copying and pasting the URL into one of your
outbound emails by going to “Get Public Link”.
Now that a new folder has been created you have the ability to share files
or folders with others. Begin by selecting the invite guest tab that is highlighted below
Once the email address has
been entered. You will be
presented with two options
in the “Type ” for sharing the
desired folders or files.
1. Read – The recipient will
only be able to view this
folder
2. Read/Write - The recipient
will be able to view and
modify files in this folder
Cloud File Sharing – Share by Email
Share with Link
Accessing the Local Applinace
To access your device go to backup.duracellcloud.com and login into
the cloud. Once logged into the cloud there is a tab called “Access Device”
this is the link for accessing your device.
Page 5

Quick Start Guide
DURACELL C LOUD STORAGE | QUIC K START GUIDE
Quick Start Guide
DURACELL C LOUD STORAGE | QUIC K START GUIDE
There are 3 tabs on the top right of the main page. By clicking on the “Files”
tab a user will be able to store/retrieve files that are saved on the device.
Click on the drop down menu titled “Actions” to make a new folder.
Once created the option to “Upload” files to the specific folder is enabled.
Downloading an Agent
Log into your device, once in the device go to “My Computers” tab.
Downloading an Agent (continued)
After clicking on the “My Computers” tab,
the option to download an agent will appear
on the left of your screen. All Operating
Systems are available for download, make
sure to download the correct agent with the
Operating System being used.
After the Agent has been downloaded
and installed, you will be able to login
through the toolbar by clicking on the
cloud icon.
Setup – File Uploads
This will then prompt you for a server name, username and password.
The server name will be xxxxx.backup.duracellcloud.com (the x’s are
your username).
continue d on next pag e
Page 6

Quick Start Guide
DURACELL C LOUD STORAGE | QUIC K START GUIDE
Quick Start Guide
DURACELL C LOUD STORAGE | QUIC K START GUIDE
Backup with Agent
Now that the connection has been established you will have the ability
to start backing up data. Either by choosing individual files or folders.
Or by accessing the device and
scheduling what to backup and
when.
IMPORTANT NOTE:
The appliance is not backed up
automatically to the cloud. It is
recommended to schedule when
and what files to backup to your
cloud storage.
The DuracellCloud has the ability to share files or folders with others. Begin
by selecting the invite guest tab that is highlighted below
Thanks for using Duracell Cloud Storage. We will
be happy to answer any questions you may have.
The DuracellCloud Team
• www.duracellcloud.com/support
• support@duracellcloud.com
File Sharing
Page 7

EMAIL:
support@DuracellCloud.com
FAQS:
www.DuracellCloud.com/support
TELEPHONE:
1.855.882.9711 (available 24/7)
USER GUIDE:
www.DuracellCloud.com/support/
You will be asked for your Cloud Assistant serial number
and/or MAC address. Please obtain this information by
clicking Main/This Device and record it here:
Serial Number: _____________________________
MAC Address: _____________________________
 Loading...