

DOUGHXPRESS TXM-15, TXM-15CP Owner's Manual
Receiving and Shipping ............................................................................ 2
Operation ............................................................................................... 3-4
Cleaning/Maintenance .............................................................................. 5
Specications ........................................................................................... 6
Warranty ................................................................................................... 8
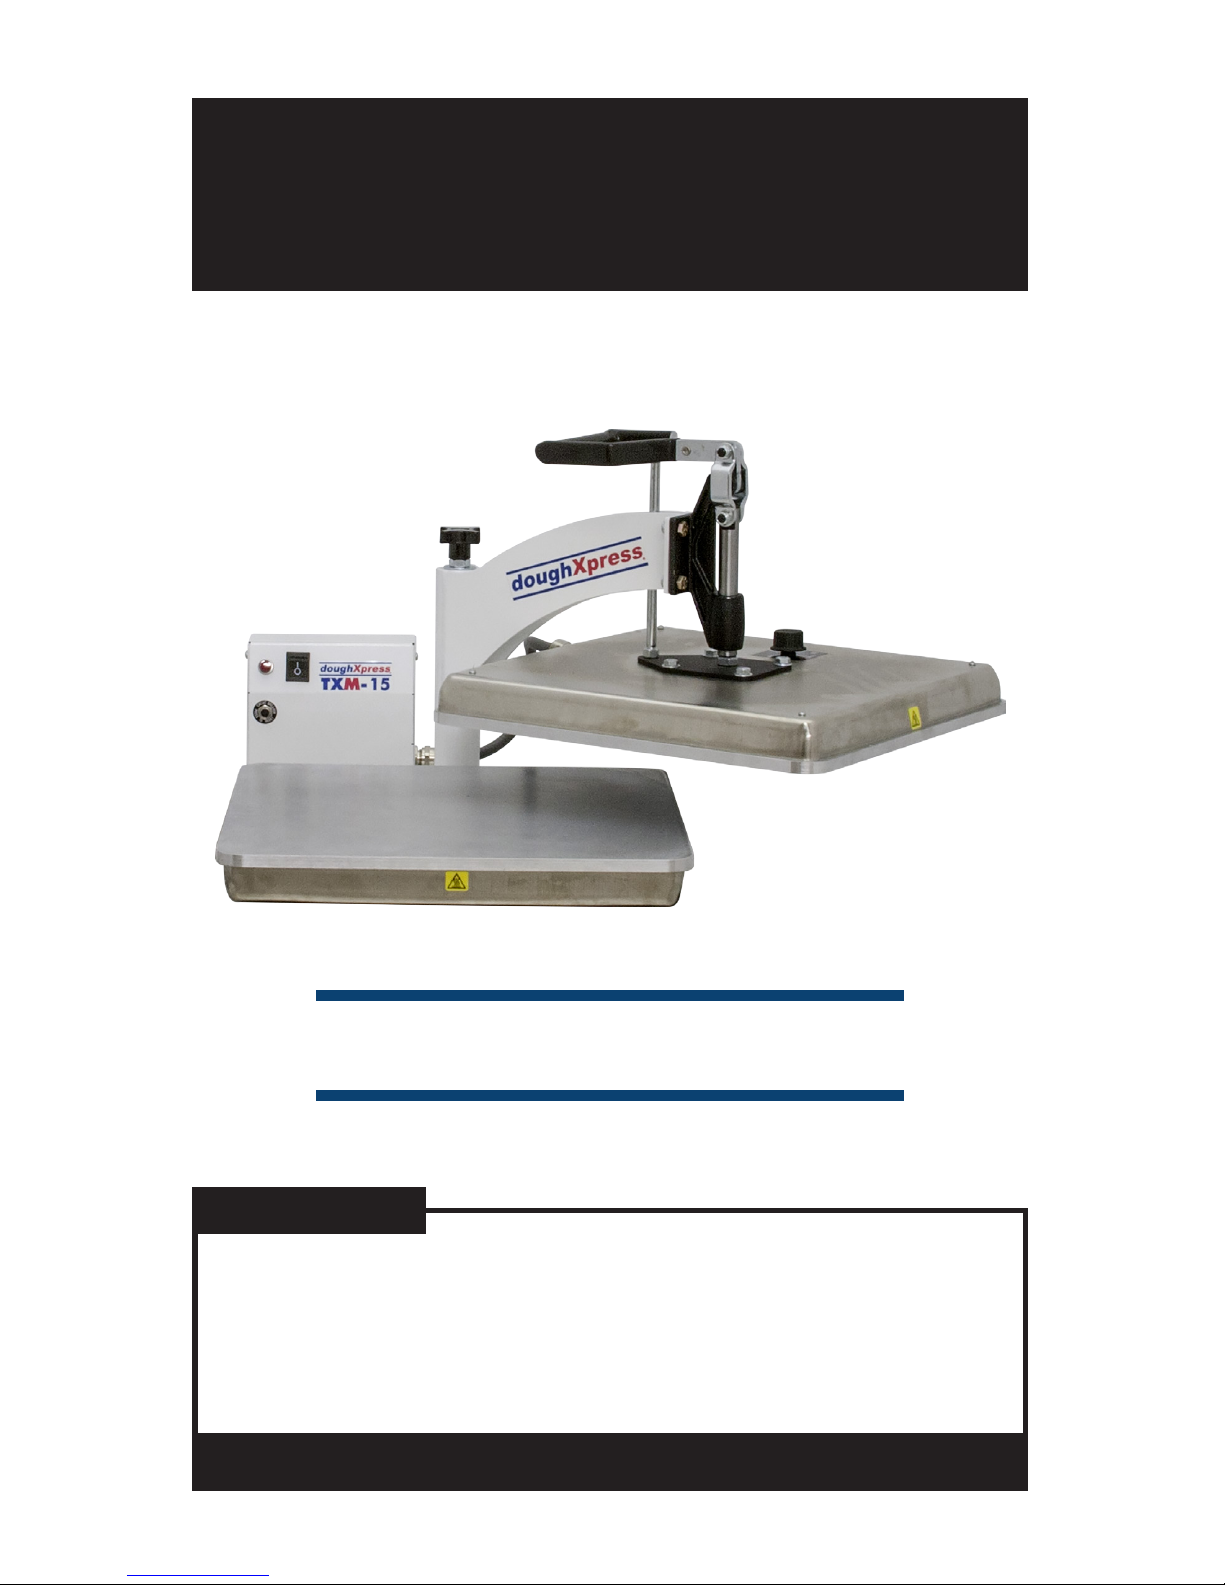
TXM-15
Manual Swing Away Tortilla Press
OWNER’S MANUAL
CONTENTS
BEFORE warranty repair you MUST get Prior Authorization:
For Customer Service, Call 1-800-835-0606
or Visit www.doughXpress.com
TXM-15 shown
70611 RV E_090517
®
doughXpress

2
RECEIVING AND SHIPPING
UNPACKING
Remember to save all packing materials - including box, liner and board.
You may need these for shipping your machine or if a repair is necessary
in the future.
INSPECTION
Inspect your machine for hidden shipping damage. Contact the delivery
company immediately, should you nd damage.
PLATEN SURFACE
Slight surface imperfections are a normal part of the aluminum casting
process for the platens on your press. These are not considered a defect
and do not affect the functionality of the machine in any way.
SHIPPING OR RETURNS
NOTE: Save all of your shipping/packing materials.
DO NOT RISK COSTLY SHIPPING DAMAGE!
SHIP ONLY IN ORIGINAL BOX.
1. Fasten machine to plywood shipping base with bolts provided.
2. Make sure handle is pressed down so that the heat platen will not swing
around during shipment.
3. Place in original box, and put side liner and top liner in place. Fold in
aps and seal the box.
(Additional bottom boards, box and liners may be obtained from your
supplier for a nominal cost.)
NOTE: This symbol represents “Hot Surfaces”
INSTALLATION
1. Lift press from box and place on cart, if you purchased one with the
press. Align legs with holes in top of cart and bolts (supplied) fasten
to cart. you will need a 9/16 wrench.
2. If press is to be placed on counter top stick black plastic foot pad on
the bottom of the legs.
3. Plug the press into a standard single phase, 220V, 20 amp recep-
tacle NEMA 6-20R.
NOTE: Upon receiving your new equipment, some debris or residue may
be present on the aluminum platen(s). Clean the platens per the
instructions provided prior to rst use.
WARNING: Do not use an extension cord to supply power to your press.

3
OPERATION
SETTING UP YOUR PRESS
1. Turn the upper and lower platens power switch located on the front
face of the press to the “ON” position. This switch is the master power
On/Off switch for the press.
2. Turn the switch to the “OFF” position when you are done. This will
turn power off to the entire machine.
Up is “ON” and down is “OFF”
THICKNESS CONTROL
1. The thickness control knob, located at the top / rear of
the machine, should be set so that the heat head will
lock down rmly with your product in place.
2. Thickness is reduced by turning knob (with machine
open) clockwise and increased by turning it
counterclockwise.
NOTE: Adjustments may be required from one product to another and will
vary to achieve the desired result.
CAUTION: Excessive pressure can cause structural damage, voiding the
machine warranty!
3. To set the nished tortilla thickness, turn the dial on the top of the
machine as indicated.
4. Wait for the machine to reach your preset temperature which will. It
takes approximately 30 minutes for machine to reach full temperature.
5. Swing out the upper platen and place your tortilla dough balls on platen.
You are know ready to produce tortillas.
THINNER
THICKER
 Loading...