


TXA
16
WARRANTY
1201 E. 27th Terrace • Pittsburg, KS 66762 • U.S.A.
(620) 231-8568 • Fax: (620) 231-1598
E-Mail: mail@hixcorp.com • Website: www.doughxpress.com
NOTICE
Our system will automatically register the equipment on the date it was shipped. If the
equipment was not purchased directly from HIX, but through a distributor (either domestic
or foreign), please keep a copy of their sales invoice showing the serial number and date it
was sold/shipped to you with this warranty. In this case, we will use the distributor’s invoice
date as the beginning warranty date. STAPLE A COPY OF YOUR RECEIPT TO THIS
WARRANTY and keep in a safe place to provide verifi cation of your warranty should a
problem occur. Thank you.
Please fi ll in the following information and attach a copy of your receipt for your records.
Date Purchased: _______________________ From:_____________________________
Model #: ______________________________ Serial #:___________________________
This warranty applies to equipment manufactured by the HIX Corporation (HIX), Pitts-
burg, Kansas, U.S.A. HIX warrants to the original purchaser its Dough, Tortilla and Poultry
Presses against defects in workmanship and material, except for wear and tear for a period
of “One Year” from the date of purchase. All dough press carts, compressors, and accesso-
ries are warranted for 90 days from the date of purchase.
In the event of a defect, HIX, at its option, will repair, replace or substitute the defective
item at no cost during this period subject to the limitations of insurance and shipping costs
stated below.
This warranty does not cover normal wear and tear, damages due to accident, misuse/
abuse, alterations or damage due to neglect or lack of proper lubrication or maintenance.
HIX shall not be responsible for repairs or alterations made by any person without the prior
written authorization by HIX. This warranty is the sole and exclusive warranty of HIX and
no person, agent, distributor, or dealer of HIX is authorized to change, amend or modify the
terms set forth herein, in whole or in part.
In the case of a problem with the equipment identifi ed herein, HIX Corporation should
be contacted during regular business hours to discuss the problem and verify an existing
warranty. HIX personnel will assist the customer to correct any problems which can be
corrected through operation or maintenance instructions, simple mechanical adjustments,
or replacement of parts. In the event the problem cannot be corrected by phone, and upon
the issuance of a return authorization by HIX, the equipment shall be returned to HIX or
an authorized service representative. All insurance and shipment/freight costs are solely
the responsibility of the customer, and not that of HIX, and HIX shall not be responsible for
improper handling or damage in transit. HIX customer service personnel may be contacted
for complete return authorization and reconditioning information.
This expressed warranty is given in lieu of any and all other warranties, whether ex-
pressed or implied, including but not limited to those of merchantability and fi tness for a
particular purpose, and constitutes the only warranty made by HIX Corporation.
In no event shall HIX’s liability for breach of warranty extend beyond the obligation to
repair or replace the nonconforming goods. HIX shall not be liable for any other damages,
either incidental or consequential, or the action as brought in contract, negligence or other-
wise.
This warranty gives you specifi c legal rights and you may also have other rights which
vary from state to state.
BEFORE warranty repair you MUST get
Prior Authorization: Call 1-800-835-0606
Warranty will be voided otherwise.
©2011 HIX Corp.
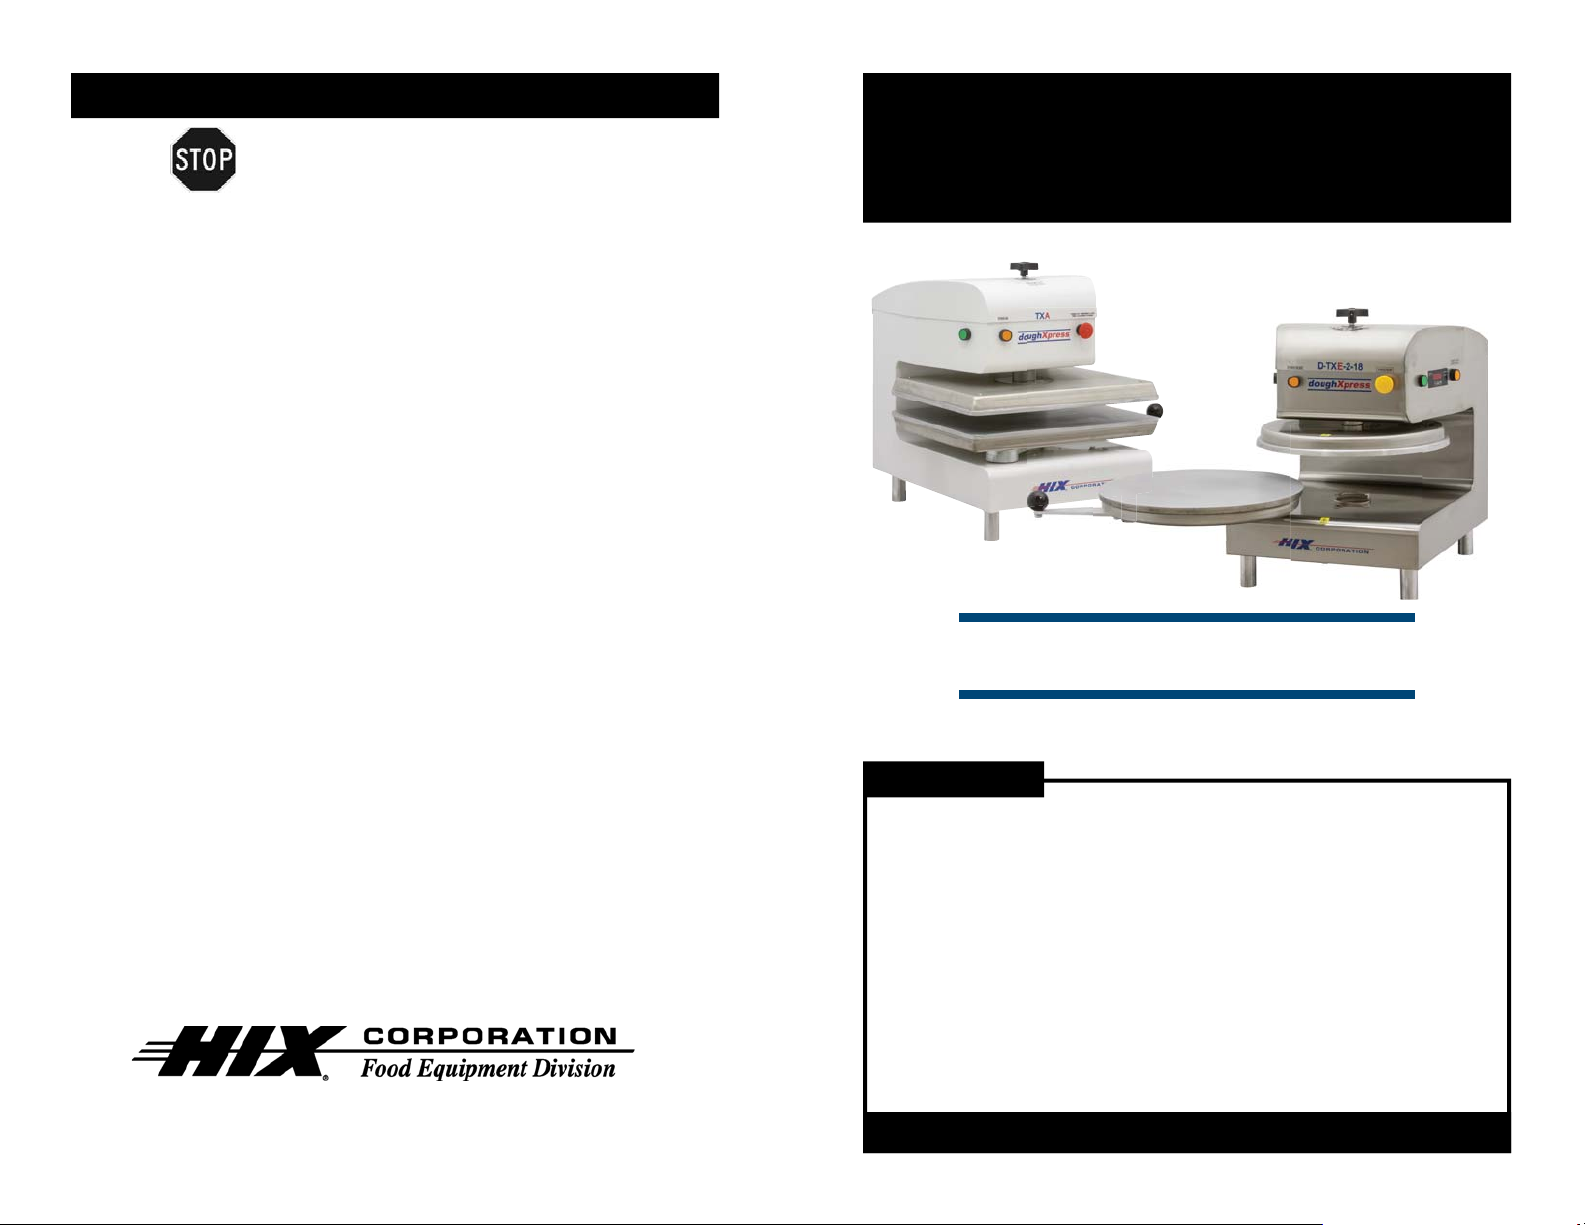
D-TXA-2-18/TXA
Electromechanical Automatic Presses
For Customer Service, Call 1-800-835-0606
or Visit www.doughXpress.com
D-TXA-2-18
TXA
70201 RV E_072915
®
doughXpress
Receiving & Setup ........................................................................................................... 2
Operation ......................................................................................................................... 3
Setting Temperature & time ............................................................................................. 4
Preference Settings ......................................................................................................... 5
Machine Presets .............................................................................................................. 6
Machine Presets ............................................................................................................. 7
Cycle Count ..................................................................................................................... 8
Temperature & Time Modes ........................................................................................... 9
Pressing Dough ............................................................................................................. 10
Pressing Dough ..............................................................................................................11
Pizza Dough Shrinkage ................................................................................................. 12
Frequently Asked Questions.......................................................................................... 13
Frequently Asked Questions.......................................................................................... 14
Cleaning / Maintenance ................................................................................................. 15
Warranty ........................................................................................................................ 16
OWNER’S MANUAL
OWNER’S MANUAL
CONTENTS
BEFORE warranty repair you MUST get Prior Authorization:

2
RECEIVING & SETUP
PLEASE READ THIS MANUAL IN ITS ENTIRETY
BEFORE OPERATING YOUR PIZZA PRESS.
INSPECTION
Inspect your box and machine for hidden shipping damage. Contact the delivery
company immediately, should you fi nd damage.
PLATEN SURFACE
Slight surface imperfections are a normal part of the aluminum casting process for
the platens on your press. These are not considered a defect and do not affect the
functionality of the machine in any way.
SHIPPING OR RETURNS
NOTE: Save all of your shipping/packing materials.
DO NOT RISK COSTLY SHIPPING DAMAGE!
SHIP ONLY IN ORIGINAL BOX.
1. Fasten machine to plywood shipping base with bolts provided.
2. Make sure handle is pressed down so that the heat platen will not swing around
during shipment.
3. Place in original box, and put side liner and top liner in place. Fold in fl aps and
seal the box.
*Additional bottom boards, box and liners may be obtained from your supplier
for a nominal cost.
INSTALLATION
1. Lift press from skid and place on cart, if you purchased one with the press.
Align legs with holes in top of cart and bolts (supplied) fasten to cart. You will
need a 9/16 wrench.
CAUTION: Heavy lifting can cause injury. We recommend two person lifting
or use of a mechanical aid when handling this press. Remember
to always maintain natural curves of back and bend knees to lift.
2. Plug the cord of the press into a correctly grounded electrical outlet. The correct
voltage is indicated on the identifi cation tag of the press.
3. Remove wrap from handle and platens.
WARNING: Do not use an extension cord to supply power to your press.
4. Supply a clean (void of oils) and dry (void of water) air source of 110-130 P.S.I.
(7-8 bar) to the 1/4” NPT air inlet located on the back panel of the machine.
Requires 1 CFM (30 L/min). It is strongly recommended that an external air
fi lter and water trap be installed at the machine’s air inlet connection. This
equipment has small valves and ports that can become blocked from mois-
ture and residue in compressed air causing it to malfunction. Damages to the
equipment’s internal air operated components resulting from unfi ltered air are
not covered under warranty. Combination air fi lter/water traps are available
at any major hardware store or may be purchased directly from doughXpress
(part #71145).
15
CLEANING / MAINTENANCE
WARNING: Before cleaning, performing maintenance or repairs make sure the
machine is turned off and the machine is unplugged.
***This appliance is not waterproof. Never spray or pour water or any other
cleaning solution onto this appliance.***
CLEANING ALUMINUM UNCOATED HEAT PLATEN(S).
1. Unplug the machine and allow it to cool.
2. Open the heat platen for easier access.
3. Dampen a nonmetallic scrubbing sponge with a mild soap or detergent to
remove any excess material from the heat platen(s).
4. Wipe clean with a dry cloth.
CLEANING PTFE COATED PLATEN(S) (OPTIONAL FEATURE).
1. Unplug the machine and allow it to cool.
2. Open the heat platen for easier access.
3. Clean the PTFE coated platen with a mild soap and warm water applied
with a soft cloth or sponge. Do not use steel wool, scrub sponges, kitchen or
oven cleaners or any other kind of abrasive material. This will damage the
coating.
4. Wipe clean with a dry cloth.
CLEANING OUTSIDE SURFACES OF THE MACHINE
Use a mild soap and warm water applied with a soft cloth or sponge. Do not use
steel wool, scrub sponges, kitchen or oven cleaners or other abrasives that will
damage the painted surface.
LUBRICATION
Your press requires lubrication every 15,000 cycles or every 6 months. Use NSF/
NLGI2 rated food grade grease (such as Bel-Ray No-Tox #2 or equivalent). Lubri-
cate all moving or hinged points.
CIRCUIT BREAKER RESETTING
Should the circuit breaker trip, simply allow the machine to cool for 2 minutes and
then reset the circuit breaker by pressing the button back in to allow the machine
to come back on. If the circuit breaker continues to trip, have an electrician diag-
nose the cause of the fault.

14
FREQUENTLY ASKED QUESTIONS
PIZZA
Q: Why won’t my dough press to size?
• Weight of the dough ball -
not enough dough
• Temperature of the dough ball might be cold -
higher temp/longer
press time
• Set to thick -
change thickness setting
Q: When I press my dough it gets sticky? Why?
• Very wet dough -
turn up temperature
• Platens are not clean -
possible fl our build up
Q: Why won’t my dough press out even?
• Unlevel platens
Q: Why is my dough tearing when I press?
• Usually this is caused by under mixing the dough in the mixer -
mix
on slow speed for a minimum of 10 minutes
• Cold or frozen particles in the dough
Q: What temperature should I be pressing the dough?
• Cold dough could vary from 130ºF to 170ºF
• Warm dough or room temperature dough 100º-110ºF
Q: How long should I be pressing the dough?
• Warm dough 2-7 seconds
• Cold dough 5-10 seconds
Q: Will the heat kill the yeast?
• N0 -
yeast dies at 180ºF for 2-minutes - The temperature we are
pressing could range from 100º-170ºF for a maximum pressing time
of 10 seconds. This will not affect the yeast in the dough.
Q: Is 18” the only size crust I can get with this press?
• No -
The weight of the dough ball and your thick & thin setting will
determine the size of your crust. Different dough ball weights will
determine the size of your crust.
Q: How do I get an edge with the press?
• Press out dough normally -
(2) ways you can get an edge…
a.
After pressing crust, form edge by hand
b.
When saucing crust leave a 1/4” to 1/2” ring from the edge to
let your oven bake the edge naturally for a nice handmade
look.
3
OPERATION
PREPARATION
1. Turn on the machine by pushing the on/off switch.
Startup/Splash screen is displayed as the controller boots up.
NOTE: The current program number and the software revision of the control-
ler are displayed at startup. (The default settings are program number
P 11 for °F, P 12 for °C and software revision RV 1.0)
After boot up, the home screen is displayed showing the current heat platen tempera-
ture and set cycle time. The heat indicating lamp is represented by the snowfl ake
in the upper left corner of the display. The heat indicating lamp will display anytime
the heating element is heating and will cycle on and off after the set temperature is
reached to maintain set temperature.
MACHINE PRESET
BUTTONS
ACCESS
SETTINGS MENU
TEMPERATURE
READOUT/SETTING
HEAT INDICATING
LAMP
TEMPERATURE
MODE
TIME
READOUT/SETTING
TIME SCALE
HOME MENU SCREEN
Startup/Splash Screen
Thickness Control Knob
Start Cycle
Button
Start Cycle
Button
Power On/Off Button
Cycle Interrupt
Button
Digital Time and
Temperature
Control
 Loading...