

DOUGHXPRESS DM-18NH Owner's Manual
70600 RV B - 113010
Unpacking / Installation ................................................................................................... 2
Operation ......................................................................................................................... 3
Dough ball weights .......................................................................................................... 4
Frequently Asked Questions............................................................................................ 4
Cleaning / Maintenance ................................................................................................... 7
Warranty .......................................................................................................................... 8
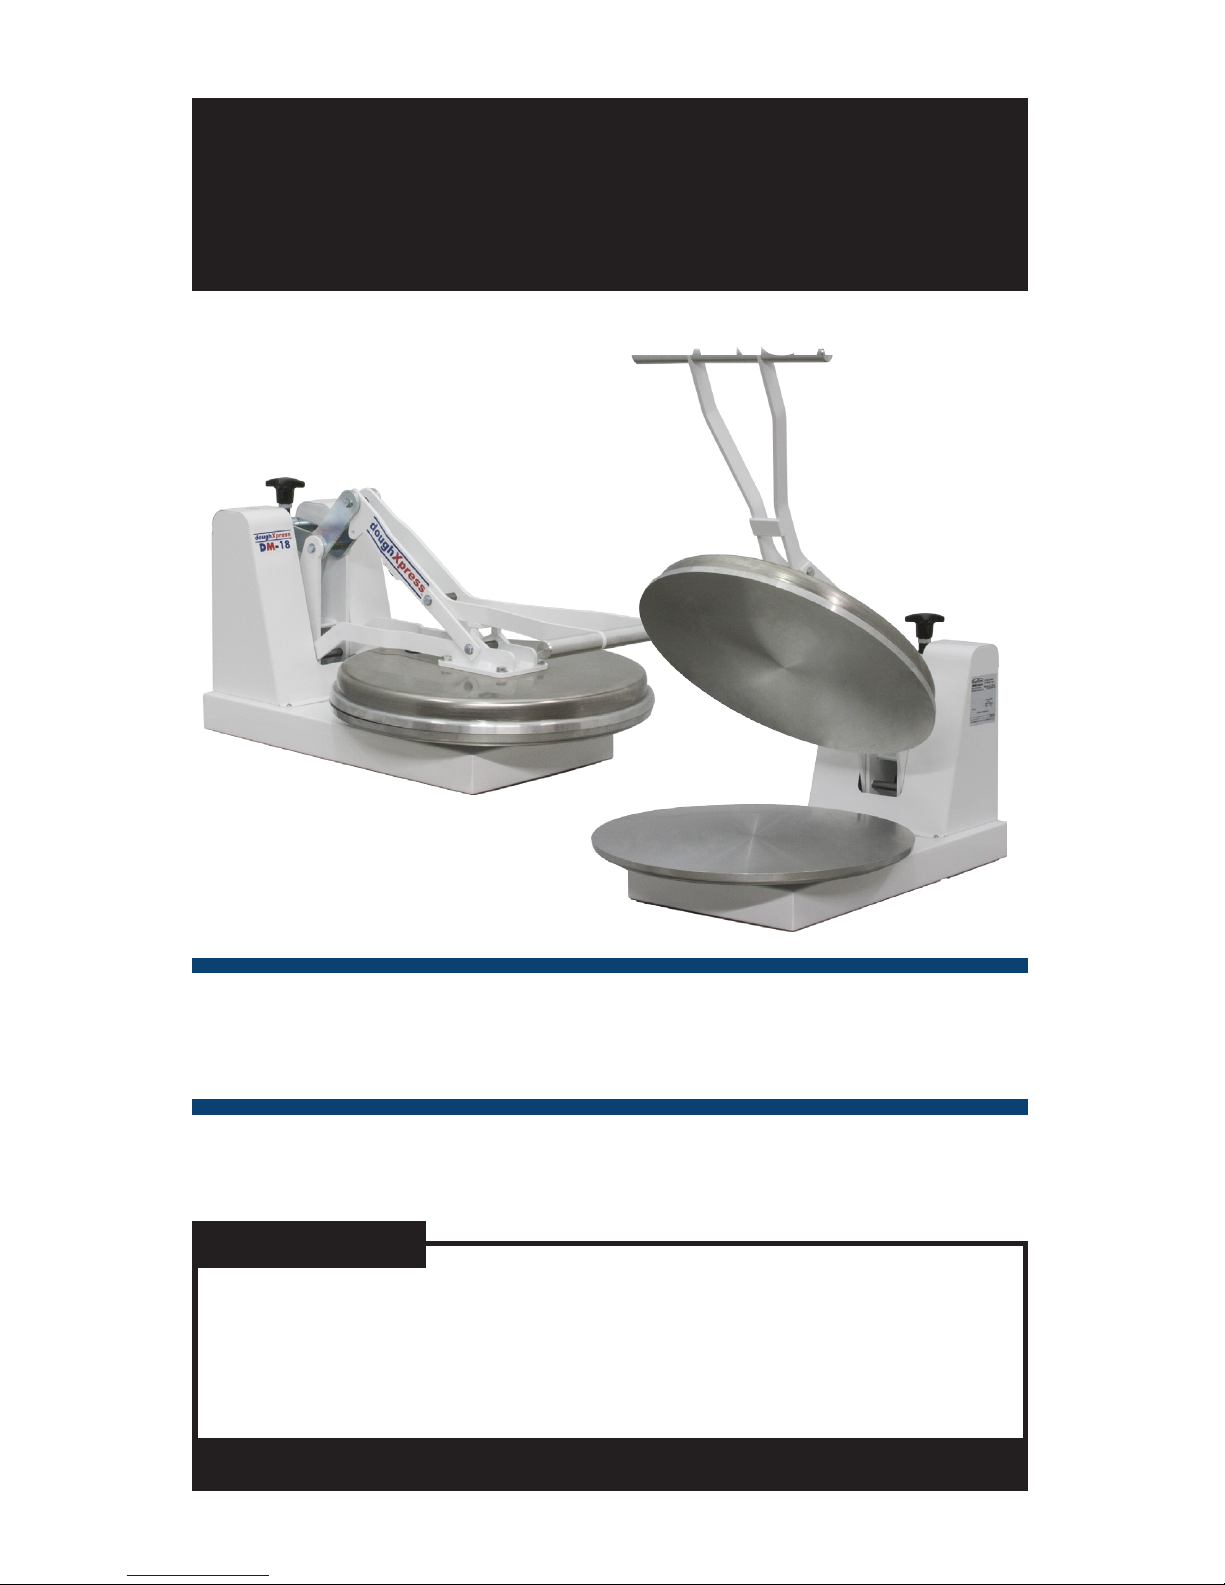
DM-18NH
Manual Dough Cold Press
OWNER’S MANUALOWNER’S MANUAL
CONTENTS
BEFORE warranty repair you MUST get Prior Authorization:
For Customer Service, Call 1-800-835-0606 ext. 205
or Visit www.doughXpress.com
®
doughXpress

2
UNPACKING / INSTALLATION
PLEASE READ THIS MANUAL IN ITS ENTIRETY
BEFORE OPERATING YOUR PIZZA PRESS.
INSPECTION
Inspect your box and machine for hidden shipping damage. Contact the
delivery company immediately, should you nd damage.
PLATEN SURFACE
Slight surface imperfections are a normal part of the aluminum casting
process for the platens on your press. These are not considered a defect
and do not affect the functionality of the machine in any way.
SHIPPING OR RETURNS
NOTE: Save all of your shipping/packing materials.
DO NOT RISK COSTLY SHIPPING DAMAGE!
SHIP ONLY IN ORIGINAL BOX.
1. Fasten machine to plywood shipping base with bolts provided.
2. Make sure handle is pressed down so that the heat platen will not swing
around during shipment.
3. Place in original box, and put side liner and top liner in place. Fold in
aps and seal the box.
*Additional bottom boards, box and liners may be obtained from your
supplier for a nominal cost.
INSTALLATION
1. Lift press from box and place on cart or counter top.
2. Remove plywood shipping base from press.
CAUTION: Heavy lifting can cause injury. We recommend two person
lifting or use of a mechanical aid when handling this press.
Remember to always maintain natural curves of back and
bend knees to lift.
3. Plug the cord of the press into a correctly grounded electrical outlet.
The correct voltage is indicated on the identication tag of the press.
4. Remove wrap from handle and platens.
WARNING: When using an extension cord, use 12 or 14 ga.-3
conductor. Maximum length, 25’ (7.62 m).
This machine is designed in accordance with the NSF-8 sanitation standard
to be sealed to the countertop to prevent the harborage of vermin and
the accumulation of dirt and debris. To comply with this standard the end
customer must seal around the perimeter of the base of the machine to the
countertop with a food grade RTV silicone sealant that is certied to the
NSF/ANSI 51 standard such as Dow Corning #732 Multipurpose Sealant.
3
PRESSING DOUGH
Your pizza press is designed for easy use and operation to reliably press
dough balls. Thickness, shape, and size are directly related to your dough
ball, its shape, the temperature of the dough, the recipe of your dough, type
of lubricating food oil, as well as the settings of your machine. You should
experiment with the following for the results you want.
WARNING: Never attempt to press frozen dough. Personal injury and
damage to your machine could result!
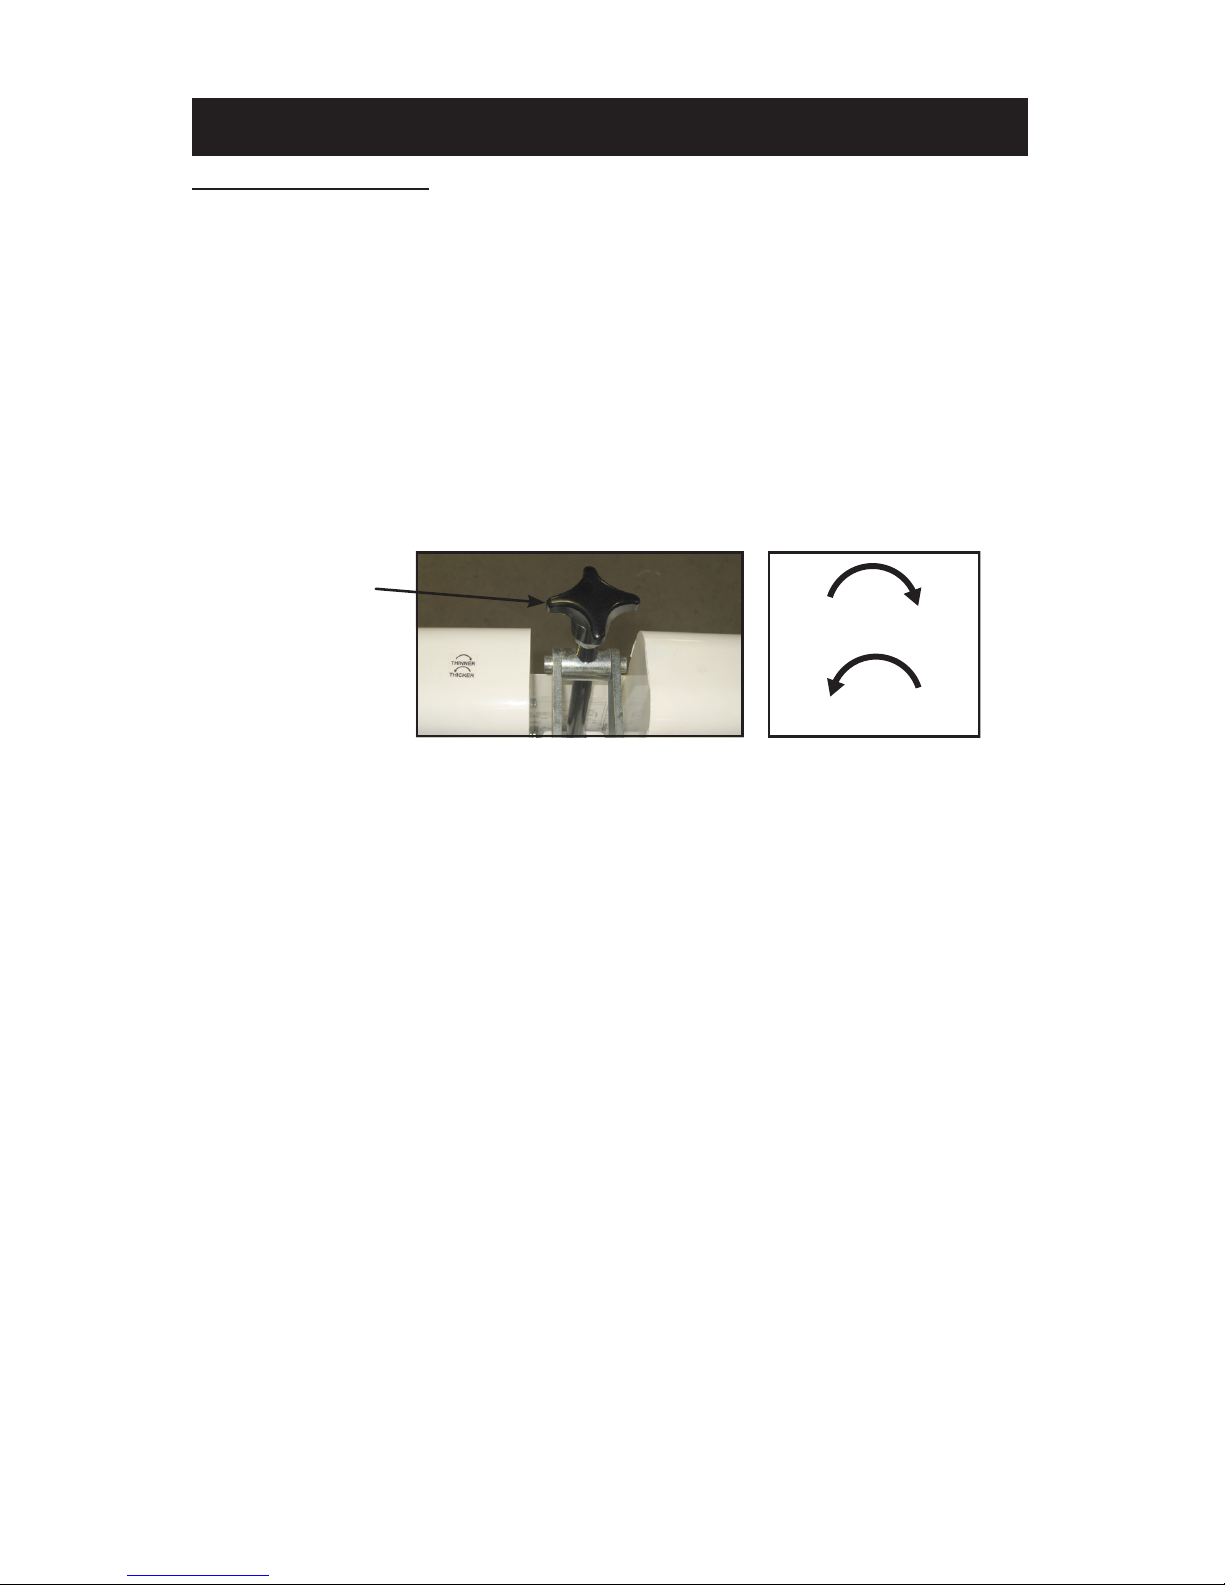
1. With the press in the open position, adjust the press to the desired
thickness by turning the thickness control knob located at the top/rear
of the machine. Thickness is reduced by turning knob clockwise and
increased by turning it counterclockwise as indicated below.
Thickness setting should be set so that the heat head will lock down
rmly with your product in place.
NOTE: Adjustments may be required from one product to another and
will vary to achieve the desired result.
CAUTION: Excessive pressure can cause structural damage,
voiding the machine warranty!
WARNING: Make all adjustments while press is open. Adjusting the
thickness while under pressure will result in damage to the
press.
2. Lightly lubricate the lower platen with olive oil, food/cooking oil or other
food release lubricant or lightly dust with our.
3. Place your preformed dough ball on the lower platen and add a small
amount of your food lubricant to the top of the dough ball. Do not
combine and oil our. Use either one or the other.
4. Pull down the handle all the way, applying pressure, until it stops.
5. After the designated time has elapsed (generally, 3-10 seconds for room
temperature dough, raise the handle all the way up to the open position.
TIP: Dough balls at room temperature gives you the best results.
6. Cold pressed dough will result in roughly 60% nished size. Remove
your attened dough and nish stretching to desired size. You are now
ready for edging, docking and toppings.
OPERATION
Thickness
knob
THINNER
THICKER
 Loading...