

Page 1

- 1 -
Dometic Fridge Power Kit – 12 volt
(Item code: RAPS12R-U2)
Installation and Operating Instructions
Mounting
1. Locate a suitable position inside the vehicle to mount the control unit. It is
recommended that the unit be mounted on the same side of the vehicle as
the battery.
2. Fix the mounting plate to the vehicle using the double sided tape or screws
provided. Ensure the mounting position provides sufficient access for the
connection cable.
Connection
The connection cable is run directly from the vehicle’s battery to the control unit. An
inline fuse (fitted to the cable) must be located at the battery end. It is recommended
that you start the installation at the battery end. Do not fit the fuse until the wiring is
complete.
1. Remove the fuse from the fuse holder.
2. Fit the positive wire (Red) to the positive (+) battery terminal with the supplied
ring terminal.
3. Fit the negative wire (Black) to the negative (-) battery terminal with the
supplied ring terminal.
4. Run the cable through the vehicle to the location of the control unit. When
running the cable through metal panels ensure existing or new rubber
grommets are used to prevent the metal panels from cutting through the
cable insulation. The cable must not run near the exhaust pipe, other hot
components or any moving parts.
5. Secure the cable with the supplied cable ties.
6. If there is excess cable remaining (Greater than 50cm) trim the excess cable
and strip the wire sheath to expose 8mm of wire.
7. Connect the positive wire (Red) to positive (+) connection terminal on the
base of the control unit.
8. Connect the negative wire (Black) to negative (-) connection terminal on the
base of the control unit.
9. Slide the control unit on to the mounting bracket until there is a slight click.
10. Refit the fuse (20Amp) to the fuse holder at the battery.
Page 2
- 2 -
Testing:
Note: The automatic controller incorporates a 30 second ‘OFF’ delay to prevent the
unit from being affected by voltage dips. When installing the fuse or changing the
pushbutton setting, wait 30 seconds for the unit to reach the correct operating
mode.
1. With the vehicle’s engine ‘OFF’ (not running), set the pushbutton to the
‘ON/OFF WITH ENGINE’ mode and test for voltage at the sockets. There
should be no voltage. (You may need to wait 30 seconds)
2. Start the vehicle’s engine, the LED should now illuminate ‘Green’ and there
should be voltage present at the sockets.
3. Turn the vehicle’s engine ‘OFF’, after 30 seconds the LED should extinguish
and there should be no voltage at the sockets.
4. Press the button in so that it is set to the ‘ON/OFF WITH VOLTAGE’ mode. The
LED should illuminate ‘Red’ and there should be voltage present at the
sockets.
5. If the LED does not illuminate and no voltage is present, check the fuse. If
blown, replace the fuse with an equivalent 20 Amp blade fuse. If still no
voltage, check that supply voltage to unit is > 10.0V (see detail below).
Your Fridge Power Kit is now installed and ready for use.
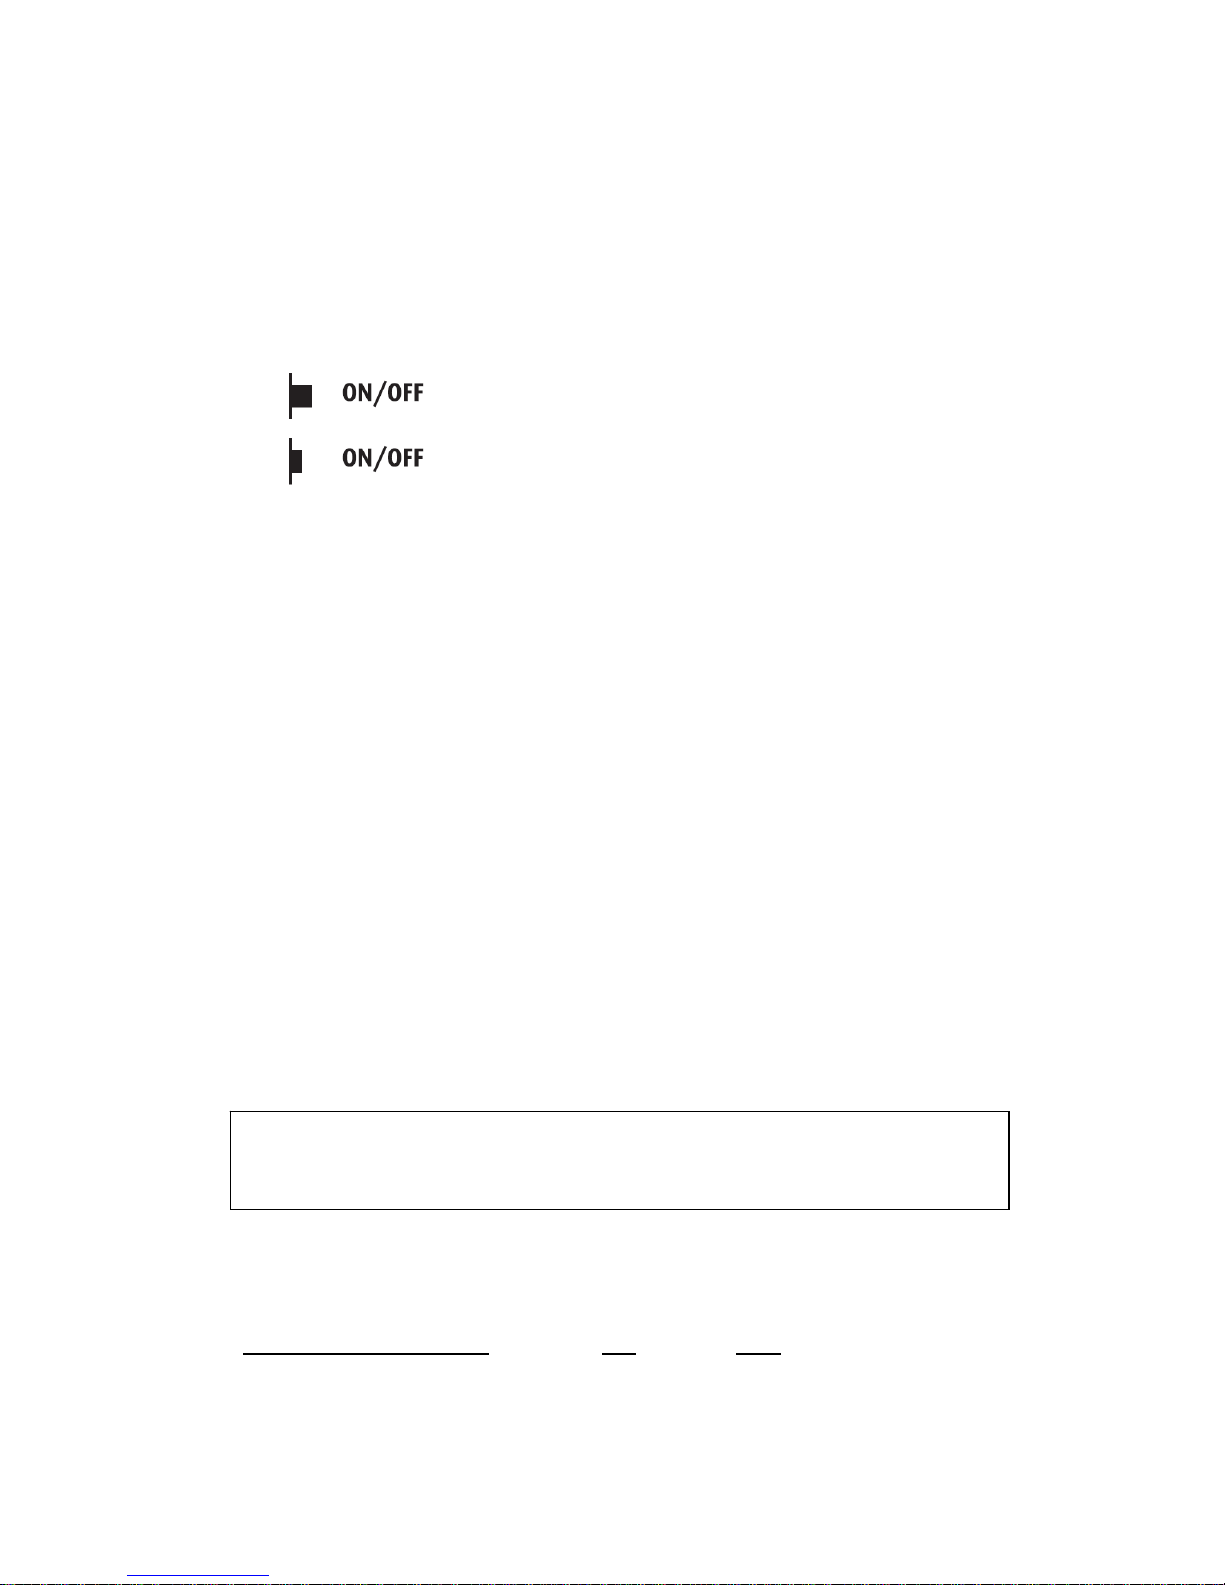
Operation:
With the switch in the ‘ON/OFF
WITH ENGINE’ position power is supplied to
the sockets only when the engine is running. This is for normal operation and
prevents the vehicle’s battery from being flattened.
When the switch is in the ‘ON/OFF
WITH VOLTAGE’ position the sockets
receive power all the time while the battery has sufficient power to run
appliances. This allows you to run appliances while the engine is not running.
Two sockets are included for your convenience giving you the option of using
either the 20A or 10A version depending on your needs. If you do use both
sockets simultaneously, the total load must be restricted to 20A max.
Mode / Voltage Settings: ON OFF
‘ON/OFF WITH ENGINE’ >13.4V <12.8V (After 30 sec delay)
‘ON/OFF WITH VOLTAGE’ >10.6V <10.0V (After 30 sec delay)
For further information or assistance please call 1800 21 21 21
WARNING – Running appliances in the ‘ON/OFF WITH VOLTAGE’
position could lead to the main vehicle battery being flattened to the
point where the vehicle will not start.
( LED Green )
( LED Red )
WITH ENGINE
WITH VOLTAGE
 Loading...