

Dometic CU335, CU335M, CU401, CU401PE, CU402 Installation, User And Service Manual
...
Installation,
use and service manual
Models: CU311 - CU311M - CU333 - CU333M - CU335 -
CU335M - CU401 - CU401PE - CU402 - CU402PE
- CU403 - CU403PE - FO311 - MO8103 - MO8123
PI0913 - PI0913A - PI8002 - PI8022 - PI8003 - PI8023
- PI8403 - PI8403GL - PI8423 - PI8423GL - PI8443 PI8463 - PI8621A - PI8621S - PI8621R - VN555
LIBR51 REV.1
Built-in Hotplate, Ovens, Stoves,
Minigrills,
Hotplate-Sink Combos for
Recreational Vehicles
and Marine.

CONTENTS
EN
2
CONTENTS
1 GENERAL INFORMATION ................................................................. 3
1.1 Symbols used in this manual ........................................................................................................3
1.2 Using and keeping the manual ...................................................................................................3
2. WARNINGS .......................................................................................... 4
3. USE ......................................................................................................... 5
3.1 Precautions ......................................................................................................................................5
3.2 Control panel ..................................................................................................................................5
3.3 Hotplate ...........................................................................................................................................6
3.3.1 Selecting the burner ......................................................................................................................................... 6
3.3.2 Electronic ignition hotplate (depending on model) ................................................................................... 7
3.3.3 Manual ignition hotplate .................................................................................................................................. 7
3.3.4 Hotplate flame regulation .............................................................................................................................. 7
3.4 Oven .................................................................................................................................................7
3.4.1 Electronic ignition oven ................................................................................................................................... 8
3.4.2 Manual ignition oven ......................................................................................................................................... 8
3.4.3 Oven flame regulation with thermostat ...................................................................................................... 8
3.5 Grill ...................................................................................................................................................8
3.5.1 Electronic ignition grill ..................................................................................................................................... 9
3.5.2 Manual ignition grill ........................................................................................................................................... 9
3.5.3 Flame regulation grill ........................................................................................................................................ 9
3.6 Electric hotplate (depending on model) ...................................................................................10
3.7 Spit (depending on model) ...........................................................................................................10
3.8 Turntable (depending on model) ................................................................................................10
3.9 Cleaning ...........................................................................................................................................10
3.10 Abnormal Operation ....................................................................................................................11
4. INSTALLATION .................................................................................... 12
4.1 Dimensions of the appliance .......................................................................................................12
4.2 Fitting cavity ....................................................................................................................................12
4.3 Gas connection ..............................................................................................................................12
4.4 Electric connection ........................................................................................................................14
4.5 Fixture ..............................................................................................................................................15
4.6 Testing (before leaving) .................................................................................................................15
4.6.1 Test point .............................................................................................................. ..............................................16
4.7 Duplicate data plate.......................................................................................................................16
5 SERVICING ............................................................................................ 17
FIGURES AND TECHNICAL DRAWINGS ................................... 19-32
WHO TO CONTACT ........................................................................... 36
1. GENERAL INFORMATION
EN
3
1 GENERAL INFORMATION
1.1 Symbols used in this manual
Below are shown the various symbols used in the manual to highlight particularly important information.
The safety symbols draw attention to potential hazards for personal safety.
Absolutely respect all safety messages by following these symbols.
WARNING
WARNING
Risk of injury or death.
CAUTION
CAUTION
To avoid possible injuries and/or malfunctions.
1.2 Using and keeping the manual
WARNING
WARNING
Always read the instructions provided in full before installing and using this appliance.
The aim of this manual is to supply all the information necessary to ensure that, as well as being used correctly,
the appliance can be managed in the safest and most autonomous way possible.
Keep this manual and all the attached documentation in good condition, legible and complete in all its parts; it
is forbidden to remove, rewrite or modify the pages of the manual and their content in any way.
Keep the documentation near the appliance, in an accessible place known to all users.
The manual must always accompany the appliance even in the event of sale and must therefore be handed
over to the new user.

2. WARNINGS
4
IT
EN
2. WARNINGS
Do not use or store flammable materials in the appliance storage drawer or near this appliance.
Do not spray aerosols in the vicinity of this appliance while it is in operation.
Do not modify this appliance.
Where this appliance is installed in marine craft or in caravans, it shall NOT be used as a space heater.
This appliance shall be installed only by authorised persons and in accordance with the manufacturer’s
installation instructions, local gas fitting regulations, municipal building codes, electrical wiring regulations, AS
5601-2004 - Gas Installations and any other statutory regulations.
This appliance must be used only in a well ventilated environment. Do not obstruct the flow of combustion
and ventilation air.
This appliance is designed and manufactured for cooking food only. Any other use is considered improper and
incorrect creating hazardous conditions. The manufacturer declines all responsibility for damage to things or
injuries to persons caused by incorrect installation and / or incorrect and improper use.
If the appliance is to be left unused for any length of time, it is recommended that the gas supply be turned off
at the cylinder or main supply valve feeding the appliance.
3. USE
EN
5
3. USE
3.1 Precautions
CAUTION
CAUTION
This appliance must only be used by responsible adults. During use and immediately
after use the burner and other accessible parts may be hot; do not touch these parts
and always keep children at a safe distance. After using the appliance ensure the
knob/knobs are off.
After use always shut off the gas supply at the main gas tap.
WARNING
WARNING
This appliance must not be used by persons (including children) who suffer from
psychical and motor related disorders or who are not familiar with or who have no
experience with the appliance unless under supervision or are being instructed on
how to use the appliance by the person responsible for their safety. Children must
always be supervised to prevent them from playing with the appliance.
WARNING
WARNING
The use of gas appliances generates heat and moisture in the immediate area.
Always ensure a good ventilation in the cooking area: keep all air vents open for
natural ventilation or install an extractor fan (cookerhood).
WARNING
WARNING
An intense and prolonged use of the appliance may require additional ventilation, for
example opening a window, or increasing the power of any mechanical extraction
system.
CAUTION
CAUTION
Before cooking with the oven and grill for the first time turn on the oven or grill
at high flame and leave the oven on for at least 30 minutes and the grill for 15-20
minutes.
Before opening the glass cover of the hotplate, remove any liquids that may have
spilled.
WARNING
This warning is affixed in a visible location on the hotplate glass lid. Glass hotplate lids
may shatter when heated. Always raise the lid before igniting a burner/s (hotplate,
oven and grill) and turn off all burners (hotplate, oven and grill) and let them cool
down before lowering the hotplate glass lid.
3.2 Control panel
The following symbols identify which knob corresponds to which burner.
NOTE: Different models could have similar knobs and symbols.
This symbol is positioned near the burner knobs on the hotplate.
The black dot indicates the position of the burner on the hotplate.
This symbol is positioned near the oven burner knob.
GRILL
This symbol is positioned near the grill burner knob.
3. USE
6
IT
EN
The following symbols are for burner flame regulation and correspond to the position of the knob.
NOTE: Different models could have similar knobs and symbols.
Gas off
High flame
Low flame
0 Electric hotplate off
1 - 2 - 3 - 4 - 5 - 6 Oven and/or electric hotplate temperature
Grill
OTHER SYMBOLS
Electronic ignition pushbutton
CAUTION
This symbol is affixed in a clearly visible position near the
oven control knob for all models fitted with electronic ignition
which is activated by maintaining the control knob pressed.
Light switch
Spit switch
Turntable switch
In CU4... models it is also present as a turntable and light.
3.3 Hotplate
3.3.1 Selecting the burner
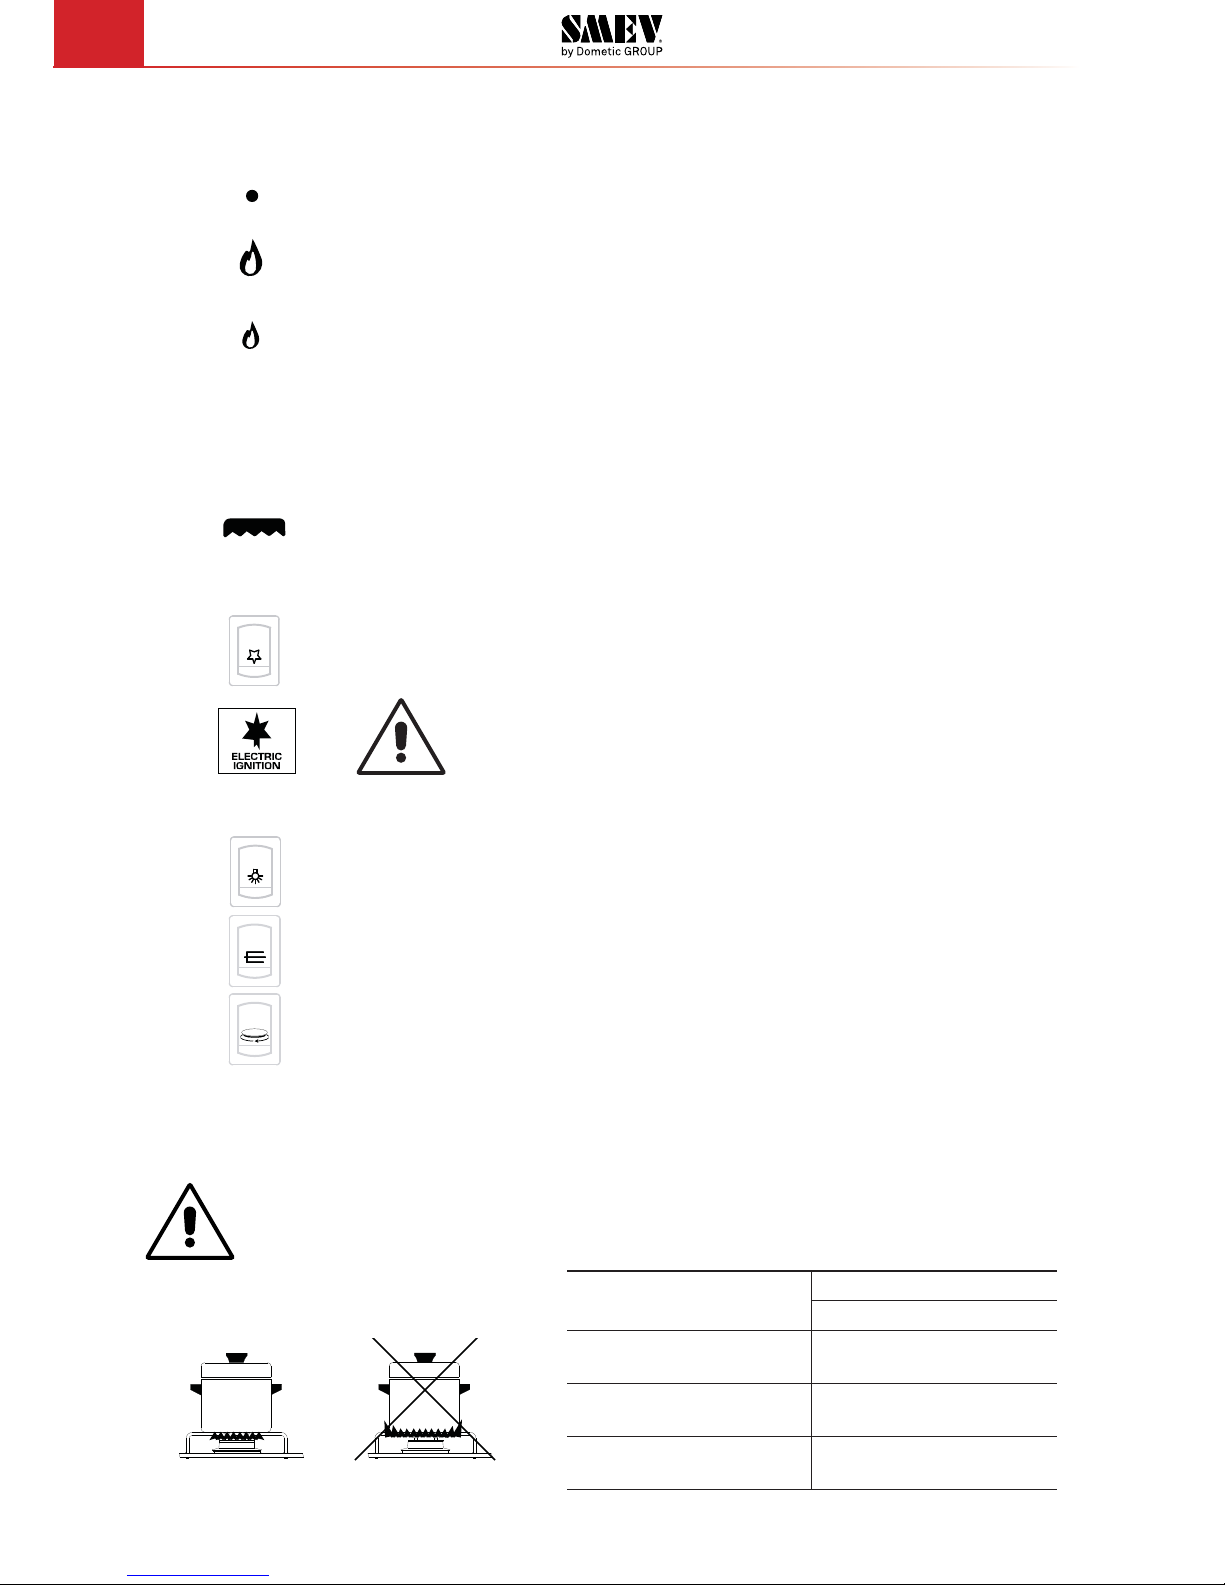
WARNING
WARNING
The flame must never extend beyond the edge of the pan. Centre the pan over the
burner ensuring stability on the pan support.
Burner
Pan diameter
Min Max
Auxiliary
Ø 47 mm
6 cm 16 cm
Semi-rapid
Ø 62 mm
16 cm 22 cm
Rapid
Ø 77 mm
16 cm 22 cm
3. USE
EN
7
3.3.2 Electronic ignition hotplate (depending on model)
WARNING
WARNING
Make sure there are no pans or any other objects on the burners when igniting.
To ignite the burner, gently push in and turn the control knob to position HIGH FLAME and, keeping the knob
pushed in, at the same time press the electronic ignition pushbutton. Once the burner is lit, keep the knob
pushed in for a few seconds to ensure the flame remains lit.
CAUTION
CAUTION
If the burner does not ignite immediately repeat ignition after having followed each
step below:
• Turn the knob to “Low flame ”
• Proceed with manual ignition
• Check there is sufficient gas in the gas bottle.
If the appliance still does not ignite shut off the gas supply at the main gas tap and
contact your local dealer.
3.3.3 Manual ignition hotplate
Manual ignition when the appliance is not fitted with the electronic ignition feature or in the event of failure
in the electronic ignition.
WARNING
WARNING
Make sure there are no pans or any other objects on the burners when igniting.
To ignite the burner, gently push in and turn the control knob to position HIGH FLAME and, keeping the knob
pushed in, at the same time light the burner with a match or gas lighter. Once the burner is lit, keep the knob
pushed in for a few seconds to ensure the flame remains lit.
CAUTION
CAUTION
If the burner does not ignite immediately, check there is sufficient gas in the gas
bottle.
If the appliance still does not ignite, shut off the gas supply at the main gas tap and
contact your local dealer.
3.3.4 Hotplate flame regulation
To regulate the flame turn the knob to the desired cooking flame.
3.4 Oven
CAUTION
CAUTION
The oven burner must be ignited only with the oven door fully open.
WARNING
WARNING
The wire shelf, drip tray and oven dish when in the oven must be positioned so as to
avoid coming into contact with the flames.
If the burner flame goes out accidentally, turn off the gas knob and wait one minute
before re-igniting.

3. USE
8
IT
EN
3.4.1 Electronic ignition oven
To ignite the burner, push in and turn the control knob to a position from 1 to 6 and, keeping the knob pushed
in, at the same time press the electronic ignition pushbutton (for models that have
affixed to the oven door
the electronic ignition button is not visible and is activated by pressing the gas knob down). Once the burner
is lit, keep the knob pushed in for a few seconds to ensure the flame remains lit.
CAUTION
CAUTION
If the burner does not ignite immediately, repeat ignition after having followed each
step below:
• proceed with manual ignition
• check there is sufficient gas in the gas bottle.
If the appliance still does not ignite, shut off the gas supply at the main gas tap and
contact your local dealer.
3.4.2 Manual ignition oven
Manual ignition when the appliance is not fitted with the electronic ignition feature or in the event of failure
in the electronic ignition.
To ignite the burner, gently push in and turn the control knob to a position from 1 to 6 and, keeping the knob
pushed in, at the same time light the burner with a match or gas lighter. Once the burner is lit, keep the knob
pushed in for a few seconds to ensure the flame remains lit.
CAUTION
CAUTION
If the burner does not ignite immediately, check there is sufficient gas in the gas
bottle.
If the appliance still does not ignite, shut off the gas supply at the main gas tap and
contact your local dealer.
3.4.3 Oven flame regulation with thermostat
Positions 123456
Temperature 130 °C 160 °C 180 °C 200 °C 220 °C 240 °C
When the oven burner is ignited the flame remains at high flame in all knob positions. When the oven reaches
the set temperature the flame automatically goes down to low flame.
3.5 Grill
CAUTION
CAUTION
The grill burner must be ignited only with the door fully open.
WARNING
WARNING
If the burner does not ignite immediately, release the knob, wait for at least 10
seconds and ignite again.
As accessible parts may be very hot when using the grill, keep children at a safe
distance from grill.
3. USE
EN
9
When using the grill the door must be kept open and with the heat guard fully
extracted (FIG. 1 – PG. 19).
Never use the grill for more than 25 minutes. The grill cannot be used as an oven.
If the burner flame goes out accidentally, turn off the gas knob and wait one minute
before re-igniting.
3.5.1 Electronic ignition grill
WARNING
WARNING
Do not ignite the grill burner with the door closed.
To ignite the burner, gently push in and turn the control knob to position GRILL or HIGH FLAME and, keeping
the knob pushed in, at the same time press the electronic ignition button (for models with the
symbol
affixed to the door, the ignition button is not visible and is activated by pressing the knob down). Once the
burner is lit, keep the knob pushed in for a few seconds to ensure the flame remains lit.
CAUTION
CAUTION
If the burner does not ignite immediately, repeat ignition after having followed each
step below:
• proceed with manual ignition
• check there is sufficient gas in the gas bottle.
If the appliance still does not ignite, shut off the gas supply at the main gas tap and
contact your local dealer.
3.5.2 Manual ignition grill
Manual ignition when the appliance is not fitted with the electronic ignition feature or in the event of failure
in the electronic ignition.
To ignite the burner, gently push in and turn the control knob to position GRILL or HIGH FLAME and, keeping
the knob pushed in, at the same time light the burner with a match or gas lighter. Once the burner is lit, keep
the knob pushed in for a few seconds to ensure the flame remains lit.
CAUTION
CAUTION
If the burner does not ignite immediately, check there is sufficient gas in the gas
bottle.
If the appliance still does not ignite, shut off the gas supply at the main gas tap and
contact your local dealer.
3.5.3 Flame regulation grill
For models CU311 - CU311M - CU333 - CU333M - CU335 - CU335M - FO311:
the grill is to be used only at its maximum capacity.
For all other models:
to regulate flame, turn the knob to the desired cooking flame.
3. USE
10
IT
EN
3.6 Electric hotplate (depending on model)
CAUTION
CAUTION
Before turning on the electric hotplate (or if the hotplate has remained unused for a
long time) it is necessary to eliminate any moisture by turning on the hotplate and
leaving it on for 30 minutes with the corresponding knob in position 1.
Use pans with flat bottoms and with diameters no less than the diameter of the
hotplate.
Dry the bottom of the pan before placing it on top of the hotplate.
When using the hotplate do not leave the appliance unattended and make sure
children are nowhere near the appliance.
The electric hotplate is controlled by a 7-position knob: position off is 0 (zero) whereas positions 1 to 6 are
for regulating the hotplate. Positions 1 to 6 correspond to an increase in temperature of the hotplate. There
is a red LED positioned next to the knob which lights up when the hotplate is on.
3.7 Spit (depending on model)
Ignite the oven as described in the chapter 3.4 Oven. Turn the gas knob to the required position. Insert the
drip tray with the spit already installed as illustrated in FIG. 2 - PG. 19. Press the spit button to turn on the
spit motor.
3.8 Turntable (depending on model)
Ignite the oven burner as indicated in chapter 3.4 Oven. Insert the turntable as indicated in FIG. 3 - PG. 19
Press the switch to operate the turntable motor.
3.9 Cleaning
No regular maintenance is required except cleaning.
WARNING
WARNING
Some cooking operations generate a considerable amount of grease. This, combined
with spillage, can became a hazard if allowed to accumulate on the appliance through
lack of cleaning.
CAUTION
CAUTION
Keep the appliance clean and in good working condition. To clean below the hotplate
burners, remove the burner cap screws using a suitable screwdriver. Once the
screws are removed, the burner cap and burner head can be removed to provide
access below the burner. Once cleaned, ensure the burner head and burner cap are
refitted. It is recommended to have it serviced annually by authorized personnel.
WARNING
WARNING
Before cleaning the appliance always turn it off and disconnect from power supply
and wait until it has cooled down.
3. USE
EN
11
CAUTION
CAUTION
Hot surfaces may be damaged on contact with cold water or with a wet cloth. Do not
use abrasive, corrosive or chlorine-based products, pot scourers or steel wool. Do
not leave acid or alkaline substances (vinegar, salt, lemon juice, etc.) on the surfaces
of the appliance. Stainless steel surfaces and enamelled parts must be washed with
water and neutral soap or detergent, rinsed and dried. Use clean sponges and cloths.
WARNING
WARNING
Never use abrasive and / or coarse cleaning materials or metal brushes to clean
the glass oven door as these materials scratch the glass surface with the risk of
shattering the glass.
WARNING
WARNING
Never use steam cleaners to clean the appliance.
CAUTION
CAUTION
Do not leave heavy spillover to bake on, as this will make cleaning more difficult.
CAUTION
CAUTION
The trivet (pan support) can be removed by carefully pulling the extended pins
evenly out of the plastic locaters in the hotplate. When replacing the trivet, ensure
that the plastic guides are not damaged.
3.10 Abnormal Operation
Gas valves, which are difficult to turn are considered to be abnormal operation and may require servicing.
In case the appliance fails to operate correctly, contact the authorised service provider in your area.
 Loading...