

Page 1
Documentation is also
available on the D-Link
website
This document will guide you through the basic installation
process for your new D-Link DSN-6200/6500 series.
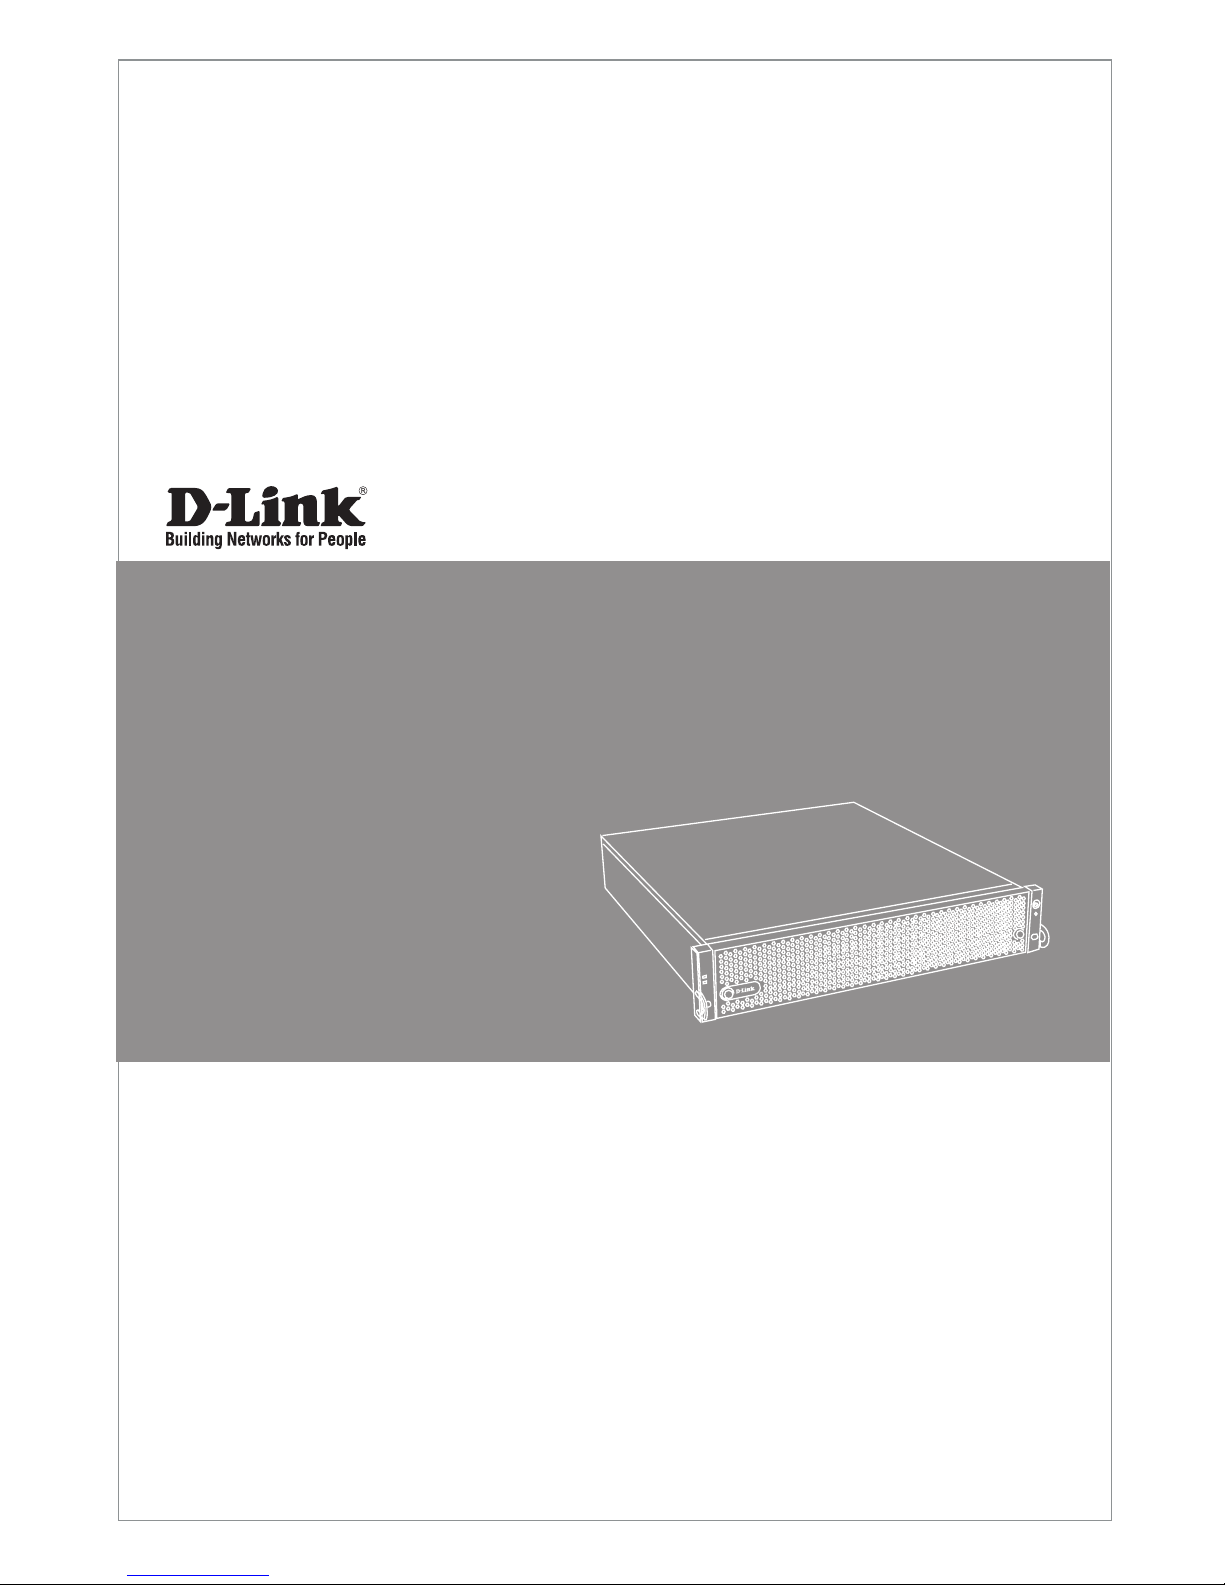
DSN-6200/6500 series
Quick Installation Guide
DSN-6200/6500 Series 1GbE / 10 GbE IP SAN Storage
Page 2
D-Link DSN-6200/6500 Series Quick Installation Guide
2
ENGLISH
About This Guide
This installation guide provides basic instructions for
installing the DSN-6200/6500 Series on your network.
For additional information about how to use the
DSN-6200/6500 Series, please see the User’s Manual
which is available the CD included in this package or
from the D-Link support website.
Setup Preparation
Open the shipping carton and carefully unpack its
contents. Please consult the packing list below to make
sure all items are present and undamaged.
Package Contents
• D-Link DSN-6200/6500 Series
1GbE / 10 GbE IP SAN Storage
• 12 x HDD trays
• 2 x power cords
• 1 x black RS-232 cable (phone jack to DB9 female)
• 1 x gray RS-232 cable (phone jack to DB9 male)
• Rail kit
• Keys
• Screws
• Quick installation guide
• CD
If any item is missing or damaged, please contact your
local D-Link reseller for replacement.
Hardware Overview
D-Link DSN-6200/6500 Series is an iSCSI SAN storage
system designed to help users eciently manage
network data. With top-notch hardware congurations,
dual active controllers, fully modular components, and
state-of-the-art software functions, it is equipped for
all your storage needs. The high performance iSCSI
SAN is capable of handling heavy business production
tasks with ease. Business value-added features such as
application backup provide a complete backup solution
so data is never lost.
Installation Requirements
Before starting, please prepare the following items:
• A host with a Gigabit Ethernet NIC or iSCSI HBA.
• CAT 5e, or CAT 6 network cables for management
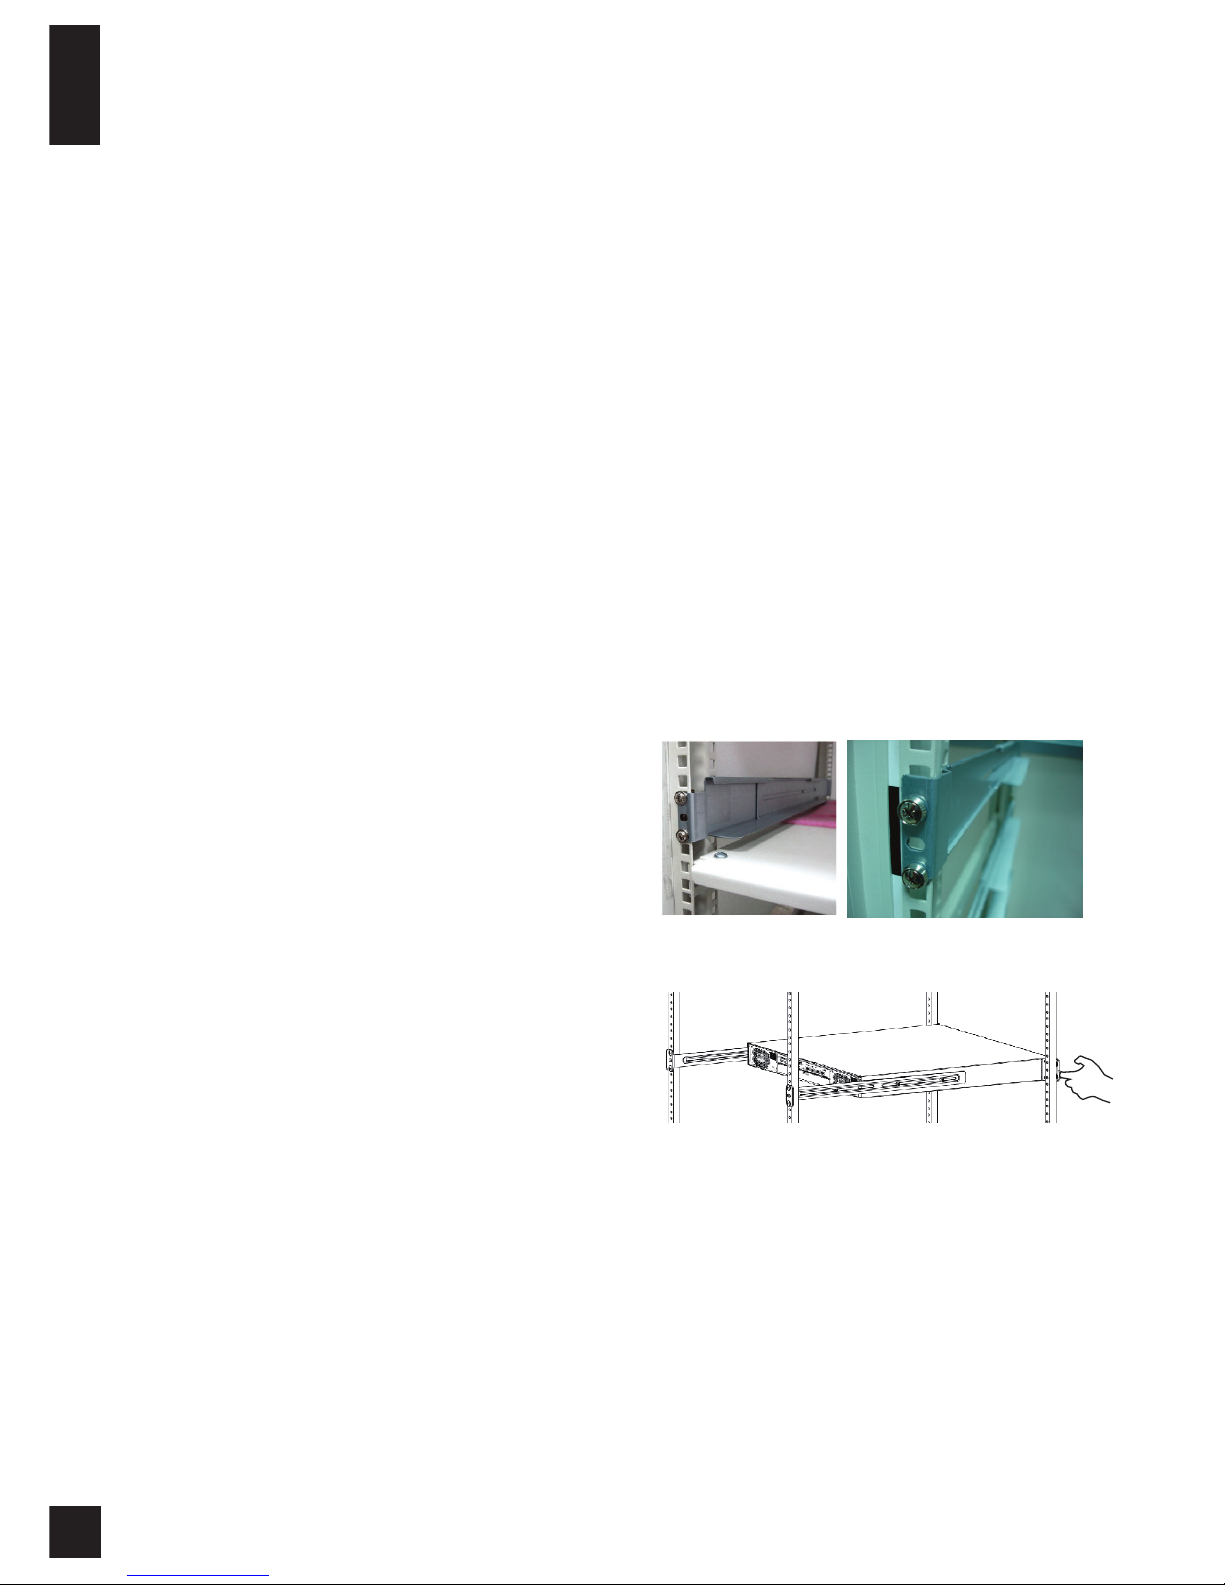
4. Slide the subsystem onto the rails.
Note: When removing the system, please ensure it remains
on the rails.
5. Use screws to mount the DSN-6200/6500 Series to
the front side of the rack.
port and iSCSI data ports.
• Storage system conguration plan.
• Management port and iSCSI data ports network
information. When using static IP, please prepare
static IP addresses, subnet mask, and a default
gateway.
• 10GbE switches (recommended) or 10GbE switches
with LCAP / Trunking (optional).
• CHAP security information, including CHAP
username and password (optional).
DSN-6200/6500 Series Installation
Rack Mounting
To install the system using the supplied rail kit, please
follow the procedure below:
1. Prepare the rail kits and screws.
2. Assemble the rail kits.
3. On the front and back side, put the nuts in the
appropriate positions and then use the screws to
install the rail kits.
Page 3
D-Link DSN-6200/6500 Series Quick Installation Guide
3
ENGLISH
Latch
PSU2
Drive Installation
Note : Skip this section if you purchased a solution already
installed with hard drives.
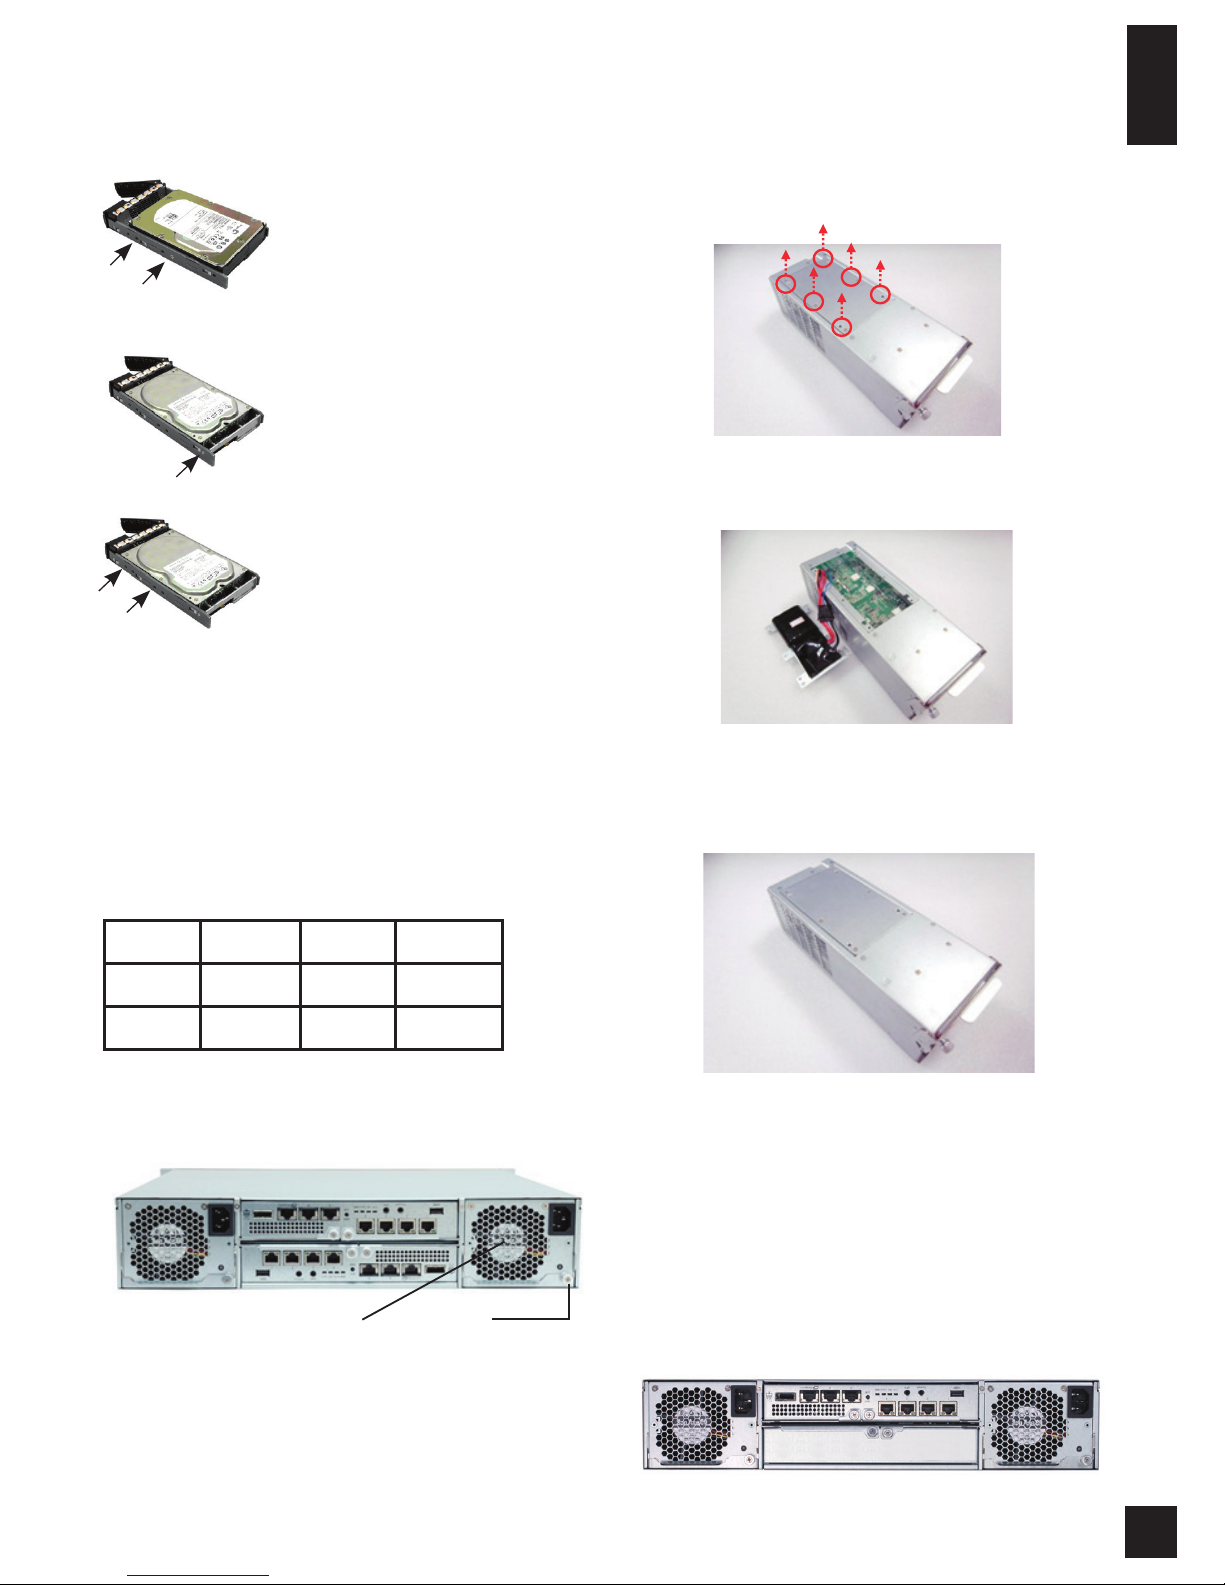
SAS or SATA with no Bridge Board
To install SAS or SATA drives with no
Bridge Board use the front mounting
holes.
SATA drives with Bridge Board
To install SATA drives with Bridge
Board (DSN-654), t the Bridge
Board rst.
Then install the drive using the rear
mounting holes.
Remove the drive tray and install the HDD. To install SAS
drives, align the edge of the SAS drive to the back end
of the tray; the backplane can directly connect to SAS
drives. To install SATA drives with 6 Gb MUX boards, align
the 6 Gb MUX board edge to the back end of tray; the
backplane can connect SATA drives through 6 Gb.
Drive Slot Numbering
Slot 1 Slot 4 Slot 7 Slot 10
Slot 2 Slot 5 Slot 8 Slot 11
Slot 3 Slot 6 Slot 9 Slot 12
Hard drives can be installed into any slot in the enclosure.
The slot numbering above will be reected in the web UI.
Install Battery Backup Module
Please follow the procedure below to install the battery
backup module.
1. Ensure the DSN-6200/6500 Series is powered o.
2. The BBM module is located inside the right PSU
(PSU2 module). Release the PSU2 latch and ip the
DSN-6200/6500 Series to the back side.
3. Release the screws
1
.
4. Insert the Battery Backup Module (BBM).
5. Place the BBM back in the PSU, and secure the
bracket with screws.
Controller Installation
The please follow the procedure below to install the
battery backup module.
1. Ensure the DSN-6200/6500 Series is powered o.
2. If you purchased the DSN-6200/6500 Series without
a second controller (for redundancy). Install the
controller as pictured below
1
.
Page 4
D-Link DSN-6200/6500 Series Quick Installation Guide
4
ENGLISH
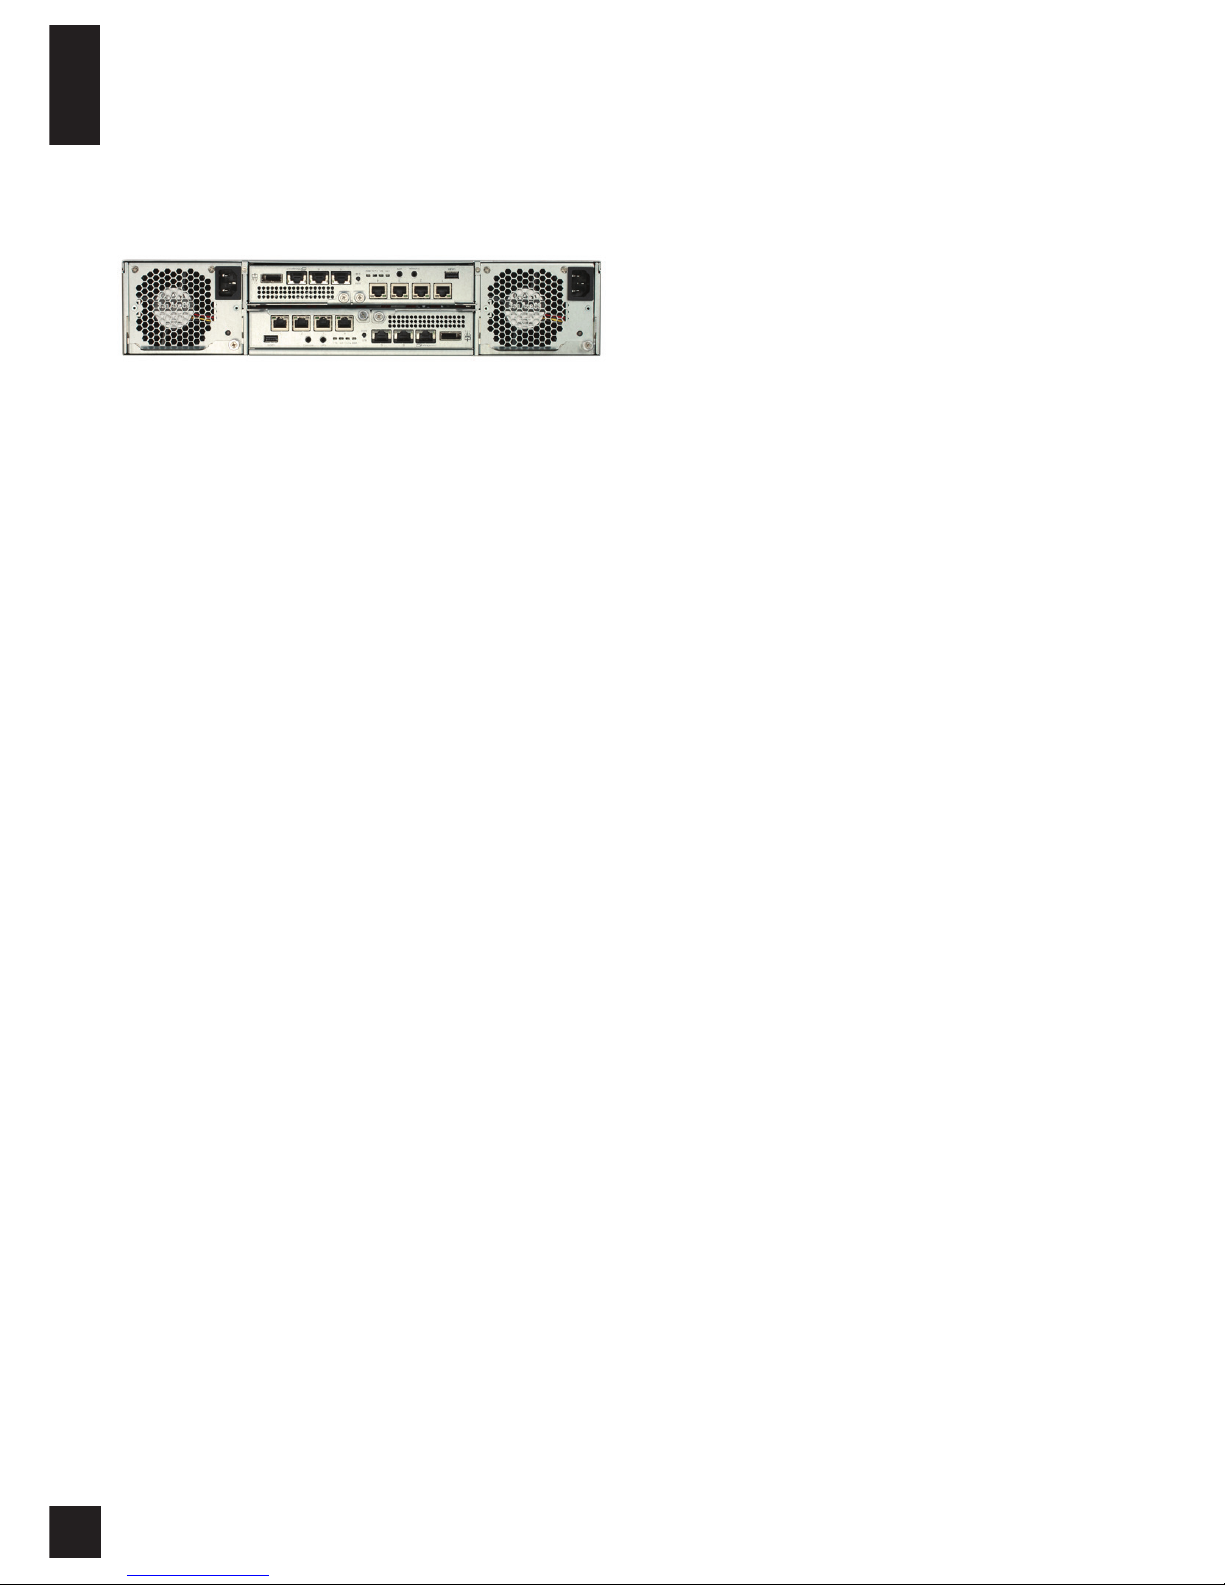
3. If you purchased the DSN-6200/6500 Series with a
second controller (for redundancy) please install the
controllers as pictured below1.
Note: When inserting the upper controller please make sure
you insert it upside down. If inserted incorrectly it will
damage the connector pins.
Power On/O
The power button is located next to the right front handle.
To turn the system on, press the power button once. The
system will perform a booting process which takes a few
minutes.
If it becomes necessary to power down the system, it is
recommended to do a normal, controlled shutdown
through the Web UI to ensure all data is ushed from the
cache rst.
Conguration
The D-Link DSN-6200/6500 Series includes a simple-touse web UI for integration and management. Be sure to
connect the LAN cable, open a browser and enter:
http://192.168.0.32
A dialog box for authentication will pop up. Please enter
the following information.
User name: admin
Default password: 123456
After login, select the functions listed on the left hand side
to start your conguration.
Quick Installation
To make sure that there are some free drives installed
in the system, check the hard drive details in “/ Volume
conguration / Physical disk”.
1. Click “Quick installation” and follow the steps to set
up the system name and date / time.
2. Conrm the management port and DNS IP addresses
are correct and click “Next”.
3. Set up the data port IP and click “Next”.
4. Set up the RAID level and volume size and click
“Next”.
5. Check all items, and click “Finish”.
Setup Microsoft iSCSI initiator
To download the latest iSCSI initiator, please visit the
Microsoft website. This example is based on Microsoft
Windows Server 2008 R2.
1. Run Microsoft iSCSI Initiator.
2. Input the IP address or DNS name of the target and
then click “Quick Connect”.
3. Click “Done”.
4. Your Computer can now connect to an iSCSI disk.
Additional Information
If you are encountering problems setting up your
network, please refer to the DSN-6200/6500 Series user
manual that can be obtained from the D-Link website.
It contains many more rules, charts, explanations, and
examples to help you get your network up and running.
Additional help is available through our oces listed at
the back of the user manual or online. To nd out more
about D-Link products or marketing information, please
visit the website http://www.dlink.com.
Warranty Information
The D-Link Limited Lifetime Warranty information is
available at http://warranty.dlink.com/
1
The images used in this manual may not reect that of
the supplied product.
Page 5

Ver. 1.00 2014/12/11
46.QIGDL.Q5DI0
 Loading...