

Page 1
OWNER'S
MANUAL
Operating and Servicing
Instructions
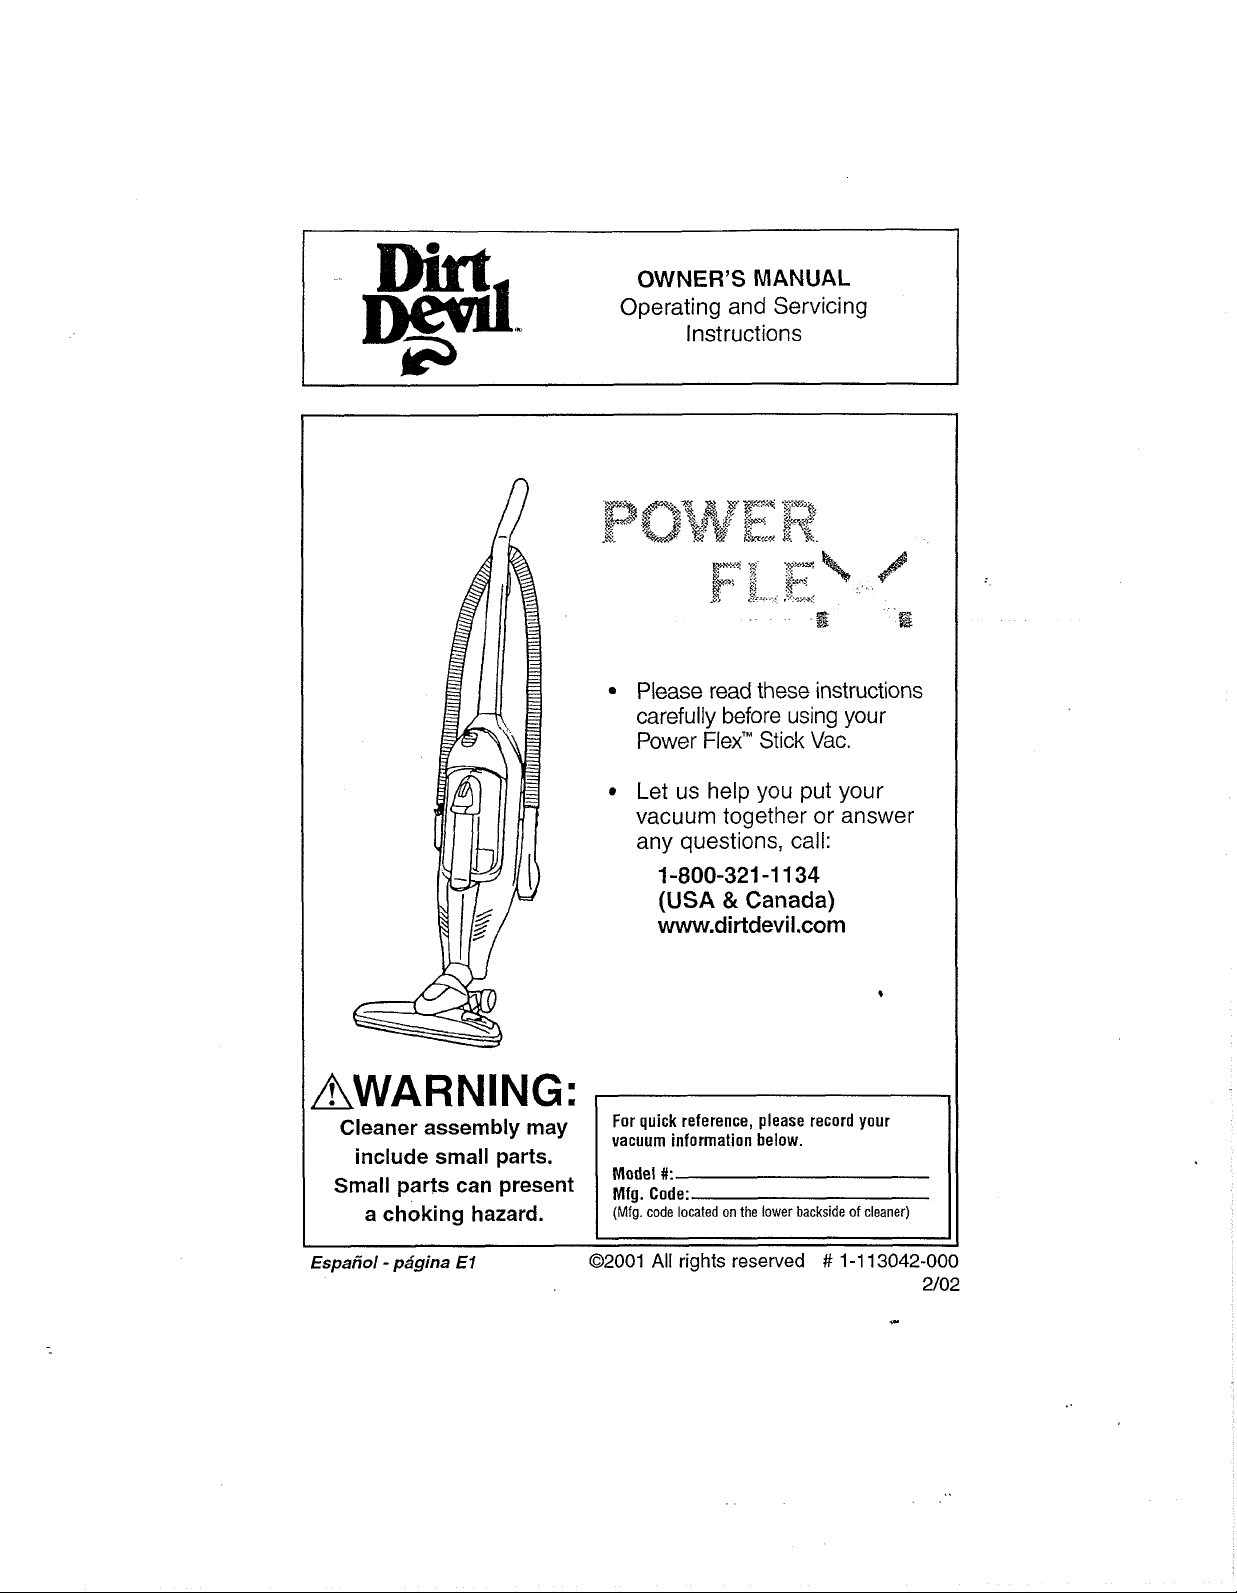
Please read these instructions
carefully before using your
Power FlexTM Stick Vac.
Let us help you put your
vacuum together or answer
any questions, call:
Cleaner assembly may
include small parts.
Small parts can present
a choking hazard.
Espafiol - p5gina
El
1-800-321-1134
(USA
&
Canada)
www.dirtdevil.com
For quick reference, please record your
vacuum information below.
#:
Model
Mfg. Code:
(Mfg. code located on the lower backside of cleaner)
02001
All
rights reserved # 1-1 13042-000
2/02
Page 2
CONSUMER
THlS VACUUM IS INTENDED FOR HOUSEHOLD USE ONLY
INFORMATION
IMPORTANT SAFETY INSTRUCTIONS
When you use an appliance, basic precautions should always
lowed, including the following:
READ ALL INSTRUCTIONS BEFORE USING THlS APPLIANCE
ALWAYS FOLLOW THESE SAFETY INSTRUCTIONS
DO NOT LEAVE CLEANER UNATTENDED
WARNING - FULLY ASSEMBLE CLEANER BEFORE OPERATING
WARNING - THE CORDS, WIRES AND/OR CABLES SUPPLIED WITH
THlS PRODUCT CONTAINS CHEMICALS, INCLUDING LEAD OR LEAD
COMPOUNDS, KNOWN TO THE STATE OF CALIFORNIA TO CAUSE
CANCER AND BIRTH DEFECTS OR OTHER REPRODUCTIVE HARM.
WASH HANDS AFTER USING.
WARNING:
FIRE, ELECTRIC
Do not leave appliance when plugged in. Unplug from outlet when not in
use and before servicing.
Do not use outdoors or on wet surfaces.
Do not allow to be used as a toy. Close attention is necessary when used
by or near children.
Use only as described in this manual. Use only manufacturer's recommended attachments.
Do not use with damaged cord or plug. If appliance is not working as it
should, has been dropped, damaged, left outdoors, or dropped into water,
return it to a service center for inspection. Call
nearest service center.
Do not pull or carry by cord, use cord as a handle, close a door on cord, or
pull cord around sharp edges or corners. Do not run appliance over cord.
Keep cord away from heated surfaces.
Do not unplug by pulling on cord. To unplug, grasp the plug, not the cord.
Do not handle plug or appliance with wet hands.
Do not put any object into openings. Do not use with any opening blocked;
keep free of dust, lint, hair and anything that may reduce air flow.
TO
REDUCE
SHOCK
THE
RISK OF
OR INJURY:
1-800-321-1
134
be
fol-
for the
Page 3

Keep hair, loose clothing, fingers, and all parts of body away from openings
and moving parts.
Turn off all controls before unplugging.
Use extra care when cleaning on stairs.
Do not use to pick up flammable or combustible liquids, such as gasoline,
or use in areas where they may be present.
Look on your vacuum cleaner and follow all label and marking instructions.
Do not use an extension cord with this cleaner.
Keep end
Keep your hands, feet, hair and clothing away from moving parts; especially
the revolving brush.
Do not use the vacuum cleaner without dirt container and/or filters in place.
Do not pick up anything that is burning or smoking, such as cigarettes,
matches, or hot ashes.
Approved by the Vacuum Cleaner Manufacturer's Association Executive
of
hose, wands and other openings away from your face and body.
Committee, April
29,
1987.
SAVE
WARN
ized plug (one blade is wider than the other). This plug will fit in a polarized outlet
only one way. If the plug does not fit fully in the outlet, reverse the plug. If it still
1
does not fit, contact a qualified electrician to install the proper outlet. Do not change
1
the plug in any way.
I
NG
NOTE: RETURN WARRANTY CARD TO REGISTER YOUR CLEANER
THESE
:
TO
reduce the risk of electric shock, this appliance has a polar-
INSTRUCTIONS
I
I
Page 4

THANK
I
I
Congratulations, you are now the proud owner of a Dirt DevilQ
Power Flex"' stick vacuum. Dirt DevilQ is pleased that you have
selected this quality product and we hope it exceeds your
expectations.
I
The Power Flex''' delivers superior power to serve many of
your cleaning needs. It's been designed with a unique Flex
Edge"' nozzle that bends to clean trouble areas like edges, corners and stairs. The clear dirt container means there are no
more bags to buy and tools are conveniently stored for use on
upholstery or above floor areas.
Thank you for your support of Dirt DevilQ products. We are
very proud of our products and hope that you are equally satisfied with their quality and performance.
Visit our
I
wel~site at www.dirtdevil.com
Safety Instructions Page
Feature Descriptions Page
How to Assemble Page
How to Operate
Attachment Usage Page
FilterIDirt Cup: Removal & Replacement
General Maintenance
Troubleshooting Guide
YOU FOR YOUR
TABLE OF CONTENTS
............................................
........................................
.............................................
................................................
.....................................
.......................................
..........................
PURCHASE
.........
..........
t
Page
Page
Page
Page
2-3
5
6
6
6
7
7
8
111
To the consumer, Royal Appliance Mfg. Co. warrants this vacuum cleaner to be free of defects in material or workmanship commencing upon the date of the original purchase. Refer to your vacuum cleaner carton for the length
of warranty and save your original sales receipt to validate start of warranty period.
I
If the vacuum cleaner should become defective within the warranty period, we will repair or replace any defec-
tive parts free of charge. The complete machine
&
Warranty Service Station. Please include complete description of the problem, day of purchase, copy of
original sales receipt and your name, address and telephone number. If you are not near a Warranty Station,
call the factory for assistance at USA
The warranty does not include unusual wear, damage resulting from accident or unreasonable use of the vacuum cleaner. This warranty does not cover brushes, flat belts, filters and bulbs. This warranty does not cover
unauthorized repairs. This warranty gives you specific legal rights and you may also have other rights (Other
rights may vary from state to state in the USA).
LIMITED WARRANTY
must be delivered
&
Canada:
1-800-321-1
134.
oreDaid
to any ROYAL" Authorized Sales
Use only genuine Royalereplacement parts.
Page 5

Front
Back
Handle Grip
On-Board Hose
OnIOff Switch
Crevice Tool and
Removable DIM Brush
Nozzle Access Window
Flex EdgeT" Nozzle
Dirt Cup
Hose Connect. Port
Dirt Cup Release
10. Cord Retainer
11. Dust Brush Caddy
12. Quick Release Cord Clip
13. Power Cord
CleanStreamr"
14.
15. Assembly Screw
Perma FilteP
Page 6

unit. (one) screw supplied.
CORD STORAGE/
REMOVAL
'
Place tools into their storage
position.
Upholstery tool.
(A)
Hose & (BI
. .
\-,
easy cord removal. Plug into
an electrical outlet.
ATTACHMENT USAGE
Pull hose connect port down.
Located on the front of the dirt
cup. Gently slide the hose into
hole until it clicks into place.
Turn cleaner on. Switch located on the side of cleaner.
TO use crevice
brush from end (2). Reattach
(2a) for dusting (store brush
on handle
-
see fig. 2.
tool: remove
pg.
5).
Use the Flex Edge'" to reach
into corners. Gently push
into corner and edges will
mold to the corner.
To remove hose, push down
on door and pull the end out
of the front of cleaner.
Page 7

BEFORE SERVICING
DIRT
CUP
-
..
REMOVAL
Press latch on the front of
the dirt cup and pull out.
FILTER REPLACEMENT
Gently push filter back into
dirt cup.
CLEAN NOZZLE CLOG
Hold dirt cup over trash can.
Pull filter up and out of dirt
cup. Gently tap the filter
ly
against the inside of a
trash can until dirt stops
falling from the filter.
firm-
DIRT CUP REPLACEMENT
Align bottom of dirt cup with
hole opening. Hold down the
button and gently push dirt
cup into place. You will feel it
lock into place.
Hold dirt cup over trash can
and shake out any remaining
dirt and debris.
To
remove
Insert end
screwdriver
zk
access window
a
dog
in
the
of
standard
into slot and pry
out.
nonle:
(Rat head)
noz-
Pull out obstruction. Return
the nozzle access window
back into its place.
Page 8

Cleaner won't
run
1.
Power cord not firmly
plugged into outlet.
2.
Blown fuse or tripped breaker.
3.
Needs service.
1. Plug unit in firmly
2. Check fuse or breaker in home.
3.
fuseheset breaker.
Replace
Take to service center or call
1-800-321
-1
134.
Cleaner won't
pick-up or low
suction
Dust escaping
from cleaner
Cleaner tools
won't pick up
1.
Dirt cup not installed
correctly.
2.
Dirt cup full.
3.
Clogged filter.
4.
Nozzleldirt passage
clogged.
1. Dirt cup full.
2.
Dirt cup not installed
correctly.
3.
Hose not installed correctly.
4.
Filter not installed correctly.
1.
Hose clogged.
2.
Dirt cup full.
3. Filter clogged.
1.
Review dirt cup removal and
replacement
2.
Empty dirt cup - Pg.
3.
Remove filter and clean - Pg.
4.
Remove nozzle access window;
remove obstruction OR Check nozzle
hose; remove obstruction
1. Empty dirt cup
2.
Review dirt cup removal and
replacement
3.
Review hose installation - Pg.
4.
Review filter installation - Pg.
Remove hose and tools; remove
1.
obstruction
2.
Empty dirt cup - Pg.
3.
Clean filter - Pg.
-
-
-
Pg. 6.
Pg.
-
Pg.
Pg.
7.
7.
7.
-
7.
7.
7.
Pg.
7.
7.
6
7.
ANY OTHER SERVICING SHOULD BE DONE BY AN
AUTHORIZED SERVICE REPRESENTATIVE
CUSTOMER
In the event that further assistance is required, see your Yellow Pages for an authorized Royal@
Dealer. Costs of any transportation to and from any place of repair are to be paid by the owner.
The service parts used in this unit are easily replaced and readily available from an authorized
Royalw Dealer or retailer. Always identify your cleaner by the model number and manufacturing
code when requesting information or ordering replacement parts. (The model number appears
on the bottom of the cleaner.)
SERVICE
(1 -800-321 -1 134)
 Loading...