


H23
The
rban:
BO Si
xtrem
User Guide
eee
e TTTTTTTuuuuuuuunn
n
n
n
n
nnn
n
n
i
i
iii
i
nnn
n
nnn
nn
ggg
ggggg
g
g
ggg
ggg
ggg
g
g
g
g
g
g
ggggg
o
o
ooo
o
ccccc
c
k
SSSSt
n
xeem
C
CCCCC
TTTTTTTT
T
T
e
DIRECTV
®
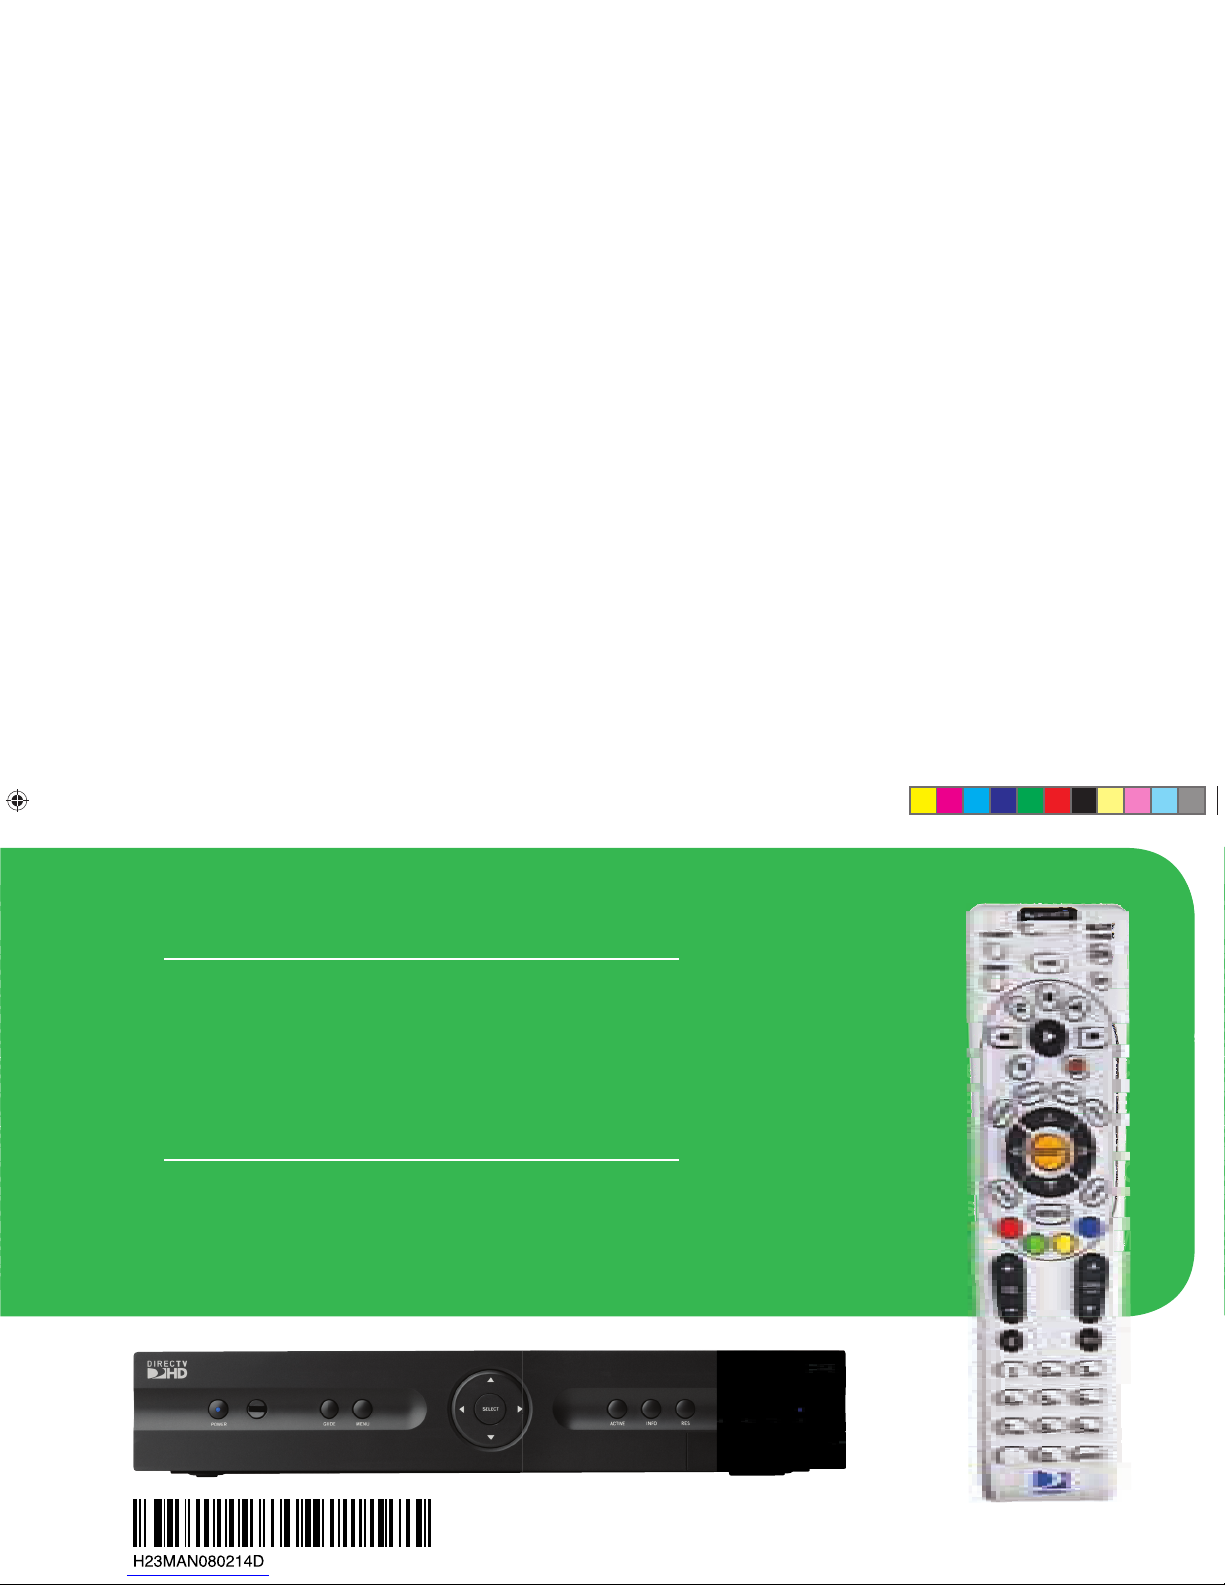
HD RECEIVER USER GUIDE
DIRECTV
®
HD Receiver
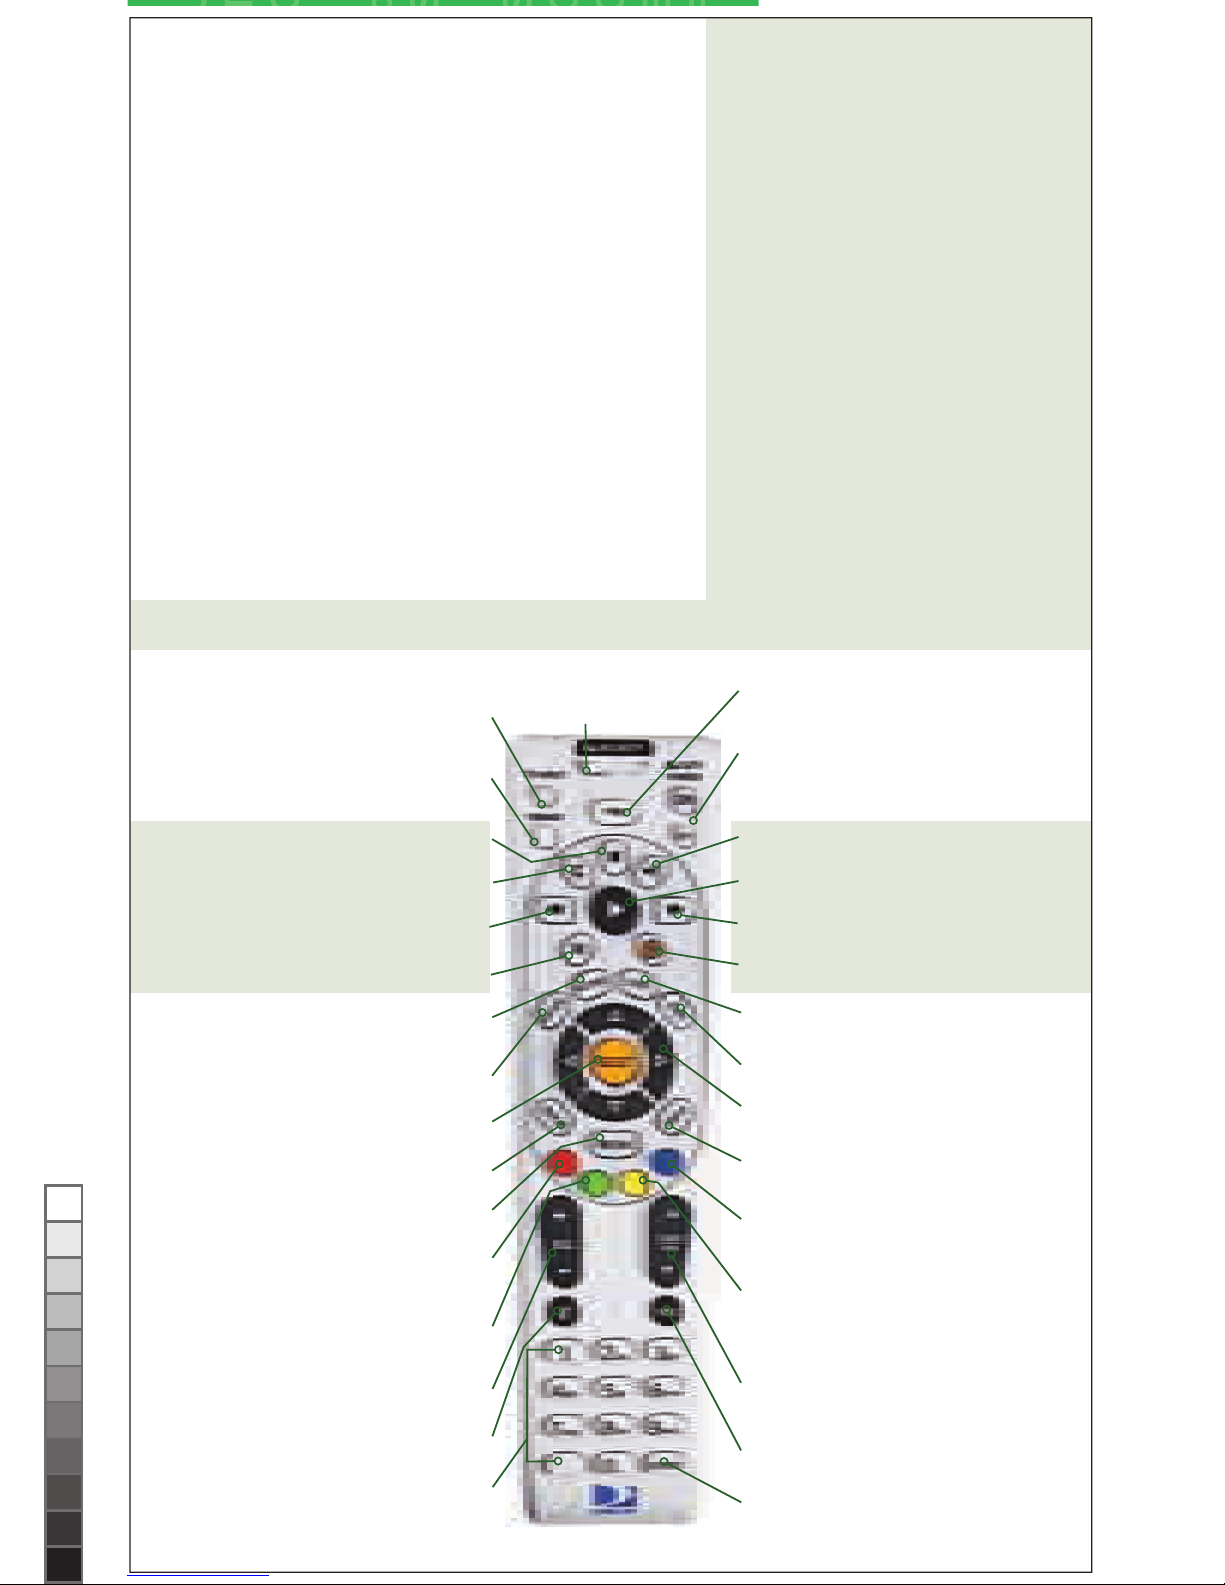
MODE SWITCH
Changes remote to control other
equipment, for example, a DVD
DIRECTV & TV POWER ON/OFF
Turns your TV and DIRECTV HD Receiver on and off
TV INPUT
Changes the “source” — the piece of equipment
whose signal is displayed on your TV
BLUE
In live TV, displays the Mini Guide; other
functions vary — look for onscreen hints
ADVANCE
PLAY
RECORD
FFWD
STOP
REPLAY
REWIND
PAUSE
ACTIVE
Displays the DIRECTV Active™ Channel–
local weather and more!
GUIDE
Displays the onscreen program Guide
EXIT
Exits any menu and returns to last channel viewed
ARROWS
Move highlight to items in whatever direction needed
INFO
Displays info for a highlighted or fullscreen
program
SELECT
Selects any highlighted item
MENU
Displays a compact menu of settings and services
BACK
Takes you to the screen you visited previously
RED
In Guide, jumps 12 hours back; other functions
vary — look for onscreen hints
CHAN/PAGE
In live TV, changes channel up or down; in a menu,
such as the Guide, scrolls page up or down
PREV
Tunes to last channel viewed
YELLOW
In fullscreen TV, cycles through alternate audio
tracks; other functions vary — look for onscreen
hints
NUMBER KEYS & DASH
Tune to a channel directly; also input numbers
when needed in onscreen menus
GREEN
In Guide, jumps 12 hours forward; other functions
vary — look for hints onscreen
VOLUME
Raises or lowers volume
MUTE
Toggles sound volume on/off
LIST
Displays your To Do List
ENTER
Activates channel number entries quickly
POWER
Turns your DIRECTV HD Receiver and other equipment on and off, as selected with MODE switch
Keys in the shaded area below can be programmed to function with your VCR, DVD player or stand-alone DVR unit.
FORMAT
Cycles through HD resolution and screen format options
To place batteries in your remote
control:
1. Remove cover from the battery
compartment by sliding it
downward.
2. Insert 2 AA batteries (supplied),
matching
the positive (+) and negative (–) at
each end.
3. Slide the cover back on to complete
installation.
To program your remote control:
1. See “Programming Your Remote
Control” on page 70.
Great TV viewing is in your hands!
A good way to begin learning about your
DIRECTV® System is to familiarize yourself with
the remote control. You’ll fi nd further details
throughout the User Guide relating to specifi c
functions.
Navigating 101
You’ll fi nd you can get around nearly all
onscreen menus the same simple way.
Highlight… a menu or button by using the
ARROW keys (up, down, left and right).
Choose it… by pressing SELECT while the
item is highlighted.
Note: Don’t worry about getting stuck in a menu. You can
always press EXIT to return to video.
The
rban:
BO Si
S
S
e
TTTTTTT
TT
T
ggg
g
g
g
ggggg
g
k
S
SSS
t
t
-
x
H22 Front+Back Cover-perfect.indd iH22 Front+Back Cover-perfect.indd i 2/14/08 2:35:23 PM2/14/08 2:35:23 PM
WARNING
To reduce the risk of fire or
electric shock, do not expose this
product to rain or moisture. The
apparatus shall not be exposed
to dripping or splashing and that
no objects filled with liquids, such
as vases, shall be placed on the
apparatus.
Safety & Care
Your DIRECTV® HD Receiver has been designed and manufactured to stringent quality and safety standards. You should,
however, be aware of the following important precautions for safe and optimal use of the equipment.
Meaning of symbols printed on the rear panel of the product:
is symbol indicates that dangerous voltage consisting a risk of electric shock is present within this unit.
!
is symbol indicates that there are important operating and maintenance instructions in the literature accompanying
this unit.
Important Safety Instructions
1) Read these instructions.
2) Keep these instructions.
3) Heed all warnings.
4) Follow all instructions.
5) Do not use this apparatus near water.
6) Clean only with dry cloth.
7) Do not block any ventilation openings. Install in accordance with the manufacturer’s instructions.
8) Do not install near any heat sources such as radiators, heat registers, stoves, or other apparatus (including amplifi ers) that
produce heat.
9) Do not defeat the safety purpose of the polarized or grounding-type plug. A polarized plug has two blades with one wider
than the other. A grounding type plug has two blades and a third grounding prong. e wide blade or the third prong are
provided for your safety. If the provided plug does not fi t into your outlet, consult an electrician for replacement of the
obsolete outlet.
10) Protect the power cord from being walked on or pinched particularly at plugs, convenience receptacles, and the point where
they exit from the apparatus.
11) Only use attachments/accessories specifi ed by the manufacturer.
12) Use only with the cart, stand, tripod, bracket, or table specifi ed by the manufacturer, or sold with the apparatus. When a cart
is used, use caution when moving the cart/apparatus combination to avoid injury from tip-over.
13) Unplug this apparatus during lightning storms or when unused for long periods of time.
14) Refer all servicing to qualifi ed service personnel. Servicing is required when the apparatus has been damaged in any way, such
as power-supply cord or plug is damaged, liquid has been spilled or objects have fallen into the apparatus, the apparatus has
been exposed to rain or moisture, does not operate normally, or has been dropped.
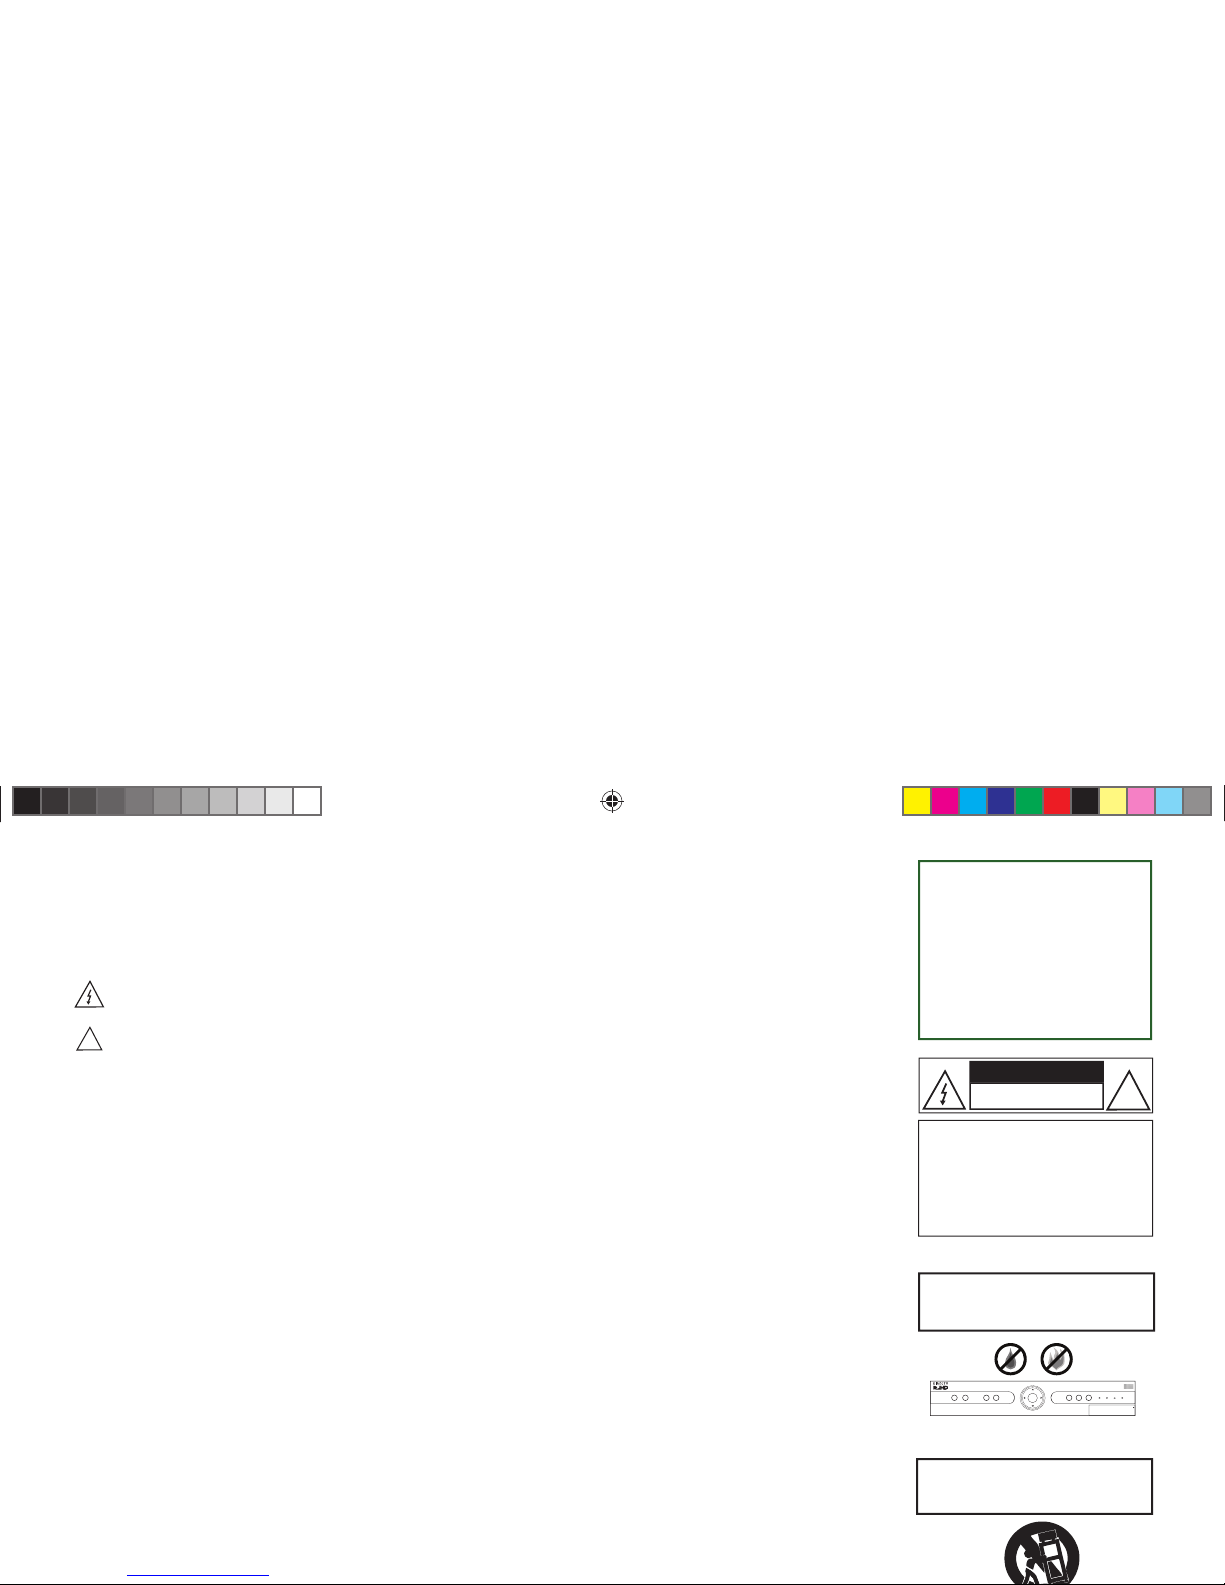
IMPORTANT: Be sure not to place
your DIRECTV HD Receiver near
anything WET or HOT!
SELECT
GUIDEPOWER MENU ACTIVE INFO RES
480i 480p 720i 1080p
OPEN
If this product is used at 240VAC,
a suitable attachment plug should
be used.
!
CAUTION
RISK OF ELECTRIC SHOCK
DO NOT OPEN
CAUTION: TO REDUCE THE RISK OF
ELECTRIC SHOCK, DO NOT REMOVE
COVER (OR BACK).
NO USER-SERVICEABLE PART S IN-
SIDE. REFER SERVICING TO QUALIFIED
SERVICE PERSONNEL.
iii
This reminder is provided to call your attention to articles 810 and 820 of the 2005 National Electrical Code. Refer to article 810, in particular 810-1 and 810-15, for
required grounding of the metal structure of the dish antenna. Refer also to the 810-2 which, by reference to article 820, requires that the satellite dish coaxial cable
Note to Satellite Dish Installer
• CAUTION: Avoid moisture to reduce the risk of fi re or electric shock. e DIR ECT V HD Receiver should not be used near water
(for example, kitchen sink, bathtub, pool, damp basement). Also, never spill liquid on the receiver, and do not place vases or other
vessels containing liquid on top of it.
• Ensure proper ventilation — the vent slots on the DIRECTV HD Receiver must be left uncovered to allow proper airfl ow to the
unit. Blocking the airfl ow to the unit could impair performance or damage your receiver and other components.
• Do not stack electronic components or other objects on top of the DIRECTV HD Receiver. Also, do not stack the receiver on top of
a “hot component” such as an audio power amplifi er.
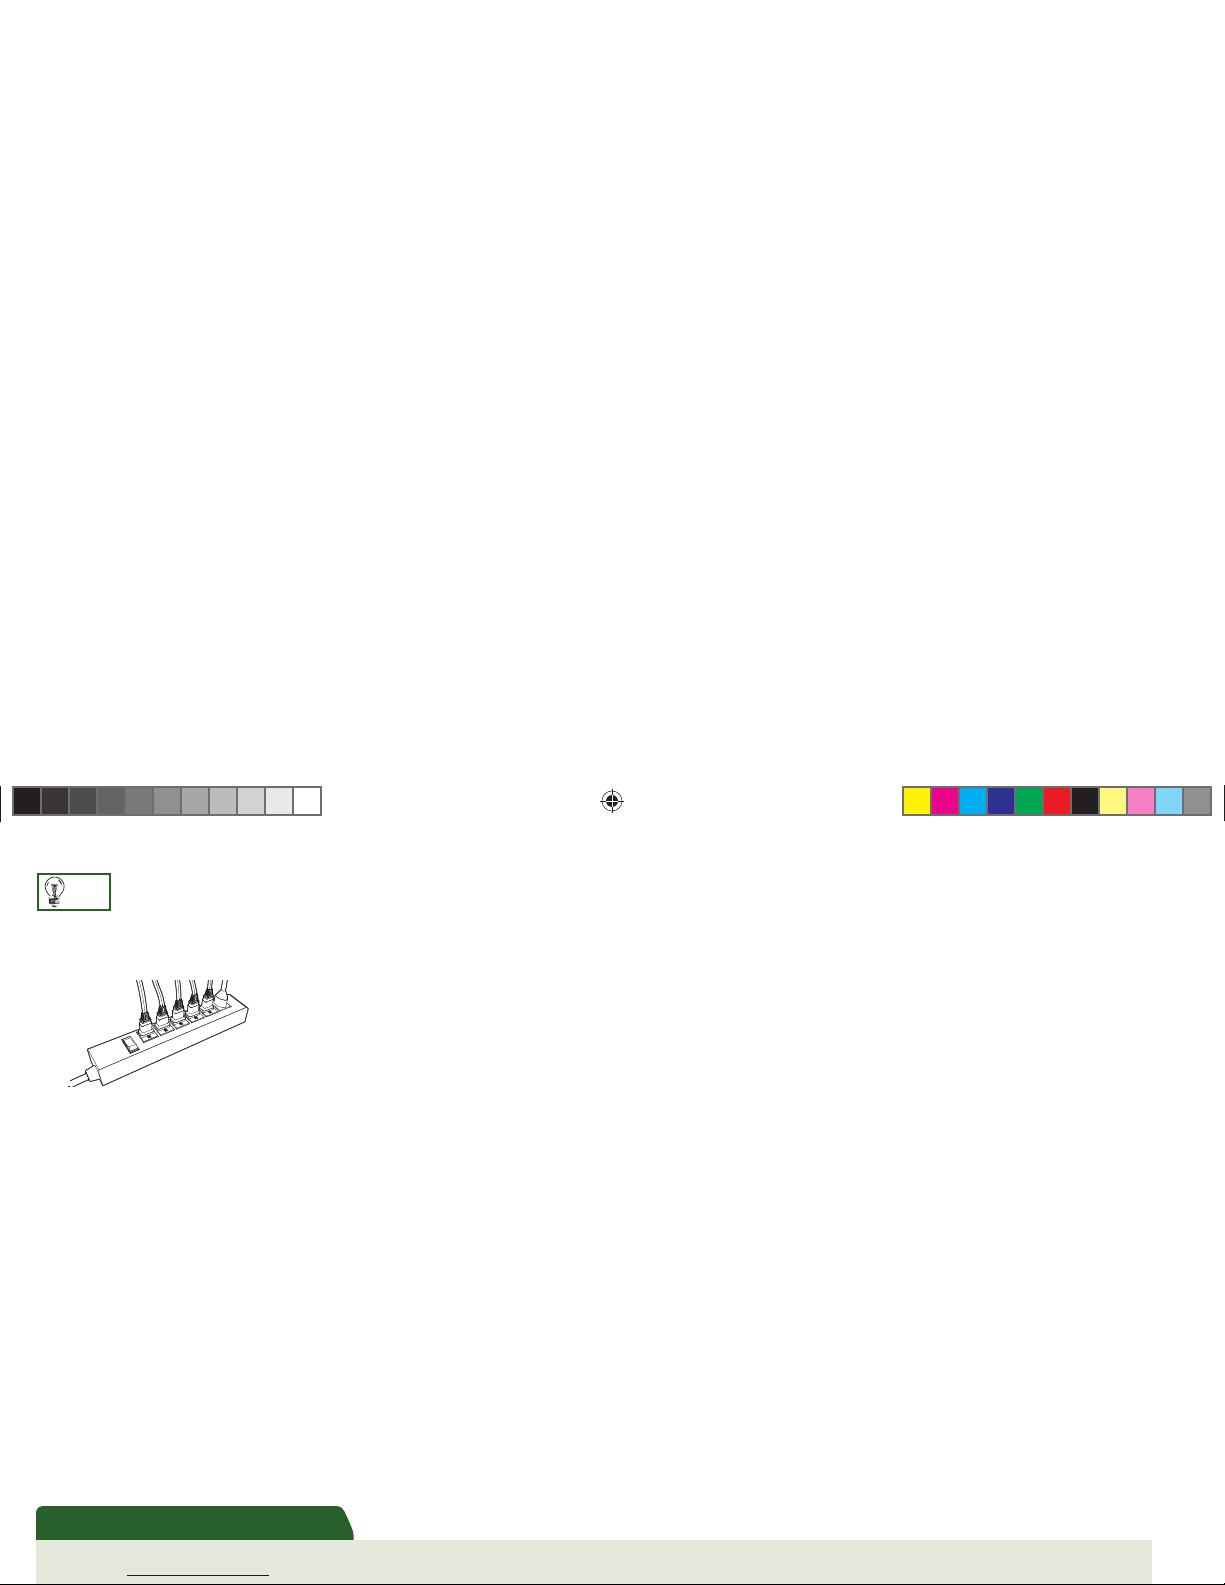
• Protect your components from power surges by connecting all the components before plugging any power cords into the wall outlet.
Use of a surge protector is also recommended.
• Don’t overload power outlets or extension cords, which can result in the risk of fi re or shock. It’s also important to use only the type
of power source indicated on the marking label or in this manual.
• Avoid audio hum or interference by inserting all cable plugs fi rmly into their jacks. Also, place Audio/Video (A/V) cables to the sides of the TV back panel rather than down
the middle once connected. Try not to coil any twin-lead cables and keep them away from A /V cables as much as possible.
• Never insert objects of any kind into any openings in the DIR ECTV HD Receiver (other than the DIR ECT V
®
Access Card as detailed in this chapter).
• Place it on a fl at, hard surface — do not operate the DIRECTV HD Receiver on a carpet or other padded surface.
• Always unplug your DIRECTV HD Receiver before moving it.
• Always unplug the DIRECTV HD Receiver, TV and other equipment before you connect or disconnect any cables.
• e mains power connector at the back of the unit or at the outlet should be accessible to allow quick shutdown in case of emergency.
• CAUTION: Electric Shock — never attempt to disassemble the DIRECTV HD Receiver yourself; always take it to a qualifi ed service person when repair is required.
Opening or removing covers may expose dangerous voltage or other risks, and incorrect reassembly can cause shock when receiver is subsequently used. Attempted selfrepair may also void your warranty. Changes or modifi cations not expressly approved by the party responsible for compliance (by the warranty or by the manufacturer)
could void the user’s authority to operate the equipment.
• Do not drop your DIRECTV HD Receiver and always move it with care.
• Have your DIR ECT V HD Receiver professionally serviced (do not attempt to service it yourself )
• Any changes or modifi cations in construction of this device which are not expressly approved by the party responsible for compliance could void the user’s authority to
operate the equipment.
• To reduce the risk of fi re, use only No. 26 AWG or better telecommunications line cord.
• Do not install this equipment in a confi ned space such as a book case or similar unit.
For your information:
• e identifi cation sticker can be located underneath or on the back of your receiver.
• e telecommunication network voltage used is the category number 3.
TIP
We highly recommend plugging
the DIR ECTV HD Receiver into
a surge protector to prevent
damage from fl uctuations in your
power supply.

iv
Table of
Contents
Getting Started
Welcome .........................................................................................................................................2
Installation and Activation .............................................................................................................4
DIRECTV HD Receiver Front Panel ............................................................................................ 5
DIRECTV HD Receiver Rear Panel ............................................................................................. 6
What’s On
Watching TV ...............................................................................................................................11
The Guide .................................................................................................................................... 15
Autotune ...................................................................................................................................... 17
Pay Per View................................................................................................................................. 19
The Menu
Using the Menu ...........................................................................................................................22
Help & Settings ...........................................................................................................................22
Audio Options .............................................................................................................................. 24
Dolby
*
Digital ..............................................................................................................................25
Category Sort ............................................................................................................................... 26
Pay Per View.................................................................................................................................26
Search ........................................................................................................................................... 27
Date & Time ................................................................................................................................28
Favorites .......................................................................................................................................28
Caller ID & Messages ..................................................................................................................29
Parental Controls.......................................................................................................................... 30

v
Important: This device incorporates an anticopy process technology that is protected by U.S. patents and other intellectual property rights. The anticopy process is licensed for non-commercial, home use only. Reverse engineering or disas-
Important
Other Info
Troubleshooting ........................................................................................................................... 36
Limited 90-Day Warranty ............................................................................................................ 45
Product Information ....................................................................................................................50
DIRECTV PROTECTION PLAN ............................................................................................ 51
FCC Customer Information ......................................................................................................... 53
Installation
Before you begin ..........................................................................................................................58
Hardware Reference ..................................................................................................................... 58
Making the Video Connections ...................................................................................................62
Making the Audio Connections ...................................................................................................64
Making the Basic Connections ....................................................................................................66
Guided Setup ............................................................................................................................... 68
Activate Your DIRECTV
®
Service ................................................................................................ 69
Programming Your Remote Control ............................................................................................ 70
Using an IR/RF Remote to Control Your DIRECTV HD Receiver ........................................... 71
High-Def 101
About High-Definition ................................................................................................................ 74
Options For Changing Video Output .........................................................................................77
Supported Resolutions .................................................................................................................. 79
Wide-Screen vs. Standard Formats ...............................................................................................80
Index .........................................................................................................................................85
Icon Reference ........................................................................................... inside back cover


1
Chapter 1
Getting
Started
2 Welcome
4 Installation and Activation
5 DIRECTV HD Receiver Front Panel
6 DIRECTV HD Receiver Rear Panel

2
Welcome
With its astounding variety of channels and choices, crisp digital-quality picture and sound and one-
of-a-kind sports and events, DIRECTV® HD service off ers everything you’d want in your television
experience. With the DIRECTV® HD Receiver you can expect more than ever before, with access
to over 225 channels, including our awesome HD selections and over 30 premium movie channels,
with something to please everyone in the family. DIRECTV Pay Per View off ers a handy choice in
recent hit movies, plus exciting live sports, concerts and specials, even Pay Per View selections in HD.
ere’s exclusive sports subscriptions for every taste and team. Even access to 36 commercial-free music
channels!
To deliver this unique programming and enhance your entertainment experience, the DIRECTV
HD Receiver has been designed to be simple and user-friendly. You’ll fi nd that most features are self-
explanatory, with onscreen directions to lead you through them.
So, welcome to the family.
You can fi nd additional
information and the latest
updates at DIRECTV.com.
TIP

3
What You Can Watch
With the DIRECTV HD Receiver, you have access to all types of televised programming, including:
DIRECTV high-defi nition and standard-defi nition digital programming via satellite, including
network channels if off ered in your area (DIRECTV service subscription required).
Equipment You’ll Need
To view HD programming, you’ll need, in addition to your DIRECTV HD Receiver:
A high-defi nition TV set (or HDTV monitor)
A 5 LNB Multi-Satellite dish antenna—MPEG4 and Ka/Ku compatible

4
Installation and Activation
If you or a professional installer have not yet connected your DIRECTV® HD Receiver and other
components, please see Appendix A, Installation at the end of this User Guide. Following activation, you
will need to activate your DIRECTV® service. If you have not activated already, see page 69 for more
information.
Package Contents
e following items are included with your DIRECTV HD Receiver:
User Guide IR Remote Control & batteries
Phone cord* Power cord
Access card
Video and audio cables*
* Cables may not be included in certain package confi gurations. For example, if a professional installer
delivers and sets up your DIRECTV HD Receiver, the installer will provide the cables; they will not be
included in the box. Cables are included in boxes purchased at retail stores. Additional cables may be
required for your particular setup. See Appendix A, Installation, for more information.
5
SELECT
ACTIVE INFO RES
480i 480p 720i 1080p
Your equipment may not look exactly like the model illustrated.
Locate the
access card that
came with your
DIRECTV HD
Receiver. Write
down the card
number in the
space below, then
insert the card
into the receiver,
facing upward,
fully into the slot.
Card #
SELECT
GUIDEPOWER MENU ACTIVE INFO RES
480i 480p 720p 1080p
OPEN
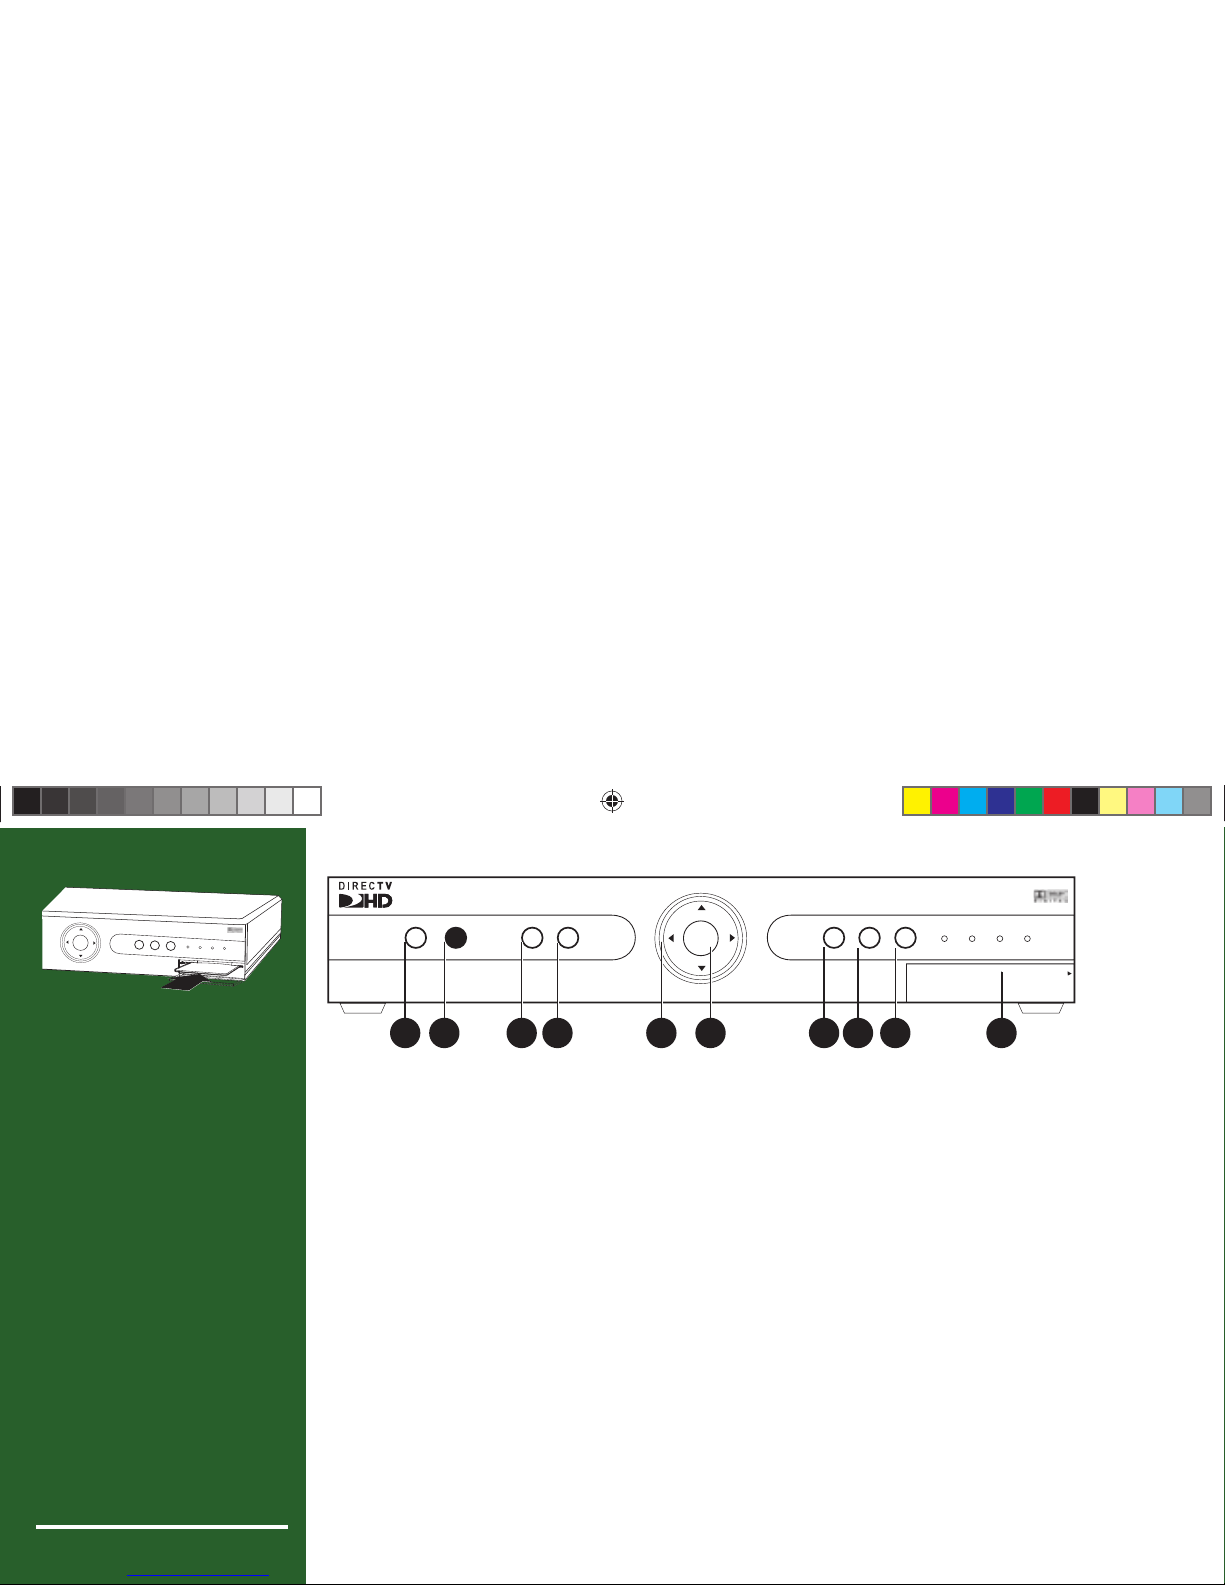
1 2 4 5 76 8 9 103
DIRECTV HD Receiver Front Panel
1) POWER – Turns your DIRECTV HD Receiver on or off . Your Receiver still tunes and receives
messages when powered off .
2) REMOTE SENSOR – e infrared sensor picks up commands from the remote control.
3) GUIDE – Displays the onscreen program guide.
4) MENU – Brings up the Menu to access settings and services.
5) ARROWS – Move the onscreen highlight up, down, left or right.
6) SELECT – Selects the item highlighted.
7) ACTIVE – Displays the DIRECTV Active™ Channel—local weather and more!
8) INFO – Displays channel banner or info to a highlighted program or channel cell.
9) RESOLUTION/RESOLUTION INDICATOR – e RESOLUTION key switches the output
resolution of the HD receiver. Each time you press the key, it cycles to the next available resolution:
480i, 480p, 720p and 1080i. e adjacent lights indicate the current resolution setting.
10) DOOR PANEL – e access card slot and RESET button are located behind the door panel.

6
SATELLITE IN
USB
S-VIDEO
OUT
COMPONENT
OUT
VIDEO OUT
AUDIO OUT
DIGITAL
AUDIO OUT
(OPTICAL)
HDMI
AC IN
PHONE
LINE
5
1111 6 8 11 12
4
9
3
10
7
77
22
ETHERNET
Your equipment may not look exactly like the model illustrated.
The Rear Panel
may look
complicated,
but you probably
won’t use all the
connections.
DIRECTV HD Receiver Rear Panel
1) SATELLITE IN – Use to connect the DIRECTV HD Receiver to the satellite dish antenna.
2) USB – For future services and accessories. Additional hardware may be required.
3) S-VIDEO OUT – Provides the best non-HD picture quality, better than VIDEO RCA-type jacks.
If your TV has only RCA and S-Video jacks, use it along with the audio jacks (S-Video only carries
picture information, not sound) to connect to your TV.
4) VIDEO OUT – Provides good, but non-HD, picture quality. You can connect the second RCA-
type composite VIDEO jack to another device, such as a VCR. You must also connect the AUDIO
cables when using the VIDEO connection.

7
Connect video,
audio, your
satellite dish, a
phone line, power,
and you’re done!
5) COMPONENT OUT/ YPbPr (G, B, R) – Provides good HD picture quality, but not as good
as HDMI. YPbPr carries only picture information, not sound; use it along with a digital audio
connection or Audio Out (L/R white/red) jacks. (Note, some TV sets have component video inputs
that are non-HD. In this case, component video has the best available non-HD picture quality.)
6) AUDIO OUT (R and L) – Connect a second set of audio cables to another component, such as a
VCR or stereo.
7) DIGITAL AUDIO OUT (COAX) – Provides digital-quality audio signal.
8) S/PDIF DIGITAL AUDIO OUT (OPTICAL) – Provides digital-quality audio signal.
9) HDMI – Provides the best quality HD picture (better than YPbPr/component video). e HDMI
also provides audio, for a high-quality, “one-cable” solution.
10) ETHERNET– For future use.
11) PHONE LINE– Connects the DIRECTV HD Receiver to a telephone line. e DIRECTV
HD Receiver requires a land-based telephone line connection to communicate periodically with
DIRECTV.
12) POWER – Use to connect the power cord for your DIRECTV HD Receiver. We recommend
you use a surge protector to safeguard your DIRECTV HD Receiver from power spikes. Your
DIRECTV HD Receiver is rated to operate at 100-240V, with the appropriate power cord.


9
Chapter 2
What’s On
11 Watching TV
15 The Guide
17 Autotune
19 Pay Per View
11
Watching TV
Now that everything’s set up, you’re ready to grab your remote and start surfi ng!
With the MODE switch to the left (under the DIRECTV logo), press PWR. To access the channel
of your choice, simply key in its numbers on your remote (the channel will appear in a second or two,
or press ENTER after the numbers and it will appear right away). You can also navigate to diff erent
channels through the Guide, described in detail later in this chapter. Keep in mind, either way, you’ll
only be able to access those channels in your chosen DIRECTV
®
programming package. For a list of the
channels available in the DIRECTV programming packages, visit DIRECTV.com.
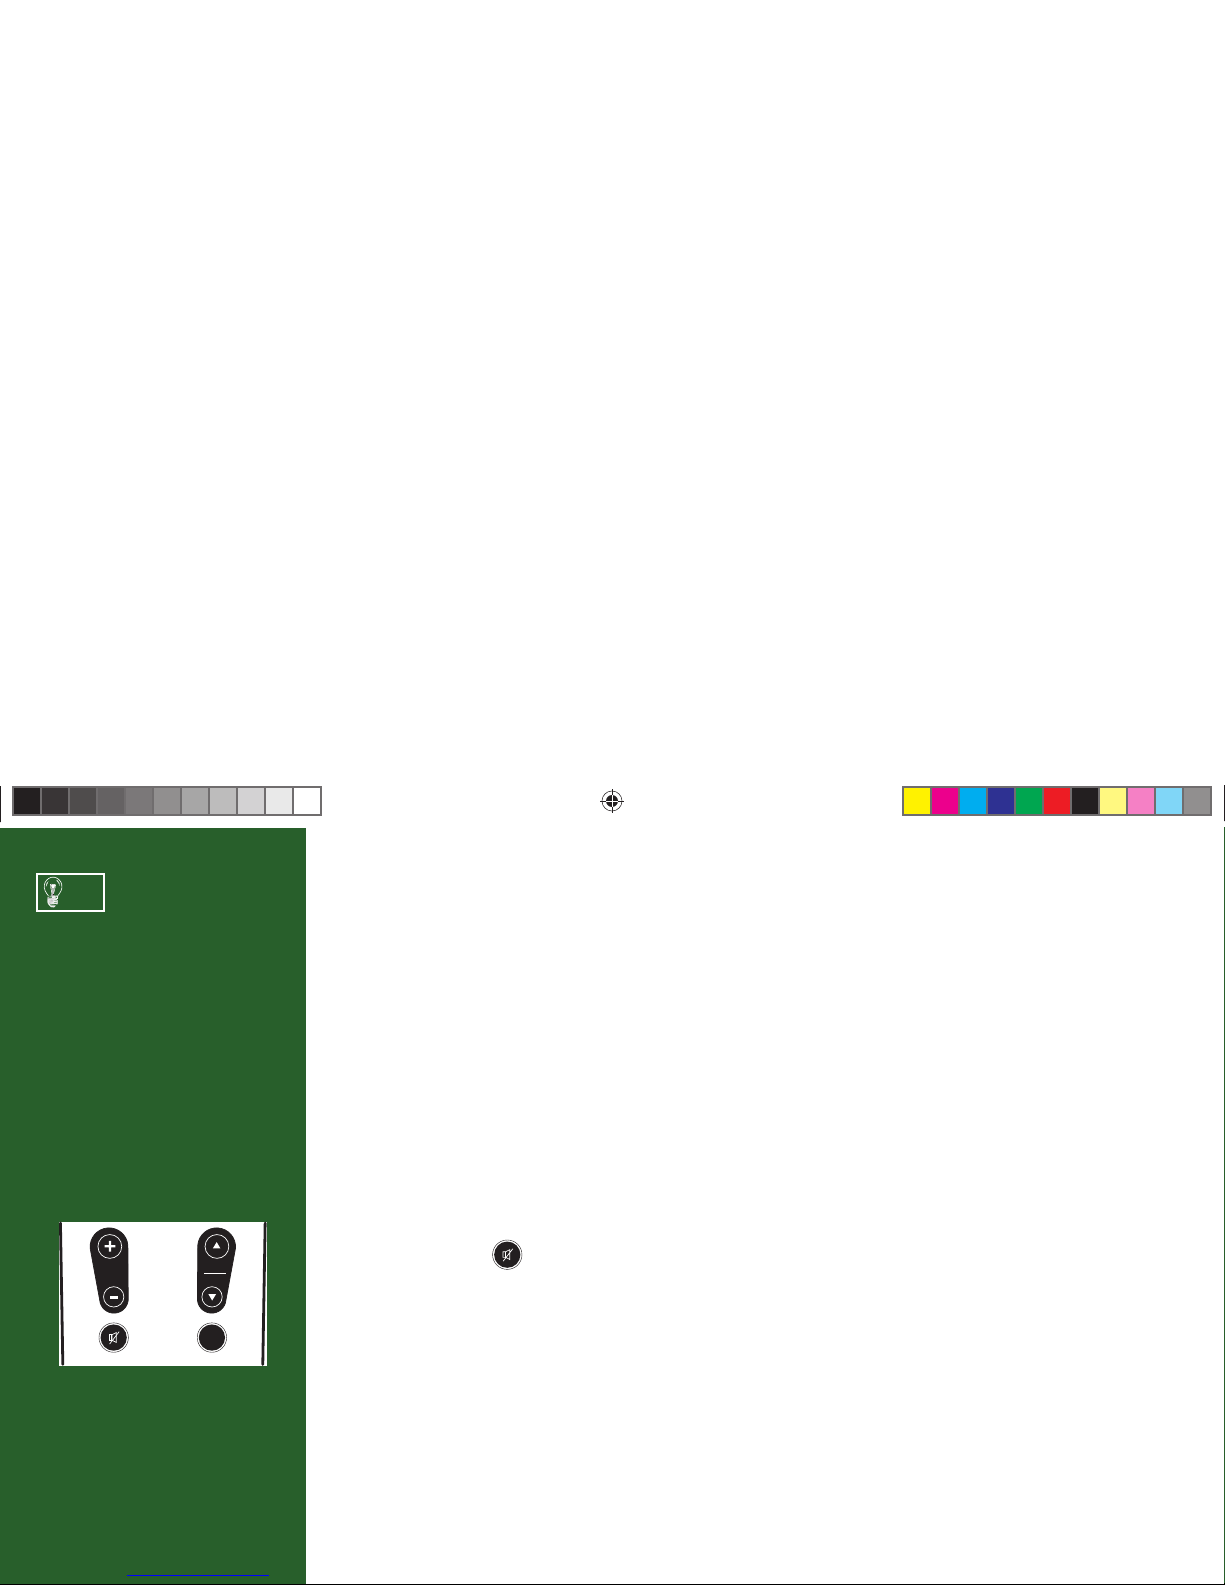
Use the black keys on the left side of your remote control to adjust volume up or down (VOL) or mute
the sound ( MUTE - ). e black keys on the right side can take you to the next channel numerically
up or down (CHAN), or jump to the previous channel you watched (PREV).
DIRECTV Active™ Channel
e DIRECTV Active™ Channel provides a variety of interactive services, including daily and extended
weather forecasts, daily horoscopes, lottery results, pay per view and broadcast TV recommendations,
and special DIRECTV promotions.
Press the ACTIVE key to access these features.
Use the Channel Lineup (included
in your Welcome package) to
get familiar with our channel
numbers.
TIP
VOL
CHAN
PAGE
PREV
1
2
3
4
5
7
6
8

13
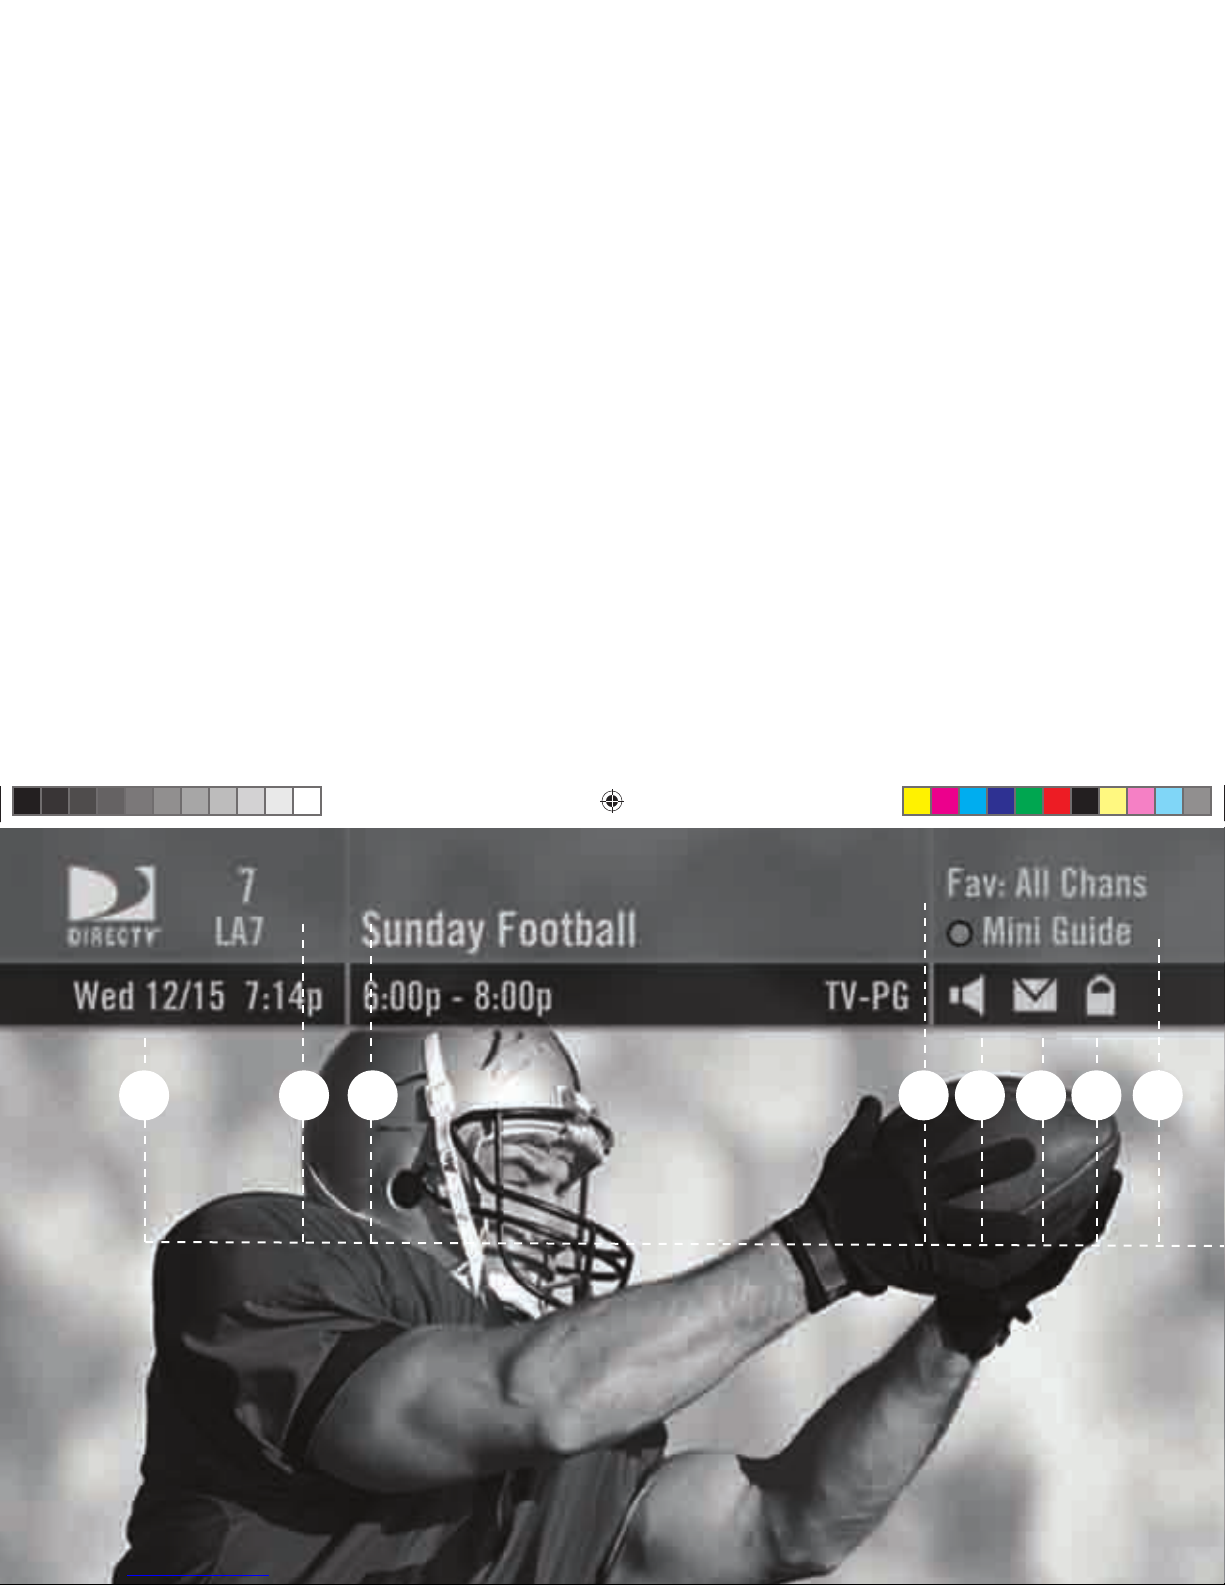
The Channel Banner
Any time you tune to a channel, the Channel Banner appears across the top of the screen, displaying
info on the channel and show you are currently watching:
1) Current Date & Time
2) DIRECTV Channel – Channel logo, number and call letters of the station you’re currently viewing.
3) Program Info – Program title, stop and start time and rating of the current program.
4) Current Favorites – Favorite Channels list currently in use.
5) Audio Options – A “fi lled in” icon indicates alternate audio options are available. A “hollow” icon,
no alternate audio options are available.
6) Messages – A “fi lled in” icon indicates new DIRECTV messages in Caller ID & Messages. A
“hollow” icon, there are no new or unread messages.
7) P a r e n t a l C o n t r o l s – Parental Controls lock status. ree icons: Locked (“fi lled-in” locked icon),
unlocked (“hollow” unlocked icon) and temporarily unlocked (“fi lled-in” unlocked icon).
8) Color Hint – e color hint is a reminder that pressing the BLUE key displays the Mini Guide.
Other messages or instructions are displayed in this location as needed.
Music Channels
Your DIRECTV service includes dozens of enjoyable, continuous, commercial-free music channels with something for every
taste. Tune to these just as you would to any channel. You’ll see a special Channel Banner that initially displays the channel
description (for example, “The ‘60s,” “US Country”). As each song is played, its info will appear in the banner, including
To see program details at any
time press INFO on your remote
(press a second time to clear).
Select More Info button to see
6
1
2
3
4
5
7
Current Date & Time
DIRECTV Channel
Program Info
Current Favorites
Audio Options
Messages
Parental Controls
Color Hint
8

15
The Guide
Overview of the DIRECTV Advanced Program Guide
®
e Guide displays listings of current and upcoming programs for up to 7 days in advance. Find out
what’s on (now or later), change the channel, fi nd and purchase a pay per view movie or event, or search
for a program you’re interested in.
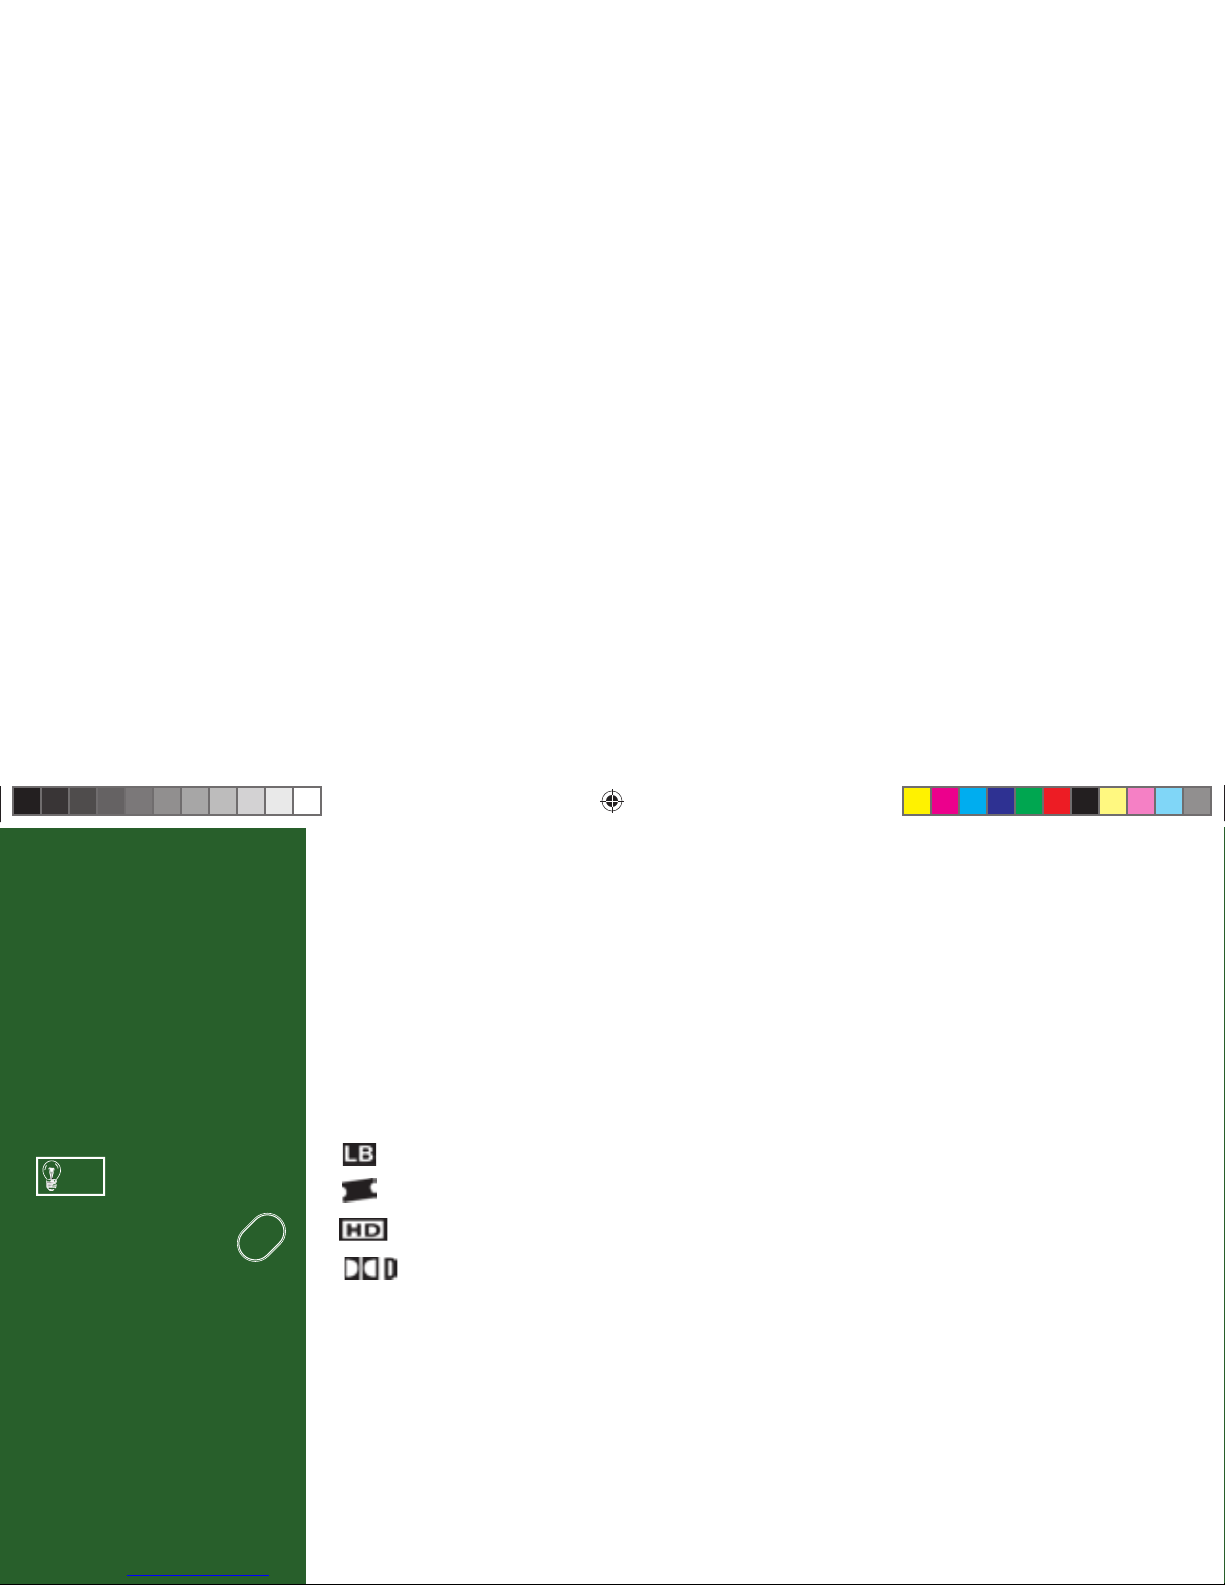
Icons you may see in the Guide:
– Broadcast in letterbox (16:9 widescreen) format
– All Day Ticket Pay Per View showings (pay once, watch all day)
– HD program
– Dolby Digital audio available
Press the GUIDE key twice
to skip the Category Sort
screen.
TIP
GUIDE
16
Getting Around in the Guide
Press the GUIDE key on your remote, then choose how you want to fi lter the Guide (or press GUIDE
twice to skip the fi lter). Select All Channels, or channels in a specifi c category.
Moving through the Guide is simple:
e UP, DOWN, LEFT and RIGHT arrow keys move you through listings and time slots.
Highlight a program or channel cell to view its description.
Use the CHAN key up or down to scroll a full page.
Press the RED or GREEN keys to move forward or back in time.
To tune to a program that is on now, highlight the program and press SELECT. Selecting a future
program displays program information.
Press INFO when you’ve highlighted a show in the Guide to view a more in-depth description and
options. Pressing INFO when you’ve highlighted the channel name displays the channel’s listing for
up to 7 days.
Press SELECT when you’ve highlighted a channel cell (far left) to view that channel in the TV
window.
Press MENU to see Guide options, change your Favorites list, or jump to a desired date and time.
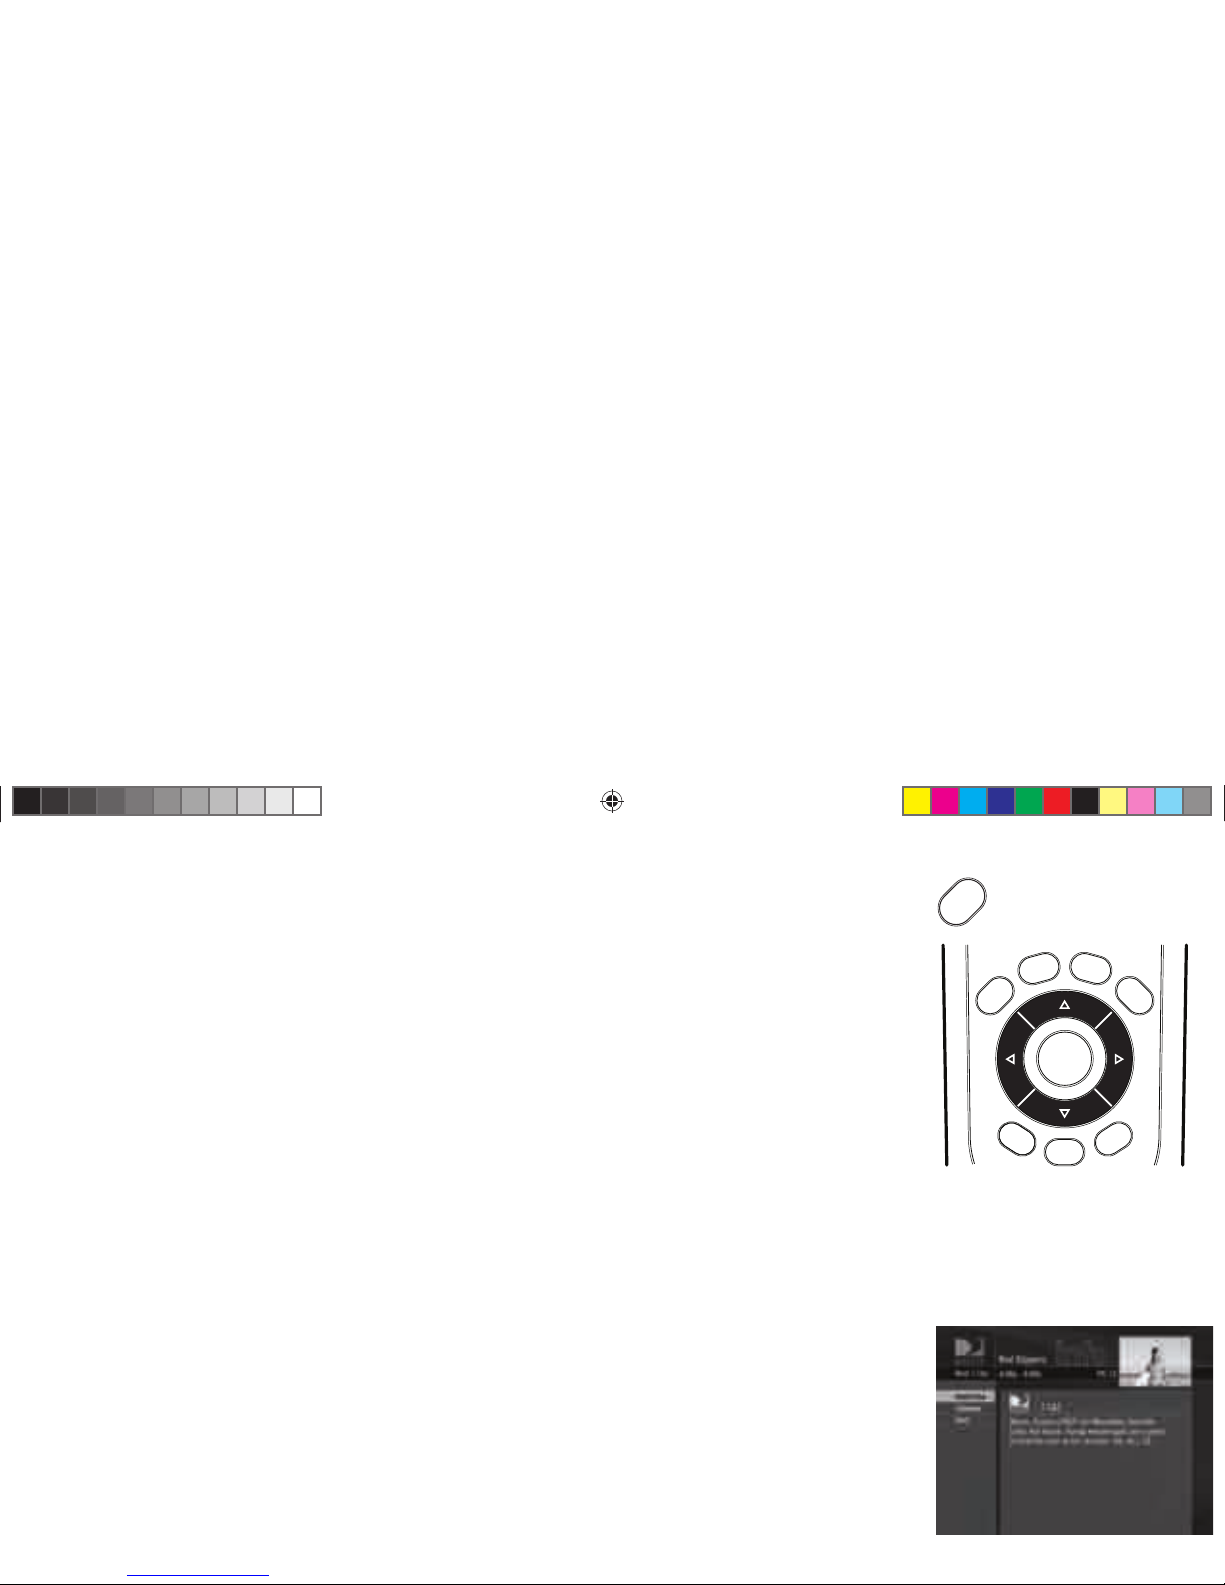
Highlight an item by using the
arrow keys to move LEFT, RIGHT,
UP or DOWN. Press SELECT to
access the information or channel.
GUIDE
MENU
INFO
BACK
EXIT
LIST
GUIDE
ACTIVE
SELECT

17
Autotune
An even better way to catch all your favorites
Autotune is a great way to see your favorite programs on your schedule. You won’t forget to tune to
your favorite team’s playoff game because you got distracted. Just set a program to autotune and your
DIRECTV
®
Receiver will tune to it automatically when it starts.
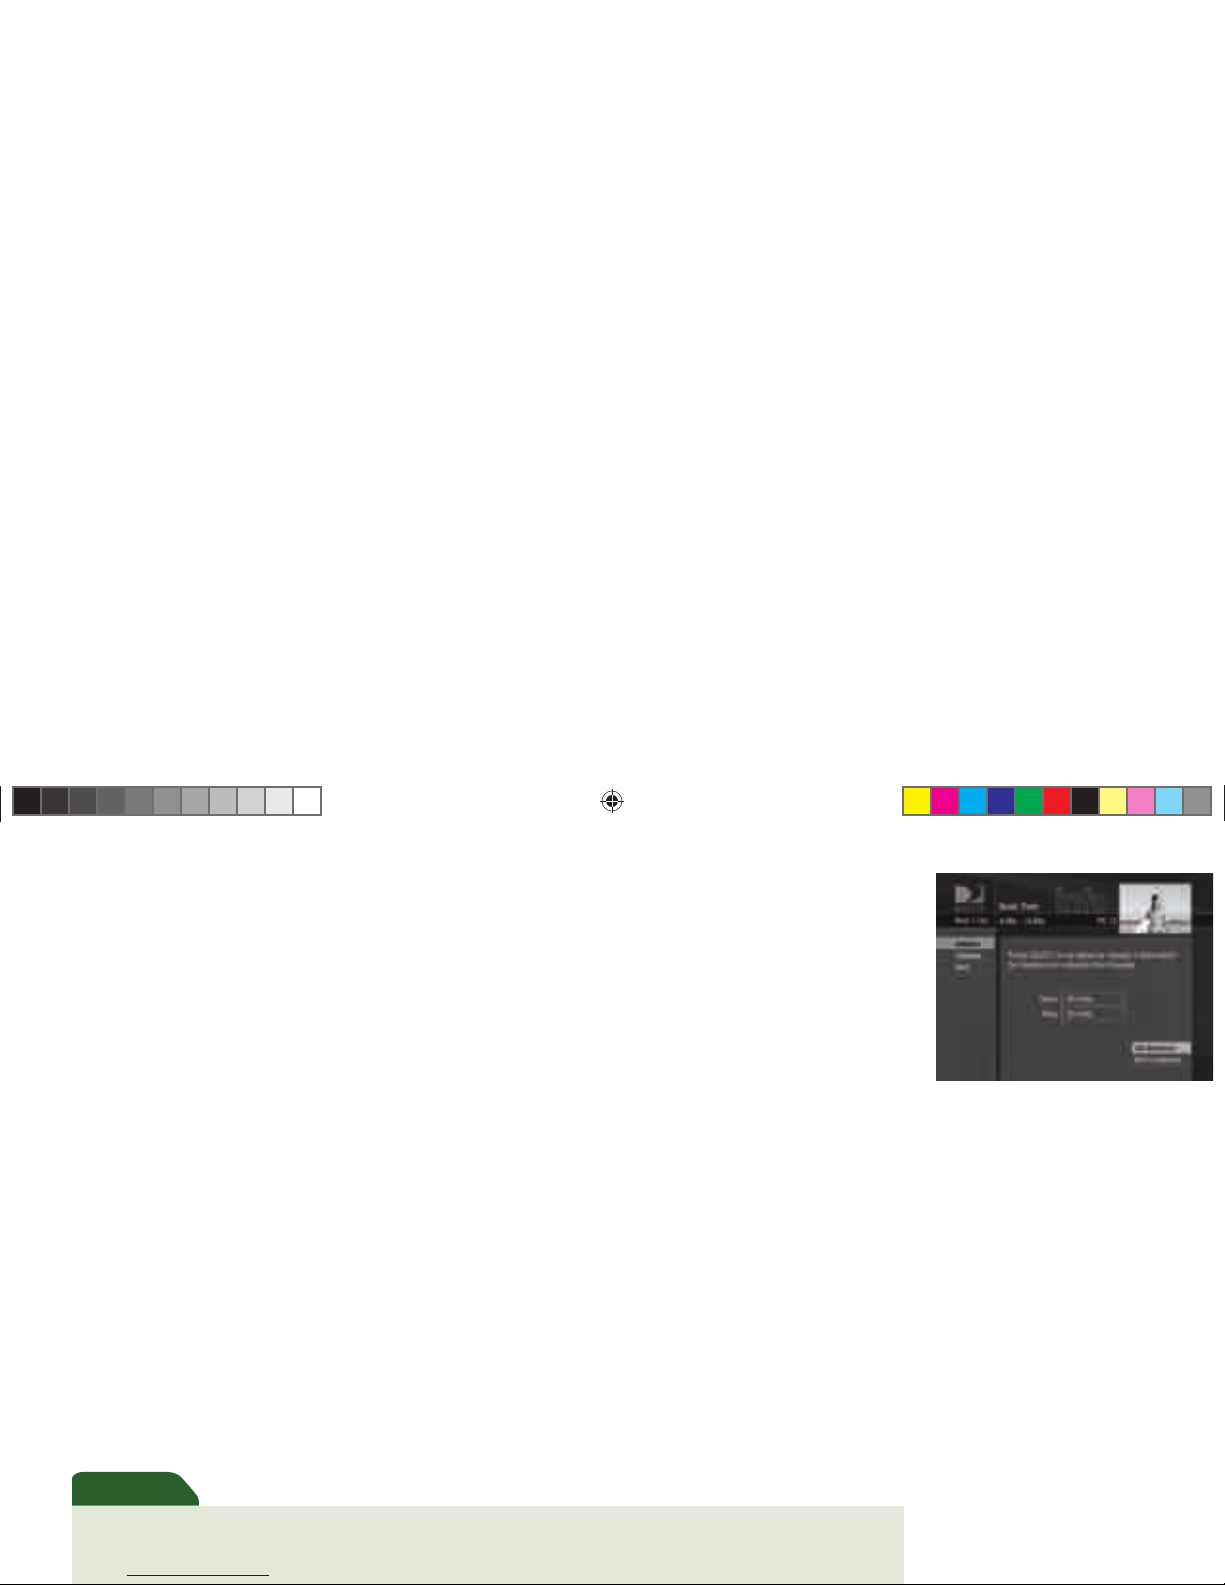
To schedule a program for autotuning with specifi c options:
1) Highlight a program that interests you and press INFO.
2) Highlight and select Autotune. A screen is displayed where you can set Autotune options for that
program. Follow the onscreen instructions to set the program to autotune as you wish.
3) Select the Set Autotune button, then OK on the confi rmation screen.
To schedule a program for autotuning using the default options:
1) Highlight a program that interests you and press ENTER.
2) Press ENTER again to cancel the autotune.
If a program you select to autotune confl icts with another program, you will be notifi ed of the confl ict at
the time and given a choice of which autotune to cancel.
18
Changing Autotune Options/Canceling an Autotune
Once you have scheduled a program to autotune, you can change the autotune options or cancel the
autotune by selecting the program in the Guide or the To Do List (press LIST); then, select the Autotune
item in the left menu, and follow the onscreen instructions to change the program’s options or cancel
the Autotune completely. For all programs, you can extend Autotune start and stop times (for example,
start 1 minute before the program; stop 5 minutes after the scheduled end of the program).
Recording to VCR
To record a program on your VCR, make sure you’ve connected your VCR properly to your DIRECTV
HD Receiver, then set up your VCR to record at the same time as a scheduled autotune and you’re set.
See your VCR User’s Guide for information on how to set it up for scheduled or manual recording.
To obtain optimum picture quality, make sure the receiver is connected directly to the TV. Connecting the receiver to the
TV through a VCR or DVD recorder is known to yield less than optimum picture quality, particularly when viewing copyprotected programming.
Important
Use Autotune
to record your
favorite shows to
your VCR.
19
Pay Per View
The Latest Movies, 24 Hours a Day
You don’t have to go out for the best and biggest movies and special events! Recent hits and events like
sports, comedy and more are available 24 hours a day on DIRECTV® Pay Per View. You’ll fi nd them
listed in the Guide in the 100s.
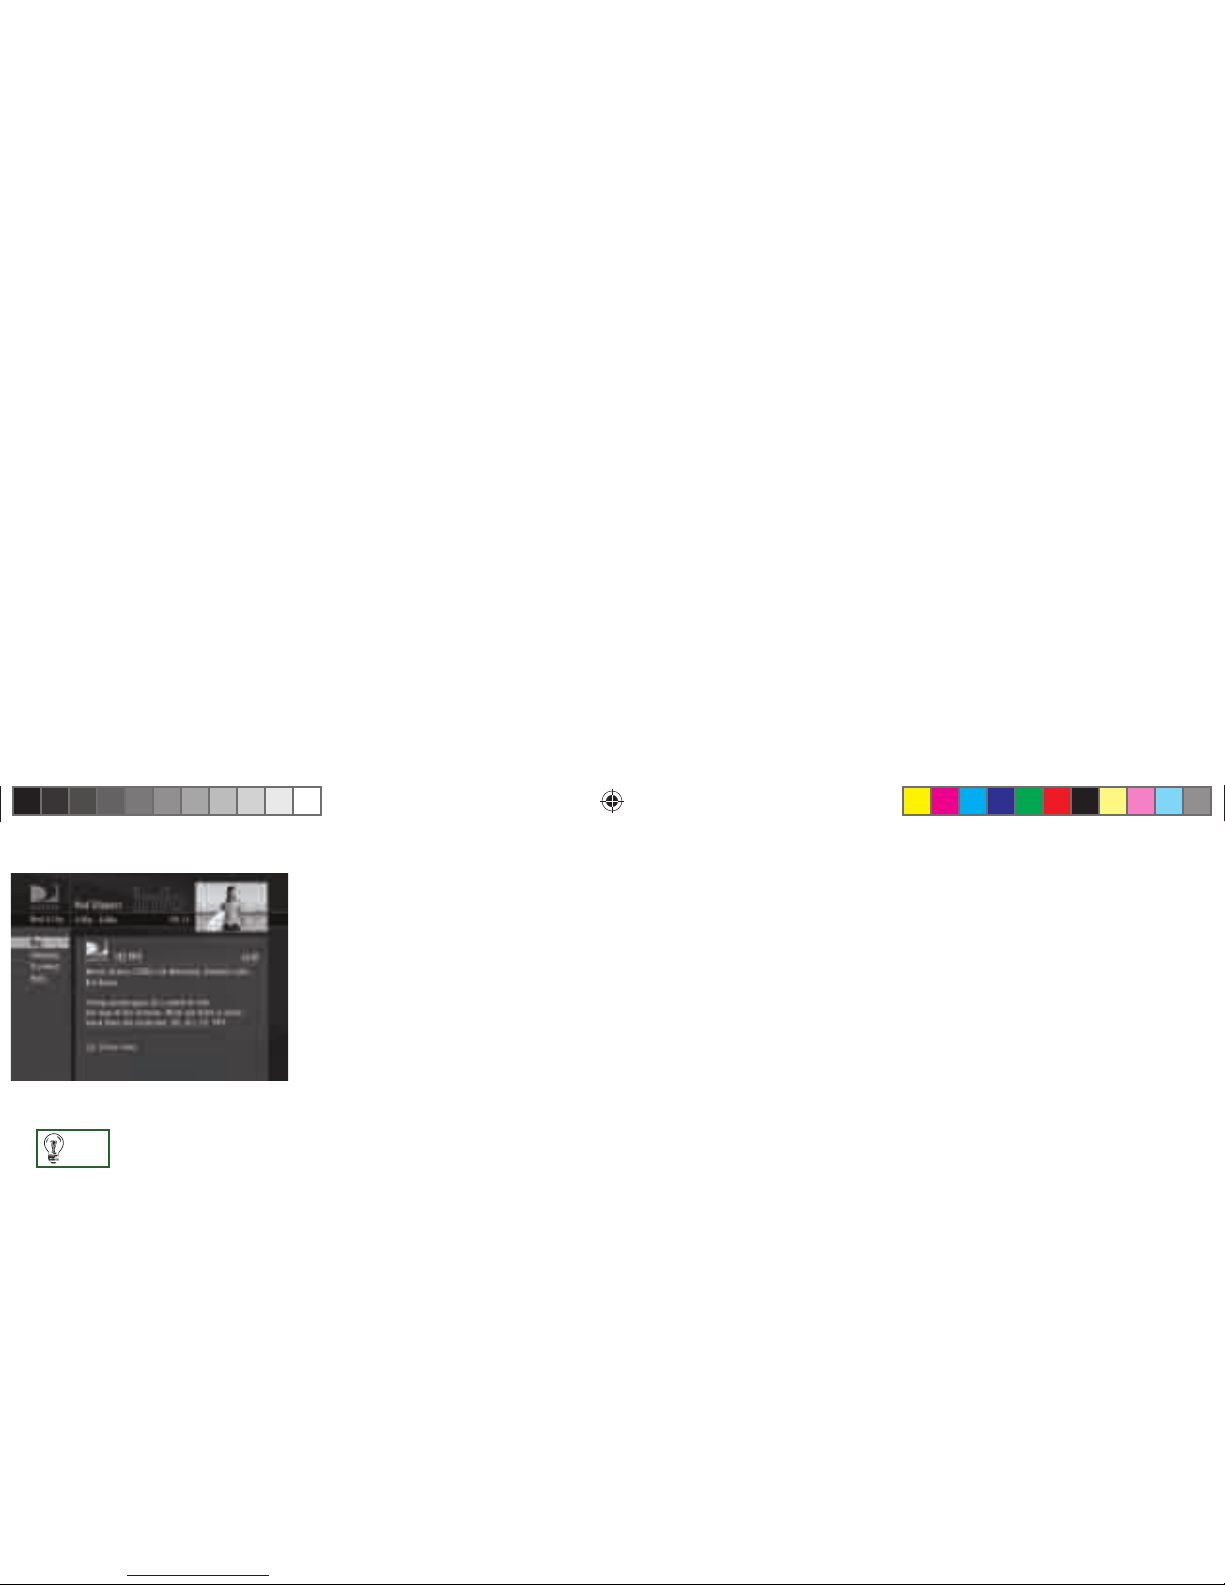
Tune to a pay per view program or press INFO on a highlighted pay per view program. Select the Buy
option and follow the onscreen instructions. As long as your receiver has been connected to a land-based
phone line, you can use your remote to order.
You can cancel your pay per view order for any reason as long as none of the program has been viewed.
Press LIST to display the To Do List. Press SELECT on the Purchase item in the left menu. Select the
desired program and follow the onscreen instructions.
You can also order DIRECTV Pay
Per View movies and events on
the Internet at DIRECTV.com or
over the phone at 1-800 -531-
5000. Keep in mind, though,
there is an additional ordering
fee for purchases placed over
the phone.
TIP


21
Chapter 3
The Menu
22 Using the Menu
22 Help & Settings
24 Audio Options
25 Dolby
*
Digital
26 Category Sort
26 Pay Per View
27 Search
28 Date & Time
28 Favorites
29 Caller ID & Messages
30 Parental Controls
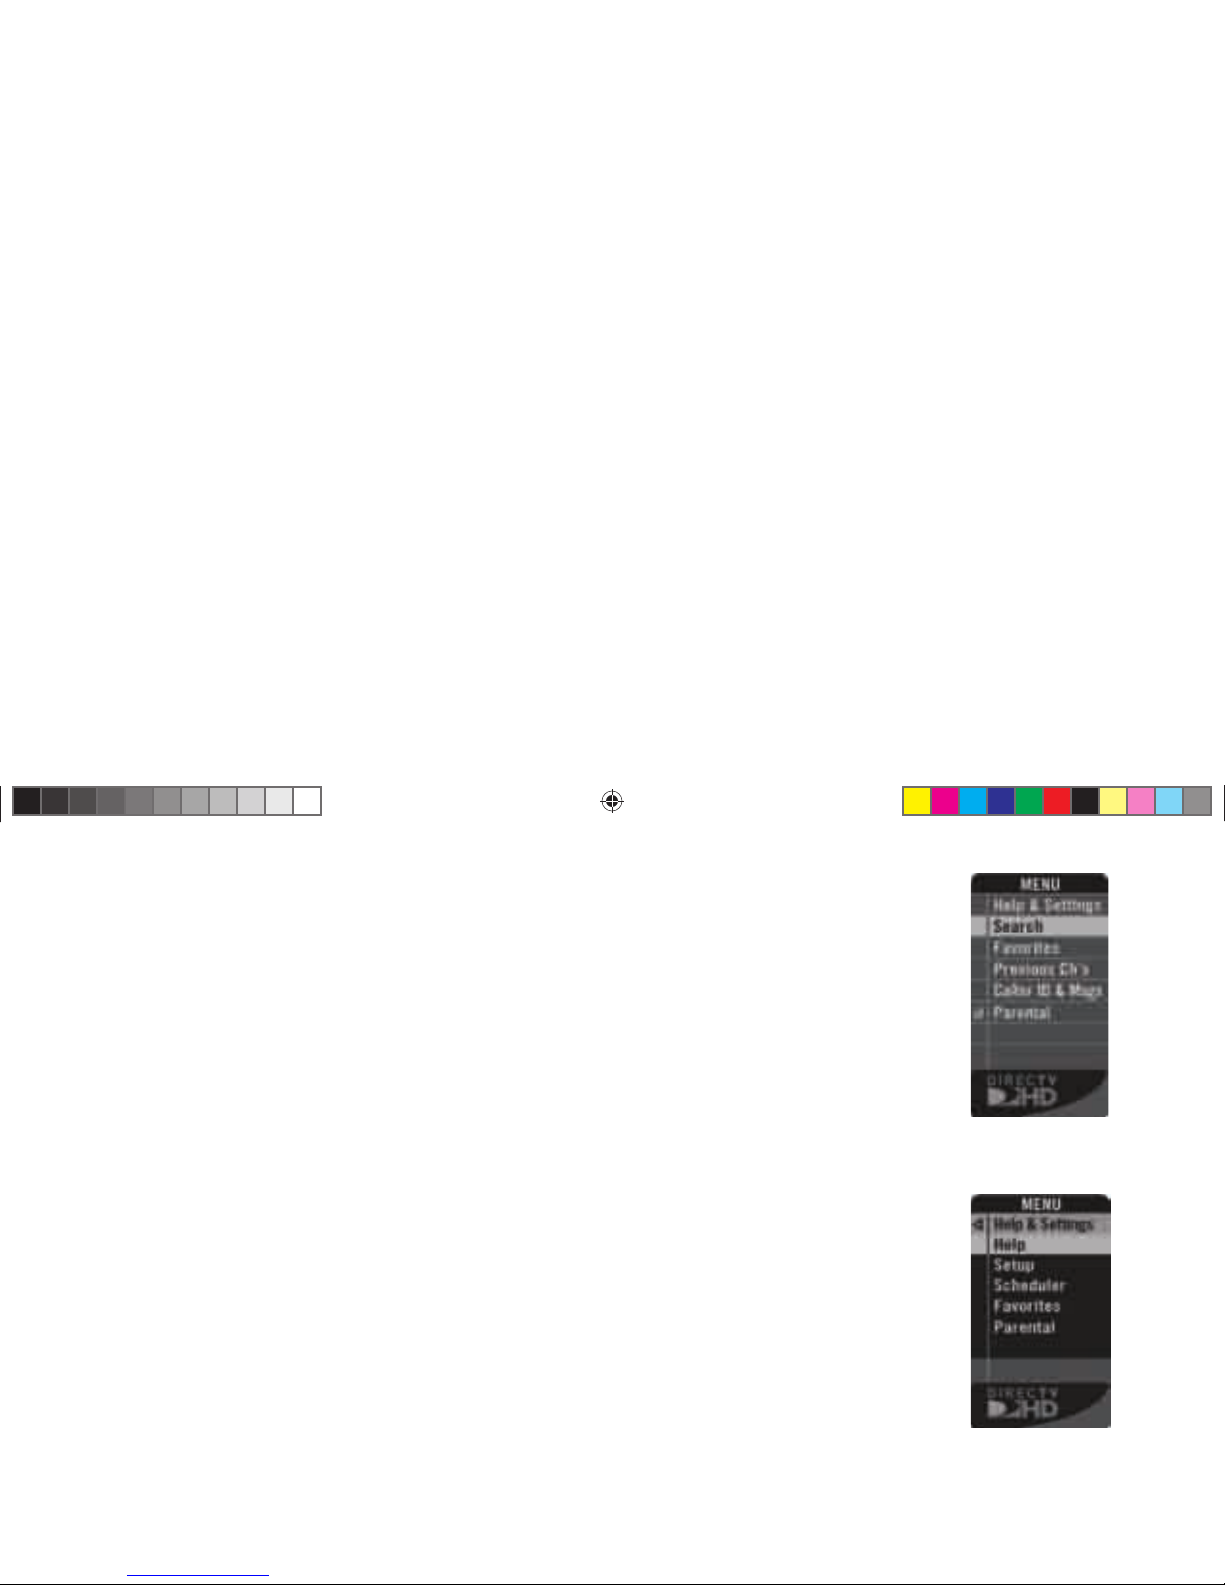
22
Using the Menu
Press MENU on your remote to easily access DIRECTV® features. Once the Menu is displayed, use the
UP and DOWN arrows to highlight a desired menu item, then press SELECT to access that item. Some
menu items will display a submenu, others will take you directly to a new screen. To remove the Menu
at any time, press MENU again. e features in the Menu change as needed to display only the most
helpful features at any time. For example, when the Menu is displayed over the Guide, it displays special
features to help you with the Guide.
Help & Settings
Selecting Help & Settings in the Menu displays a submenu of items that lets you customize, adjust and
keep track of your DIRECTV viewing experience.
Help
e Help item in the Menu displays a list of help topics and Frequently Asked Questions.
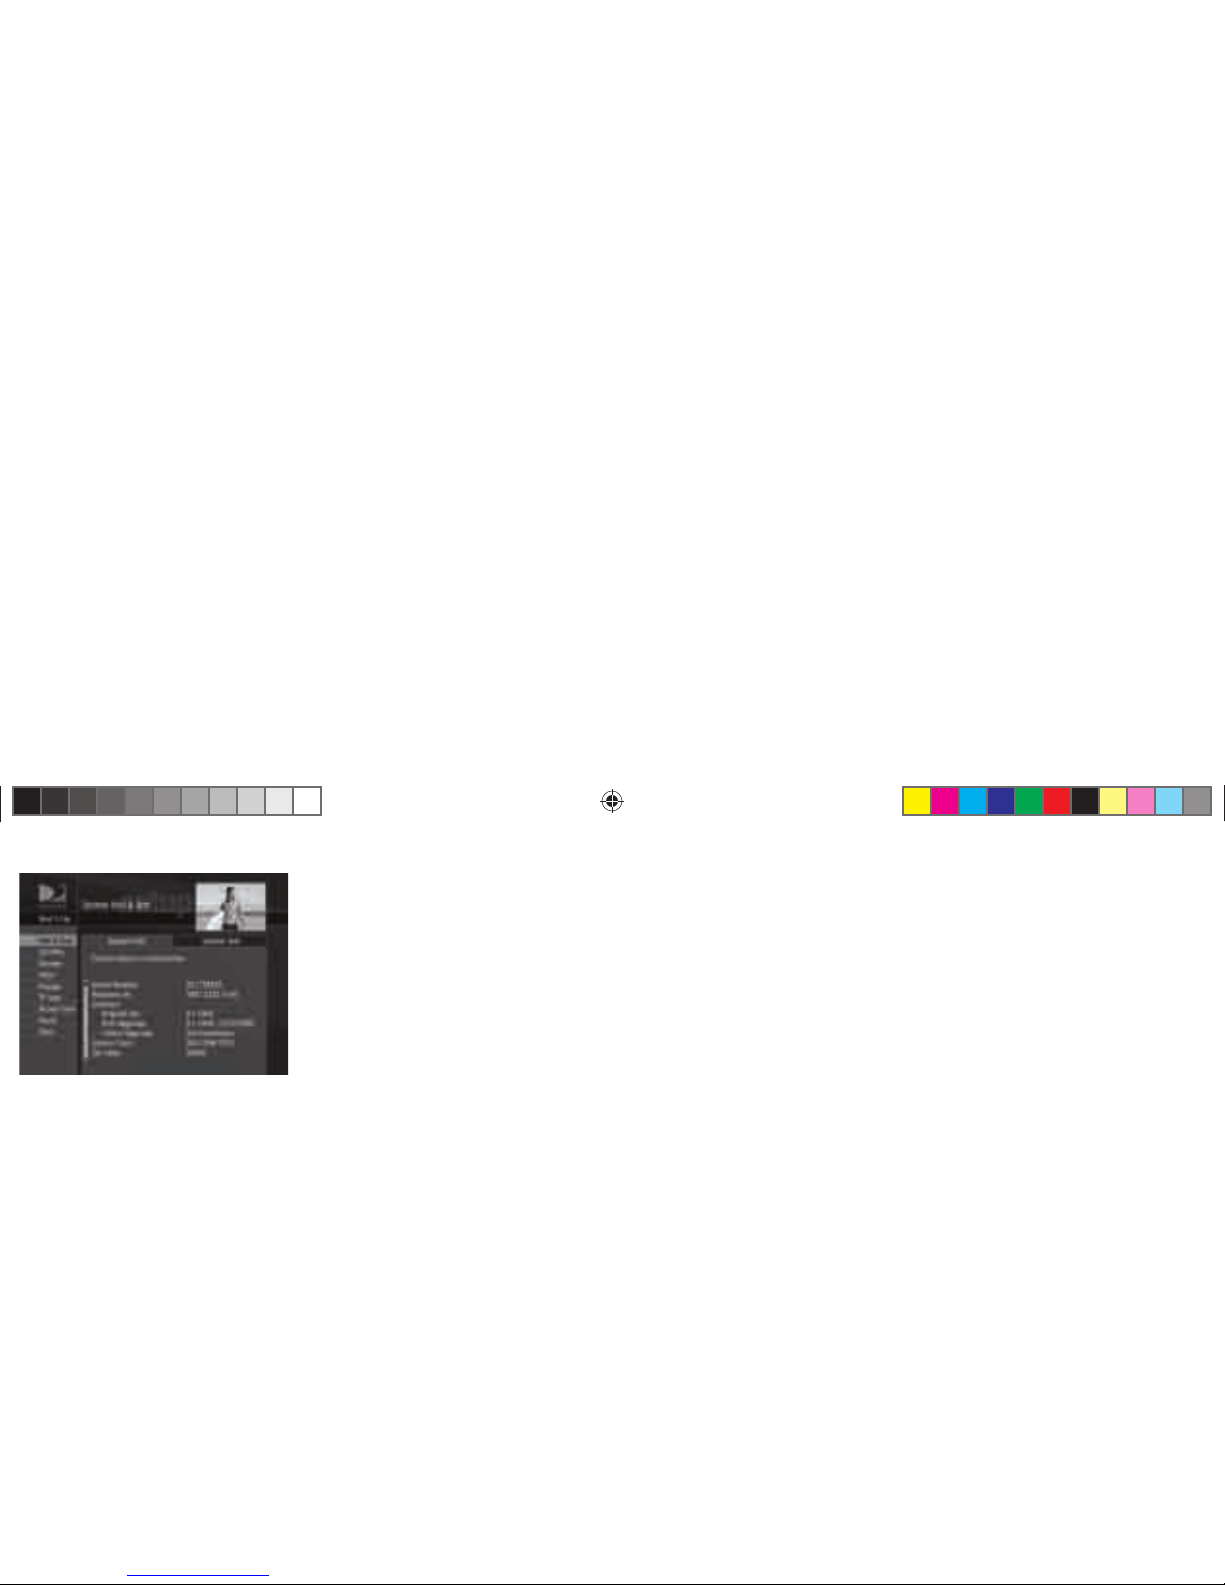
Setup
e Setup item in the Menu displays the Setup screen, where you can access the Info & Test, Satellite
Setup, Remote Setup, Audio Setup, Display Setup, Access Card and System Reset screens.
Info & Test: e System Info option lets you view the current system information. e System Test
option lets you run a test on the tuner, access card, receiver ID and phone line.
23
Satellite: is option is useful if your DIRECTV® HD Receiver has lost signal strength, or you need
to realign your satellite dish.
Remote: Use this option to setup your remote to control your TV and other equipment.
Audio: e Audio option in Setup lets you make lasting adjustments to settings such as language,
sound eff ects and Dolby Digital. To make temporary adjustments, use the Audio Options item in the
Menu.
Display: is option lets you change display settings such as native mode, screen format, bar color, the
Channel Banner display time, the language in onscreen menus, time zone (for the clock), captioning and
screen centering.
TV Type: e TV Type option is where you can set your TV’s aspect ratio and resolution.
Access Card: Follow the onscreen directions to replace your access card. You will need your old
and new access cards to complete this process. (Note: DIRECTV will provide new access cards and
instructions when necessary.)
Reset: From here you can restart the receiver, reset to factory defaults, or reset everything.
Scheduler
is feature gives you an overview of and access to all the programs you’ve set to Autotune or purchase.
 Loading...