


DWP-102E

DWP-102E
Weighing Indicator
User’s Guide

Table of Contents
SECTION 1 INTRODUCTIONS………………………………………………………………1
1.1 Introduction……………………………………………………………………………………1
1.2 Specification…………………………………………………………………………………..1
1.3 Installation…………………………………………………………………………..………...1
SECTION 2 KEYS DESCRIPTIONS………………………………………………………2
SECTION 3 OPERATIONS…………………….……………………………………….…..3
3.1 Power on/off................................................................................... 3
3.2 Functions and parameters setting...........................................................................3
3.3 Zero the scale...................................................................................3
3.4 Tare the sca l e…… ……… ……… ……… ……… ……… ……… ……… ….. … …. 4
3.5 Parts counting (KEY=1)…………………………………………………………4
3.6 Accumulation (KEY=2)…………………………………………………………….5
3.7 Holding the weight (KEY=3)…… … … … ……………… … … … ………… … . 5
3.8 Presetting tare value (KEY=4)… … ………… … … … ………… … … … ……. 5
3.9 Animal weighing (KEY=5)…… …………… ………………… …… …………… … 5
3.10 Check-weighing........................................................................6
3.11 Print (KEY=2)...................................................................................6
SECTION 4 FUNCTIONS AND PARAMETERS……………………………………..…7
SECTION 5 RS-232 OUTPUT……………………………………………………………..8
SECTION 6 ERROR CODES……………… ……………………… ………………… …9
- -
1
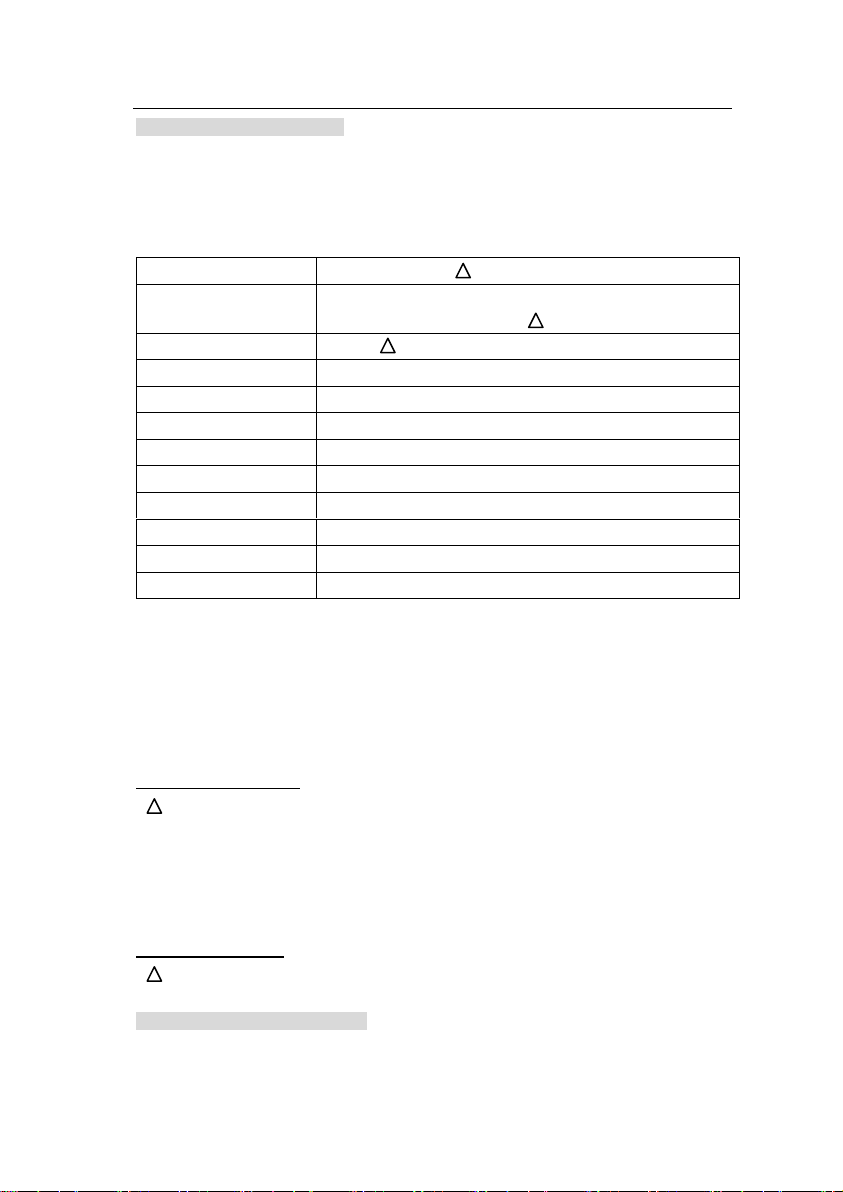
Housing
plastic housing
Power supply
110V 50/60Hz
built-in rechargeable battery. 6V4AH.
Display
6 digits 1’LED.
Max input
15mV
ADC
Σ-Δ
External Resolution
1/30000
Interface
RS-232 Output
Stabilisation time
1 second typical
Operating temperature
0°C - 50°C / 32°F - 104°F
Load cell drive voltage
5V/ Max 150mA
Other function
Real-time clock and units conversion
Load cells
Up to eight 350 ohms cells
SECTION 1 INTRODUCTIONS
1.1 Introduction
The indicator provides an accurate, fast and versatile series of general purpose weighing
indicator with counting, check-weighing, animal weighing functions and preset tare.
1.2 Specification
1.3 Installation
The weighing indicator should be sited in a location accuracy would not be degraded.
Avoid extremes of temperature.
Avoid unstable power sources. Do not use near large users of electricity such as welding
equipment or large motors.
Verify the voltage showing on the label matches the voltage in your area.
connection of loadcell:
Plastic housing connect to Din9
Pin6 +E
Pin1 -E
Pin9 +S
Pin8 -S
Pin5 shield
connection of RS232
Plastic housing connect to Din9 Pin 2 TXD Pin3 RXD Pin5 GND
SECTION 2 KEY DESCRIPTIONS
SOFT POWER ON/OFF Key

- -
2
Power on/off the indicator.
ZERO Key
1) When self-checking, Press ZERO Key to enter parameter setting;
2) Set the zero point for all-subsequent weighing;
3) Move the cursor to change the digit when setting parameters or other functions.
TARE Key
1) When self-checking, Press TARE Key to enter fast calibration;
2) Tare the scale. Store the current weight in memory as a tare value, subtract the tare
value from the weight and shows the net weight. Entering a value using the keypad will
store that value as the tare value;
3) Cycle through the functions or increase the active digit when setting value for
parameters or other functions.
MOD/ ESC Key
1) Enter / Cancel the counting mode from weighing mode when “F3 KEY”=1;
2) Accumulate and print when “F3 KEY”=2;
3) “Hold” Function keep and cancel when “F3 KEY”=3;
4) Enter pre-tare value when “F3 KEY”=4;
5) Parameter setting for animal weighing when “F3 KEY”=5;
6) Cancel or quit from the operations.
FUN Key
1) Select or enter the function and save the setting values of parameters;
2) View unit weight, counts and total weight when counting mode (“F3 KEY”=1);
3) View nos. of accumulated weight and total weight when “F3 KEY”=2;
4) Enter/Cancel animal weighing function when “F3 KEY”=5;
UNIT Key
1) When self-checking, press UNIT Key to set unit conversion coefficient.
2) Unit conversion when weighing.
 Loading...