

SERIES DV-3000SERIES DV-3000
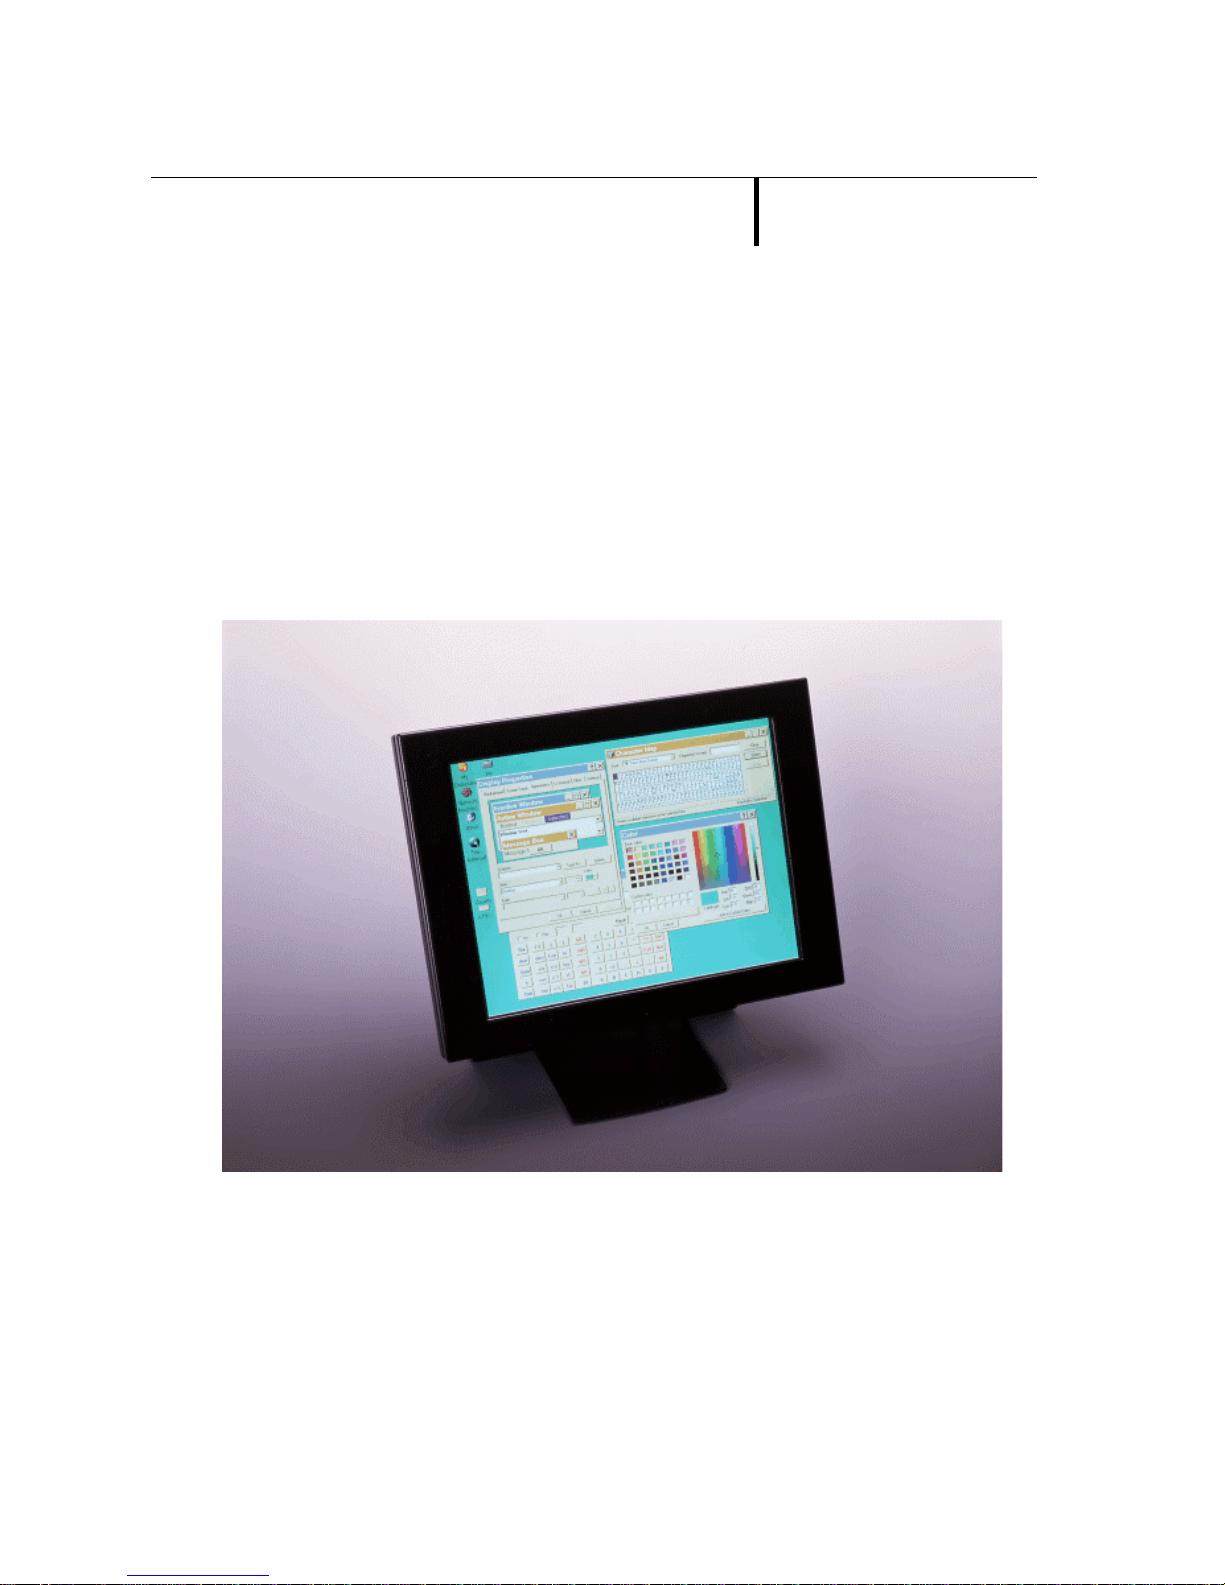
Colour LCD
Rugged Monitor
Operating InstructionsOperating Instructions

2
COPYRIGHT NOTICE
1997, 1998
The information contained in this document is subject to change without notice.
This document contains proprietary information which is protected by copyright. All
rights reserved.
TRADEMARKS
• Digital View is a trademark of Digital View Ltd
• DV-3000 is a trademark of Digital View Ltd
Trademarks are the property of their respective owners.
DISCLAIMER
There is no implied or expressed warranty regarding this material.

3
INTRODUCTION
The Series 3000 is a range of rugged colour LCD computer monitors utilising
TFT type active matrix LCD's and optional touch screen.
They operate with standard PC's that have a normal graphics card installed.
The display is crisp, clear and has a high speed response time suitable for
showing video, animation and multimedia applications. Video (PAL, NTSC) input
versions are also available.
Please read through this manual in its entirety before connection of equipment.
CONTENTS
Page
• System & Installation
4
• On Screen Display Setting
5
• Switches & Functions
6
• Connection of touch screen & installation of setup program
7
• Notes & Precautions
8
• Specifications
9
• Troubleshooting
10
• Regulatory notices
11

4
SYSTEM & INSTALLATION
System Includes
• LCD monitor
• Cable for VGA connection
• Cable for Touch screen connection ( option if touch screen is fitted )
• Power supply: 100 – 240V AC input, 12V DC output
Please check that each of the above are included.
When unpacking and during use care must be taken not to
press the surface of the display, the LCD is fragile.
Hardware Requirements
• IBM AT 286/386/486/Pentium compatible computer with standard graphics
card with 15 pin analog VGA output.
Installation & Setup
If you have a DV-3000 model with a touch screen installed, also refer to the
section on Touch Screen monitor setup.
• Prepare the computer for connection by setting the monitor resolution to
match the resolution of the DV-3000 or lower and the vertical refresh rate to
60Hz.
• Power off the computer.
• Connect the monitor and the computer using the VGA cable provided.
• Connect the monitor to the power supply.
• If you have a DV-3000 model with a touch screen installed it would be at this
stage that you connect the cable from the monitor’s AUX input port to the
computer’s COM1 or COM2 port using a standard serial cable. See the
following section on Touch Screen monitor setup.
• Turn on the computer then the monitor.

5
On Screen Display Setting
First time setup: The following reviews the functions which are accessed
through the On Screen Menu, it may not be necessary to adjust any of them.
The settings will be retained and most likely only need adjusting if the monitor is
installed on a different computer or if a different VGA card is installed in the
computer.
• Contrast - to adjust colour balance.
• Phase - to adjust image sharpness.
• Size - to set the image to fit the display.
• Image Position - to separate vertical & horizontal adjustments.
The factory defaults for all settings are based upon equipment that complies
with existing standards. It is possibly that results vary from machine to machine
due to timing differences in the graphics cards in the computer.
Normal daily usage: The mostly likely used functions are:
• Brightness - separate control
• Contrast - may need adjusting depending on software & graphics

6
SWITCHES & FUNCTIONS
All controls are mounted on the back of the monitor housing.
Monitor Back
MENU
+
-
SELECT
Brightness
ON/OFF
AUX input
Power input
VGA input
Controls on the back:
• Menu - Brings up the On Screen Display menu (OSD)
• + - Adjust the menu option in the ‘+’ direction
• - - Adjust the menu option in the ‘-‘ direction
• Select - To choose the menu option
• Brightness - Control monitor brightness
• On / Off power - Switch On or Off of the monitor
Connectors:
• VGA Input: It is recommended that the cable fixing screws are tightened to
hold the connector firmly in VGA input port at the monitor back. Do not use
an alternative cable as incorrect pin assignments may cause damage and
invalidate warranty.
• Power Input: 12V DC input from power supply as provided with the monitor.
• AUX Input – for touch screen models: Standard serial port connector - 9
pin ‘D’ shell female. This is used to connect the touch screen from the
monitor to the computer COM Port. Installation program and driver for touch
screen are provided and must be setup in the computer before use.

7
TOUCH SCREEN SETUP &
INSTALLATION SETUP PROGRAME
If you have a DV-3000 model with touch screen fitted you will need to connect the
touch screen to a COM port on the computer and install driver software.
Connection of Touch screen
• Turn off your computer. The computer should always be turned off before
connecting or disconnecting a device.
• Connect the touch screen monitor to the computer using a standard serial
cable: 9-pin male (for DV-3000 monitor connection) to 9-pin or 25-pin female
serial cable (for computer connection).
Installation setup program from Operating System
Install the touch screen software from Windows 3.1x / Windows 95 / DOS
1. Make sure the touch screen is connected. If not, the Setup program cannot
properly configure the touch screen.
2. Start up the computer in the operating system you are planning to work in
DOS or Windows.
3. Make sure no other applications are running.
4. Insert the Touch screen installation diskette into 3.5” disk drive.
5. Click the Start button, and then click Run (assumed under Windows 95
environment)
6. In the Open box, type the location and name of the program you want to start
as follows:
7. Select OK.
8. Setup program will auto-start and follow the instructions displayed on the screen.
Make your selections carefully when answering questions to complete the
installation.

8
NOTES & PRECAUTIONS
Notes
• Resolution: When connecting the monitor it is important to ensure that the
computer is set to a resolution equal to or less than the maximum for the monitor
otherwise a satisfactory image cannot be displayed.
• Vertical Refresh Rate: Ensure that the vertical refresh rate for the graphics
mode you are working in is set to 60Hz. This is most important for SVGA & XGA
modes which usually allow this to be set.
• Picture Quality: It is important to note that this monitor works with graphics
cards that are able to maintain a reasonably stable signal. If you experience
problems obtaining a good picture even after making appropriate adjustments
we recommend trying a different graphics card in the computer.
• 3
rd
Party Accessories: Some intermediate equipment such as VGA splitters,
multipliers or converters may introduce signal noise. If a good picture cannot be
obtained after making adjustments we suggest testing without the intermediate
equipment.
Precautions
• Never connect the monitor to the computer when the computer is on.
• Take care not to drop the unit or subject it to shock as the LCD is fragile, also do
not scratch, tap or press the LCD surface, it is made of glass that may crack if
mishandled. Note: a protective screen has not been fitted to this unit.
• Never open the casing. There are no user serviceable parts inside.
• Do not use corrosive or abrasive cleaning agents on the casing or display as
they are likely to cause serious damage.
• Do not use cables or power supplies other than those supplied with the monitor,
this may cause damage and will invalidate the warranty.
• Only use a power source that is suitable for the ratings of this equipment.

9
SPECIFICATIONS
Input auto-synchronization RGB Analog (0.7Vp-p)
Standard VGA input 15-pin mini D-sub ( Female )
Display resolution
• DV-3010: 640 x 480
• DV-3030: 800 x 600
• DV-3130: 800 x 600
• DV-3150: 1024 x 768
• DV-3350: 1024 x 768
Display Area (approx.)
• DV-30XX: 211mm x 158mm (10.4” diagonal)
• DV-31XX: 246mm x 184mm (12.1” diagonal)
• DV-33XX: 280mm x 210mm (13.8” diagonal)
Display panel type TFT active matrix
Display backlight type Cold cathode fluorescent tube
Operating temperature – typical +50 C to +400 C
Monitor Controls & Functions
• Power On/Off - Push Button
• Brightness - Rotary
• Volume (only if audio I/O system installed)
• Contrast -OSD menu
• Phase -OSD menu
• Size -OSD menu
• Image position (V & H) -OSD menu
Indicator LED – monitor front Green: Power on
Amber: Stand by
Settings memory Settings are stored in non volatile memory
Power saving / Standby mode If no signal input then auto power down (VESA DPMS)
Dimensions (housing, not including
the stand)
• DV-30XX: 315 x 230 x 55 mm
• DV-31XX: 360 x 270 x 55 mm
• DV-33XX: 360 x 270 x 55 mm
Weight 3 kg approx. excluding accessories
Input voltage 12V DC
Power supply 100 - 240V AC 50/60 Hz input, 12V DC 2.5A output,
regulated. Connector to display unit is centre positive
Power protection Fuse fitted - auto reset
Factory fitted options
• Touch screen: Resistive or Capacitive type
• Touch screen & pen input

10
TROUBLESHOOTING
In the event of an apparent problem consideration should be given to following:
• Computer system - check this is operating correctly.
• Power supply - ensure there is power.
• Monitor - see notes below for checking the LCD monitor.
• The VGA card - ensure this is functioning correctly.
Any one of these may affect the results. In particular we always recommend using a
good quality VGA card that provides a stable signal.
If serious vertical banding appears on the display or flickering or distorted image:
• Check the VGA card refresh rate and adjust to 60Hz or less (note: due to the
way LCDs operate this will not create flicker on the screen).
If the image is unstable or pixels are unstable/flicker or some ghosting is visible:
• Try adjusting the frequency control, try clicking up to 6 times.
• Adjust the contrast.
• The VGA card may be providing an unstable signal which may not show up on
CRT monitors, try another VGA card or another computer.
• For SVGA or XGA models - check the setting of the screen width using OSD
function (see Switches and Functions).
No image appears on the screen:
• Check all connections, power and VGA cable.
• Ensure the power supply is operating.
• Check On/Off switch and Contrast control.
• Try connecting another monitor to the computer to see if the signal is ok.
The backlight will not come on:
• Check the power supply is working and correctly connected.
• The DV-3130 has a safety circuit built into it so that the backlight will not come
on if there is no VGA signal.
The image scrolls vertically:
• Try changing the VGA card’s setting to a different vertical refresh rate.
• Try using another computer and/or VGA card.
If the image does not fit the display horizontally, either oversize or undersize:
• Adjust the OSD settings by using the OSD buttons at the back of the monitor.
There are no user serviceable components inside the monitor and no attempt
should be made to open the equipment. If the monitor cannot be made to operate
correctly please contact your supplier for assistance.

11
WARRANTY
The products are warranted against defects in workmanship and material for a
period of one (1) year from the date of purchase provided no modifications are
made to it and it is operated under normal conditions and in compliance with the
instruction manual.
The warranty does not apply to:
• Product that has been altered or repaired except by the manufacturer (or with
the manufacturer’s consent).
• Product that has subjected to misuse, accidents, abuse, negligence or unusual
stress whether physical or electrical.
• Ordinary wear and tear.
Except for the above express warranties, the manufacturer disclaims all warranties
on products furnished hereunder, including all implied warranties of merchantability
and fitness for a particular application or purpose. The stated express warranties
are in lieu of all obligations or liabilities on the part of the manufacturer for damages,
including but not limited to special, indirect consequential damages arising out of or
in connection with the use of or performance of the products.
REGULATORY NOTICES
CABLE NOTICE
The use of shielded I/O cables is required when connecting this equipment to any
and all optional peripheral or host devices. Failure to do so may cause interference
and violate FCC and international regulations for electromagnetic interference.
LIMITATION OF LIABILITY
The manufacturer’s liability for damages to customer or others resulting from the
use of any product supplied hereunder shall in no event exceed the purchase price
of said product.

12
DV-3000 Instructions For Use
Version 1, Rev 1.2
Date: 17 February 1998
 Loading...