

Page 1
103142 May 31, 2007
Detex Corporation, 302 Detex Drive, New Braunfels, Texas 78130
(830)629-2900 /1-800-729-3839 /FAX(830)620-6711
E-MAIL: [email protected] INTERNET: www.detex.com
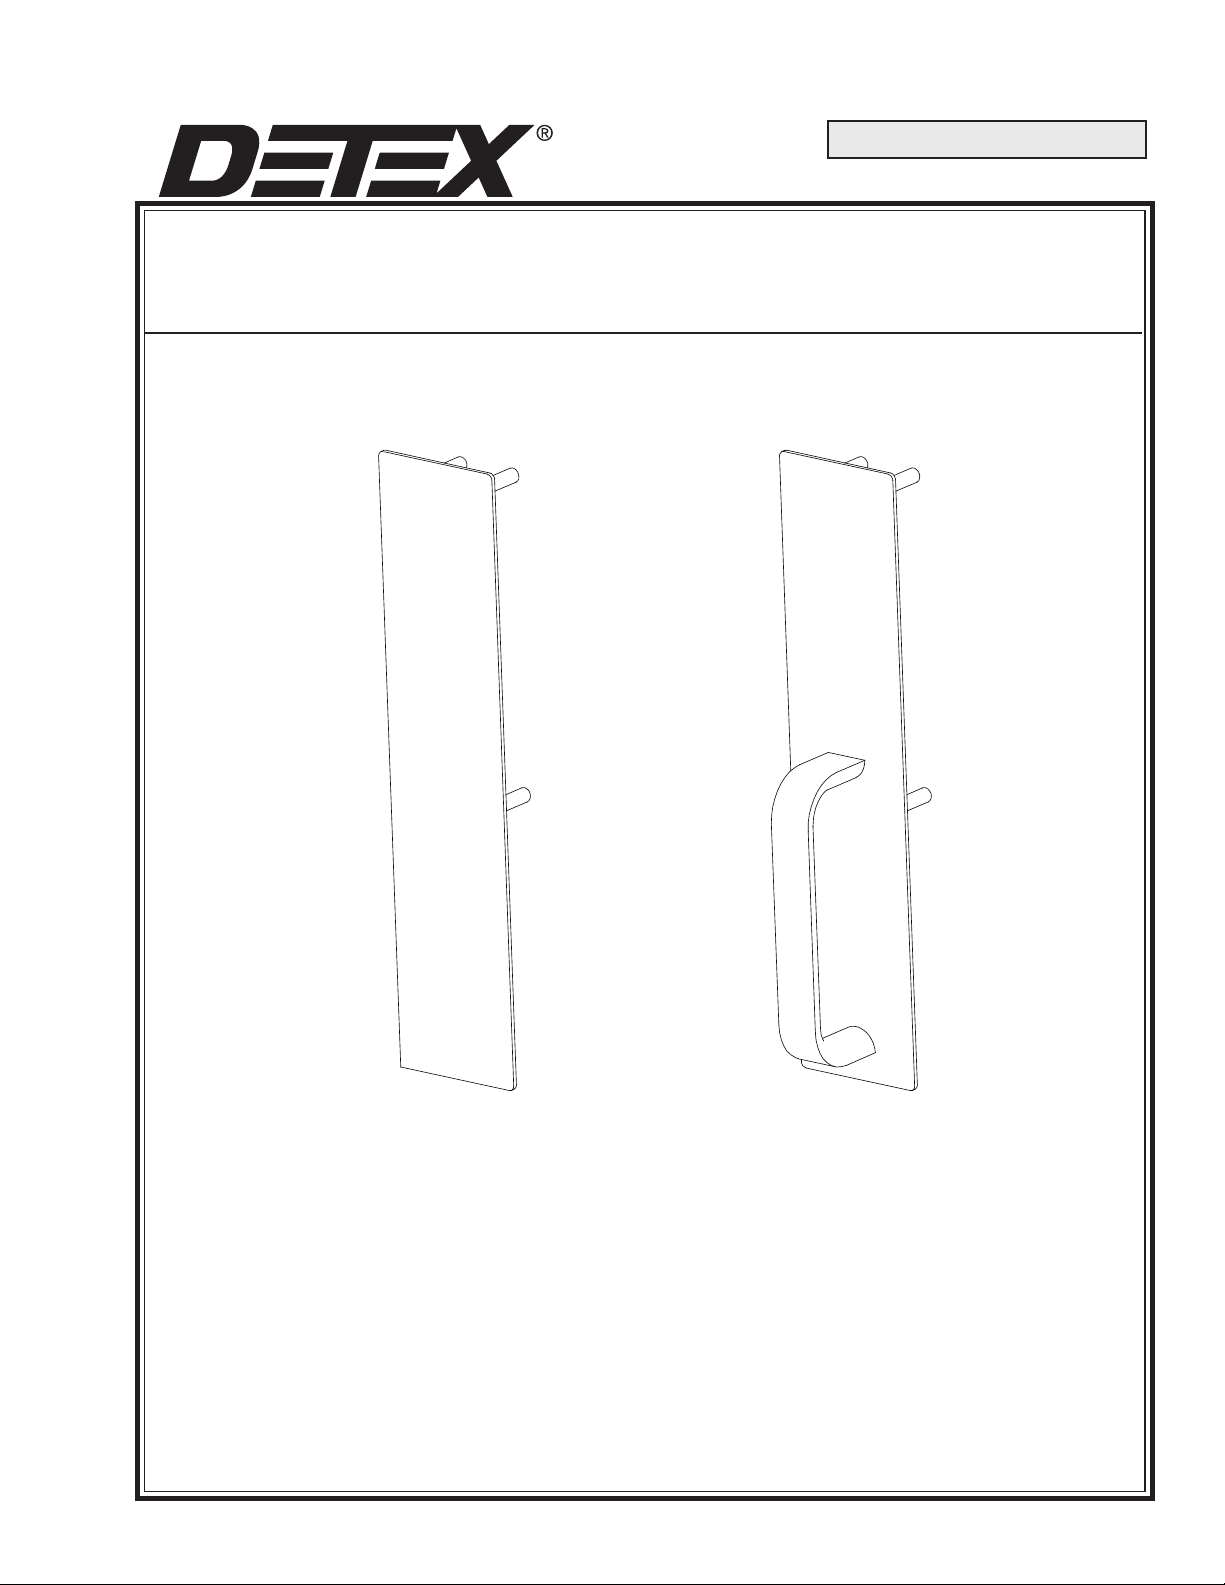
INSTALLATION INSTRUCTIONS FOR MORTISE 01 & 02CM OUTSIDE TRIMS
01CM
02CM
Page 2
01 & 02CM TRIM INSTRUCTIONS
Machine Screws
Sheet Metal / Wood Screw
NOTE: 1) Mortise lock NOT supplied with TRIM device.
2) For a retrofit application, remove existing lock and device
before installing new trim.
3) LHR installation shown (Reverse all steps for RHR).
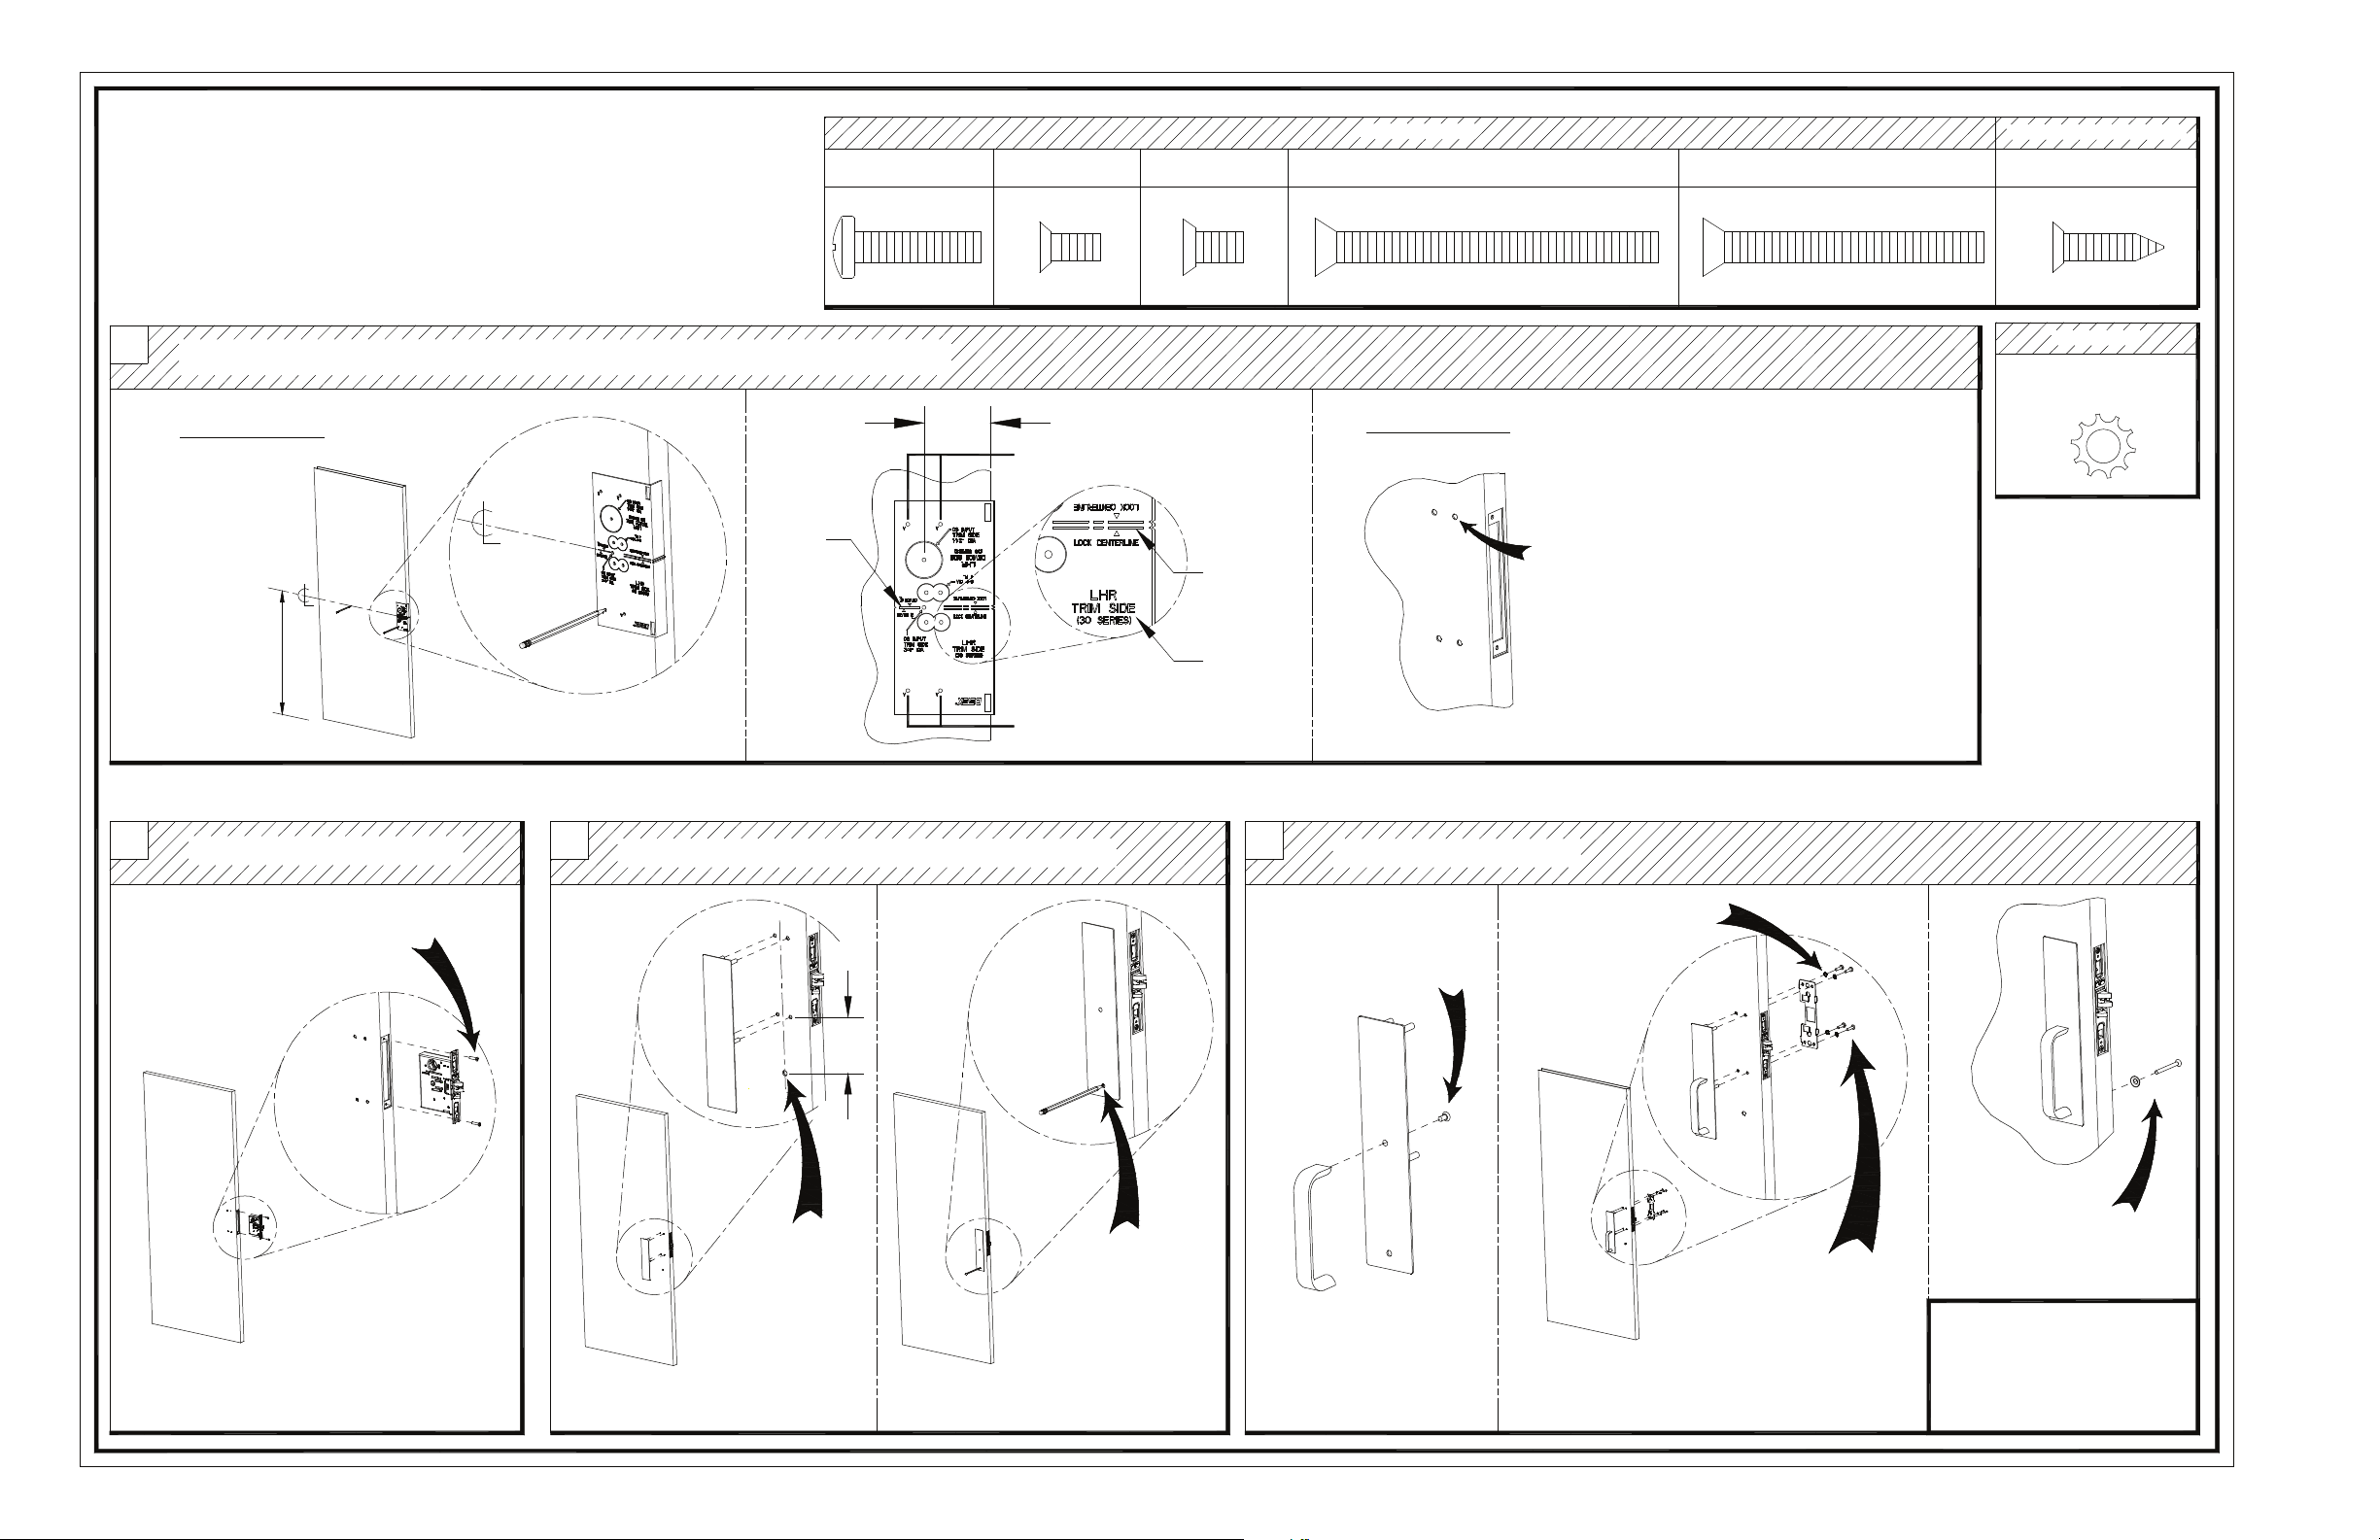
STEPS 1: PREP DOOR
1
TRIM side: Use plastic template to mark and drill TRIM holes
MARK HOLES
Mark device
centerline for
trim 40" above
finished floor
2-3/4"
Backset
Device
centerline
A I
#1/4-20 x 1"
#12-24 x 1/2"
Mark trim holes
Mark trim holes
L
#1/4-20 x 1/2"
Lock
Centerline
LHR
Trim Side
M
#1/4-20 x 2-3/4"
DRILL HOLES
N
#1/4-20 x 2-1/4"
Drill 3/8" diameter holes thru trim side only
4 places
J
#12 x 1"
Lock washer
#1/4 Lock washer
STEPS 2-4: INSTALL MORTISE LOCK AND TRIM DEVICE
2
Install lock with (2) "I" screws or
(2) "J" screws for wood doors.
Install MORTISE lock
3
Mark and drill bottom hole for thru bolt
C
L
5"
Drill 1/2"
diameter hole
thru door
For 01 CH-M only
Drill 3/8" diameter
(1/2" max) hole
thru door
4
Assemble pull to trim plate
with "L" screw provided
Install TRIM device
For 02 CH-M onlyFor 02 CH-M only
#1/4 Lockwashers
Install backplate with
(4) "A" screws.
Fasten bottom of pull with
"M" or "N" screw and
washer provided
IMPORTANT!
For modular cable devices,
see electrical instructions
for cable routing.
 Loading...