

Page 1
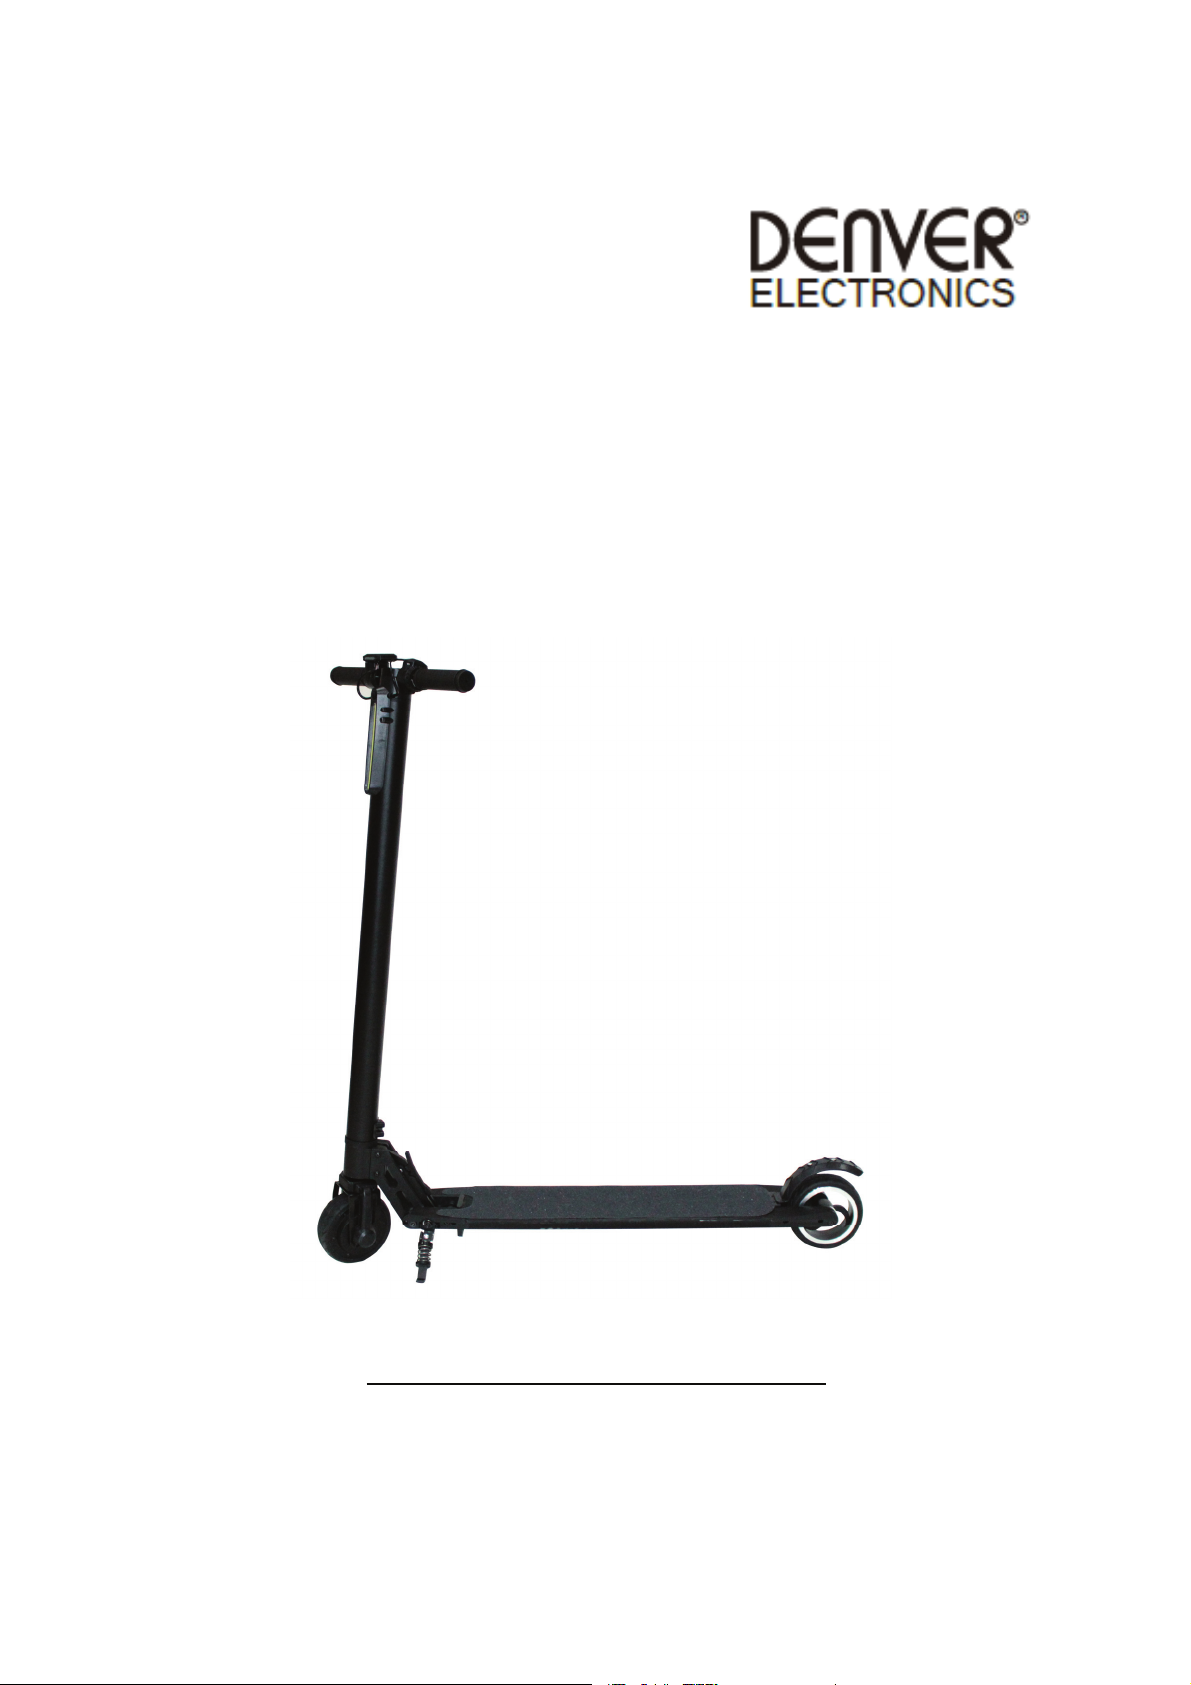
DSC-5000
facebook.com/denverelectronics
Before operating this vehicle, read all the instructions for safe assembly and operations. User’s manual can
guide you through the functions and usage of Electric kick scooter. Before u sing this scooter, familiarize
yourself with how to operate, so that you can keep the scooter in the best condition possible.
Page 2
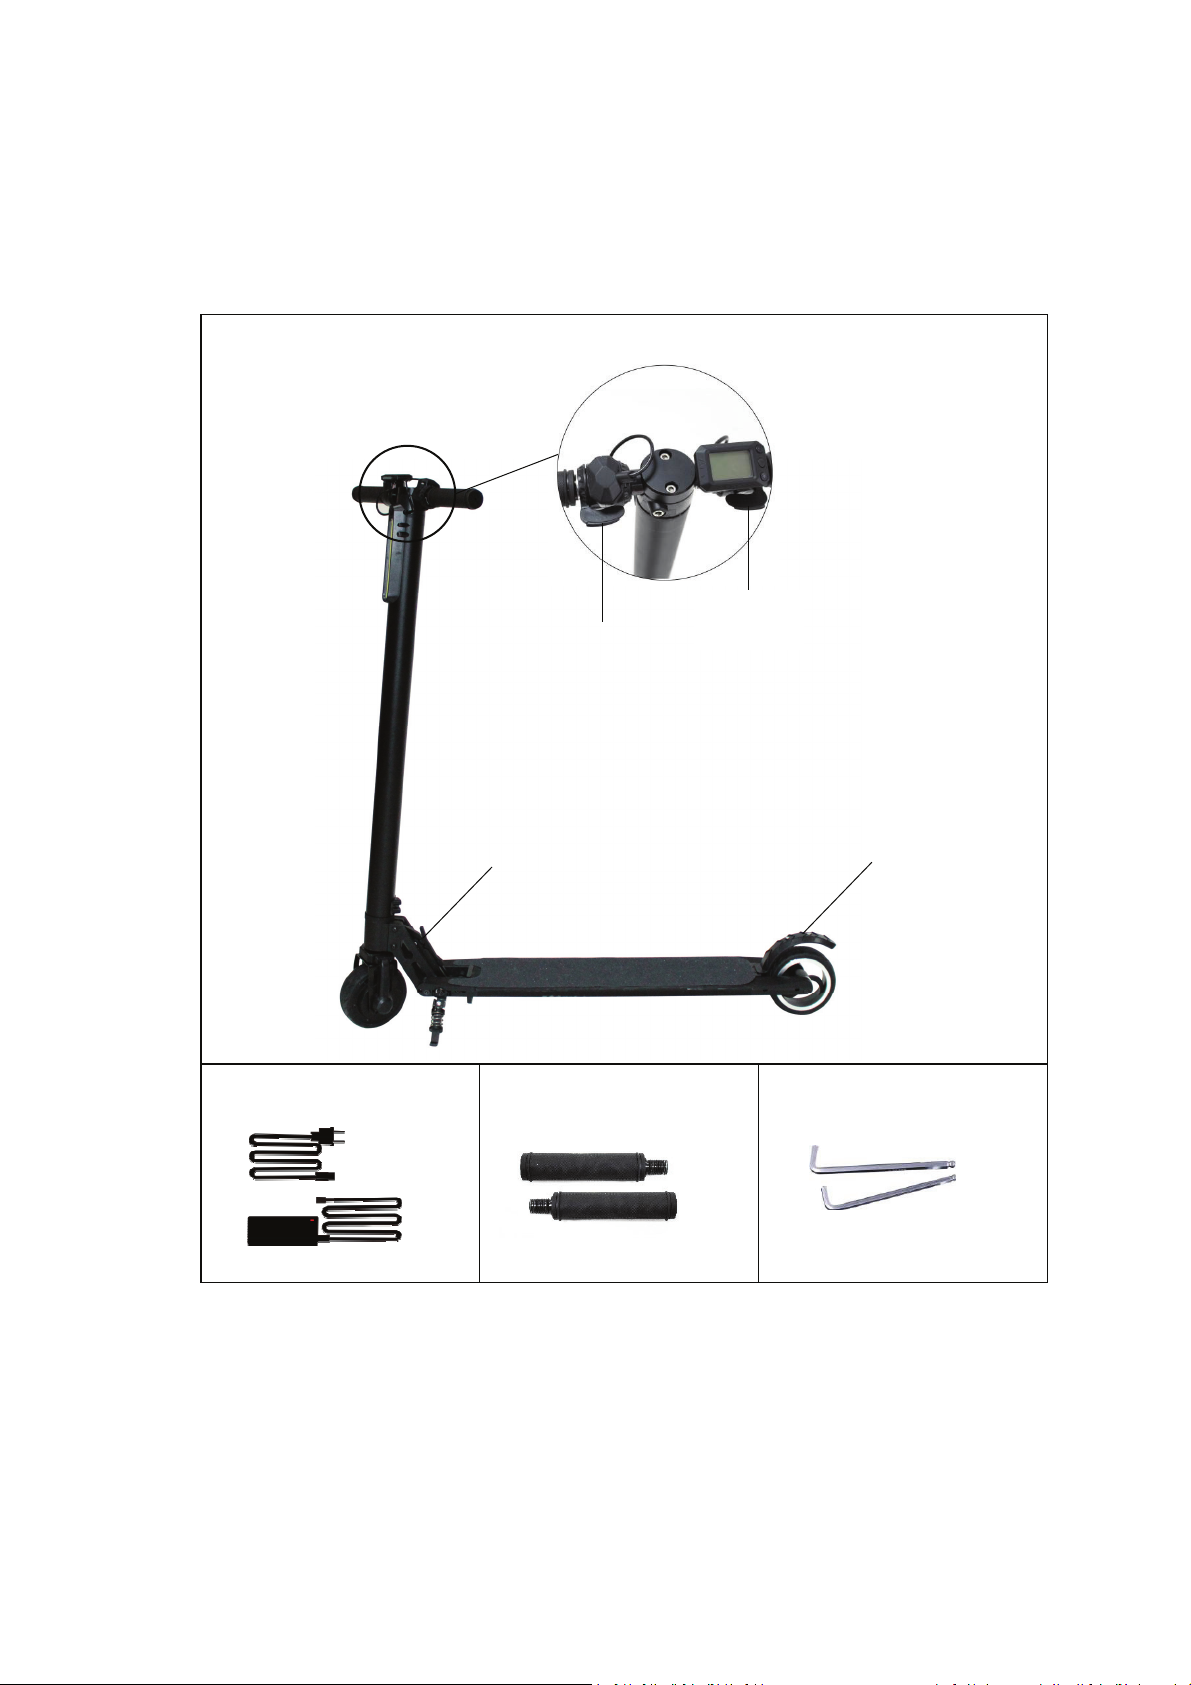
1. Product and Accessories
Throttle
Electric brake
Clasp
Mechanical brake
Page 3
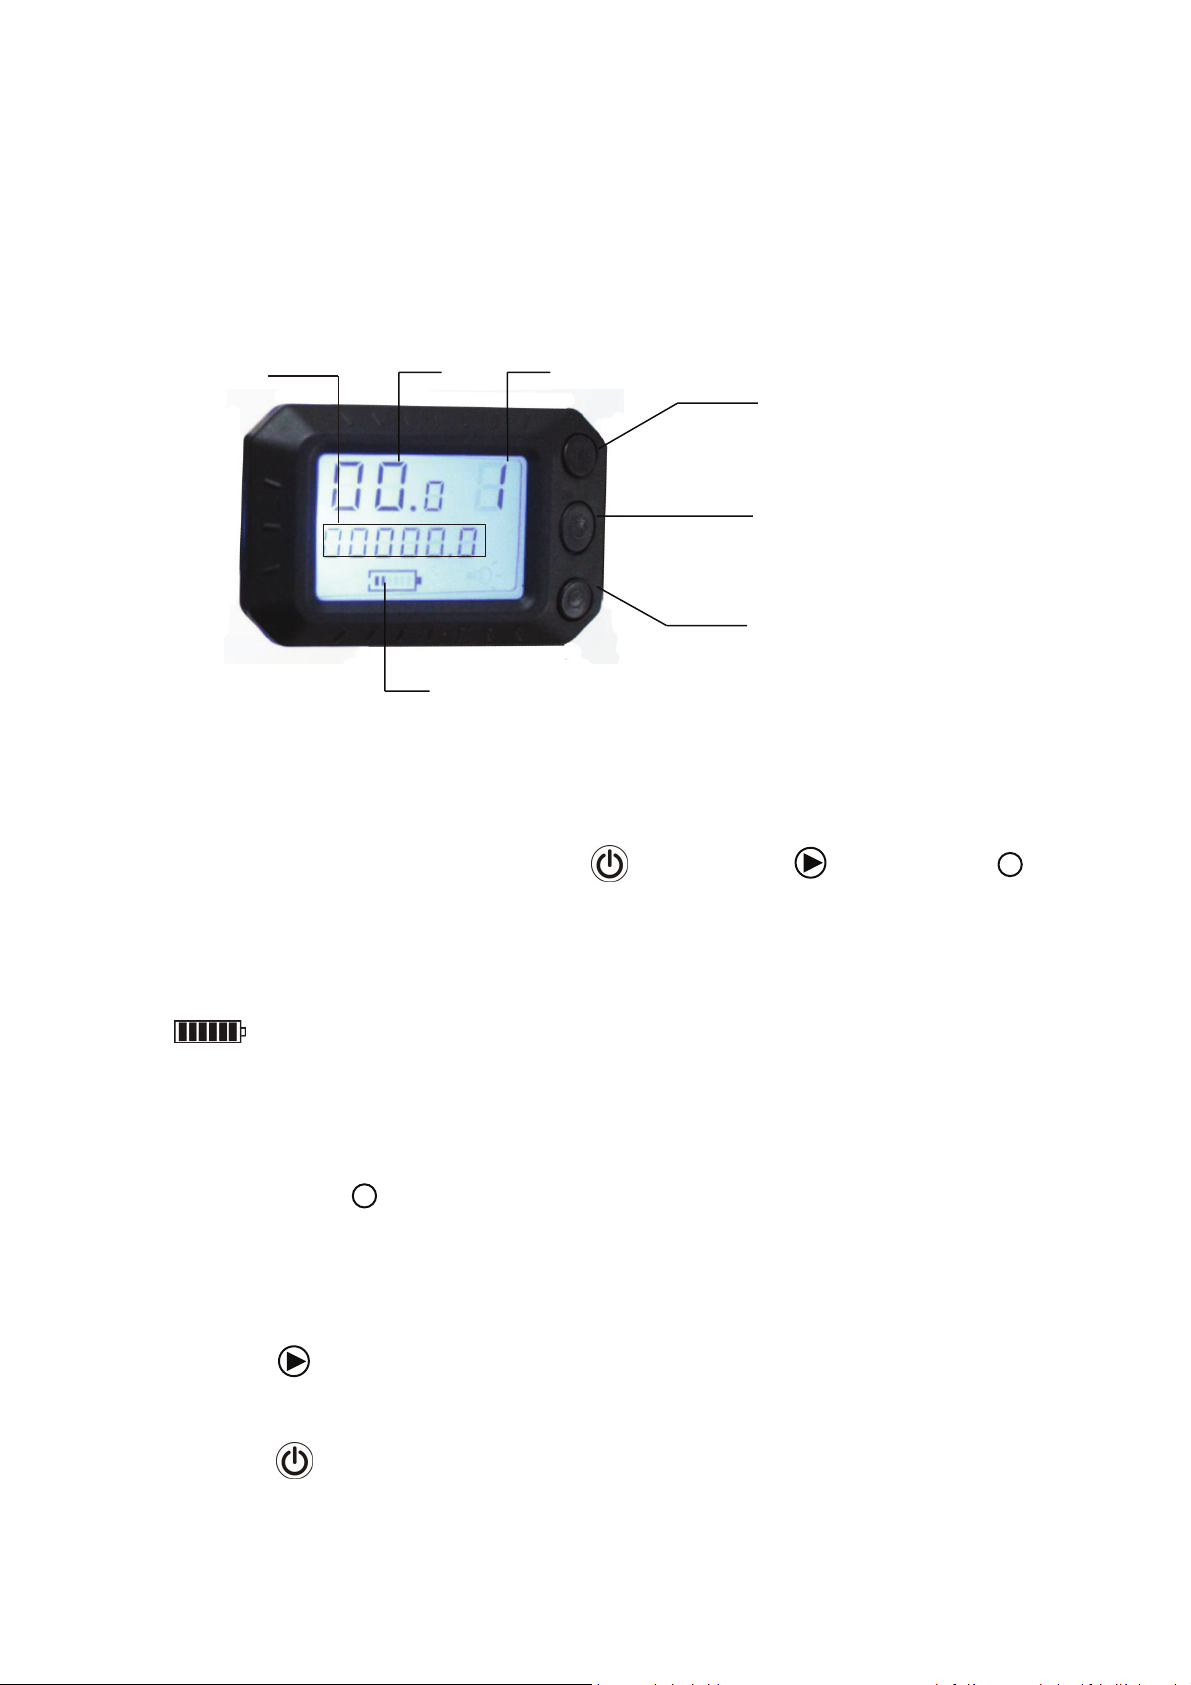
2. Instrument menu
For better operation, please read the instructions carefully.
2.1 Appearance
Mileage/
Total mileage
Speed i nd i c ato r
Battery indicator
Gear range
Speed up key
Switch key
Type co nve rsi o n
2.2 Keyboard
1)
There are 3 instruments: Power on/off key , shift gears key , type switch key ,
the different functional and role exchanged by long press or short press the keys.Press any
two keys at the same time will perform other function and role.
2) Battery level and speed is showing the instantaneous status, and changing
from time to time. Single mileage and milti mileages etc show as you choose the
different keys .
3)
When short press key, each short-press will display the value of this current mileage
(KM),Battery voltage (V), motor current value (A), motor speed value (rad / min), total mileage
(KM) accordingly.
4)
Short press key, modify assistance drive.
5)
Long press , turn on or turn off instrument indicator.
Page 4
2.3 Operation Instructions
1) Long press i nstrument key, instrument panel display blue light, the scooter is on.
2)
Press the throttle near your right thumb, the scooter starts; continue to press the throttle, the
speed increases, loosening the throttle, the speed decreases.
3)
The left hand side is the electronic brake, press the electronic brake to execute the brake
functions, release the electronic brake to cancel the brake function.
4)
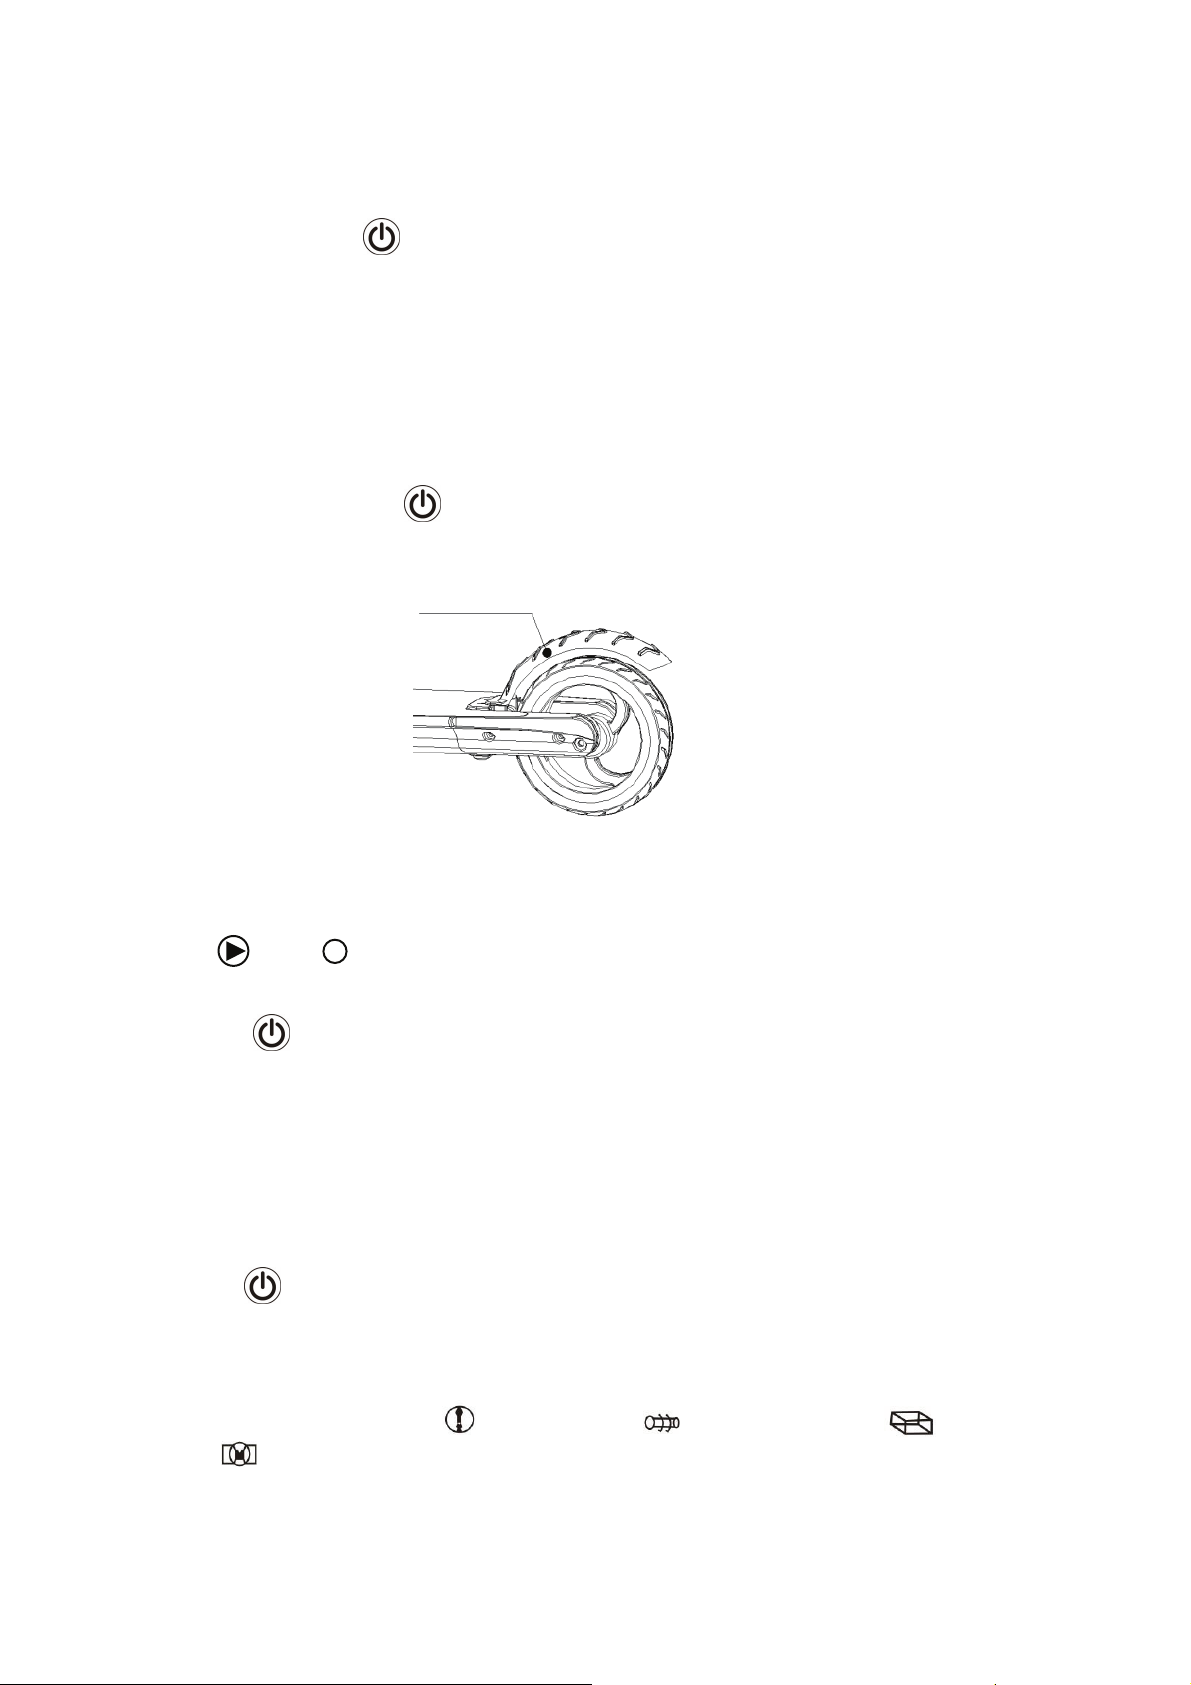
Heel touch on the mechanical brake, can impliment the mechanical brake, as shown in figure.
5)
Long press the instrument key, instrument blue light disappears, the scooter power off.
Light on the mechanical brake pads
Figure (1)
2.4 Parameter Settings
L
ong press key + at the same time enter to the SET (parameter setting), followed by zero or
non-zero start, the motor pole log ratio, wheel diameter settings.
1). Short press key, when display 1, enter zero start and non-zero start horizontal setting. When
parameter value is 0, it will start with zero. When parameter value is 1, it will start non-zero.
(Zero start: When starting, the scooter in the stationary case, press the switch to start walking,
factory default is zero start.)
(Non-zero start: When starting, the scooter is static, press the switch and the scooter does not work,
manually start riding , the scooter works. )
2). Long press again to exit the setting state, and save the set parameters.
3). Failure model indicator
When the electric scooter breaks down, the failure meter will display what section breaks
down, such as: brake failure , motor failure , handlebar failure , controller
failure etc.
Page 5

3. Folding steps
1. Folding
1) Hold the clasp and pull it outward
2)Press the front tube of scooter downward
(Attention: The limit position must be put right.)
3)After a click, folding process finishes.
2. Unfolding:
1) Stand the scooter on its wheels, press the
unlock clasp.
2) Raise the handle slowly.
3) Unfolding process finished when you hear
the “click”.
Page 6

4. Right and Left Handlebar assembly
1) Parts inside the packaging: two handlebars
2) Assembly methods: Loosen the screw on the handlebar, rotate the axle to make the
meter screen upwards while the handlebar and display screen turn inwards in a
horizontal level.
Tur n Directio n
Figure (2) Figure (3)
Tur n Directio n
Page 7

5. Charger connection
Plug the adapter into the charging port
Page 8

6. Safety Instruction
We recommend always wearing helmet and protective gear like elbow, knee and wrist protectors to
ensure your personal safety.
Also make sure you have read the user manual, to ensure you know how to ride it in a safe and fun
way.
Please also pay attention to the rules your country has regarding use of such products. In many
countries it is not allowed to ride on public roads and places. Only on closed courts. It is always your
own personal responsibility to live up to these rules. Even in countries where there are not any
written rules, please keep in mind that you should always ensure your own and others safety.
Also pay attention to other persons. Always ride in a safe way and make sure not to drive fas ter than
you can stop in a safe way. As with all other products like these, there is a risk of falling and hurting
yourself.Sopleasemakesuretorideitinthesafestwaypossible.
This is not a transport vehicle. More a sport/entertainment kick scooter for having fun.
If lending the kick scooter to friends and family, please make sure they use proper protective gear &
know how to ride it.
Before riding the kick scooter, please check that all parts are working as supposed to. If any loose
parts, abnormal noise, reduced battery life etc. Please contact the place of purchase about product
service and warranty.
Page 9

7. Daily Manitenance
•
Storage and cleaning
If your kick-scooter gets dirty, please clean it with a damp cloth. (you can use a stiff brush first to get
the worst dirt off and then use a cloth afterwards to clean it.). It is also possible to use a little
toothpaste if the dirt is stuck. Remember to clean with damp cloth after this.
Please make sure to keep the kick scooter turned off while cleaning it, and make sure to cover the
charging input to avoid problems with the electronics.
Please notice: Do not use alcohol, gas, kerosene or other corrosive and volatile chemical solvents.
This can damage both the appearance and the internal structure of the kick scooter. You may not
use pressured water-gun or running water either.
Please store your kick scooter in a dry and cool environment when not in use. Avoid leaving it
outdoors, as it is not made for use in wet areas. Nor is it good to expose to high temperatures
caused by direct sun for a long time.
•
Maintenance of batteries
Please make sure the batteries do not get over 50° Celsius, or under 20° Celsius for a longer period
of time. (e.g don’t leave the kick scooter in a hot car in summer, do not put batteries into fire et.)
Low temperature (e.g. subzero temperature) can damage the battery cells.
Please avoid draining the batteries 100%. It is best to charge them while there is still power on them.
This will extend battery life. Also if riding the kick scooter in cold or very hot areas, the battery time
can be lower than when riding in temperatures from 15-25° Celsius. This is not a failure on the
batteries, but are normal behavior.
Please notice:
period of time. Expect between 90 and 120 days in off mode if batteries are fully charged. If only
partially charged, this period of time is lower.
Please make sure to charge the batteries before they are 100% out of power, to avoid damaging the
battery cells. (damaged battery caused by wrong handling are not covered by warranty)
It is forbidden to disassemble battery package. This is only to be handled by official service repair
centers and professionals.
Even fully charged batteries will run out of power if the kick scooter is not used for a
Page 10

8. Parameter table
Performance Item Parameter
Size
Quality Max Load(KG) 125KG
Ride Condition Age(Year) 16-50
Scooter
Folding size(MM 1010*415*245
Developed Size(MM) 924*415*997
Carton size (MM) 1020*175*245
Empty Quality(KG) 8.0KG
Height(CM) 130~200CM
Max Speed(KM/H) 24km/h
Endurance(KM) 12~15km
Max. grade ability
Hardened pavement, flat asphalt
pavement, below 20 degrees the ramp,
No higher than the 10CM stair, no more
Terra in
Rated voltage(V) 25.2V
than 2CM channel
20°
Battery
Motor Motor Power (W) 250W
Battery Charger
Input voltage(V) 29.4V
Battery capacity(Ah) 4.0Ah
Rated Power (W) 58.8W
Rated input voltage (v) 110V-240V
Rated output voltage (v) 29.4
Rated current (A) 2A
Charging Time 2~2.5H
Page 11

ALL RIGHTS RESERVED, COPYRIGHT DENVER ELECTRONICS A/S
Electric and electronic equipment and included batteries contains materials, components and
substances that can be hazardous to your health and the environment, if the waste material
(discarded electric and electronic equipment and batteries) is not handled correctly.
Electric and electronic equipment and batteries is marked with the crossed out trash can symbol,
seen below. This symbol signifies that electric and electronic equipment and batteries should not be
disposed of with other household waste, but should be disposed of separately.
As the end user it is important that you submit your used batteries to the approriate and designated
facility. In this manner you make sure that the batteries are recycled in accordance with legislature
and will not harm the environment.
All cities have established collection points, where electric and electronic equipment and batteries
can either be submitted free of charge at recycling stations and other collection sites, or be
collected from the households. Additional information is available at the technical department of
your city.
Imported by:
DENVER ELECTRONICS A/S
Omega 5A, Soeften
DK-8382 Hinnerup
Denmark
facebook.com/denverelectronics
Page 12

 Loading...