

DELVCAM DELV-HD8TS User Manual
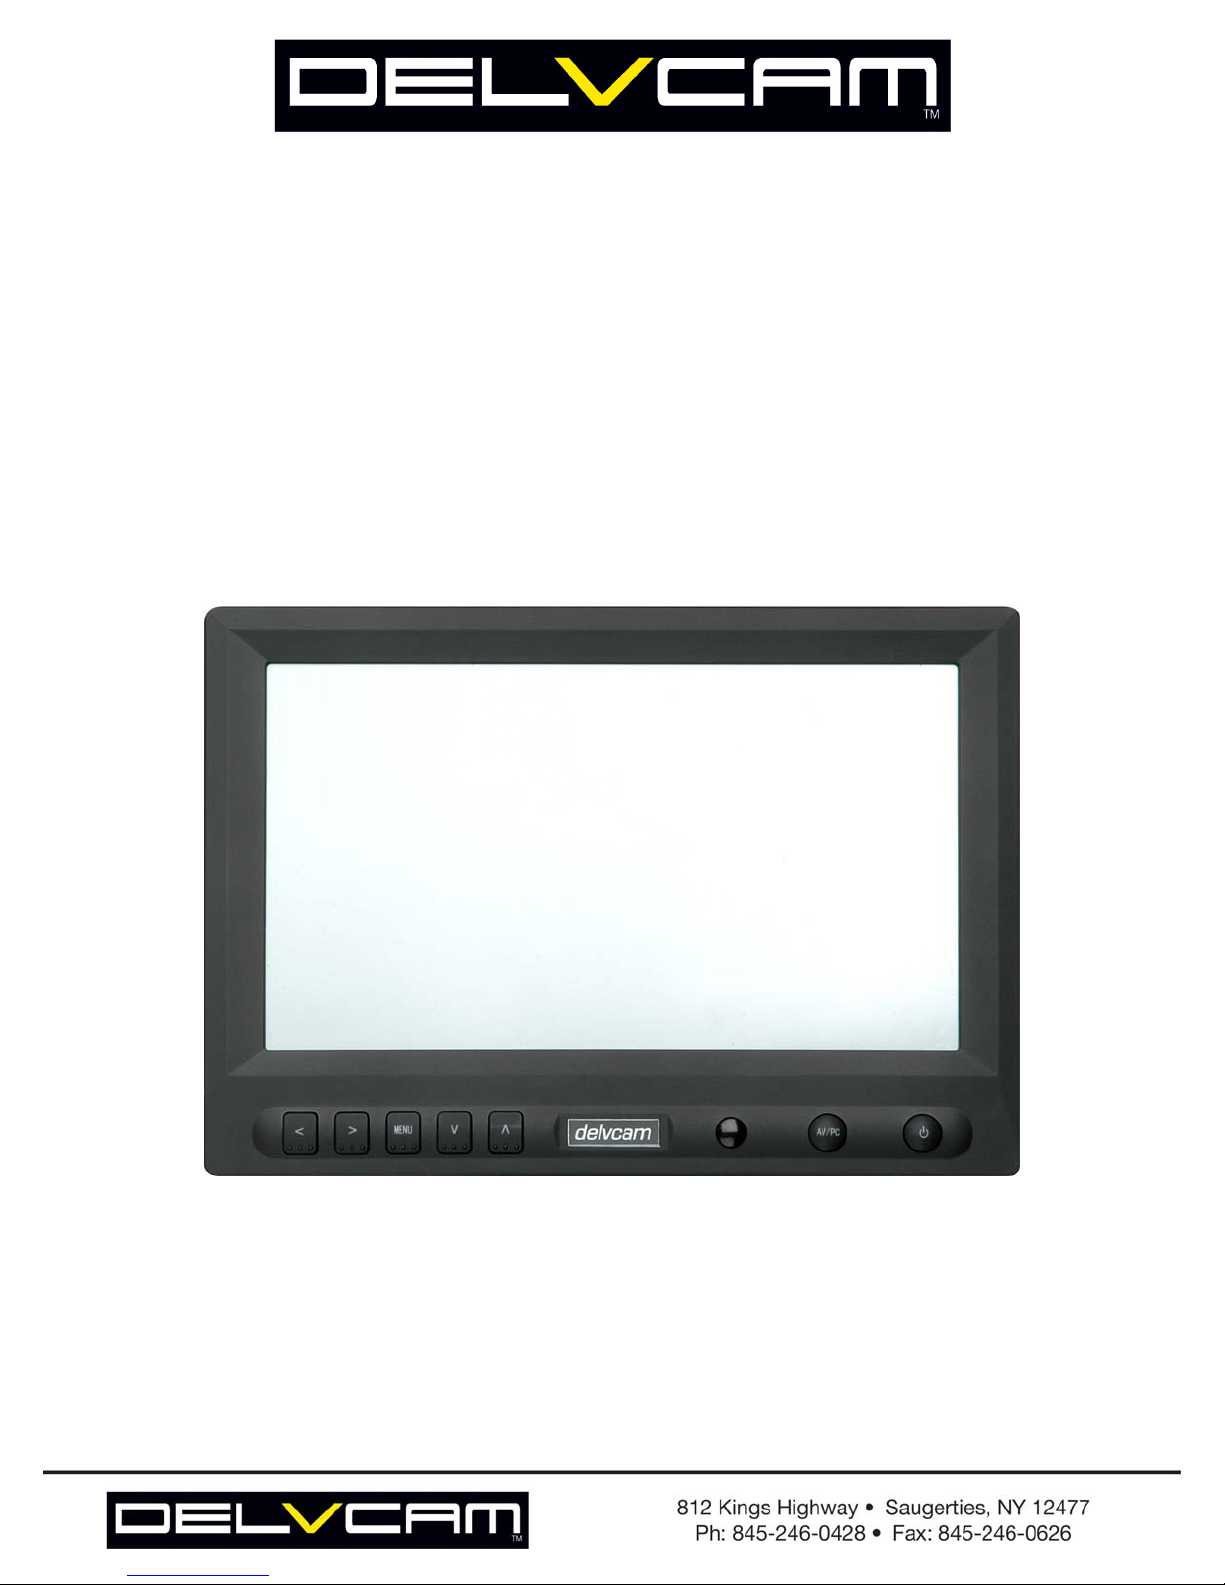
DELV-HD8TS
HDMI-VGA-VIDEO MONITOR
With Dual Composite video/Audio
and TOUCHSCREEN

Thank you for purchasing the DELVCAM HD-7 High Definition liquid crystal
display monitor. This product employs new integrate circuits and high quality
TFT LCD modules. It operates with low power consumption, emits no radiation,
and is a compact form factor. The color TFTLCD is the most suitable display for
VGA,VCD, DVD and GPS system for motorcars and ships. It also can be used
in the high end media facilities for in-line monitoring of HDMI, VGA and
Composite Video signals. This product is manufactured to the highest standards
and will operate well in all applications where performance is demanded but for
a cost effective price.
To ensure the best use of the unit, please read this handbook carefully beforehand.
1. PRODUCT DESCRIPTION------------------------------------------------------------3
Description Of Monitor------------------------------------------------------------3
Remote Controller------------------------------------------------------------------4
Matched Cable----------------------------------------------------------------------4
Connection---------------------------------------------------------------------------5
2. MENU OPERATION---------------------------------------------------------------------6
Menu Operation---------------------------------------------------------------------6
Description of OSD-----------------------------------------------------------------7
OSD in PC mode-------------------------------------------------------------------7
OSD in AV mode------------------------------------------------------------------10
3. PARAMETER----------------------------------------------------------------------------12
4. ACCESSORIES-------------------------------------------------------------------------12
5. TROUBLESHOOTING-----------------------------------------------------------------13

SETUP
INSTRUCTIONS
1. Please use the adapter attached in the accessory.
2. Do not expose this product to direct sunlight, heat or humid conditions.
3. Keep away from strong light while using this product so as to obtain the clearest and the most
colorful picture.
4. Please avoid heavy impact or drop onto the ground.
5. Do not use chemical solutions to clean this unit. Please simply wipe with a clean soft cloth to keep
the brightness of the surface.
6. If the product does not operate normally when the instructions are followed. Adjust only those controls
that are covered by the instructions. Improper adjustment of other controls may result in damage and will
often require extensive
7. Please be noticed that it hasn’t inner adjust modules, Do not attempt to modify or fix this unit.
Contact qualified service personnel when any service is needed. This unit should never be opened for
any reasons by a non-professional.
1. Product description
CONTENTS
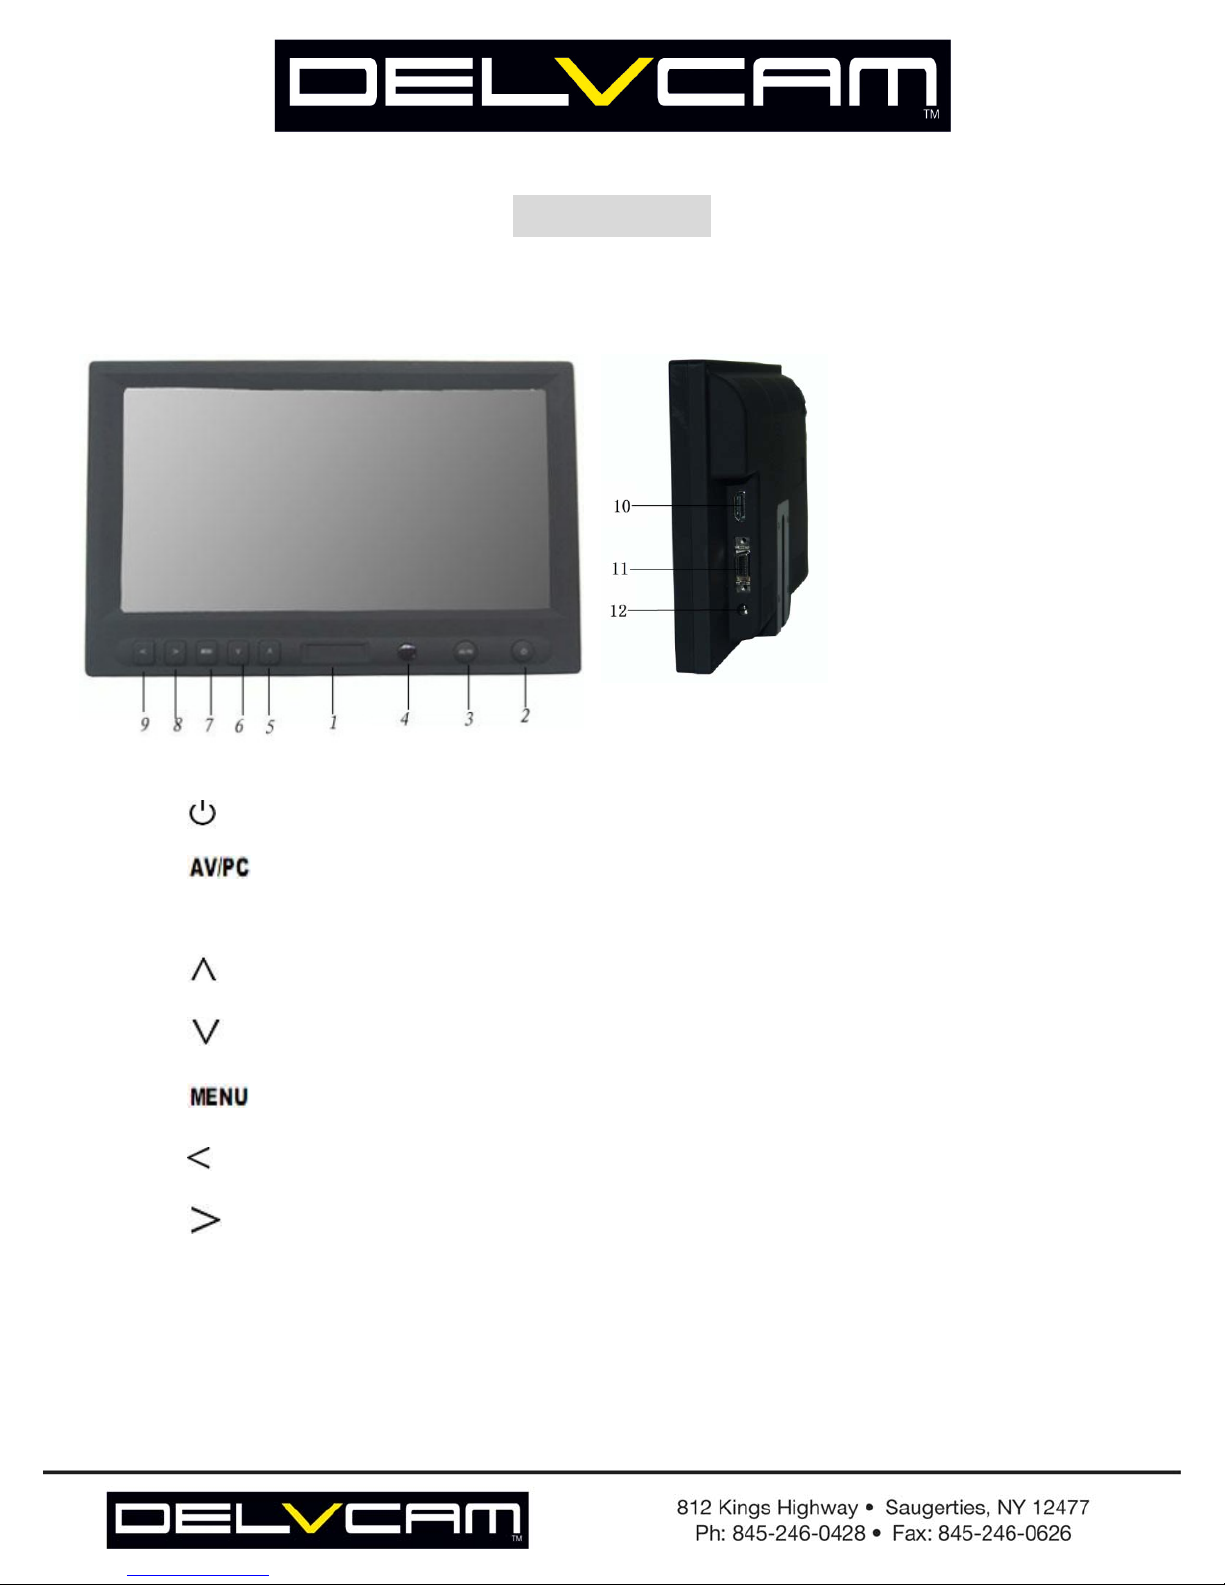
Description of monitor
Picture 1(A)
1. Logo
2. : Power on/off
3. :AV1/AV2/PC/HDMI switch.
4. Infrared ray receiving window
5. :Subject selection key, or to adjust the brightness directly.
6.
7.
8.
9. :Increases the volume level or to adjust settings on the set menu
10. HDMI input jack (for high definition Multimedia jack) optional (optional)
:Subject selection key, or to adjust automatically at VGA mode.
:To activate OSD menu and Infrared ray receiving window
:Decrease the volume level or to adjust settings on the set menu
11. DC12V Input Voltage jack
12. SKS Input jack
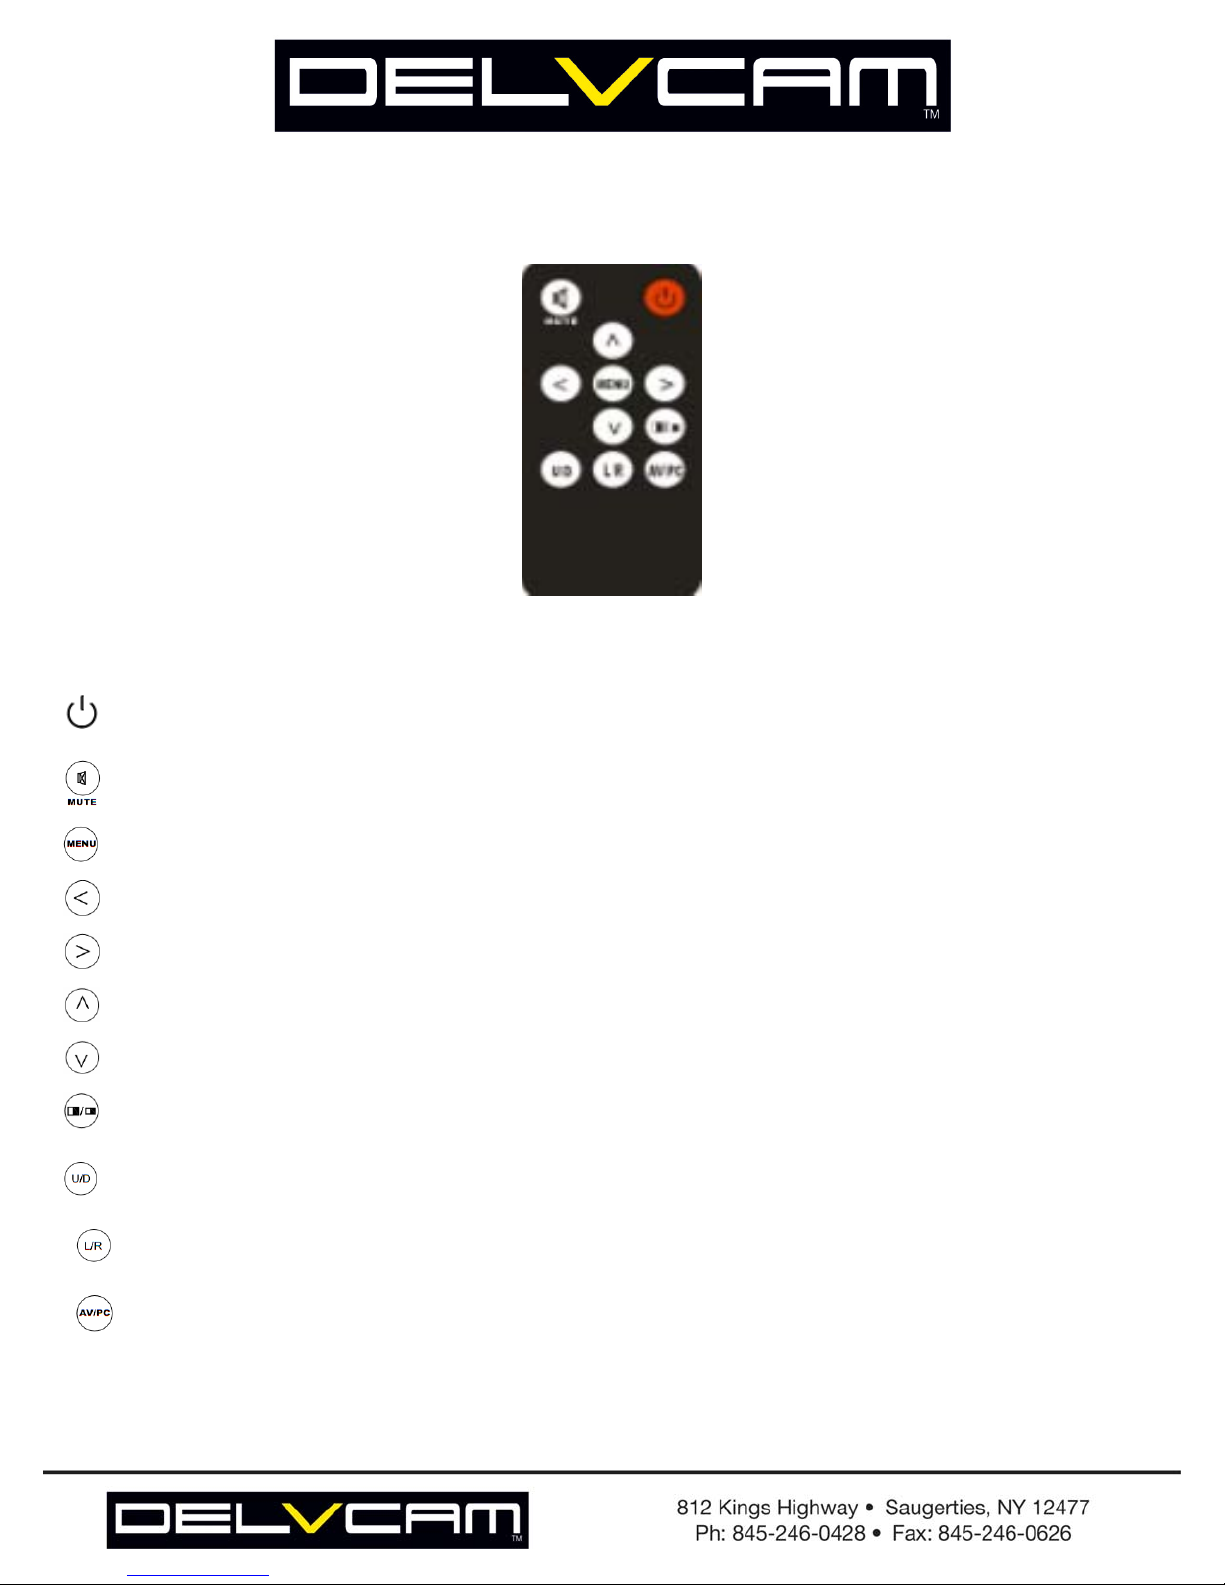
Remote controller
Picture 2
1. :Power on/off
2. : MUTE
3. : To activate OSD menu.
4. : Volume down or to adjust the value of setting function
5. : Volume up or to adjust the value of setting function
: Selection key, to adjust the brightness directly.
6.
7. : Selection key, to adjust phase directly.
8.
: Aspect ratio switch,4:3/16:9
:UP/ DOWN Switch
9.
10.
:Right/Left Switch
11. :switch signal between AV1/AV2/PC/HDMI

Matched cable
Picture 3 (AV cable)
1. Connect the No.1 SKS input jack to the SKS input jack which is on the back of the monitor
2. No.2 Black 9-pin plug for VGA signal input (Connect it with No.1 jack on picture 4)
3. No.3 Black jack for DC12V power input
4. No.4 Yellow RCA jack for Video 1 input
5. No.5 White RCA jack for Audio input
6. N0.6 Red RCA jack for video 2 input
Picture 4 (VGA cable)
1. Connect No.1 Black 9-pin jack with the No.2 9-pin plug at picture 3
2. Connect No.2 USB end to the USB port of computer for touch screen function.
3. Connect No.3 15-pin VGA signal input end to the VGA port of computer
 Loading...