

Page 1
Delvcam
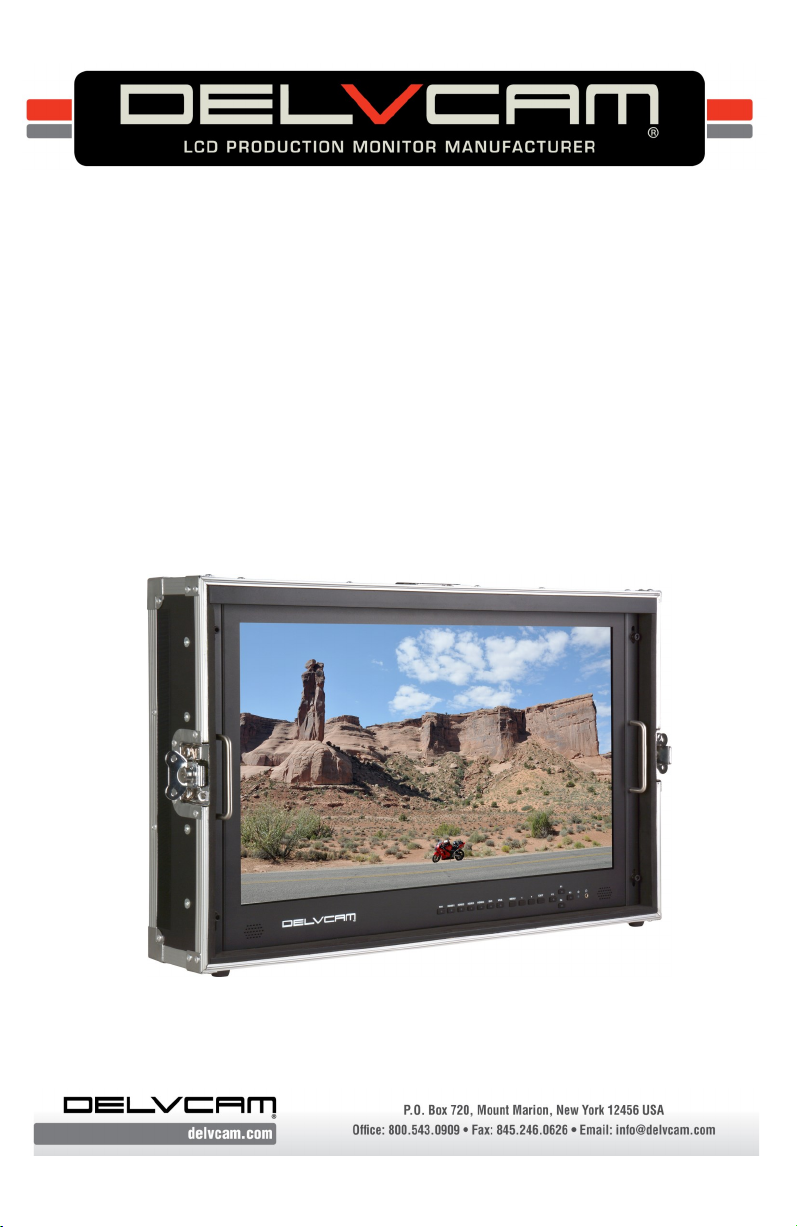
DELV-4KSDI28 (28")
DELV-4KSDI24 (24")
User Guide
28"/24" 4K Ultra HD Monitor with Road Ready Case
Page 2

IMPORTANT SAFETY INSTRUCTIONS
Read manual before using this product.
Keep manual for future reference.
Do not place the display screen on the ground.
Avoid heavy impact or dropping.
Do NOT use chemical solutions to clean this product. Wipe with
a clean soft cloth to maintain the brightness of the surface.
Do not block any vent holes.
Follow the instructions when making adjustments. Improper
adjustments may result in damage.
Unplug the power and remove the battery if you do not plan to use
the monitor for an extended period of time or during a thunderstorm.
FEATURES
4K Ultra-HD Resolution
Ultra HD 4K screens (3840×2160)
Large Screen
28"/24" 16:9 LED display, 170° wide viewing angles.
Multiple Viewing Options
Full Screen, Split, and Quad
Carrying Case
Rugged carrying case provides added protection, stability, and portability.
INCLUDED ACCESSORIES
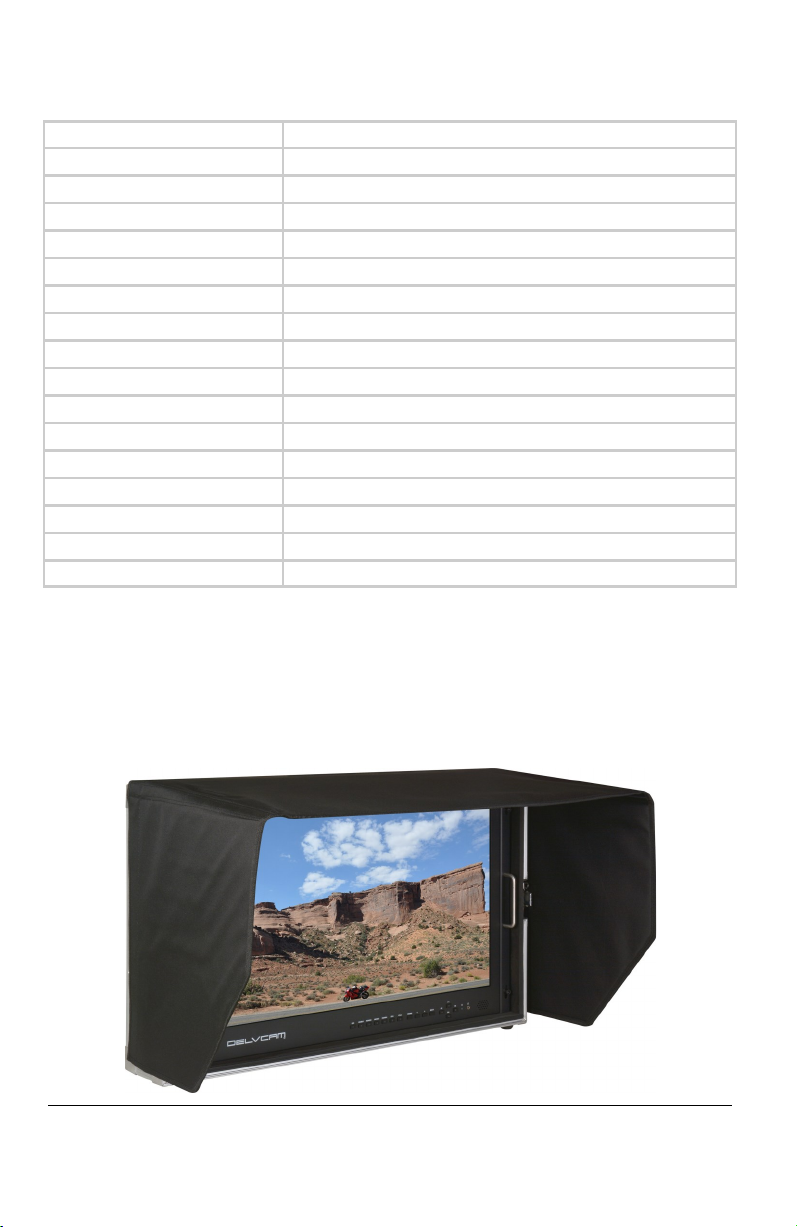
Collapsible Sunshade
Carrying Case
15V 4-Pin XLR Power Adapter
Battery Plate Bracket
V-mount with Power Cable
TALLY Connector Kit
Delvcam DELV-4KSDI28 / DELV-4KSDI24 Page 2
Page 3
SPECIFICATIONS
Display Screen: 28 inch/ 24 inch
Resolution: 3840 x 2160
Brightness: 450/cd/m²
Aspect Ratio: 16:9
Contrast 1000:1
Viewing Angle: 170°/160°(H/V)
Input : 3G-SDI, HDMI (4K & 1080P), VGA, DVI
Output: 3G-SDI
Audio: 2 Speaker (L/R), Earphone Jack
Power Input: 15VDC
Input Voltage: 12-24VDC (XLR)
Power Consumption: 48W
Backlight; LED
28" Dimensions (LxWxD):
28" Weight:
24" Dimensions (LxWxD):
24 " Weight:
26.38x16.73x1.77in/29.96x18.66x6.81in w/case
20.72lbs / 46.3lbs with case
22.4x14.82x1.77in/26.2x16.38x6.8in w/case
18.96lbs/ 37.7lbs with case
SUNSHADE INSTALLATION
Remove the protective backing from the Velcro that is on the edge of the
sunshade. Place the sunshade on the outside edge of the carrying case and
press Velcro into place.
Delvcam DELV-4KSDI28 / DELV-4KSDI24 Page 3
Page 4

MONITOR FRONT
1
2
3
4
5
6
7
8
1 SDI input switch
2 HDMI 1- 4 input switch
3 DVI input switch
4 VGA input switch
5 MENU/ENTER Press to select menu.
◄ Select options in the menu. Before entering the menu, press once to
6
activate volume, press again to scroll through options.
7 ► Select options in the menu.
9
11 10
8 EXIT Back or exit
F1-F4 User definable buttons Default function options:
9
F1 Display Mode, F2 Display Rotate, F3 Safety Marker, F4 Aspect
Power Indicator Light
10
Red: Standby, Green: Working
11 Earphone Jack
Delvcam DELV-4KSDI28 / DELV-4KSDI24 Page 4
Page 5

MONITOR REAR
1 Carrying handle
4
5
6
7
2 VESA 75×75 & VESA 100×100
3 Strain relief lacing bar
4 TALLY input
5 VGA input
6 DVI input
HDMI input × 4 (HDMI 1: HDMI2.0, support
7
4K 60Hz, HDMI 2, HDMI 3 and HDMI 4:
HDMI1.4, support 4K 30Hz)
8 Unbalanced audio input L/R
9 SDI input/output ports
10 XLR Power
11 Power switch I = ON, O = OFF
8
9
11 10
Delvcam DELV-4KSDI28 / DELV-4KSDI24 Page 5
Page 6

◄ ► BUTTON OPERATION
The ◄ ► buttons are volume default controls.
MENU OPERATION
Turn the power ON. Press the “ MENU“ button to access first level options:
Picture
Function
Display Mode
Display Settings
Input
Audio
VGA Controls
Systems
Information
Use ◄ ► buttons to highlight the desired option. Press “ MENU” button to
confirm. Press “ EXIT” button to return / exit menu.
MENU SETTING
F1 - F4 user definable shortcut buttons
Press and hold any one of the 4 buttons until the shortcut menu appears in
the upper right. Current option will be highlighted in white.
Using the ◄ ► buttons, cycle through the options, which will be yellow,
unavailable options will be gray. Press the “ MENU” button to set the
selected option.
Functions can be customized to meet user’ s needs: center marker, safety
marker, aspect ratio, under scan, check field, image freeze, peaking, display mode and image flip.
Default options
F1:Display Mode
F2:Display Rotate
F3:Safety Marker
F4:Aspect
Delvcam DELV-4KSDI28 / DELV-4KSDI24 Page 6
Page 7

SETTINGS
Picture
Function
Display Mode 1P, 2P LR, 2P TB, 2P PIP, 4P
Display Setting
Select Region Menu setting to region selected
Input Signal switch to region selected
Audio
Brightness 0-100
Contrast 0-100
Saturation 0-100
Hue 0-100
Sharpness 0-4
Temperature 9300, 7500, 6500, 5800, User
Backlight 0-100
Center Marker ON, OFF
Safety Marker OFF, 95%, 93%, 90%, 88%, 85%, 80%
Aspect Full Screen: 16:9, 4:3, 1.85:1, 2.35:1
Underscan ON, OFF
Check Field OFF, Red, Green, Blue
Freeze Input ON, OFF
Peaking ON, OFF
Display Rotate 0°, 90°, 180°, 270°, available in single
display
LR Ratio 0-4, available in dual display, left & right
Input Swap Available in dual display, left & right
Volume 0-100
Audio Source Analog, Digital 1, Digital 2, Digital 3,
Digital 4
Auto Adjust Press to confirm
H Position 0-100
VGA—for adjusting VGA
signal modes
Info Displays current information
Delvcam DELV-4KSDI28 / DELV-4KSDI24 Page 7
V Position 0-100
Clock 0-100
Phase 0-100
Page 8

SETTINGS
System
Reset Press to confirm
Menu Time 5-60s
OSD H Position 0-100, to set menu display area
OSD V Position 0-100, to set menu display area
Transparency 0-255, to set menu transparency
OSD Rotate 0°, 90°, 270°
Border Width 0-10
Border Color R, G, B, W
TROUBLE SHOOTING
1. Only black-and-white display:
Check the color saturation for proper setting.
2. Power on but no image:
Ensure that the AV, HDMI, VGA, DVI, and 3G-SDI cables are properly
connected. Use the standard power adapter that is included as
improper power input may cause damage or injury.
3. Incorrect or abnormal colors:
Ensure that the cables are properly connected. Broken or loose pins of
the cables may cause a bad connection.
4. Image size error:
Press “ MENU → Function → Underscan” to zoom in/out pictures auto-
matically when receiving HDMI signals
5. Other problems:
Press “ MENU” button. Choose “ MENU→System→ Reset →Confirm”
6. No Sound:
Press HDMI button
 Loading...