

Page 1
Using the Web-Based Advanced User Interface
69
sec tio n
1
2
3
4
5
6
7
8
9
Changing System Settings
The “Syst em Se ttings” page is wh ere you ca n ent er a n ew
admini st rator pass wo rd , s et th e t ime z one, enabl e remot e
manage me nt, and tur n o n a nd off the NAT fun ct ion of the Router.
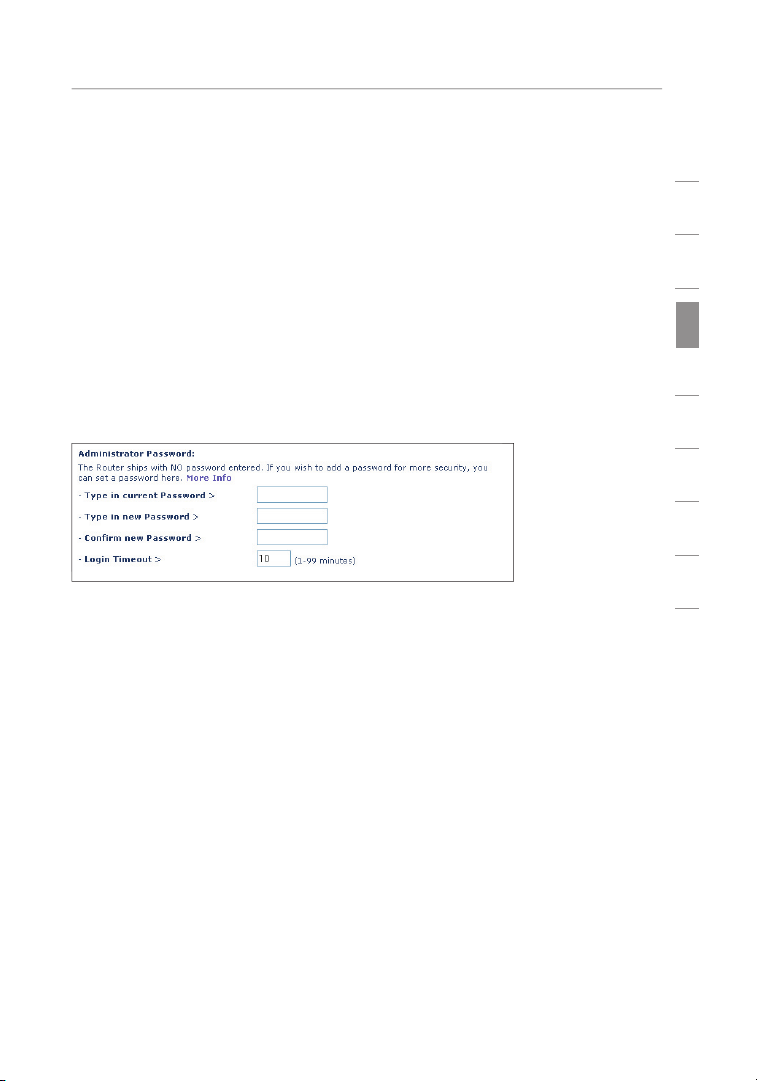
Setting or Changing the Administrator Password
The Route r shi ps with NO password entered. If you wish to ad d a
passwo rd for greater se cu rity, yo u c an se t a pa ssword here . Write
down your pass word an d k eep i t i n a sa fe place, as you will need it if
you need to log into th e R ou ter in the future. It is also recommen de d
that you set a passw ord if you pl an to us e t he remo te ma nagemen t
feature of your Route r.
Changing the Login Timeout Setting
The login time out option allo ws yo u t o s et the p eriod of time that
you can be logged in to th e R outer’s ad vanced set up in terface . The
timer sta rt s w hen there has b een no activi ty. For examp le , y ou have
made some chan ges in t he advance d s et up interface , t hen l eft your
comput er al one without cli cking “Logou t” . A ssuming th e tim eout is
set to 10 minutes , t he n 1 0 m inutes after yo u l ea ve, the login sess ion
will expi re. You will have to logi n to the Ro ut er again to make any
more c hanges. Th e log in timeout opti on is fo r s ecurity purp oses and
the defau lt is se t t o 1 0 m in utes.
Page 2
Using the Web-Based Advanced User Interface
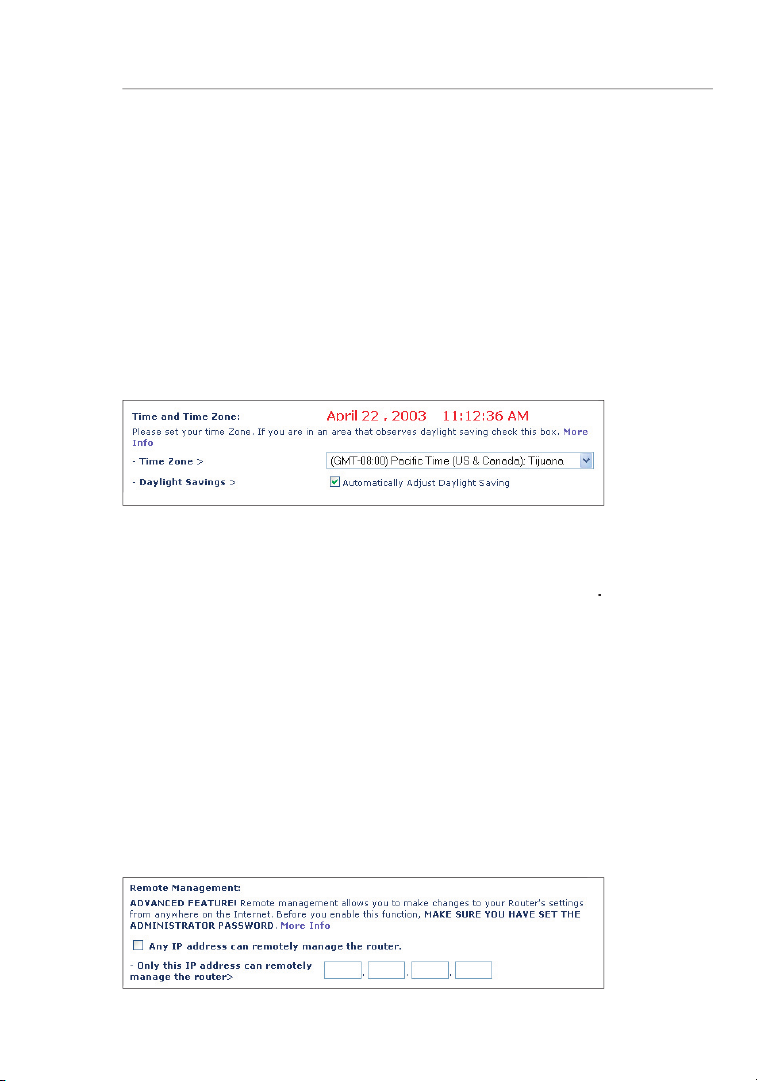
The Route r kee ps time by connect in g t o a Si mple Network Ti me
that obse rv es Daylight Sav ing, then place a check ma rk in th e b ox
time serv er s o n t he In ter ne t a nd get a resp onse. You ca nnot set the
R emote
the passw ord emp ty wi ll potential ly op en your Route r to int rusion.
Page 3
sec tio n
1
2
3
4
5
6
7
8
9
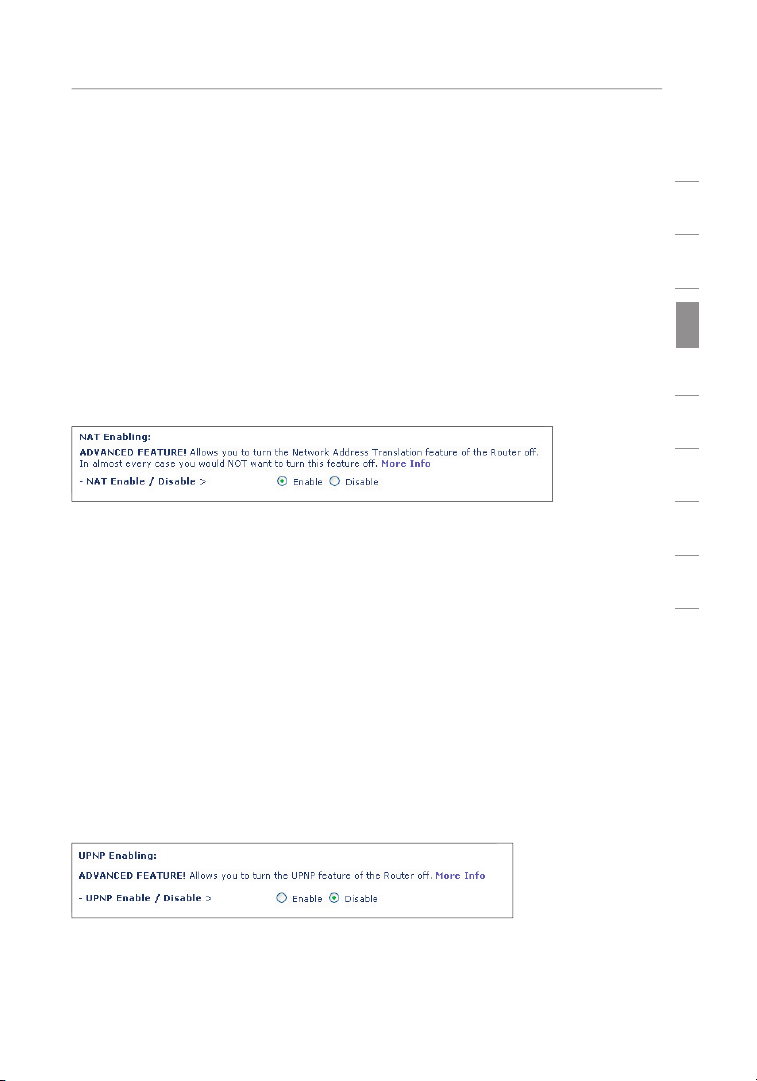
This advanced feature should be employed by advanced users only.
ADMINI ST RATOR PASSWOR D
This func ti on should only be use d i f you r I SP as signs you mul ti ple
the compute rs on yo ur network will no t b e abl e t o a cc ess the Inter net.
the Route r’s firewall to be conf ig ured in a spe cific way to opera te
the UPnP featu re s, yo u c an en able the UPnP feat ure. Si mply select
Using the Web-Based Advanced User Interface
Page 4
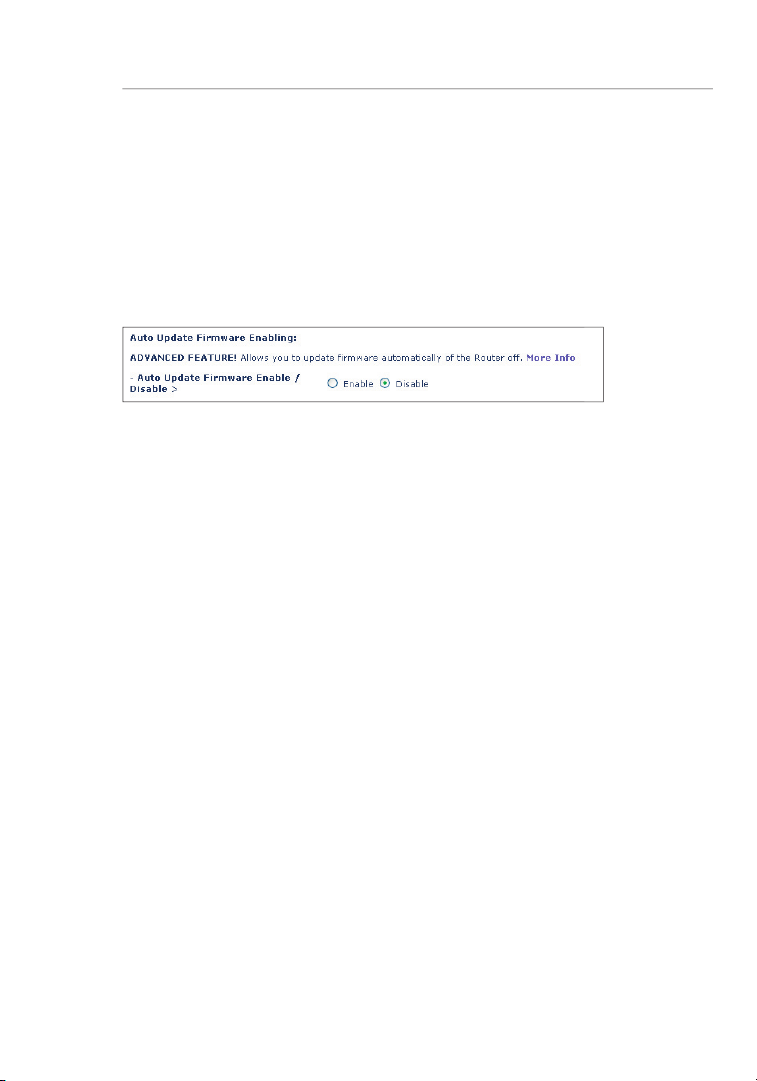
This inno va tion provides the Rout er wi th the built- in ca pability to
that the new firm ware is av ai lable. Whe n y ou lo g i nto t he Router’s
Using the Web-Based Advanced User Interface
Page 5

sec tio n
1
2
3
4
5
6
7
8
9
u sing these step s. You can also us e t he se steps to add
to the Inter net.
Pull down the Apple menu. Select “Control Panels” and
You will see the TCP/IP control panel. Select “Ethernet Built-In” or
Next to “Configure”
(2)
If not already set, at “Configure:”, choose “Using DHCP Server”.
This will tell the computer to obtain an IP address from the Router.
Page 6

Manually Configuring Network Settings
Click on the “Sys tem P re fere nces” icon.
Select “N et work”
Select “B ui lt-in Ethernet”
n ext to “Show” in the
Page 7

Manually Configuring Network Settings
sec tio n
1
2
3
4
5
6
7
8
9
Select th e “TC P/IP” tab
to make sure that “Conne ct us ing PPPoE” is
N OT
If “Manua ll y” is selected, yo ur Ro uter will need to be set up
the Route r.
I f not al read y s elected, sel ec t “ Using DHCP ” nex t t o “ Co nfigure”
Your network settings are now configured for use with the Router.
Page 8

Manually Configuring Network Settings
Click “Start”, “Settings”, then “Control Panel”.
Double-click on the “Network and dial-up connections” icon
Right-click on the “Local Area Connection” associated with your
In the “Local Area Connection Properties” window, click “Inter net
If “Use the following IP address”
is selected, your Router will
If not already selected, select “Obtain an IP address automatically”
and “Obtain DNS server address automatically”
Your network settings are now configured for use with the Router.
Page 9

Manually Configuring Network Settings
sec tio n
1
2
3
4
5
6
7
8
9
Right- cl ick on “My Network Ne ig hborhoo d” an d s elect
Select “T CP /IP -> settings ” f or yo ur install ed ne twork adapte r.
You wi ll see t he followi ng wi ndow.
If “Speci fy an IP ad dres s” is se lected, yo ur Ro uter will need
to be set up for a static IP conne ction type. Write the add ress
Write the IP address and subnet ma sk from th e “ IP
Address” tab
Click the “Gat eway” tab
the chart .
Click the “D NS Co nfigurati on” tab
If not already select ed, select “Obt ai n I P a ddre ss automat ic ally”
Page 10

the Web-Base d A
Start you r web browse r. Se lect “Tools” then “Int ernet Op ti ons”.
In the “Internet Optio ns ” s cree n, there a re th ree sel ec tions:
Under the “Int ernet Op ti ons” screen, clic k o n “Co nnections ” a nd
Page 11

sec tio n
1
2
3
4
5
6
7
8
9
Make sure there are n o che ck marks next to any of the disp la yed
Navigator
4.0 or Higher
Start Net sc ape. Click on “Edi t” th en “Pre fere nces”.
In the “Preferences” wi nd ow, cl ick on “Advance d” then select
the Inter net”.
Page 12

There are t wo ty pes of AOL connect io ns availab le —either AO L DSL
Access ). Th is is used along with an exis ting broadband conn ection,
C re ate A OL scre en names for the Rout er an d f or each
C onfigure the Rout er fo r A OL for B ro adband.
C onfigure your com pu ters with the new AOL sc reen na me s
you just created .
Your AOL co nn ections mu st be se t t o o pe rate on the TCP/IP
TCP/IP be fo re procee di ng.
If yo ur Ro uter is currently conn ected to the netwo rk , rem ov e
Log on to your AOL mast er ac count.
 Loading...