

Page 1
QUICK GUIDE LTL-X MARK II-US VERS 1.02 JUNE 2015
Quick Guide - LTL-X Mark II Retroreflectometer
Getting Started
Height Adjustment
Before using LTL-X Mark II notice that the operating panel can be adjusted in height for ergonomic
considerations. The height is adjusted by pressing the red knob on the front of the instrument and at the same time
lifting the handle on the operating panel. Release the knob and continue lifting until the handle locks.
Measuring
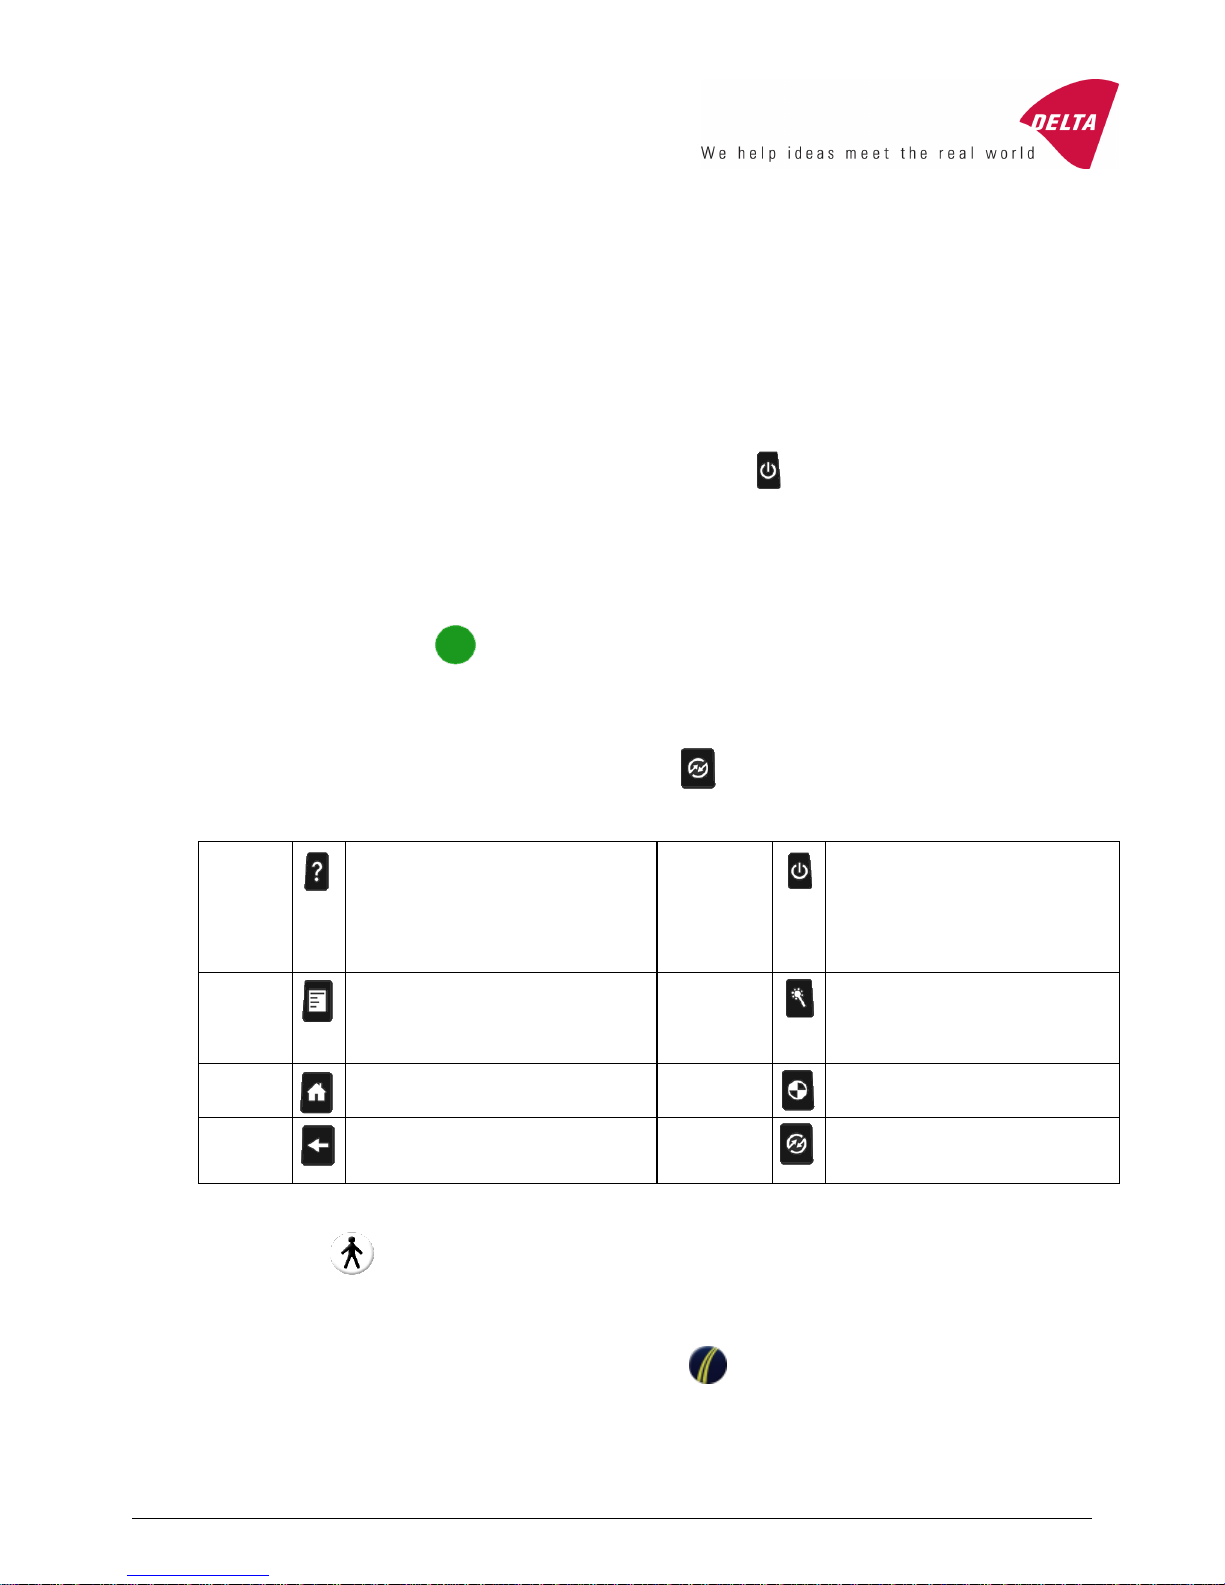
Turn on the LTL-X Mark II by pressing and holding the ON/OFF button until the display turns on. The
instrument is now ready to take measurements. An exception is when the instrument is set to ask for user
identification, see User select.
Calibrate the instrument if necessary, see Calibration.
Place the instrument on the road marking.
Press the big green OK-button to take a measurement. A measurement will be finished in about 1 sec.
When the measurement is complete, the RL value will be displayed. Data is automatically transferred to the data
log. If there is a problem with the measurement a warning or an error icon will pop up (see Warnings and Errors)
and an audible alarm will sound (if enabled, see Sound).
To printout the last measurement data, press the PRINT button
Buttons
HELP
Presents a help text for the actual
function. Another press on the
button will open up a general help
menu.
ON/OFF
Is used to turn the instrument ON
or OFF. Press the button to turn
on the instrument. Press 0 to 4
sec. to change to sleep mode.
Press >4 sec. to turn off the
instrument.
MENU
Selects the top level of the menu
tree. Use UP and DOWN to scroll
through the menu items. Press OK
to select.
SMART
This button is user programmable
to one of several functions, e.g. to
clear the last measurement or
select measurement type.
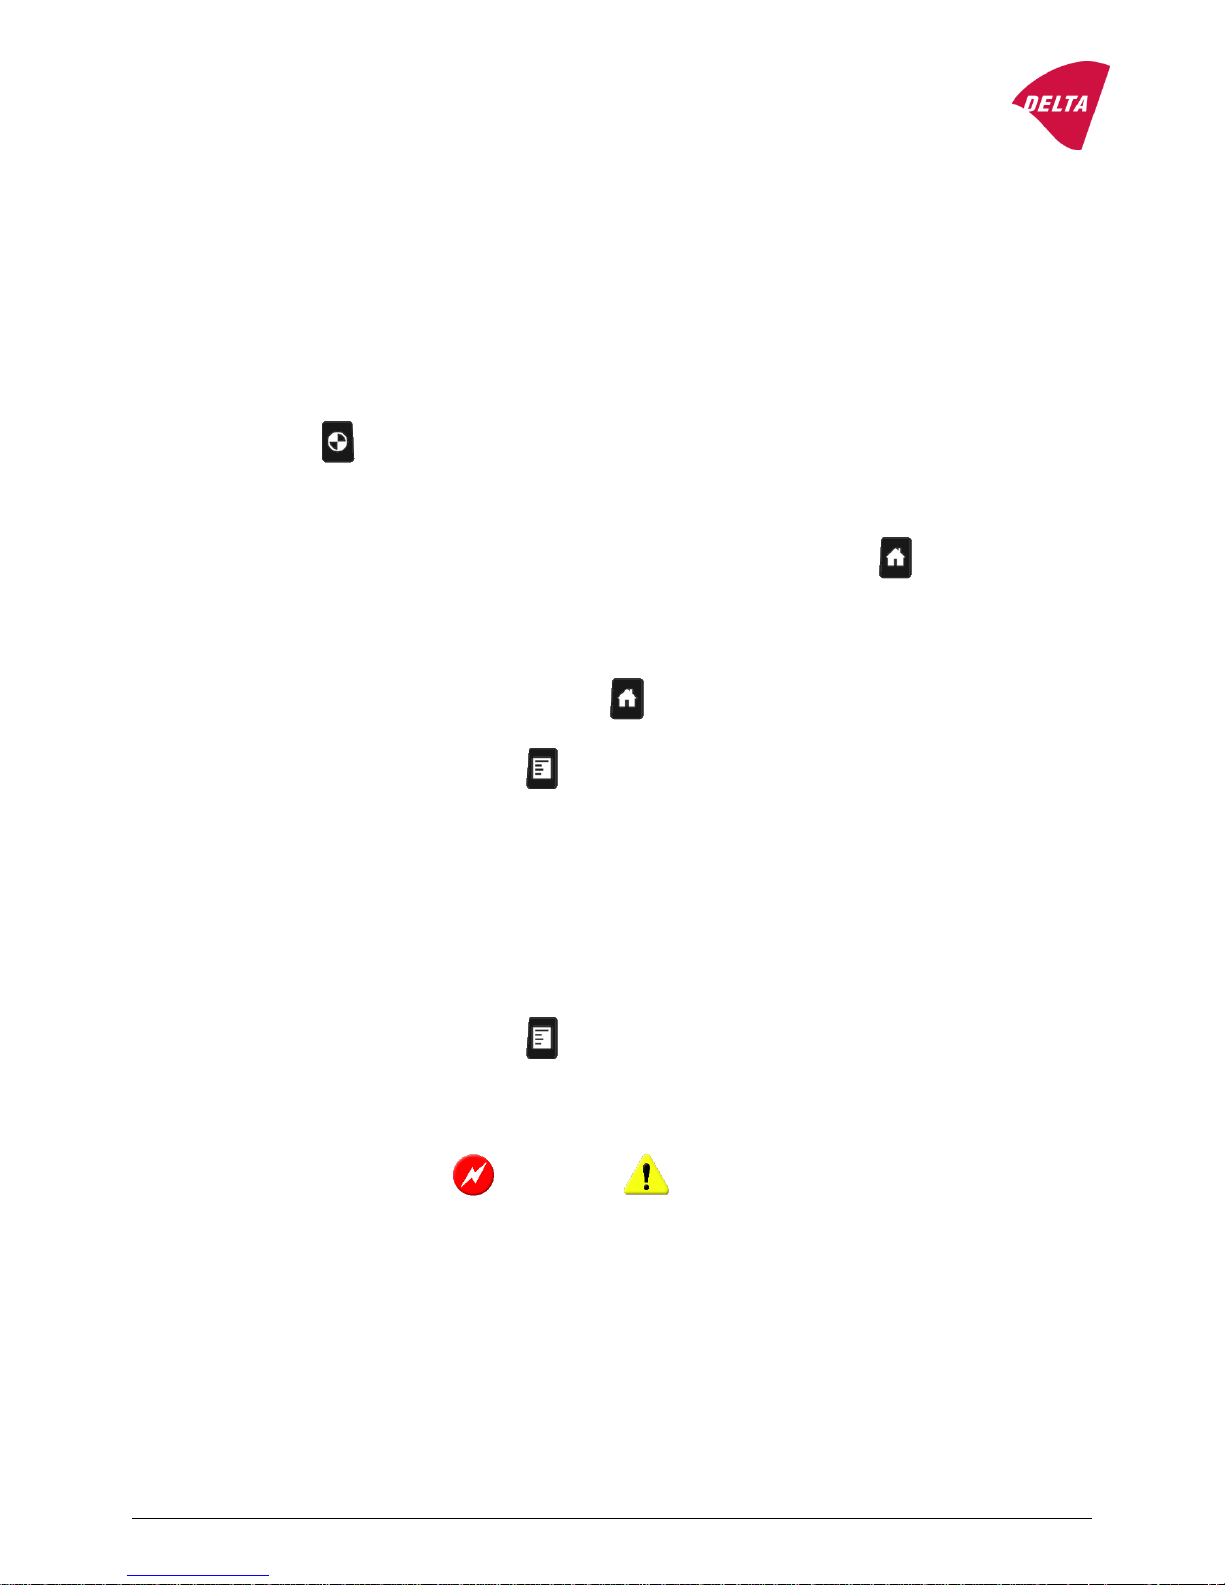
HOME
Will bring you back to measure
display.
CALIBRATE
Starts the calibration wizard.
BACK
Is used to go backward one step in
the menu.
PRINT
This button will print out the last
measurement or selected parts of
the log to the built-in printer.
User select
If a user icon is shown in the top line of the display then from the measure display press▲and ◄ or ►
buttons to mark the user icon. Press the OK button to enter the user select menu.
Series id select
From the measure display press ▲ to mark the Series id icon . Press the OK button to enter the Series Id
select menu. To deactivate the Series id press MENU and select SETTINGS/SERIED ID. Now select ACTIVATE
and use OK to change to OFF.
Page 2
QUICK GUIDE LTL-X MARK II-US VERS 1.02 JUNE 2015
Calibration
There are two kinds of calibrations procedures:
Calibration (red field calibration unit)
Verification (black reference calibration unit).
Please refer to the manual for an explanation of these two procedures and when to perform them.
During daily use only a quick calibration has to be done. There is no need with LTL-X Mark II to make a Zero
calibration as was the case with the predecessor LTL-X. The apparatus will guide you through the procedure.
Calibration procedure
Before a calibration make sure that the calibration unit and front window are clean.
Calibration using the red field calibration unit:
Mount the calibration unit underneath at the front of the instrument with the white ceramic on the
calibration unit facing the tower of the instrument. It is important that the pins on the side of the unit
fit into the slots in the LTL-X Mark II structure.
Press the button and then the OK button. Check and if necessary correct the calibration value
shown in the display so it matches the value written on label on the calibration unit. Press the OK
button to start the calibration.
The calibration procedure is now done. Remove the calibration unit and store it properly. Press to return to
the measurement display.
Miscellaneous
The measure display can at all times be shown by pressing
Reset Log: Press the MENU button and select LOG/CLEAR DATA/ALL.
Date and Time: Press the MENU button and select SETTINGS/DATE & TIME/SET TIME/DATE. Select wanted
value and use ▲ and ▼ to set the time and date. Accept the setting by pressing the green
OK button. Alternatively SYNC TO GPS can be selected to auto set the time. Remember
also to set correct time zone.
Power Save: Press the MENU button and select SETTINGS/POWER. Select AUTO SLEEP or AUTO OFF
and use ▲or ▼ to edit the auto turn off / sleep time. Accept the setting by pressing the
green OK button.
Sound: Press the MENU button and select SETTINGS/SOUND. SELECT KEY CLICK or
SOUNDS to set the individual sound levels for key click and miscellaneous system sounds.
Use ▲ or ▼buttons to set the levels. Accept the setting by pressing the OK button.
Activate the BEEP sound to inform when the measurement has been taken
Warnings and Errors: An error icon or warning icon will be displayed in the top line of the display
if a problem is detected when a measurement is taken. Press ▲ to get a description of the
most severe error or warning. Now press the OK button to display a total list of errors or
warnings.
 Loading...