

Page 1
This product has been manufactured to comply with
EEC Directives 73/23/EEC and 89/336/EEC
Please read these instructions carefully before use retain for future
reference.
MOBILE EVAPORATIVE COOLER
AC-12L-03
Please read this instruction manual before
operating and keep safe for future reference
Page 2

WARNING - This appliance is intended for use in a domestic or
small office environment only. Any other use is not recommended
by the manufacturer and may cause fire, electrical shocks or other
injury to person or property.
When using electrical appliances, basic safety precautions should
always be followed:
1. The heater is hot when in use. To avoid burns DO NOT touch
the air outlet grills during use. Unplug and use the handles
when moving the product.
2. DO NOT direct the heater towards curtains furniture or other
flammable objects and ensure that they are at least 3 feet
(0.9m) from the front and 1 foot (0.3m) away from the sides
and rear.
3. Extreme care should be taken when any product is used by,
or near children and pets, and whenever the product is left
operating and unattended.
4. Before operating the product remove the unit from its
packaging and check it is in good condition.
5. DO NOT let children play with the packaging, for example
plastic bags.
6. DO NOT operate any product with a damaged cord or plug, or
after the heater malfunctions, has been dropped, or damaged
in any manner. Return the heater to an authorised service
facility for examination and repair to avoid a hazard.
7. DO NOT attempt to repair or adjust any electrical or
mechanical functions on this unit as this may void warranty.
-1-
SPECIFICATIONS
Model No. AC-12L-03
Voltage 220-240V
Frequency 50Hz
Wattage 90W Cooling Mode
2000W (MAX)
Net Weight 9.2Kg
Gross Weight 10.7kg
MAINTENANCE
• Before you clean the appliance, switch the product off and
remove the plug from the mains socket (if the heater has been
used allow it to cool).
• Use a damp cloth to clean the product housing.
• Do not use water, detergents, abrasive cleaning liquids or
chemical agents (Alcohol, Petrol etc…) to clean the appliance.
• Store in the original packaging in a dry, dust free area during
off season usage.
IONISER OPERATION
• The ioniser discharges negative ions to combine with and
remove dust, bacteria and mildew and so remove them.
• Ionisers are also linked with the feeling of well being
associated with breathing fresh mountain air.
• The Ioniser can be used in any mode, cooling, heating or
humidifying.
• Press the ION button once to turn ON the ioniser. Press the
button again to turn it OFF.
-10-
Page 3

LOUVRES OPERATION
• Press the SWING button to start the louvers moving from side
to side. This will improve the distribution of the cooled air in
the room. To stop the louvers press the SWING button again.
• You can change the air direction (up or down) by manually
adjusting the horizontal louvers.
TIMER OPERATION
• The Timer can be used to switch the product off after a
selected number of hours.
• Select the desired operating mode.
• Press the TIMER button once and the product will switch off
after 1 hour. Press the button again for 2 hours, again for 3
hours etc. The maximum timer setting is 8 hours.
• To cancel the Timer setting press the TIMER button again
until all the timer indicators are not lit.
TANK REFITTING
• When refitting the tank ensure that
the pump
is seated above
the latch
and that both pipes
are placed inside the tank
• If the pump
is in the down position
swing it up and rest it on the hinged
latch
• The pump will lower into the tank as
you refit the tank.
-9-
8. Check the household voltage to ensure it matches the
appliance's rate specification.
9. DO NOT cover.
10. Always unplug the product before refilling the water tank.
11. Always unplug the product when not in use. To disconnect
from the power supply, grip the plug and pull from the power
socket. Never pull by the cord.
12. This product is not intended for use in wet or damp locations.
Never locate the product where it may fall into a bathtub or
other water container. DO NOT use in bathrooms or outdoors.
When not in use always store in a dry area.
13. DO NOT run power cord under carpeting, or cover with rugs
or runners. Arrange the cord away from areas where it may be
tripped over.
14. Avoid the use of an extension cable as this may overheat and
cause a fire.
15. DO NOT insert or allow objects to enter any ventilation or
exhaust opening as this may damage the product and could
cause an electrical shock or fire.
16. DO NOT use the product in areas where gasoline, paint, or
other inflammable goods and objects.
17. If the supply cord is damaged it must be replaced by the
Manufacturer or an authorised service centre in order to avoid
a hazard.
SAVE AND READ THESE IMPORTANT SAFETY INSTRUCTIONS
-2-
Page 4

BS PLUG WIRING
Should it be necessary to change the plug please note the wires in
the mains lead are coloured in accordance with the following code:
BLUE - NEUTRAL
BROWN - LIVE
GREEN AND YELLOW - EARTH
As the colours of the wires in the mains lead of this appliance may
not correspond with the coloured markings identifying the terminals
in your plug, proceed as follows:
1. The BLUE wire is the NEUTRAL and must be connected to
the terminal that is marked with the letter N or coloured
BLACK.
2. The BROWN wire is the LIVE and must be connected to the
terminal that is marked with the letter L or coloured RED.
3. The GREEN/YELLOW is the EARTH and must be connected
to the terminal which is marked with the letter E or or
coloured GREEN OR GREEN /YELLOW.
4. Always ensure that the cord grip is positioned and fastened
correctly.
If a 13A (BS 1363) fused plug is used it must be fitted with a 13A
fuse. If in doubt consult a qualified electrician.
Wiring for a 13 Amp Plug (BS1363)
Please note: The Earth Terminal is marked with the letter E or
Earth Symbol.
-3-
FOR ROOM HUMIDIFICATION
• Turn the product OFF at the MAINS SWITCH and remove the
plug from the mains socket.
• Open the top cover and pour clean water into tank. The water
level indicator on the front of the Evaporative Cooler shows
the level of water in the tank. Then connect to the power
supply and turn on the MAINS SWITCH.
• Press the POWER button and the fan will start at medium
speed, after few seconds, it will switch to LOW speed.
• To turn the product OFF press the POWER button again. The
fan will continue to run for approximately 3 minutes to extend
the life of the working parts. If you do not intend to use the
product for some time also turn off the MAINS SWITCH.
• Press the MODE button twice to select the WARM MODE,
indicated by the LED.
• The Heater will start in LOW mode, indicated by the LED
under L on the control panel.
• Press the SPEED button to increase or decrease fan speed.
• Press the HEATING button twice to select the HUMIDIFIER
mode, indicated by the HUM LED with HIGH heat.
• Press HEATING button again for humidifier and LOW heat.
• Press the HEATING button to return to the LOW heat mode
without humidifier.
• When the water in the tank has been used refill as above.
• To empty the water tank turn your product off at the POWER
button and MAINS SWITCH. Carefully pull the tank from the
main body and dispose of the water. Refit the tank correctly
or your evaporative cooler will not work correctly. See Tank
Fitting instructions. Alternatively use the drain at the rear of
the tank.
-8-
Page 5

FAN SPEEDS
• Your Evaporative Cooler has 3 fan speeds and a RHYTHM
Mode.
• Press the SPEED button to select High, Medium or Low
speed.
• Press the button again to select the RHYTHM mode. In this
mode the fan speed randomly changes between High,
Medium and Low or simulate a natural breeze, which is
particularly beneficial at night.
• The LED shows the selected fan speed or mode.
FOR ROOM HEATING
• It is not necessary to have water in the tank.
• Press the POWER button and the fan will start at medium
speed, after few seconds, it will switch to LOW speed.
• To turn the product OFF press the POWER button again. The
fan will continue to run for approximately 3 minutes to extend
the life of the working parts. If you do not intend to use the
product for some time also turn off the MAINS SWITCH once
the fan has stopped.
• Press the MODE button twice to select the WARM MODE,
indicated by the LED.
• The Heater will start in LOW mode, indicated by the LED
under L on the control panel.
• Press the HEATING button to select HIGH mode, indicated b
the H LED.
• Press the HEATING button three times to return to the LOW
heating.
• Press the SPEED button to increase or decrease the fan
speed.
-7-
IMPORTANT PRODUCT INFORMATION
Congratulations on your purchase of this versatile product that
combines a room cooler, a heater, a humidifier and air cleaner.
This means that it can be used all year round. To get the best
cooling effect from your product please read these instructions
carefully.
For the best performance of your Evaporative Cooler it should be
filled with water, and ice if available, and positioned in a location
that will create a 'flow through' air effect. The greatest cooling effect
will be felt if the unit is operated in a partly opened doorway or
window with the cooled air directed into the room. It is also
important to have a door or window partly opened away from the air
cooler, in order to create the 'flow through' effect. If this
arrangement cannot be met the Evaporative Cooling System will be
inefficient.
Failure to refit the tank correctly may result in leaking from the
Evaporative Cooler and incorrect operation.
-4-
Page 6

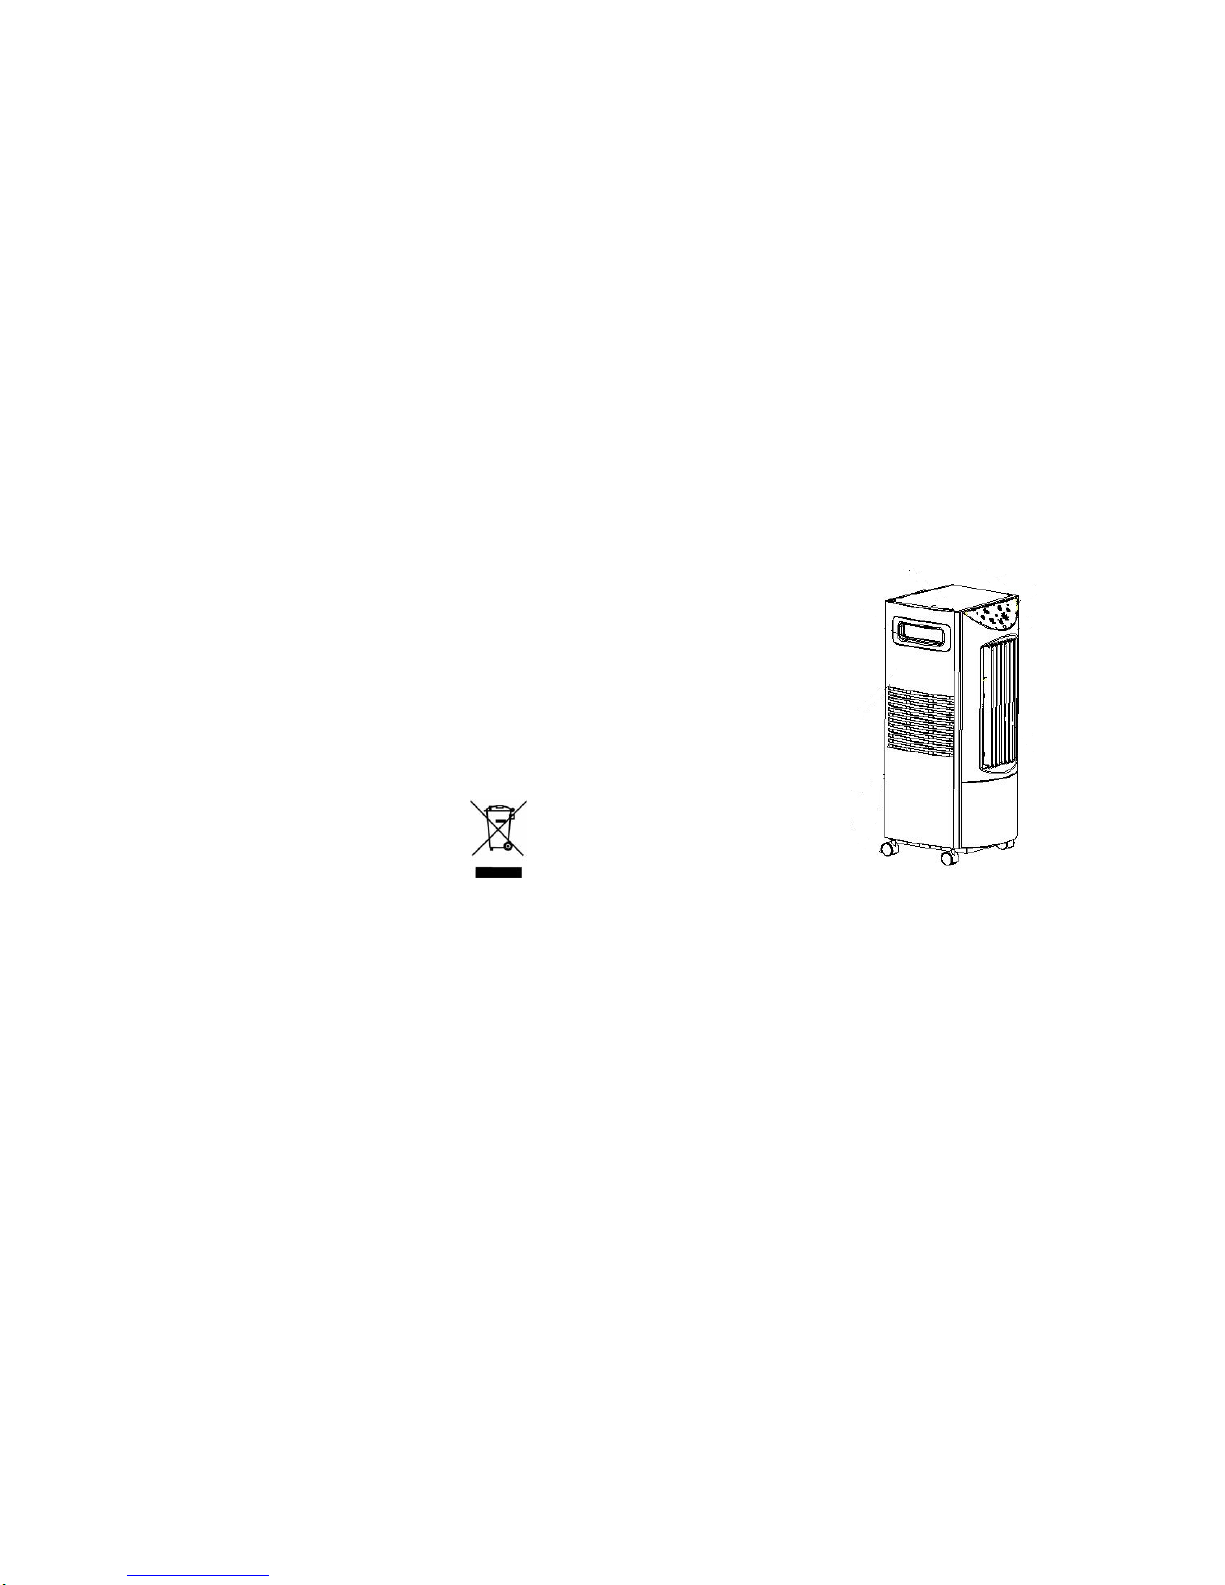
PARTS DESCRIPTION
1 Handle 9 Remote control storage
2 Left side 10 Rear
3 Power cord 11 Top water tank
4 Castors 12 Air inlet
5 Top cover 13 Water tank
6 Control panel 14 Tank drain
7 Front 15 Mains Switch
8 Air outlet
CONTROL PANEL
-5-
OPERATING INSTRUCTIONS
• Choose a suitable location for your Evaporative Cooler;
please refer to the Important Product Information for details.
• Your product may be operated by the manual controls located
on the unit or by the remote control.
FOR ROOM COOLING
• Turn the product OFF at the MAINS SWITCH and remove the
plug from the mains socket.
• Open the top cover and pour clean water into tank. The water
level indicator on the front of the Evaporative Cooler shows
the level of water in the tank. Then connect to the power
supply and turn on the MAINS SWITCH.
• Press the POWER button and the fan will start at medium
speed, after few seconds, it will switch to LOW speed.
• To turn the product OFF press the POWER button again. If
you do not intend to use the product for some time also turn
off the MAINS SWITCH once the product has stopped and
empty the water tank.
• Press the SPEED button to increase or decrease the speed.
• Press the MODE button to select the COOL MODE, indicated
by the LED. The full effect of this mode will begin after about
3 minutes.
• When the water in the tank has been used refill as above.
• To empty the water tank turn your product off at the POWER
button and MAINS SWITCH. Carefully pull the tank from the
main body and dispose of the water. Refit the tank correctly
or your evaporative cooler will not work correctly. See Tank
Fitting instructions. Alternatively use the drain at the rear of
the tank.
-6-
 Loading...