

Delta 620 RADIO DRIVER Installation
*2701877_Rev.1*
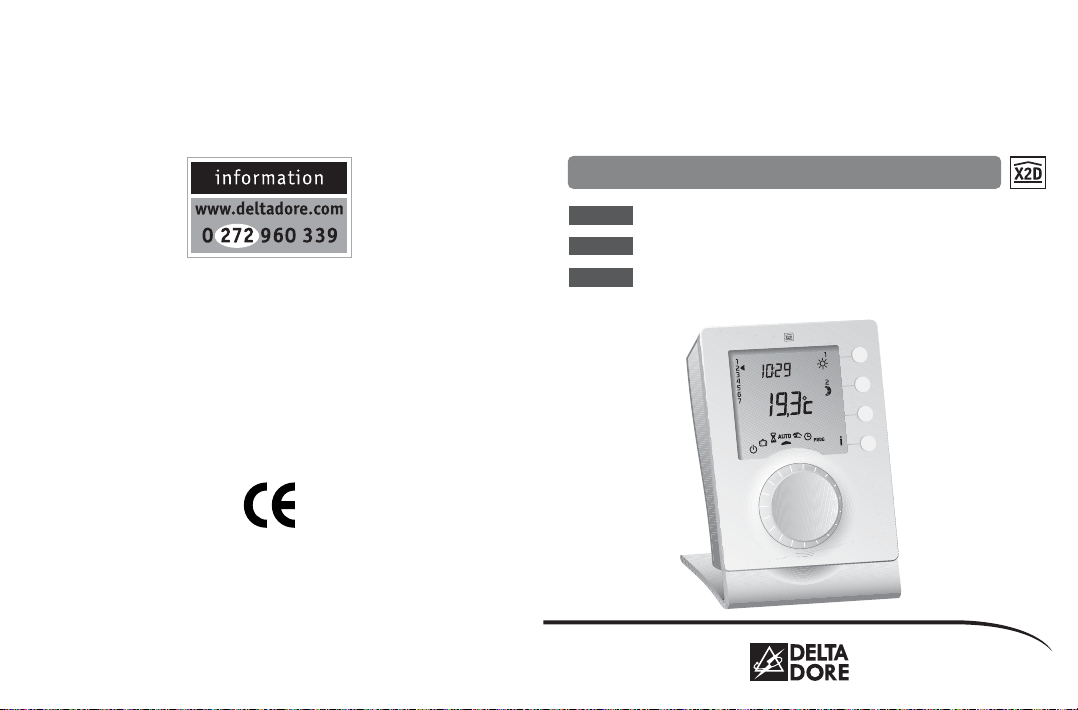
RADIO DRIVER
Installation guide
Wireless programmer
RADIO DRIVER 610 - 1 zone
6051117
6051118
6051119
RADIO DRIVER 630 - 3 zones
RADIO DRIVER 620 - 2 zones
RADIO DRIVER
Device complying with the requirements of the directives:
R&TTE 1999/5/CE
Because of changes in standards and equipment, the characteristics
given in the text and the illustrations in this document are not binding
unless confirmed by Delta Dore.
DELTA DORE - Bonnemain - 35270 COMBOURG - FRANCE
E-mail: deltadore@deltadore.com

Contents
• Carefully read these instructions prior to
installation.
• The unit must be installed in compliance with
currently applicable standards.
• Always switch off the mains before installing
or servicing the unit.
• Do not attempt to repair the unit yourself;
an after-sales service is available.
• If you install RADIO DRIVER with a PLC RADIO
GP8, refer to its installation instructions.
Warnings
Advanced configurations (menu 2) . . . . . . . . . 10
Modification authorization . . . . . . . . . . . . . . . . . . 10
Temperature correction . . . . . . . . . . . . . . . . . . . . . 11
Choice of the Pilot Wire order . . . . . . . . . . . . . . . . 11
Choice of tariff reduction . . . . . . . . . . . . . . . . . . . . 12
Radio association (menu R) . . . . . . . . . . . . . . 14
Go to the radio association menu . . . . . . . . . . . . . 14
Home automation feature in the installation . . . . . 14
Consumption indication function . . . . . . . . . . . . . . 15
Associating wireless receivers
with the RADIO DRIVER . . . . . . . . . . . . . . . . . . . 16
Exiting the radio association menu . . . . . . . . . . . . 16
Option configuration (menu 3) . . . . . . . . . . . . 17
Removing radio associations . . . . . . . . . . . . . . 19
Return to the factory configuration . . . . . . . . . 20
Radio test . . . . . . . . . . . . . . . . . . . . . . . . . . . 21
Technical characteristics . . . . . . . . . . . . . . . . . 22
Troubleshooting . . . . . . . . . . . . . . . . . . . . . . . 23
Summary table of configurations . . . . . . . . . . . 24
Contents
Mounting / Location of the RADIO DRIVER . . . . . 4
Time Setting . . . . . . . . . . . . . . . . . . . . . . . . . . 6
Configuration . . . . . . . . . . . . . . . . . . . . . . . . . . 7
Basic configurations (menu 1) . . . . . . . . . . . . . 8
Choice of programming . . . . . . . . . . . . . . . . . . . . . . 8
Choice of programming increments . . . . . . . . . . . . 8
Choice of Pilot Wire type . . . . . . . . . . . . . . . . . . . . . 9
Status of the DHW in absence mode . . . . . . . . . . . 9
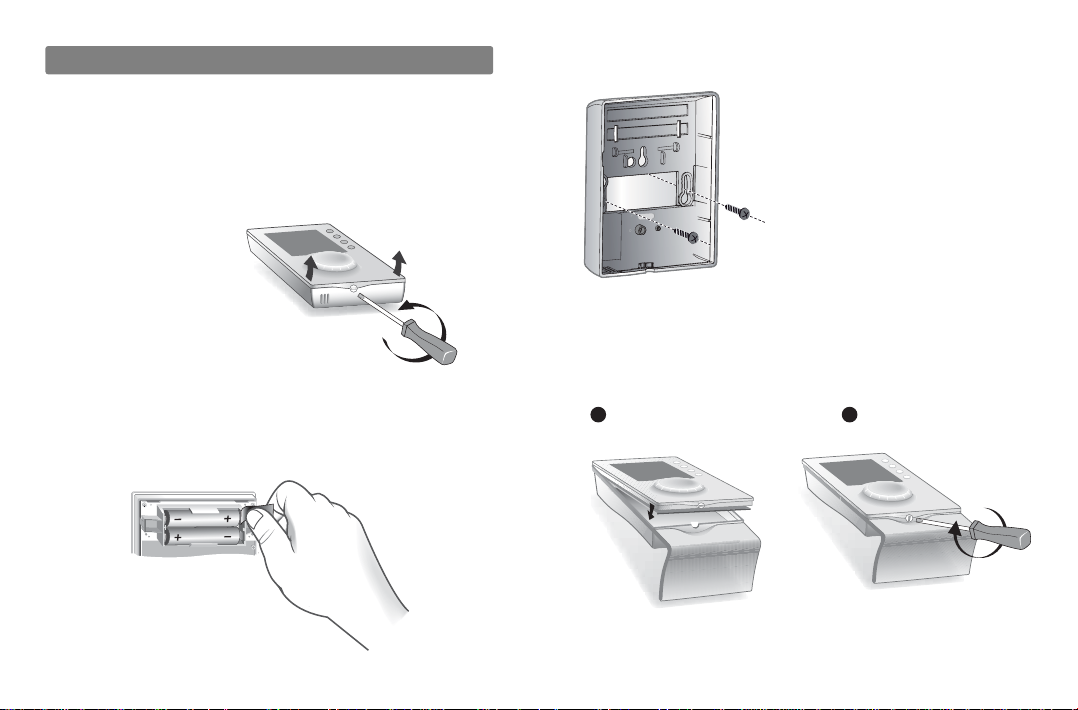
Mounting / Placement of the RADIO DRIVER
For easier use, the RADIO DRIVER can be installed:
- mounted on the wall with screws and pegs at
an approximate height of 1.5 m,
- on a support placed on an item of furniture or
a shelf.
Separate the unit
from its base
by unlocking
the casing.
Starting up
When you turn the unit on for the first time, you will
need to set the time.
Remove the battery cover.
- 5 -
Screw-mounting
Mount the base with screws and
pegs suited to the support or on
a flush-mounted box, then close
and lock the unit.
Fitting to the base
Position the unit on its base and lock it.
- 4 -
Position the thermostat
1 2
on its base
Lock the thermostat
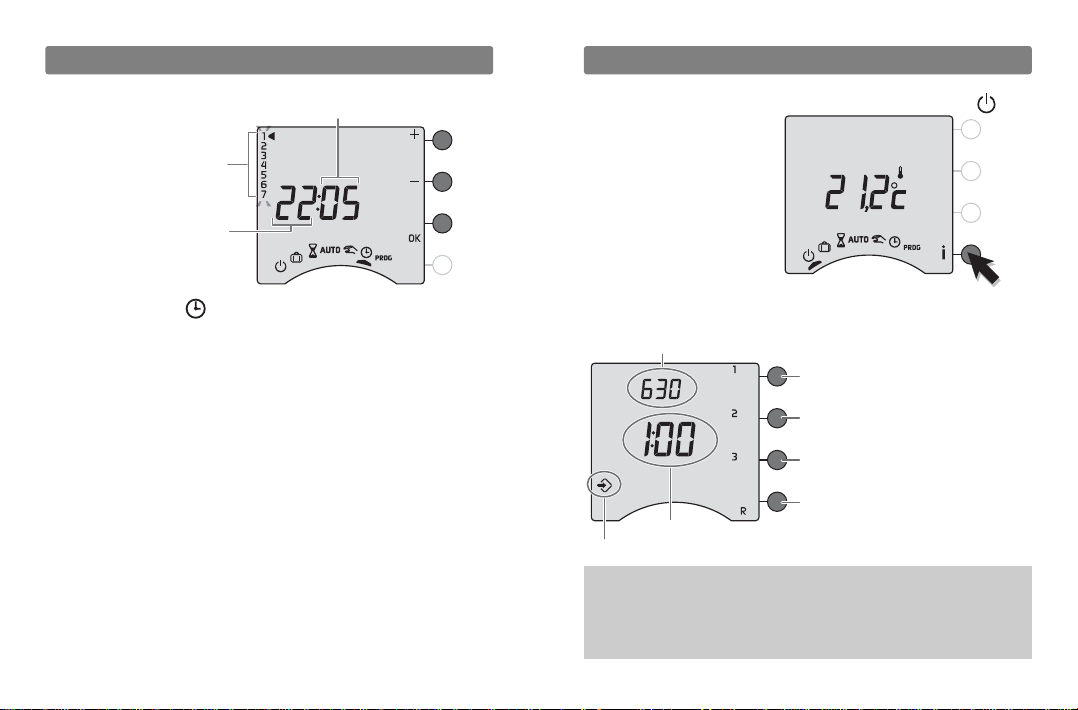
To go to the configuration menus, turn the knob to ,
then press and hold
the
i button for
5 seconds.
The unit will propose 4 configurations to choose
from:
- 7 -
Configuration
Menu 3 is only accessible when the RADIO DRIVER
is associated with a TYWATT RADIO or with the
consumption indication function of a PLC RADIO GP8
(see menu R).
Turn the knob to .
The days flash.
Press + or - to change the day, then press OK to
confirm and continue on to the next setting.
Repeat the operations to set the hours and minutes.
To leave the “time setting” mode, turn the knob.
- 6 -
Time setting
Minutes
Days
(1 : Monday… 7 : Sunday)
Hours
5 sec.
Unit version (e.g. RADIO DRIVER 630)
Basic configurations (Menu 1)
Advanced configurations (Menu 2)
Configurations of the consumption
indication function
(Menu 3)
Radio association
Configuration mode
Unit version (e.g. 1.00)
- 9 -
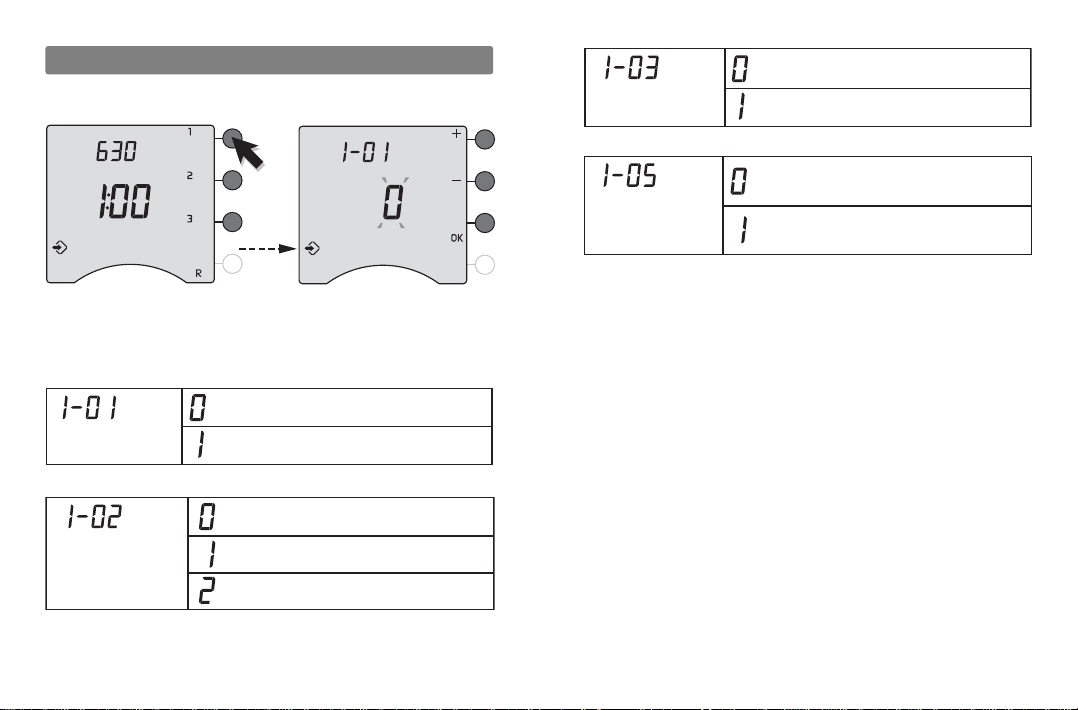
After menu 1 has been configured, the unit returns to
the choice of menus.
To exit the configuration, turn the knob to the right.
- 8 -
Basic configurations (menu 1)
To change the various settings, press button 1,
press the + or - buttons, then press OK to confirm
the change and go to the next setting.
Weekly (by default)
Choice of
programming
Choice of
programming
increments
Daily
1-hour increments (by default)
30-minute increments
15-minute increments
6-order Pilot Wire (by default)
Choice of Pilot
Wire type
Status of the
DHW* in absence
mode
*Controlling the hot water tank (DHW) is only possible if
the RADIO DRIVER is associated with a PLC RADIO GP8.
4-order Pilot Wire
DHW stopped (by default)
DHW on automatic
 Loading...