

Delonghi TRD50615E Instruction manuals
TRD50615E
ELECTRIC OIL FILLED RADIATOR
Instructions for use. Keep these instructions
Visit www.delonghi.com for a list of service centers near you.
ELECTRIC CHARACTERISTICS
120 V~ 60 H z 1500 W
RADIADOR ELÉCTRICO DE BAÑO DE ACEITE
Repase y guarde estas instrucciones.
Lea cuidadosamente este instructivo antes de usar su aparato.
Visite www.delonghi.com para ver la lista de centros de servicios
cercanos a usted.
CARACTERISTICAS ELECTRICAS:
120 V~ 60 H z 1500 W

EN
page 4 pág. 13
ES
2
D
A
B
C
F
E
3
IMPORTANT
SAFEGUARDS
When using any electrical appliance, some basic safety
precautions should always be observed to reduce the risk
of re, electric shock, and/or injury to persons. Read all instructions carefully before using the appliance. Specically:
Danger!
Failure to observe the warning may result in life threatening
injury by electric shock.
- Do not operate any appliance with a damaged cord or plug or after the appliance malfunctions, has been dropped or damaged in
any manner.
If appliance has leaked any oil, discontinue
using the appliance and contact the service
centre as indicated in the instruction leaet.
Return appliance to authorized service facility for examination, electrical or mechanical
adjustment, or repair.
- This appliance is not intended for use in
bathrooms, laundry areas, or similar indoor locations. Never position the appliance
where it may fall into a bathtub or come in
contact with water.
- Use this appliance only as described in this
manual. Any other use not indicated by the
manufacturer may cause re, electric shock,
or injury to persons.
- CAUTION: To prevent electric shock, make
sure the wide prong of the plug is inserted
in the wide slot of the outlet.
-
Always use the appliance in an upright position.
Important!
Failure to observe the warning could result in injury or
damage to the appliance.
- The appliance is not intended for use by
persons (including children) with reduced
physical, sensory or mental capabilities, or
lack of experience and knowledge, unless
they have been given supervision or instruction concerning use of the appliance by a
person responsible for their safety.
Children should be supervised to ensure that
they do not play with the appliance.
- Extreme caution is necessary when any appliance is used by or near children or invalids
and whenever the appliance is left operating
and unattended.
- Do not wrap the cord around the appliance
immediately after use.
- To prevent current overload and blown fuses, make sure that no other appliance is
plugged into the same outlet or into another
outlet wired into the same circuit.
- If the power cord is damaged, to reduce the
risk of malfunction it must be replaced by
the manufacturer, its service agent, or a licensed and qualied professional.
- Do not use this appliance with an extension
cord or outlet strip. Connect the appliance
directly to a suitable outlet.
- Position the appliance so that the plug and
the outlet can be easily reached even after installation but not immediately under a xed
power socket.
Danger of burns!!
Failure to observe the warning could result in burns or
scalds.
- This appliance gets very hot when in use.
To prevent burns, do not touch hot surfaces
with bare skin. Use the handle when moving
the appliance. Keep all ammable materials,
such as furniture, pillows, bedding, paper,
clothing, and curtains at least 3 feet (90 cm)
from the front and top of the appliance, also
avoid contact with the sides and back.
- Do not run the power cord under carpeting.
Do not cover cord with throw rugs, runners,
or the like. Keep the cord away from any passageways where it could be tripped over.
- Do not insert or allow foreign objects to get
into the air intake or air outlet grille, as this
may cause electric shock or re, or damage
the appliance.
- To prevent a possible re, do not block air in-
4

take or air outlet grille in any way. Do not use
the appliance on soft surfaces, such as beds,
where the openings may become blocked.
- Do not cover the appliance while it is functioning in order to avoid overheating and
the risk of re.
- The internal parts of the appliance can become very hot or produce sparks during operation. Do not use the appliance in areas where
gasoline, paints, or other ammable liquids
are used or stored.
- It is normal for appliance’s plug and cord to
feel warm to the touch. However, an excessively hot or deformed plug or cord is not
normal and may be the result of a defective
electrical outlet. Defective outlets must be
replaced before using the appliance. Plugging the appliance into a worn outlet may
result in overheating of the power cord or
may cause the risk of re.
- Do not place the appliance near a bed because objects such as pillows or blankets can fall
o the bed and be ignited by the appliance.
Please note:
This symbol indicates recommendations and important
information for the user.
- If your appliance is equipped with a
polyethylene tape used as a carry handle,
remove it before connecting appliance to
the outlet.
- Always disconnect the plug from the power
outlet when the appliance is not in use.
- Do not use the appliance outdoors.
-
To completely turn o the appliance, press
the POWER ON/STANDBY button, and then
unplug the appliance.
- Connect to properly polarized outlets only.
- Make sure that the plug is fully inserted into
the outlet. Wall outlets may deteriorate with
time, so check the plug periodically for signs
of overheating or deformation. If the outlet
has deteriorated, stop using it and have it
repaired.
- Check that neither the appliance nor the po-
wer cord have been damaged during shipping.
- Make sure that no styrofoam or other packing materials remain in the appliance.
- Make sure that no pieces of polystyrene or
other packaging material have been left
between one element of the appliance and
another. It may be necessary to pass over the
appliance with a vacuum cleaner.
- The rst time the appliance is used, run it at
the maximum power for at least two hours.
During this time, ventilate the room thoroughly to eliminate the “new” smell released
by the appliance. It is completely normal for
the appliance to emit “creaking” sounds the
rst time it is run.
- Extreme caution is necessary whenever the
appliance is left operating unattended.
- Do not open the appliance. No user-serviceable parts inside.
SAVE THESE
INSTRUCTIONS
THIS PRODUCT IS FOR HOUSEHOLD USE
ONLY
5
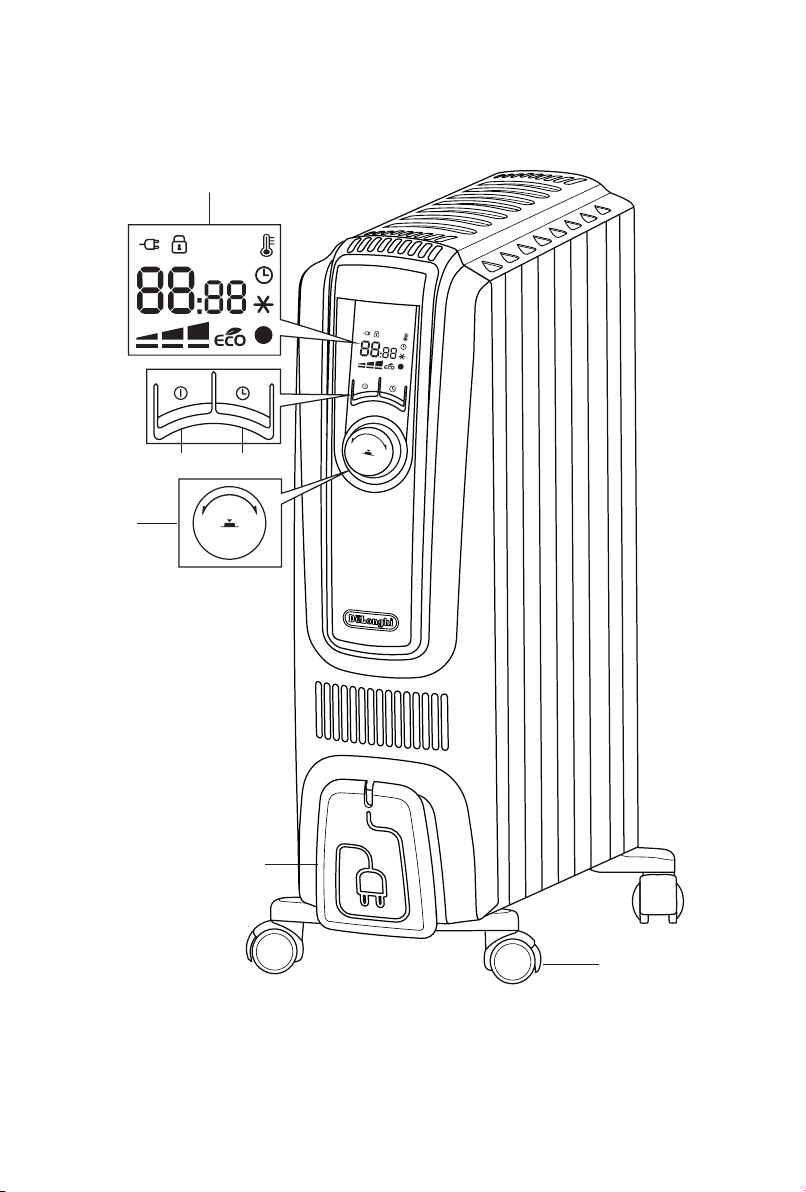
DESCRIPTION
❶
❷
A POWER ON/STANDBY button
B timer button
C control dial
D display
E wheel
F cord holder
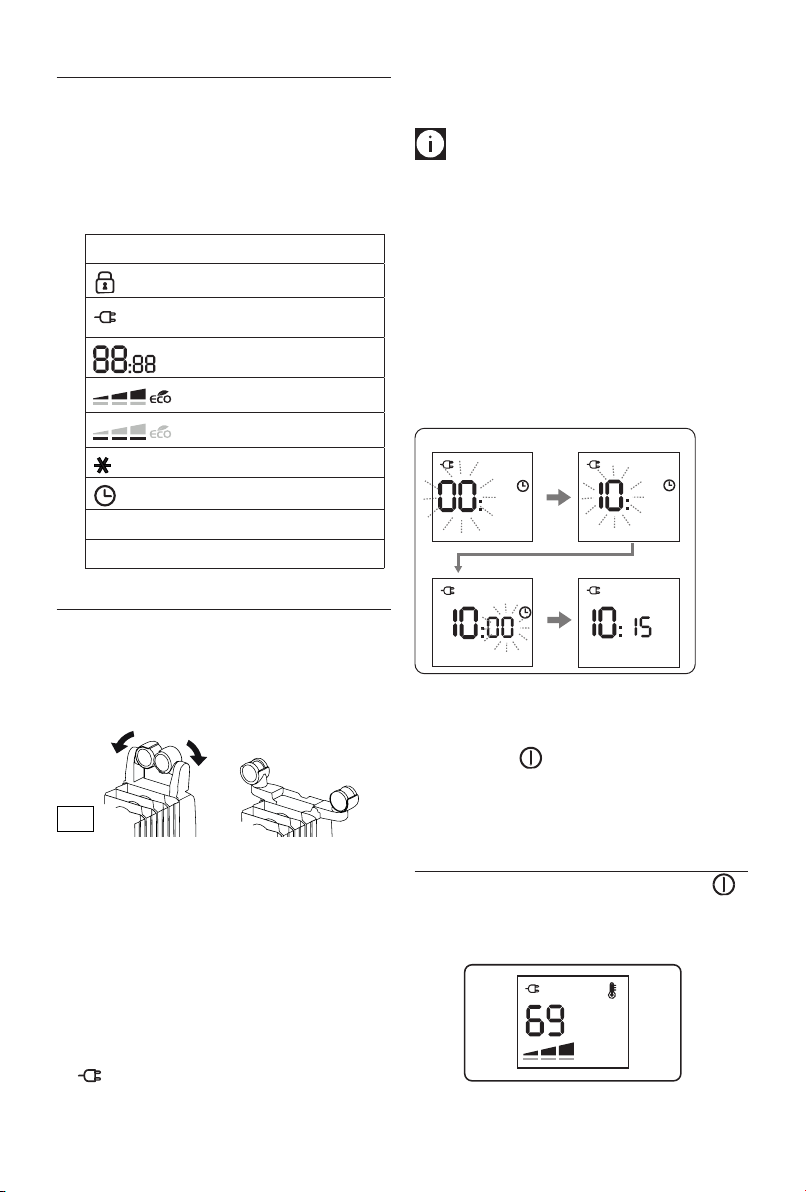
Setting the time
When using for the rst time or after it has been unplugged
for a long time, you need to set the current time.
Please note:
8am is displayed as 0800. 4pm is displayed as 1600. Keep that
in mind when setting clock and timer functions.
This is a 24 hour clock display. Example:
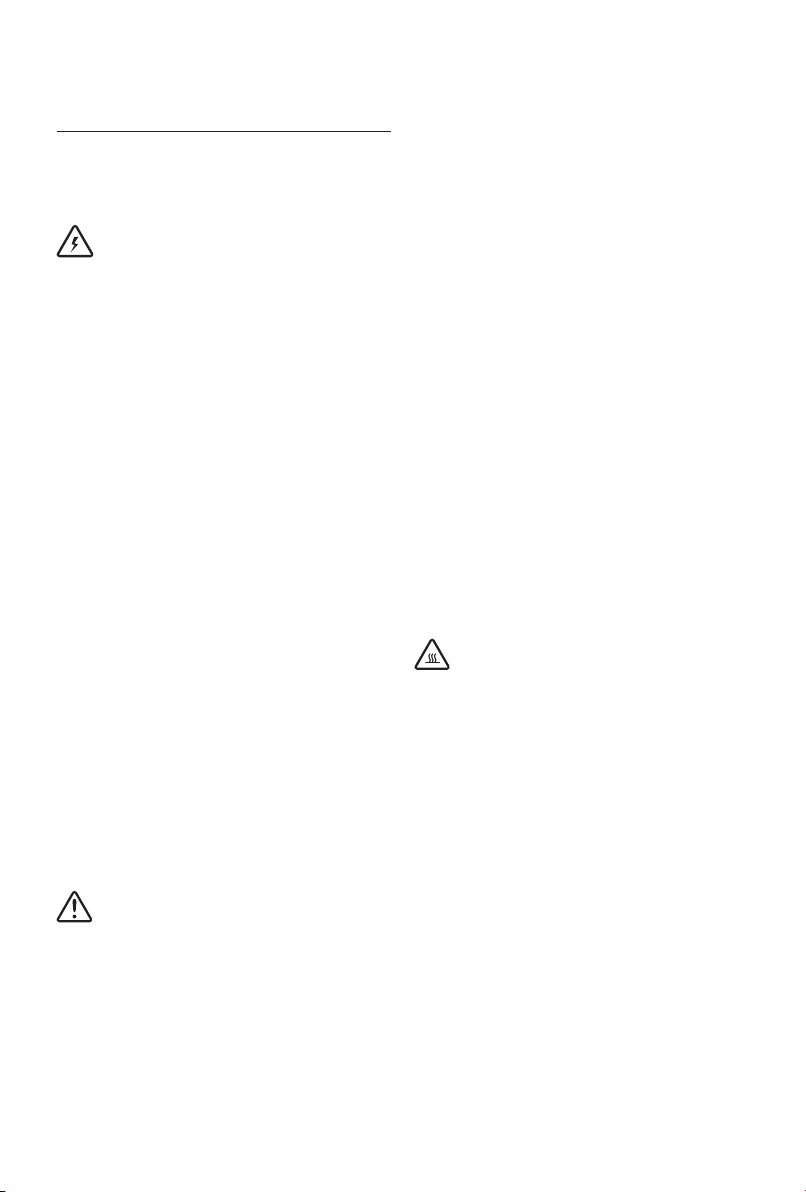
Symbols shown on the unit's display
Key/child lock
power supply
temperature/clock
selected power levels
working power levels
Anti-freeze symbol
timer function
l (green) Temperature 1 (T1) indicator
l (red) Temperature 2 (T2) indicator
FIRST USE
“Easy wheel” system
Turn the radiator upside down on a rug or a soft surface in
order to prevent damaging the paint nish.
Fully unfold the wheels by turning them outwards (Fig. 1).
Turn the radiator back to its upright position.
Fig. 1
1. Plug the appliance into the outlet. The display will show
00 blinking.
2. Turn the control dial to select the current hour.
3. When the correct hour is set, press the dial and the minutes digits will blink.
4. Turn the control dial to set the minutes then press the
dial to conrm and you will hear a beep.
Example of display:
❸
Changing the time
If you need to change the time, turn unit ON by pressing the
POWER ON button . Then, press and hold control dial for
5 seconds. Then, follow instructions 2 through 4 from “setting
the time” section above. After changing the clock, the unit
will remain ON.”
❹
Location
The heater must not be placed immediately below a power
outlet. Do not use this radiator in rooms having a surface area
of less than 43 square feet (4 sq.m.).
Power connection
Before using the appliance check that your supply voltage is
the same of that shown on the rating label of the unit and
that the power socket and power supply line correspond to
the load specied. After plugged in the appliance will show
the symbol in red color.
MANUAL OPERATION MODE
Turn the appliance on pressing the POWER ON button .
The unit will start operating in manual operation mode with
the following default settings:
6

Setting the temperature
min
]
]
❶
❷
❶
❷
Please note:
Fahrenheit. It is not possible to switch to Celsius.
To modify the temperature set point, turn the dial clockwise
to increase and counter clockwise to decrease the temperature.
Temperature settings available are 41°F, and 50°F through
83 °F.
Setting to 41°F turns the unit to anti-freeze function. (see
Anti-freeze function at page 8).
This unit will only show temperature in
Selected power levels versus working power levels
There are 3 power levels (min/med/max) as well as ECO
mode.
med max max + eco
Depending on the selected power level, the working power
level may be less or equal to the selected power level.
The working heating power is always shown by the unit’s display by means of the thin bars below of the selected power
level.
Selected power level
Working power level
Example of display:
Room temperature 64°
Working power level: Max
Room temperature 75° Room temperature 77°
❸
Working power level: Min
Room temperature 71°
Working power level: Med
❹
When the room
temperature is reached
the appliance stops heating
Setting the power level
1. Press twice dial during heating operation.
2. The power level will blink.
3. Choose one of the available power levels by turning the
dial.
4. Press the dial to conrm.
Example of display:
- If the current room temperature is much lower than the
selected temperature, the appliance will start to heat
the room as rapidly as possible at the selected power
level.
- If the current room temperature is close to the selected
temperature, the appliance will heat the room using a
heating power lower than the selected power level.
- When the selected temperature is reached, the unit
stops heating.
Example: Operation is started at room temperature 64 °F, the
set temperature is 77 °F, and the selected power level is MAX.
❸
❹
Eco mode
When the eco mode is activated, the unit will automatically
select the most convenient working power level from Max to
Min, and, if necessary, reduce the set temperature in order to
achieve energy savings while guaranteeing optimum comfort.
7
 Loading...