

De'Longhi GB-5725110100 Owner's Manual
13
- Carefully read this instruction booklet
before installing and operating the
appliance. This is the only way to ensure
the best results and maximum safety for
the user.
- As with any electrical appliance, whilst the
instructions aim to cover as many
eventualities as possible, caution and
common sense should be applied when
operating your fryer, particularly in the
vicinity of young children.
- This appliance has been designed to fry
foods exclusively for household use. It
must not be used for other purposes and
must not be modified or tampered with in
any way.
- Do not turn the appliance on if it is
damaged (e.g. after having been
dropped).
- Before use, check that the power supply
voltage corresponds to the value shown on
the appliance rating plate.
- Only connect the appliance to electrical
sockets with a minimum rating of 10A and
that are properly earthed. (If the socket
and the plug on the appliance are
incompatible, have a professionally
qualified technician replace the socket
with a more suitable one).
- Do not place the appliance near sources
of heat.
- Do not immerse the deep fryer in water.
The infiltration of water may cause electric
shocks.
- During operation the appliance is hot. DO
NOT LEAVE THE APPLIANCE WITHIN THE
REACH OF CHILDREN.
- Hot oil can cause serious burns. Do not
move the deep fryer when the oil is hot.
- To move the appliance, use the special
lifting handles “V”. (Never lift the
appliance using the basket handle).
- The deep fryer must only be switched on
after it has been filled with oil or fat. If it
is heated while empty, a thermal safety
device comes into operation and stops it
from working. In this case, contact our
nearest authorised service centre to
replace the device.
- If the deep fryer leaks oil, contact the
technical service centre or personnel
authorised by the manufacturer.
- Before using the deep fryer for the first
time, carefully clean, using warm water
and dishwashing detergent, the bowl, the
basket and the lid (remove the filters). In
addition, run warm water and
dishwashing detergent through the oil
drain tube, then dry thoroughly.
- The materials and objects likely to come
into contact with foodstuffs conform to EEC
Directive.
- During operation, the oil drain tube
should always be kept closed and stored
in the special compartment.
- When used for the first time, the appliance
may release some smoke. This is normal
and disappears in few minutes. The room
must be ventilated.
- Children and incapable persons must not
use this appliance without careful
supervision.
- Children should not be allowed to play
with this
appliance.
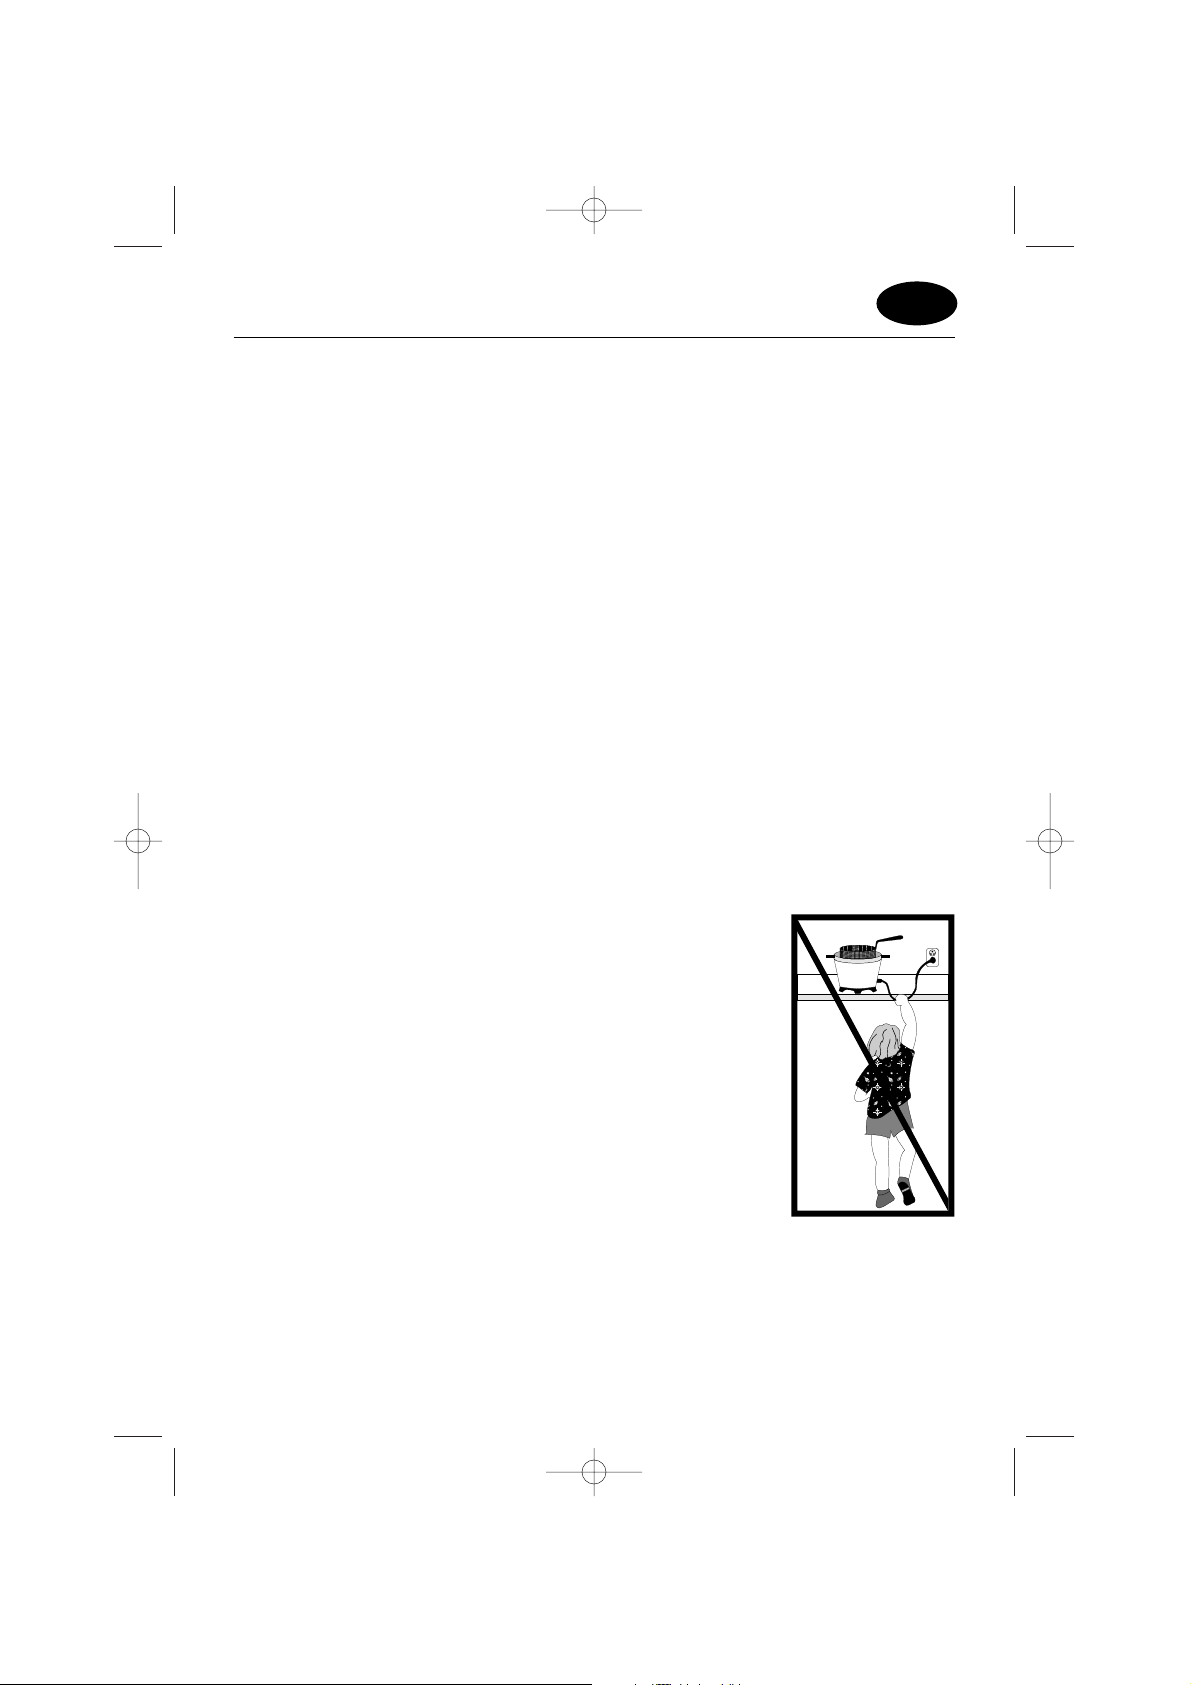
- Do not allow the
cord to hang over
the edge of the
work surface
where it may be
grabbed by
children or
become
entangled with
the user. Do not
use extension
cords.
- If the power cord
needs to be
replaced, only
use a H05VVF cable with three x 1mm
2
wires. The replacement cord must be in
compliance with current safety legislation
and must have the same diameter as the
original.
IMPORTANT
GB
GB 18-02-2003 12:07 Pagina 13

14
A. Basket for metal handle (not for all
models)
B. Metal basket handle (not for all models)
C. Handle “lock” slide (not for all models)
D. Basket for plastic handle (not for all
models)
E. Folding plastic basket handle (not for all
models)
F. Handle slide (not for all models)
G. Filter cover hook
H. Filter cover
I. Lid open handle
L. Lid
M. Hole for checking the filter
N. Minute timer display (not for all models)
O. Minute timer button (not for all models)
P. Hatch for the drain tube compartment
(not for all models)
Q. Oil drain tube (not for all models)
R. Drain tube cap (not for all models)
S. Signal lamp
T. Thermostat and ON/OFF knob
U. Foot
V. Handle for lifting the appliance
Z. Cord winder
DESCRIPTION OF THE APPLIANCE
OPERATING INSTRUCTIONS
• Remove the appliance from the packaging.
• Before use, check that the power supply voltage corresponds to the value shown on the
appliance rating plate.
• Before use, wash the bowl, the lid (remove filters) and the basket in hot water, then carefully
dry the bowl.
•Never switch on the fryer before adding oil or fat. If the fryer is operated without oil or fat,
a thermal safety device stops the operation of the appliance. In this case, contact one of our
authorized service centres before re-using the appliance.
FILLING WITH OIL OR FAT
• Open the lid “L”, lifting it by the handle “I” in the direction of arrow 1, then lift it in the
direction of arrow 2 (see Fig. 1) and remove the accessories.
• Pour 1.3 litres of oil into the container (or 1.2 kg of fat).
WARNING
The level of oil must always be between the maximum and minimum limits indicated on the
bowl.
Do not use the deep fryer when the level of oil is below the “min” mark: the thermal safety
device may trip; to replace it, contact one of our service centres.
For best results, use good quality oil. Avoid mixing different types of oil. If using lumps of solid
fat, cut them into small pieces so that the deep fryer does not heat up in the first few minutes
without a uniform covering of fat. The temperature must be set to 150°C until the fat has melted
completely. The required temperature can then be set.
STARTING FRYING
1. Place the food to be fried in the basket, without overfilling it (max 0.7 kg of fresh potatoes).
For more uniform frying, the food should be concentrated above all around the perimeter of
GB 18-02-2003 12:07 Pagina 14

15
the basket, leaving less food in the centre. Remove the ice from frozen foods (see: frying
frozen foods).
2. Close the lid by pressing it lightly downwards until it “clicks” into place.
3. Set the thermostat knob “T” to the desired temperature (Fig. 2). When the set temperature
has been reached, the signal lamp “S” will switch off,
4. As soon as the signal lamp switches off, lower the basket slowly into the oil
Proceed as follows for models supplied with:
Metal handle basket
- Make sure the handle “lock” slide is in the rear position
- Fit the handle “B” to the basket “A” (Fig. 3) and move the handle “lock” slide as far forwards
as possible (Fig. 4).
- Before lowering the basket into the oil or lifting it, always check that the handle slide is in the
forward position.
- Then close the lid, after having removed the handle from the basket.
Folding plastic basket handle
- Unfold the handle on the basket “E” until it locks into place (pos. 2, Fig. 5).
- Turn the handle on the basket “E” upwards until the handle slide “F” clicks into place (pos.
3, Fig. 6).
- Then close the lid. To lower the handle, move the slide “F” backwards and turn it downwards.
It is normal for drops of condensate to form around the handle of the basket when the
appliance is operating.
• It is completely normal for a significant quantity of hot steam to be released from the filter
cover “H” immediately after this operation.
IN THE MODELS FITTED WITH THE ELECTRONIC MINUTE TIMER
Set the cooking time by pressing the button “O”; the display “N” will show the minutes set.
The figures will begin flashing immediately afterwards, signifying that the cooking time has
started. The last minute will be displayed in seconds.
In the event of errors, a new cooking time can be set by keeping the button pressed for more
than 2 seconds. The display will be reset; then repeat the process again.
The minute timer will indicate the end of the cooking time by two series of beeps at an interval
of around 20 seconds.
To switch off the audible signal, press the minute timer button “O”.
WARNING: the minute timer does not switch the appliance off.
Replacing the minute timer batteries
• Remove the minute timer from its compartment (Fig. 7).
•Turn the battery cover (Fig. 8) anticlockwise until it is released.
• Replace the battery with another of the same type.
• Reassemble the minute timer.
If the appliance is to be replaced or thrown away, the battery must be removed and disposed
of in accordance with the current laws, as it represents an environmental hazard.
AFTER FRYING
When the set cooking time has elapsed, lift the basket and check that the food has been cooked
to the desired colour. For the models supplied with a metal handle, fit the handle to the basket
(Fig. 3) and move the handle “lock” slide “C” forwards.
If the food is completely cooked, turn the appliance off by moving the thermostat knob to “OFF”,
GB 18-02-2003 12:07 Pagina 15
 Loading...