

De'Longhi GB-5718117400 Owner's Manual
16
CONTENTS
CHAPTER 1 GENERAL
1.1 Description of the oven and the accessories . . . . . . . . . . . . . . . . . . . . . . . . . . . . . .17
1.2 Summary of operation . . . . . . . . . . . . . . . . . . . . . . . . . . . . . . . . . . . . . . . . . . . . .18
1.3 Specifications . . . . . . . . . . . . . . . . . . . . . . . . . . . . . . . . . . . . . . . . . . . . . . . . . . .20
1.4 Warnings . . . . . . . . . . . . . . . . . . . . . . . . . . . . . . . . . . . . . . . . . . . . . . . . . . . . . .20
CHAPTER 2 USE OF THE OVEN AND REFERENCE COOKING TIMES
2.1 Use of the controls . . . . . . . . . . . . . . . . . . . . . . . . . . . . . . . . . . . . . . . . . . . . . . . .22
2.2 Tips on use . . . . . . . . . . . . . . . . . . . . . . . . . . . . . . . . . . . . . . . . . . . . . . . . . . . . .23
2.3 How to set the functions . . . . . . . . . . . . . . . . . . . . . . . . . . . . . . . . . . . . . . . . . . . .23
• Defrosting . . . . . . . . . . . . . . . . . . . . . . . . . . . . . . . . . . . . . . . . . . . . . . . . . . . .23
• Keeping food warm . . . . . . . . . . . . . . . . . . . . . . . . . . . . . . . . . . . . . . . . . . . . .23
• Convection oven cooking . . . . . . . . . . . . . . . . . . . . . . . . . . . . . . . . . . . . . . . . .24
• Traditional oven cooking . . . . . . . . . . . . . . . . . . . . . . . . . . . . . . . . . . . . . . . . .25
• Grilling and cooking au gratin . . . . . . . . . . . . . . . . . . . . . . . . . . . . . . . . . . . . .26
• Grilling with the turnspit (if fitted) . . . . . . . . . . . . . . . . . . . . . . . . . . . . . . . . . . .28
CHAPTER 3 CLEANING AND MAINTENANCE . . . . . . . . . . . . . . . . . . . . . . . . . . . . . . . . . . . .29
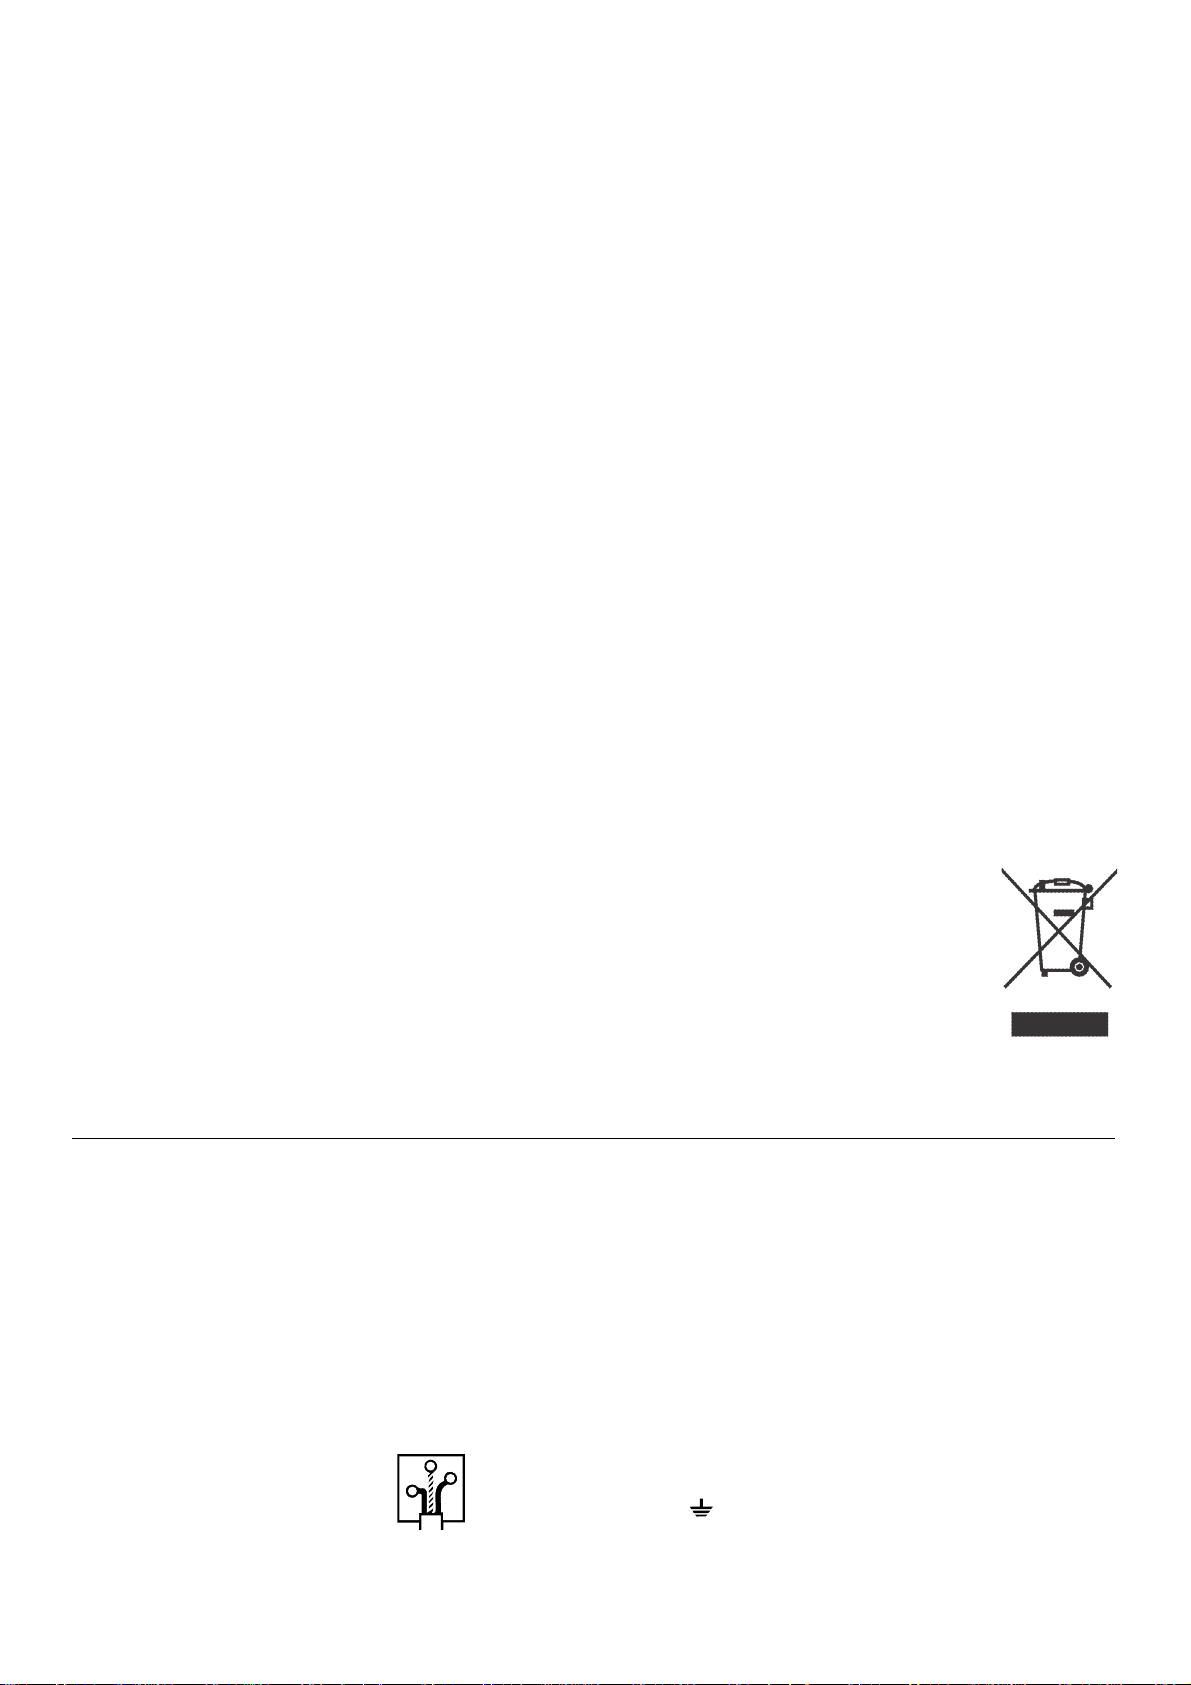
Important information for correct disposal of the product in accordance with EC Directive 2002/96/EC.
At the end of its working life, the product must not be disposed of as urban waste. It must be taken
to a special local authority differentiated waste collection centre or to a dealer providing this service. Disposing of a household appliance separately avoids possible negative consequences for
the environment and health deriving from inappropriate disposal and enables the constituent
materials to be recovered to obtain significant savings in energy and resources.As a reminder
of the need to dispose of household appliances separately, the product is marked with a crossed-out wheeled dustbin.
A) If your appliance comes fitted with a plug, it will incor-
porate a 13 Amp fuse. If it does not fit your socket, the
plug should be cut off from the mains lead, and an
appropriate plug fitted, as below.
WARNING: Very carefully dispose of the cut off plug
after removing the fuse: do not insert in a 13 Amp
socket elsewhere in the house as this could cause a
shock hazard.
With alternative plugs not incorporating a fuse, the
circuit must be protected by a 15 Amp fuse.
If the plug is a moulded-on type, the fuse cover must
be re-fitted when changing the fuse using a 13 Amp
Asta approved fuse to BS 1362. In the event of losing
the fuse cover, the plug must NOT be used until a
replacement fuse cover can be obtained from your
nearest electrical dealer. The colour of the correct
replacement fuse cover is that as marked on the base
of the plug.
B) If your appliance is not fitted with a plug, please fol-
low the instructions provided below:
WARNING - THIS APPLIANCE MUST BE EARTHED
IMPORTANT
The wires in the mains lead are coloured in accordance
with the following code:
Green and yellow: Earth
Blue: Neutral
Brown: Live
As the colours of the wires in the mains lead may not
correspond with the coloured markings identifying the terminals in your plug, proceed as follows:
The green and yellow wire must be connected to the terminal in the plug marked with the letter E or the earth
symbol or coloured green or green and yellow.
The blue wire must be connected to the terminal marked
with the letter N or coloured black.
The brown wire must be connected to the terminal
marked with the letter L or coloured red.
N
E
L
ELECTRICAL CONNECTION (UK ONLY)
17
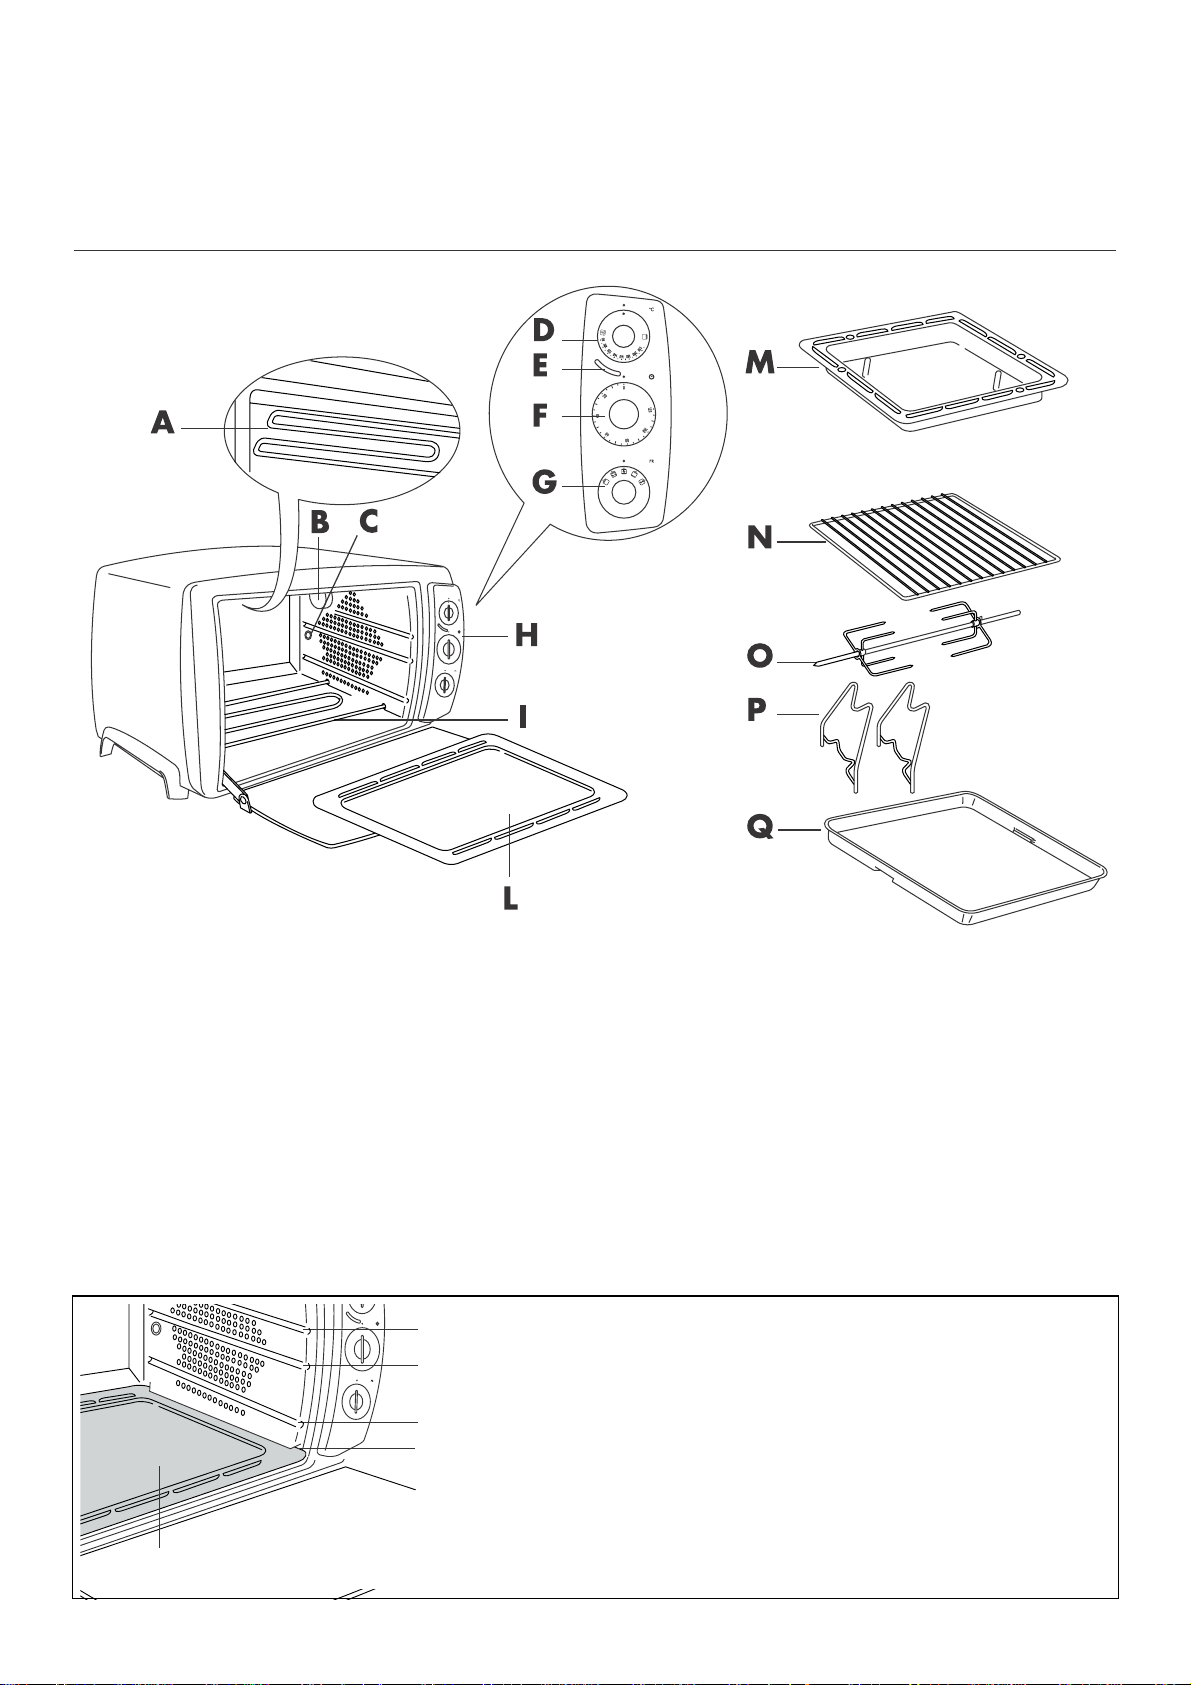
A Top heating element
B Oven light
C Turnspit mount (if fitted)
D Thermostat knob
E Thermostat pilot light
F On/off and timer knob
G Function selector knob
H Control panel
1.1 - DESCRIPTION OF THE OVEN AND THE ACCESSORIES
CHAPTER 1 – GENERAL
I Bottom heating element
L Crumb tray
M Dripping pan
N Wire rack
O Spit (if supplied)
P Spit supports (if supplied)
Q Lasagne pan (if supplied)
Guide 1
Guide 2
Guide 3
Guide for crumb tray only
To ensure the correct operation of the appliance and achieve
excellent results when cooking, ALWAYS place the crumb tray (L)
in position at the bottom of the oven.
CRUMB TRAY (L)
18
Chapter 1 - General
1.2 - SUMMARY OF OPERATION
FUNCTION THERMOSTAT POSITION
PROGRAM SELECTOR KNOB OF WIRE RACK NOTES/TIPS
KNOB SETTING AND ACCESSORIES
SETTING
DEFROSTING
•
Place the food being
defrosted directly onto
the wire rack. The dripping pan is used to collect any drops of fat and
water.
KEEPING FOOD
WARM
60° If the food needs to
be kept warm for longer
than 20-30 minutes, it
should be covered with
tinfoil, to prevent it from
becoming too dry.
CONVECTION
OVEN COOKING
(ONE LEVEL)
Ideal for cooking meat,
poultry, roast potatoes,
bread and leavened
cakes. Use the dripping
pan, sliding it directly
into the guides, or the
lasagne pan, if supplied, resting it on the
wire rack.
80°-230°
(see table on
page 24)
CONVECTION
OVEN COOKING
(TWO LEVELS)
For simultaneous cooking
on two levels, position the
accessories as shown in
the figure to the side.
Ideal for cooking foods
that need to be
turned/stirred during
cooking.
GUIDES
or alternatively
1
2
3
1
2
3
1
2
3
1
2
3
1
2
3
19
Chapter 1 – General
TRADITIONAL
OVEN COOKING
80°-230°
(see table on
page 25)
Ideal for cooking pizza,
lasagne, pasta au gratin,
fish and stuffed vegetables (capsicums, courgettes, etc.). Use the
dripping pan, sliding it
directly into the guides,
or the lasagne pan, if
supplied, resting it on the
wire rack.
GRILLING AND
COOKING AU
GRATIN
Ideal for all types of traditional grill; hamburgers, frankfurters, kebabs,
toast, etc. Place the food
directly on the wire rack.
The dripping pan is used
to collect any drops of
fat.
Ideal for dishes that need
to be cooked au gratin
(e.g. coquilles SaintJacques, etc.). In this
case, the container (with
the food inside) should
be placed on the wire
rack.
Ideal for cooking chickens, fowl in general,
roast pork, etc. A glass
of water can be poured
into the dripping pan to
make cleaning easier
and prevent smoke being
produced by the burning
fat.
GRILLING WITH
THE TURNSPIT
(IF FITTED)
FUNCTION THERMOSTAT POSITION
PROGRAM SELECTOR KNOB OF WIRE RACK NOTES/TIPS
KNOB SETTING AND ACCESSORIES
SETTING
GUIDES
1
2
3
1
2
3
1
2
3
1
2
3
1
2
3
or alternatively

20
1.3 - SPECIFICATIONS
Operating voltage . . . . . . . . . . . . . . . . . . . . . . . . . . . . . . . . . . . . . . . . . . .see rating label
Maximum power absorbed . . . . . . . . . . . . . . . . . . . . . . . . . . . . . . . . . . . .see rating label
POWER CONSUMPTION (CENELEC STANDARD HD 376)
To reach 200°C . . . . . . . . . . . . . . . . . . . . . . . . . . . . . . . . . . . . . . . . . . . . .0,3 KWh
To maintain 200°C for one hour . . . . . . . . . . . . . . . . . . . . . . . . . . . . . . . . .0,8 KWh
Total . . . . . . . . . . . . . . . . . . . . . . . . . . . . . . . . . . . . . . . . . . . . . . . . . . . . .1,1 KWh
This appliance conforms to EC directive 2004/108/EC on Electromagnetic Compatibility and EC regulation
no. 1935/2004 of 27/10/2004 on materials intended for contact with food.
1.4 - WARNINGS
• Read all the instructions carefully before using the appliance.
• This oven has been designed to cook food. It must never be used for other purposes, modified or tampered with in any way.
• Place the appliance on a horizontal surface at a height of at least 85 cm and out of reach of children.
• Wash all accessories thoroughly before use.
•
Before plugging into the mains, make sure that:
- the mains voltage corresponds to the voltage indicated on the rating plate;
- the mains socket has a minimum rating of 16A and an earth wire.
The manufacturer declines all liability in the event that this important accident-prevention rule is not
respected.
• Before using the oven for the first time, remove any paper and other material inside the oven such as
protective cardboard, booklets, plastic bags, etc.
• Before using for the first time, operate the oven empty with the thermostat at maximum for at least 15
minutes to eliminate the "new" smell and any smoke caused by the presence of protective substances
applied to the elements before transport.
During this operation, ventilate the room.
• IMPORTANT: when you have unpacked the appliance, make sure the door is undamaged and working
correctly. The door is made from glass and is therefore fragile. If it is visibly chipped, scored or
scratched, it should be replaced. While using, cleaning or moving the appliance, avoid slamming or
knocking the door violently. Do not pour cold liquid onto the glass while the appliance is hot.
•
When in operation, the door and accessible external surfaces could become very hot. Always use the
knobs, handles and buttons. Never touch metal parts or the glass. Use oven gloves if necessary.
• This electrical appliance operates at high temperatures which could cause burns.
• Accessible parts may become hot during use. Young children should be kept away.
• The appliance is not intended for use by persons (including children) with reduced physical,
sensory or mental capabilities, or lack of experience and knowledge, unless they have been given supervision or instruction concerning use of the appliance by a person responsible for their safety. Children
should be supervised to ensure that they do not play with the appliance.
• Do not move the appliance while in use.
• Do not use the appliance if…
- the power cable is faulty,
- the appliance has been dropped, is visibly damaged or malfunctions.
Chapter 1 - General
 Loading...