

Page 1
8
Read this manual thoroughly before installing
and using the appliance. This is the only way to
ensure the best results and maximum safety for
the user.
DESCRIPTION
(see figure on page 3).
The terminology below will be used repeatedly on
the following pages.
A. Water level indicator (inside tank)
B. Filter holder for drip coffee
C. "ON/AUTO/OFF" button with light
D. Display
E. "SET TIMER" button
F. "SET CLOCK" button
G. "FRESHNESS" lights (certain models only)
H. "AROMA" button with light
I. Plate (hot, in models with glass jug)
J. Permanent filter (certain models only)
K. Measure
L.. Jug (glass or thermal depending on model)
M. Chlorine filter (certain models only)
SAFETY WARNINGS
• This machine has been manufactured to “make
coffee” and "heat drinks". Use with care to
avoid scalds from the water and steam jets or
through incorrect use.
•Avoid touching hot parts (coffee run-off area
in contact with the filter holder and hot plate).
• After removing the packaging, make sure the
product is complete. If in doubt, do not use the
appliance and contact a qualified professional.
• This appliance is intended for domestic use
only. Any other use is considered improper
and thus dangerous.
• The manufacturer cannot be held responsible
for any damage caused through incorrect,
wrong or unreasonable use.
• Never touch the appliance with wet or damp
hands or feet.
• Do not allow the appliance to be used by persons (including children) with psychological,
physical or sensory impairments or with inadequate experience or knowledge, unless closely supervised and instructed by someone
responsible for their safety. Children must be
supervised to ensure they do not play with the
appliance.
• Should the appliance break or not function
correctly, turn it off and do not tamper with it.
If it requires repair, contact an authorised service centre only and ask for original spare
parts to be used.
Failure to respect the above could reduce the
safety of the appliance.
• If the power cable is damaged, it must be
replaced by the manufacturer or an authorised
service centre to avoid all risk.
• Unplug the appliance and turn off the main
switch when not in use.
Do not leave the appliance switched on unnecessarily.
•Never immerse the appliance in water.
• Materials and accessories coming into contact
with food conform to EEC regulation No.
1935/2004.
ENGLISH
ELECTRICAL CONNECTION (UK ONLY)
A) If your appliance comes fitted with a plug, it will incorporate a 13
Amp fuse. If it does not fit your socket, the plug should be cut off from
the mains lead, and an appropriate plug fitted, as below.
WARNING: Very carefully dispose of the cut off plug after removing
the fuse: do not insert in a 13 Amp socket elsewhere in the house as
this could cause a shock hazard.
With alternative plugs not incorporating a fuse, the circuit must be
protected by a 15 Amp fuse.
If the plug is a moulded-on type, the fuse cover must be re-fitted when
changing the fuse using a 13 Amp Asta approved fuse to BS 1362. In
the event of losing the fuse cover, the plug must NOT be used until a
replacement fuse cover can be obtained from your nearest electrical
dealer. The colour of the correct replacement fuse cover is that as
marked on the base of the plug.
B) If your appliance is not fitted with a plug, please follow the instructions
provided below:
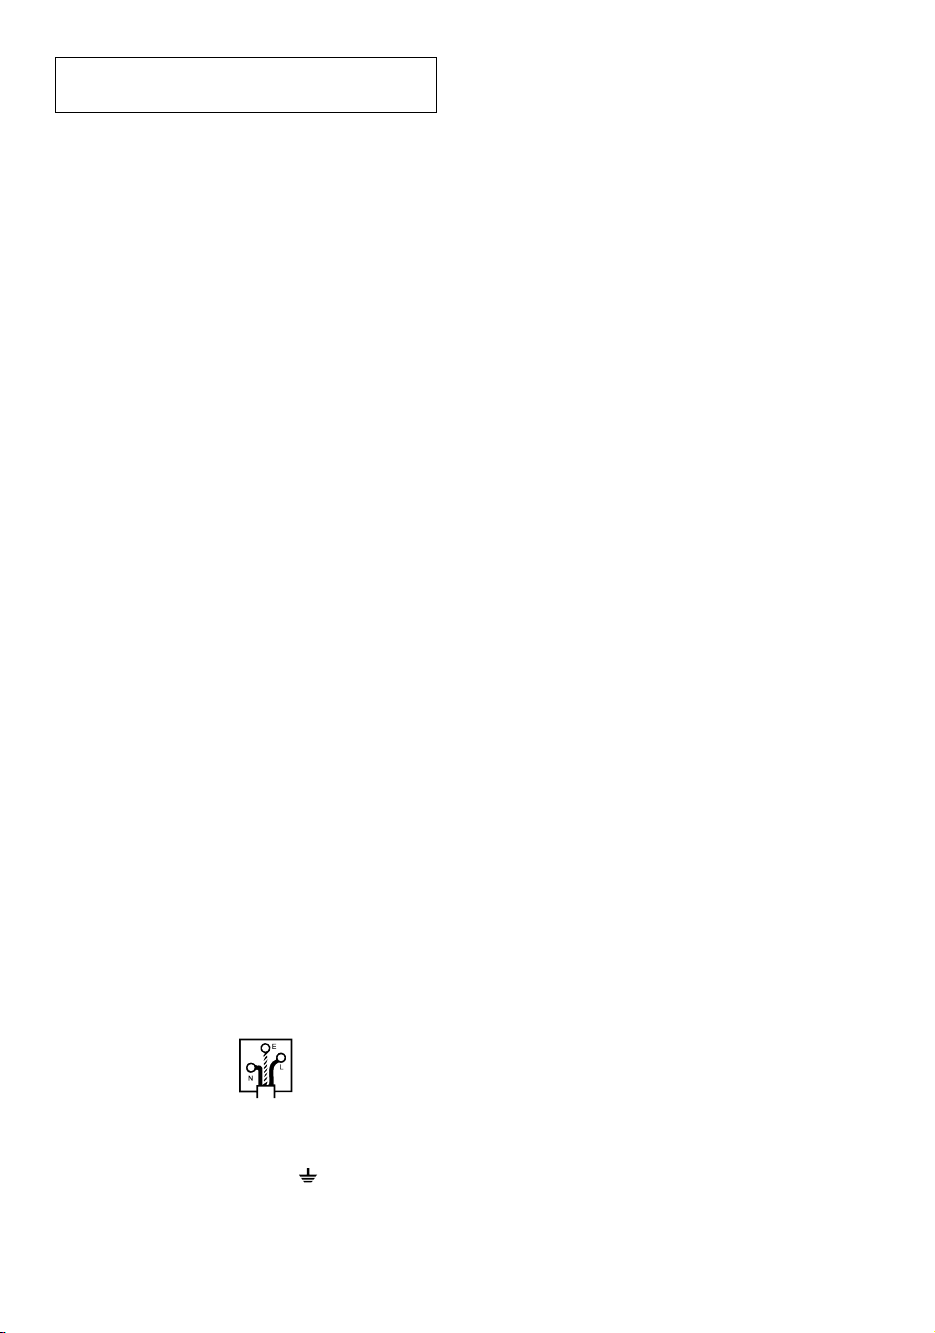
WARNING - THIS APPLIANCE MUST BE EARTHED
IMPORTANT
The wires in the mains lead are coloured in accordance with the following
code:
Green and yellow: Earth
Blue: Neutral
Brown: Live
As the colours of the wires in the mains lead may not correspond with the
coloured markings identifying the terminals in your plug, proceed as follows:
The green and yellow wire must be connected to the terminal in the plug
marked with the letter E or the earth symbol or coloured green or
green and yellow.
The blue wire must be connected to the terminal marked with the letter N or
coloured black.
The brown wire must be connected to the terminal marked with the letter L
or coloured red.
Page 2
INSTALLATION
• After removing the packaging, make sure the product is complete.
• If in doubt, do not use the appliance and contact a
qualified professional.
• The packing elements (plastic bags, polystyrene
foam, etc.) should be kept out of reach of children
as they are a safety hazard.
• Place the appliance on a work surface far away
from water taps, basins and sources of heat.
• After positioning the appliance on the work top,
leave a space of at least 5 cm between the surfaces
of the appliance and the side and rear walls and at
least 20 cm above the coffee maker.
• Never install the appliance in environments where
the temperature may reach 0°C or lower (the
appliance may be damaged if the water freezes).
• Make sure the mains voltage corresponds to the
voltage indicated on the appliance rating plate.
Connect the appliance to an efficiently earthed
socket with a minimum current rating of 10A only.
The manufacturer may not be considered liable for
possible incidents caused by the failure to adequately earth the mains.
• If the power socket does not match the plug on the
appliance, have the socket replaced with a suitable
type by a qualified professional.
• The power cable on this appliance must not be
replaced by the user as this operation requires the
use of special tools.
If the cable is damaged or requires replacing, contact an authorised service centre only to avoid all
risks.
CHLORINE FILTER (certain models only)
The filter eliminates the taste of chlorine from the
water. To install, proceed as follows:
• Remove the chlorine filter from the plastic bag and
rinse in tap water.
• Lift the lid and remove the filter holder from its hou-
sing by lifting it upwards (fig. 1).
• Open the filter holder and carefully position the fil-
ter as shown in Fig. 2.
• Close the filter holder and replace in its housing.
Press down as far as it will go.
• The chlorine filter must be replaced every 80
cycles and always after six months of operation.
PROGRAMMING THE CLOCK (FIG. 3)
Plug the appliance into the mains socket. The first
time it comes on, "AM 0:00" appears on the
display.
To set the precise time, press the "SET CLOCK" button repeatedly. This can be done rapidly by simply
holding the button down.
The time can be set at any moment.
HOW TO PREPARE DRIP COFFEE
IMPORTANT: the first time the appliance is used,
all accessories and the internal circuits must be
washed through as follows:
Make at least two jugs of coffee without using
ground coffee (following the instructions in the section How To Prepare Drip Coffee).
• Lift the lid and use the jug to fill the tank with
fresh, clean water up to the level corresponding to the number of cups of coffee required
(fig. 4).
• Position the permanent filter (if present) in the
filter holder (fig. 5). In versions without permanent filter, use the #4 paper filter.
• Place the ground coffee in the filter, using the
measuring spoon supplied, and level evenly
(fig. 6).
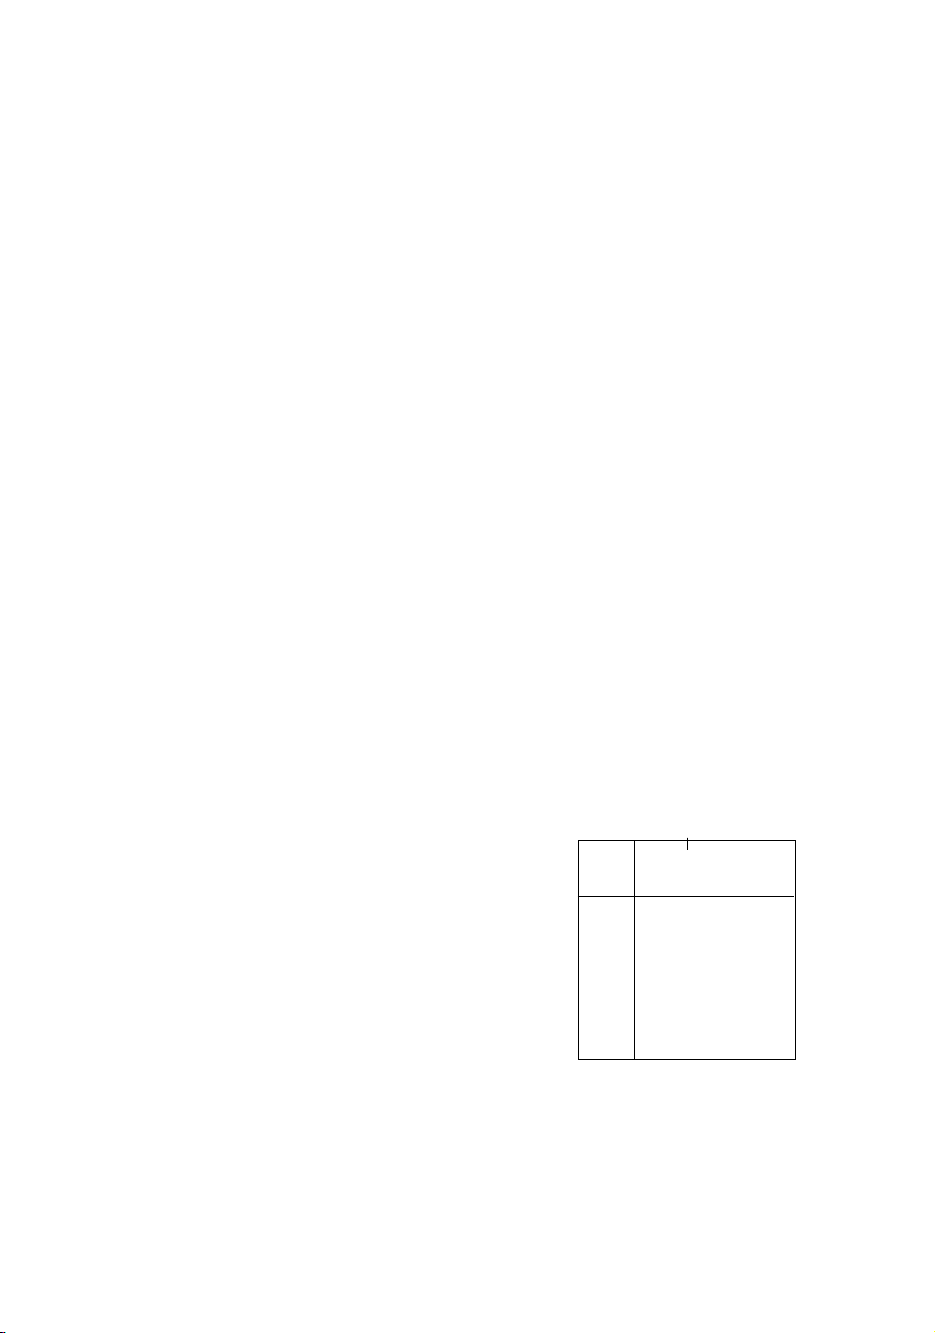
See the table below for recommended quantities.
Use good quality, medium-ground coffee for
drip coffee makers.
*1 measure = about 7 g
Increase or reduce the quantity of coffee
according to taste.
The type of coffee greatly influences preparation.
You should therefore try various types of coffee to identify the one best suited to your
taste.
9
Tab. 1: Recommended quantities
N°
CUPS
N° MEASURES*
12 12
10 10
88
66
Page 3

• Models with glass jug: close the lid and place
the jug on the plate with the lid on (fig. 7).
Models with thermal jug: before placing the
jug on the plate, make sure the lid is closed
(with the lever aligned with the jug handle) (fig.
8).
• The taste of the coffee can be optimised by
pressing the AROMA button. This function activates a process of percolation which releases
the water in the filter at intervals of 30 seconds.
Filtering a little at a time improves the flavour
and aroma of the coffee.
To activate the function, press the AROMA button. The light on the button comes on.
To deactivate the function, press the button
again.
You are recommended to use the AROMA button when you do not want to make a full jug of
coffee.
•Press the "ON/AUTO/OFF" button (fig. 9).
The light on the button comes on to indicate
that the drip coffee maker is operating and
"BREW" appears on the display.
• Coffee will start to run off after a few seconds.
It is completely normal for the appliance to
give off steam while the coffee is percolating.
• The end of percolation is indicated by a beep.
•In models with the AUTO function incorporated
in the ON/OFF button, press the button twice.
The light on the button comes on to indicate that
the drip coffee maker is operating and "AUTO"
is displayed (fig. 10).
• Certain models have "FRESHNESS" LEDs indicating the time elapsed since the coffee was prepared. These LEDs come on one every 15 minutes. Two hours after coffee preparation, the
appliance goes off.
• In models with glass jug, if you leave the
ON/OFF button pressed after percolation has
finished, the plate will keep the coffee at the
ideal temperature.
• Models with thermal jug: to pour the coffee,
turn the lid to the position shown in fig. 11.
To remove the lid completely, turn the lid to the
position shown in fig. 12.
Important: removing the jug before all the coffee requested has been made does not interrupt production of the coffee, but merely
blocks run off into the jug. If you want to pour
a little coffee immediately, you are recommended to do so as rapidly as possible in order to
avoid the coffee overflowing.
PROGRAMMING START-UP (AUTO)
Check that the time of day is set correctly.
To programme when you want the coffee to be
made:
•Press the "SET TIMER" button and hold it down
until the start-up time is reached.
• Then release the "SET TIMER" button. The time
flashes briefly.
ACTIVATING THE TIMER FUNCTION
After:
- setting the time you want the appliance to
come on and go off as described in the above
paragraph;
- preparing the appliance to make coffee. Press
the ON/AUTO/OFF button (fig. 10) rapidly
twice. The light on the button shows that the
appliance is operating and AUTO appears on
the display.
Coffee starts to run off several minutes later than
the set time to allow for preheating of the machine,
thus optimising the temperature of the coffee.
CLEANING AND MAINTENANCE
Before maintenance or cleaning of the appliance,
turn off, unplug from the mains socket and allow to
cool.
1. Do not use solvents or abrasive detergents to
clean the coffee maker. A soft damp cloth will
suffice.
2. Never immerse the coffee maker in water. It is
an electrical appliance.
10
Page 4

11
DESCALING (certain models only)
If the water in your area is hard, limescale builds
up over time.
These deposits may affect correct operation of the
appliance.
When the ON/AUTO/OFF button flashes, you
can descale the appliance using commercially
available descalers specifically for drip coffee
machines.
Descale the appliance using commercially available descalers specifically for drip coffee machines.
If such a product is not available, proceed as follows:
1. Pour four cups of water into the jug;
2. Dissolve 2 spoonfuls (about 30 grams) of citric
acid (obtainable from chemist's or drug stores)
in the jug, then pour the descaler solution into
the water tank;
3. Place the jug on the warming plate;
4. Press the drip coffee ON/OFF button and run
off the equivalent of one cup, then turn the
appliance off;
5. Leave the solution to work for 15 minutes.
Repeat operations 4 and 5 again.
6. Turn the appliance on and run off the water
until the tank is completely empty.
7. Rinse by operating the appliance with water
only at least three times (three complete tanks
of water).
8. After completing descaling, press the "SET
TIMER" and "SET CLOCK" buttons together.
Failure to clean as described above invalidates the
guarantee.
You are recommended to descale the coffee
machine about every 300 coffees.
Important information for correct disposal of the product in accordance with EC Directive 2002/96/EC.
At the end of its working life, the product must
not be disposed of as urban waste. It must be
taken to a special local authority differentiated
waste collection centre or to a dealer providing
this service. Disposing of a household applian-
ce separately avoids possible negative consequences for the environment and health deriving from
inappropriate disposal and enables the constituent materials to be recovered to obtain significant savings in
energy and resources.As a reminder of the need to
dispose of household appliances separately, the product
is marked with a crossed-out wheeled dustbin.
Problem
Probable cause
Solution
The drip coffee takes longer
to percolate
The drip coffee machine needs to
be descaled
Descale as described in the paragraph
"Descaling".
The coffee tastes of vinegar
Inadequate rinsing.
Rinse the appliance as described in the
section "Descaling
TROUBLESHOOTING
 Loading...