

Page 1
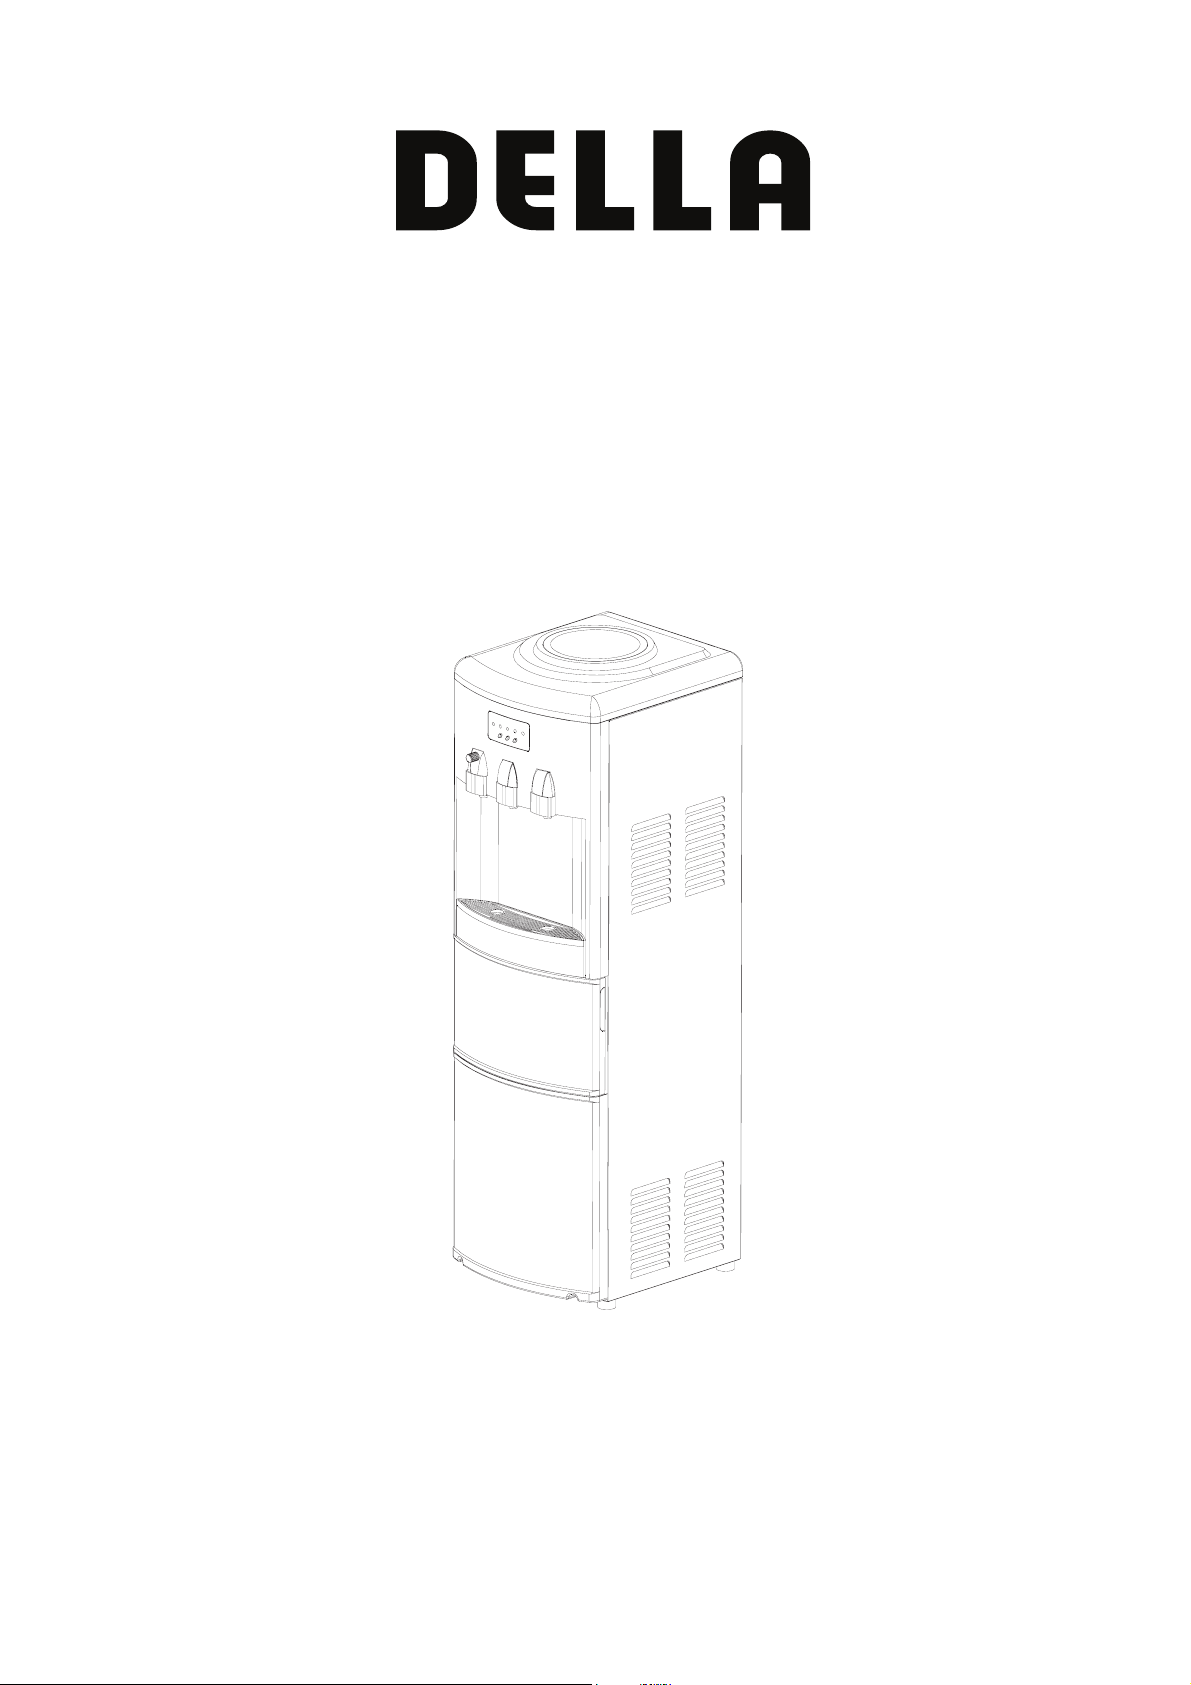
USER MANUAL
WATER DISPENSER WITH ICE MAKER
Model:048-GM-48200
Please read this owner’s manual carefully before operating the unit.
Page 2

TABLE OF CONTENTS
INTRODUCTIONS………………………………………………………...…3
IMPORTANT SAFETY INSTRUCTIONS……………………….……….…3
GETTING TO KNOW YOUR UNIT.................................................................55
Unit outline…………………………………………………….……………..5
Operation panel………………………………………………………………6
Main function………………………………………………………………...6
ST ART TO OPERA TE THE UNIT……………………………………….…6
Unpack the unit………………………………………………………………6
Clean your unit before first using……………………………………………7
Prepare for use……………………………………………………………….7
Operate the unit………………………………………………………………8
ELECTRICAL DIAGRAM………………………………………………….10
CCLLEEAANN YYOOUURR UUNNIITT DDUURRIINNGG RREEGGUULLAARR UUSSIINNG
TTRROOUUBBLLEE SSHHOOOOTTIINNGG GGUUIIDDE
E………….……………………………….12
G….…………………..10
PPRROODDUUCCTT SSPPEECCIIFFIICCAATTIIOONN……………………………………………………………………………………....……114
4
2
Page 3

INTRODUCTIONS
Thank you for purchasing our ICE MARKER WITH WATER DISPENSER with multi-function.
This unit is designed to improve your living and entertaining comfort. Not only you can enjoy
ICE making function, also you can enjoy the cool and hot water drink. With its whisper quiet
operation and attractive design, you will enjoy its convenience and comfort for years to come.
Please read these instructions carefully before operating this appliance. When using this
appliance, always exercise basic safety precautions.
This easy-to-use manual will guide you to getting the best use of the unit.
Please complete the following information for future reference. You will need it to obtain
warranty service.
Model No.: _____________________________________________ ______
Serial Number *: _____________________________________________
Date of Purchase: _____________________________________ ________
Place of Purchase: ____________________________________________
IMPORTANT SAFETY INSTRUCTIONS
When using electrical appliances, basic safety precautions should be followed to reduce the risk of
fire, electric shock, and injury to persons or property.
Read all instructions before using any appliance.
z Do not operate this,or any other appliance with a damaged cord.
Connect to properly polarized outlets only. No other appliance should be plugged into the
same outlet. Be sure that the plug is fully inserted into the receptacle.
z Do not run the power cord over carpeting or other heat insulato rs. Do not cover the cord.
Keep cord away from traffic areas, and do not submerge in water.
z We do not recommend the use of an extensi on cord, as it may overheat an d become a risk of
fire. If you must use an extension cord, use No.14 AWG minimum size and rated no less than
1875 watts.
z If the unit is brought in from outside in wintertime, give it a few hours to warm up to room
temperature before plugging it in.
Do not let hot water touch bare skin. Exercise caution and use reasonable supervision
z
when appliance is used near children.
z Do not use your unit outdoors.
Locate the unit at a even or flat surface, to avoid a hazard due to instability of the appliance.
3
Page 4

z And place the unit away from direct sunlight and make sure that there is at least 2 inches of
space between the back of your unit and wall. Keep a minimum distance of 4 inches on each
side of your unit free.
z Do not tip over the unit.
z Do not use other liquid to make the ice-cube or dispense the cold drink other than water.
z Always turn off the unit and unplug when there is no water left in the bottle or when yo u are
changing the bottle. Turn it back on after a new bottle has been placed and the air is purged
from water taps.
z Unplug the unit before cleaning or making any repairs or servicing.
z Do not clean the unit with flammable fluids. The fumes can create a fire hazard or explosion.
z Disconnect the mains plug from the supply the supply socket when not in use or you go to
have the travel for the holiday, where supply connection is via mains plug.
WARNING: This appliance must be earthed.
IMPORTANT:
The wires in this mains lead are colored in accordance with the following code:
Green or Green with a strip yellow: Grounding
White: Neutral
Black: Live
WARNING: fill with potable water only.
4
Page 5
GETTING TO KNOW YOUR UNIT
Unit Outline
Smart Device for
Water Bottle
Top Cover
Operation Panel
Hot Water Faucet
Room Temp Water Faucet
Cold Water Faucet
Drip Water Tray
Ice Getting
Entrance Door
Ice Getting
Entrance
Door (opened)
Ice-making Box
Ice and water
separator
Ice Storing Plate
(Can be taken out
for cleaning.)
Hot Water Faucet with
Children Safty Guard
Handle
Power Cord
Drain cap for
hot tank
Drain cap for
Ice dispenser
Compressor,condenser,
and fan motor inside.
Locate on the base
board.
1
2
Operation :
Step 1: Turn the shaft of children
safty guard counter-clockwisely.
Step 2: Push the turned shaft
inside towards.
5
Page 6

Operation panel
Hot Water Indicator
Power Indicator
Hot Water Button
Cold Water Indicator
POWER
Cold Water Button
HOT
Main function
● Hot Water
● Cold Water only
● Ice-making only
● Cold water and ice-making at same time
COLD
ICE
WARN
Ice-maker Button
Ice-Maker Indicator
Warning Indicator
START TO OPERATE YOUR UNIT
UNPACKING THE UNIT
z Removing the package, do not turn the unit upside down, or lay it on its side.
a. Remove the strapping
b. Open the cartoon box.
c. Remove the Styrofoam packing from the box.
d. Pull the unit straight up from the box.
e. Remove the plastic bag.
The refrigeration compressor has very sensitive mounts
inside of its welded shell in order to provide quiet running.
Improper handling may damage the compressor.
z Wipe it clean if necessary.
z Place the unit on the hard and flat ground. Pay attention
to put it evenly and moderately. The location should be far
away from direct sunlight and other source of heat.
z Please locate the unit at the place which have the good air
circulation condition. And make sure that there are at least
2 inches between the back of unit and the wall.
Keep a minimum distance of 4 inches on each side of the unit
And far away from high temperature surrounding and prevent
6
Page 7

it from being exposed in the sunlight.
● The appliance must be positioned so that the plug is accessible.
z Fasten the drain cap tightly at the back of the unit before start to run the unit. Because during
the shipping process, it maybe has loosed. When you not fasten it again, it will cause the
water leakage and make your floor wet.
z Do not plug the power cord into the power socket yet! Read the instructions first.
This unit is for indoor use only.
Room temperature should not exceed 97F/36C
CLEAN YOUR UNIT BEFORE FIRST USING
Before using your unit, it is strongly recommended to clean it thoroughly.
1. Take out the accessory- Ice shovel from ice-making chamber.
2. The outside of the unit should be cleaned regularly with a mild detergent solution and warm
water.
3. For the first time, hold the clean water bottle vertically and upside down (over the smart
device) and place the water bottle into the smart device receptacle. After some minutes, the
water will flow into all of the faucet s, th e co ld wa te r tank an d ho t wat er ta nk , til l the wate r ca n
flow out from the faucet. Then take down the water bottle, and open the drain cap for the hot
tank, let all of the water flow out, then reinstall back the drain cap and tighten it.
4. Clean the ice-making chamber with diluted detergent, warm water and a soft cloth, then use
the water to rinse the inside parts, and drain out the water by unplugging the drain cap of the
ice dispenser on the down back of the unit. Then also reinstall back this drain cap of ice
dispenser and tighten it.
5. When the machine is not in use for a long time, open both of the water drained cap to drain
water completely from unit.
PREPARE FOR USE
Improper use of the grounded plug can result in the risk of electrical shock. If the power
cord is damaged please call our customer service.
1).Make sure that the unit is not plugged into the main electrical outlet.
2).Before placing drinkable water bottle on the unit, be sure that the drain cap on the back is
tightly fastened.
3). Hold the water bottle vertically and upside down (over the smart device) and place the water
bottle into the smart device receptacle. Apply slightly pressure in order to pierce the bottle cap
with the spigot. This unit accepts two, three or five gallons water bottle with pierceable sealed
caps.
4). Open the water faucet to let the air out, until the water starts to flow out. When this happens,
release the faucet taps.
7
Page 8

5). Plug the unit into a grounded power outlet. Do not plug in before the water can flow out
from all of the water faucets.
DANGER: This unit should be properly grounded for your safety. The power cord of this
appliance is equipped with a three-prong plug which mates with standard three prong wall outlets
to minimize the possibility of electric shock.
Plug your appliance into an exclusive, properly installed, gro unded wall outlet. Do not under any
circumstances, cut or remove the third (ground) prong from the power cord. Any questions
concerning power and/or grounding should be directed toward a certified electrician.
This appliance requires a standard 110-120volt, 60Hz electrical outlet with three-prong ground.
6). If the unit is brought in from outside in winter time, give it a few hours to warm up to room
temperature before plugging it in.
OPERATE THE UNIT
After plugging in the main power outlet, the POWER indicator on the control panel will be on.
Then you can start to operate the hot water, cold water and ice-making function as your desired.
Hot W ater Operation
Hot Water Indicator
Power Indicator
POWER
Hot Water Button
Press the Hot Water button, the green Hot Water indicator above the button will start to blinking,
means that the heating element start to work.. When this green indicator change to illuminate
always, means the hot water has reached the desired temperature and you can drink it. After some
while or you drain out the hot water from the hot water faucet, the Hot Water indicator will return
to start blinking, means that the heating element start heating again.
If there is no water in the hot tank in the first time using or after you drain out all of the water
from the unit, after some minutes, the warning sound will last 10 times, and the Warning indicator
will illuminate. If you place the water bottle again and need the hot water again, press the Hot
Water button again, the heating element will start working again. And the Warning indicator will
turn off at once.
If you do not want the hot water drink, please press the Hot Water button once more, it will save
the electricity and reduce the electricity cost. (After this, the Hot Water indicator will be off.)
HOT
COLD
ICE
WARN
Warning Indicator
8
Page 9

Cold W ater Operation
Cold Water Indicator
Warning Indicator
Power Indicator
POWER
HOT
COLD
ICE
WARN
Cold Water Button
Press the Cold Water button to start making the cold water, after this, the Cold Water indicator will
start to blink, means that the compressor has started running to cool the water. When the Cold
Water indicator change from blinking to illuminating, means that the cold water has reached the
desired temperature and you can have the cold drink. Also after some while or you drain out the
cold water from the cold water fa ucet, the Cold Water indicator will return to blink, means during
cooling process.
Cold Water function and Ice-making function can work together.
Ice-making Operation
Power Indicator
POWER
1. Press “Ice-maker” button on the operation panel to begin the ice making cycle. And the
Ice-maker indicator will start to blink.
2. The ice making cycle lasts 7 to 15 minutes, depending on the ambient temperature.
3. While the ice-maker is on, the unit will verify water level periodically. If there is no enough
water to make ice, the ice maker will stop automatically, and the Warning indicator will be on,
means that the water level can not reach the requirement level for ice making.
4. The ice maker automatically stops working when the unit has detected full of the ice inside.
And at same time the Ice-maker indicator will change from blinking to illuminating.
5. Ensure to keep a reasonable hygiene level in the water tank of the ice maker.
HOT
COLD
Ice-Maker Indicator
ICE
WARN
Warning Indicator
Ice-maker Button
9
Page 10

If unit isn’t in use for a long time, take down the water bottle and drain out all water from both
drain port at the back of the unit.
6. How to get the ice
Open the ice getting entrance door, use the ice scoop supplied as the accessory to get the ice
from the unit.
Note: When you turn on the cold water operation and ice making operation at same time, you
should wait some minutes to let the water temperature in the cold tank goes down to the set value
first, then it will switch to ice-making operation. And if the cold water temperature goes up again
or you drink the cold water from the cold water faucet, the unit will swift to Cold Water operation
again after the present ice making cycle finished.
ELECTRIAL DIAGRAM
CLEAN YOU UNIT DURING REGULAR USING
After you have used your unit for three months or more, we suggest you should clean your unit
again. Unplug your unit first before doing any cleaning or maintenance!
z For the outside enclosure of the unit, you can wash it with the wet soft clothe with liquid dish
washing soap. Don’t use erosive chemical solvent such as rubber water to wash, this maybe
hurt the machine and make it change color. And don’t pour water on the whole shell when
washing, avoiding making its electric parts wet.
z For hot and cold water dispenser system, first twist the bottle receptacle of the non-spill
10
Page 11

system (smart device) counterclockwise and pull it up.
Smart Device
Smart Core
Water separator
of the cold tank
Cold Tank
Take apart the non-spill system (smart device and smart core showed in above figure), then
proceed to wash it with the dish washing fluid, rinse it and reassemble. Empty the both tanks (hot
and cold) by unplugging the drain cap of the hot tank at the back of the unit. Next to clean the
inside parts of the water dispenser system, use vinegar or a 2% citric acid solution to remove
mineral scaling caused by the water. Rinse it well, then open the drain cap for hot tank to get the
water out. Put all of the parts back, securely fasten the drain cap. It is important to let the unit dry
for two hours before plugging it back in. And install back the bottle receptacle (smart device).
z For the ice-making chamber, remove the ice and water separator and ice storing plate by
unscrewing the screw according following figure.
Ice and Water
Separator
Ice Storing
Plate
Screw
Then wash inside parts of ice-making chamber with the dish washing fluid, rinse it, and open
the drain cap for ice dispenser at the back to get the water out. Rinse it for several times, then
securely fasten this drain cap. To the removed ice and water separator, ice storing plate, put it
into the dish washing fluid to clean it. Then rinse it and dry it. After drying, install both of
11
Page 12

them back to original position with screw by screwdriver.
PRECAUTION
z When cleaning, the outside of the machine can be washed with the wet soft clothe. Don’t use
erosive chemical solvent such as rubber water to wash, this maybe hurt the machine and
make it change color. Be careful that don’t pour water on the whol e enclo sure wh en washing ,
avoiding making its internal electrical parts wet.
z Keep the unit away from the wall with proper distance, keep it far away from high
temperature surrounding and prevent it from being exposed in the sunlight or other heating
resource. Keep ventilation opening in the appliance enclosure or in the built-in structure,
clear of obstruction.
z If you will not use the unit for a long time, please disconnect the power cord, and drain out
the water from both of the drain cap. And fasten the drain cap tightly. On other condition
don’t touch it because it will cause the water leakage.
z Children are forbid to touch the hot tap. It is dangerous and will burn your skin.
TROUBLE SHOOTING GUIDE
If the unit works improperly, please check reference to the following table:
PROBLEM CHECK PROBABLE CAUSE REMEDY
Hot and cold water,
ice-maker are all not
available, and the POWER
indicator isn’t illuminate
on the control panel
Only hot water not
available
Only cold water not
available
Main Power Supply
switch in your home
Power plug Not on the power outlet Plug it.
Circuit breaker Tripped Check and reclose
Main Fuse Blown out Replace
Power breakdown Main power supply Wait till the main power supply
Transformer Unplug on the PCB Controller or
Fuse on the PCB
board
Hot Water Button
and Hot Water
indicator
Hot water using The preceding amount of hot
Hot water sensor Breakdown Call the serviceman to replace
Cold Water Button
and Cold Water
indicator on the
control panel
At “OFF” position Move to “ON” position
resume
Call the electrician or serviceman
breakdown
Blown out Call the electrician or serviceman
Hot water function is not
to maintenance
to replace it with same rating.
Press the Hot Water button.
turned on by the button on
the control panel
Wait for a moment until the
water is too much.
Cold water function is not
hot water occurs out.
with a new one.
Press the Cold Water button.
turned on by the button
12
Page 13

Ice making only not available
Compressor not run or
suddenly stops
Warn indicator illuminate and
buzz sounds
Warn indicator flash on the
control panel
Water leaks from the taps
or the faucet
the water dispenser and
onto the floor.
Cold Water using The preceding mount of cold
water is too much.
Air clearance
between the unit
The ventilation around the
apparatus is insufficient.
and the wall
Water separator in
the cold tank
The cold water separator has
moved in the cold water tank
Water bottle The temperature of water
supplied (in the bottle) is too
Wait for a moment until cold
water comes out.
Space the unit from the wall
by more than 15 centimeters
at each side of the unit.
Replace the water isolator at
the correct position.
Put the water at a
shady, cool place
high.(when the bottle is
exposed to direct sunlight for
a long time)
Ice-making Both Ice-making and cold water
function are running at same time.
Ice Button and Ice
indicator on the
Ice-making function is not
turned on by the button.
Wait some more moment or stop
ice-making function first.
Press the Ice-making button.
control panel
Cold water function Both Ice-making and cold water
function are running at same time.
Main power supply Voltage too low Contact electrician and electricity
Ventilation opening
blocked
Clearance around the
unit
Condenser Too dirty, produce overheated Clean
Cooling system Refrigerant over charged or
Compressor and its
accessory
Water bottle There is no water. Replace with a new bottle full
Ice-making box in the
ice making chamber
Water faucet
button
Blocked Remove the block substance
Too small clearance, bad air
circulation
leaked
Breakdown Call serviceman to check and
The ice making box is clogged by
the ice or mechanism
Water faucet button maybe
has been clogged, can not act
Wait some more moment or stop
Cold Water function first.
department
Leave enough (Min. 15cm) space
around the unit
Contact with qualified serviceman
to repair it.
repair it.
with drinkable water.
Stop the unit and wait for more
time to let the clogged ice melt.
Check it, let the button go
out.
smoothly.
Water faucet The water faucet has been
damaged.
Call the service or the sale
agent telephone number to
let them change a new one.
Water bottle The bottle may has small pin
Change to a new bottle. Water is dripping out of
holes.
Both of water
drain cap on the
Loose
Tighten it completely check and
check the sealing silicon
13
Page 14

Noise occurs
Floor The appliance is not level. Install it evenly and lock the
Locating position Contact with other products. Move it away from other
PRODUCT SPECIFICATION
048-GM-48200 ledoM
Power Supply 115V~,60Hz
Ice-making capacity 12 Kg/24Hours* (Ice-making only)
Cold Water Capacity 4 L* (Cold water only)
Hot Water Capacity 5 L
Total Electrical Rating 7.3A **
Ice-making/Ice harvest Current 2A/3A **
Cold Water Current 2A**
Heating Current 4.3A
Refrigerant and quantity R134a,3.53 Oz/100g
Design pressure (High Side) 220psig
Design pressure (Low Side) 88psig
Net Weight 19.8 Kg
pac niard eht edisni lairetam kcab
is torn or damaged, then
change to a new one.
unit.
products.
TEST CONDITION: (*): Water Temperature :25℃, Room Ambient:25℃.
(**): As UL standard requirement: 40℃ Room Ambient
WARNING:
– WARNING: Keep ventilation openings, in the appliance enclosure or in the built-in structure,
clear of obstruction.
– WARNING: Do not damage the refrigerant circuit.
Correct Disposal of this product
This marking indicates that this product should not be disposed
with other household wastes throughout the EU. To prevent
possible harm to the environment or human health from
uncontrolled waste disposal, recycle it responsibly to promote
the sustainable reuse of material resources. To return your used
device, please use the return and collection systems or contact
the retailer where the product was purchased. They can take
this prodct for environmental saf
e recycling.
14
Page 15

15
 Loading...