

Page 1
Dell™ AIO Printer A940 User's Guide
Click the links to the left for information on the features and operation of your printer. For information on
other documentation included with your printer, see Finding information.
To order ink or supplies from Dell:
Double-click the icon on your desktop.1.
Visit Dell's cartridge ordering Web site:
www.dell.com/supplies
www.dell.euro.com/supplies
2.
You can also order Dell printer supplies by phone.
For best service, have your Dell printer Service Tag available.
For help, locating your Service Tag number, see Express Service Code and Service Tag number.
Notes, Notices, and Cautions
NOTE: A NOTE indicates important information that helps you make better use of your computer.
NOTICE: A NOTICE indicates either potential damage to hardware or loss of data and tells you how to
avoid the problem.
CAUTION: A CAUTION indicates a potential for property damage, personal injury, or death.
____________________
Information in this document is subject to change without notice.
© 2003 Dell Computer Corporation. All rights reserved.
Reproduction in any manner whatsoever without the written permission of Dell Computer Corporation is
strictly forbidden.
Trademarks used in this text: Dell and DELL logo are trademarks of Dell Computer Corporation; Microsoft
and Windows are registered trademarks of Microsoft Corporation.
Page 2

Other trademarks and trade names may be used in this document to refer to either the entities claiming the
marks and names of their products. Dell Computer Corporation disclaims any proprietary interest in
trademarks and trade names other than its own.
____________________
UNITED STATES GOVERNMENT RESTRICTED RIGHTS
This software and documentation are provided with RESTRICTED RIGHTS. Use, duplication or disclosure by
the Government is subject to restrictions as set forth in subparagraph (c)(1)(ii) of the Rights in Technical
Data and Computer Software clause at DFARS 252.227-7013 and in applicable FAR provisions: Dell
Computer Corporation, One Dell Way, Round Rock, Texas, 78682, USA.
June 2003 SRV 7Y849 Rev. A02
Page 3
Finding information
Refer to:
When you need help with:
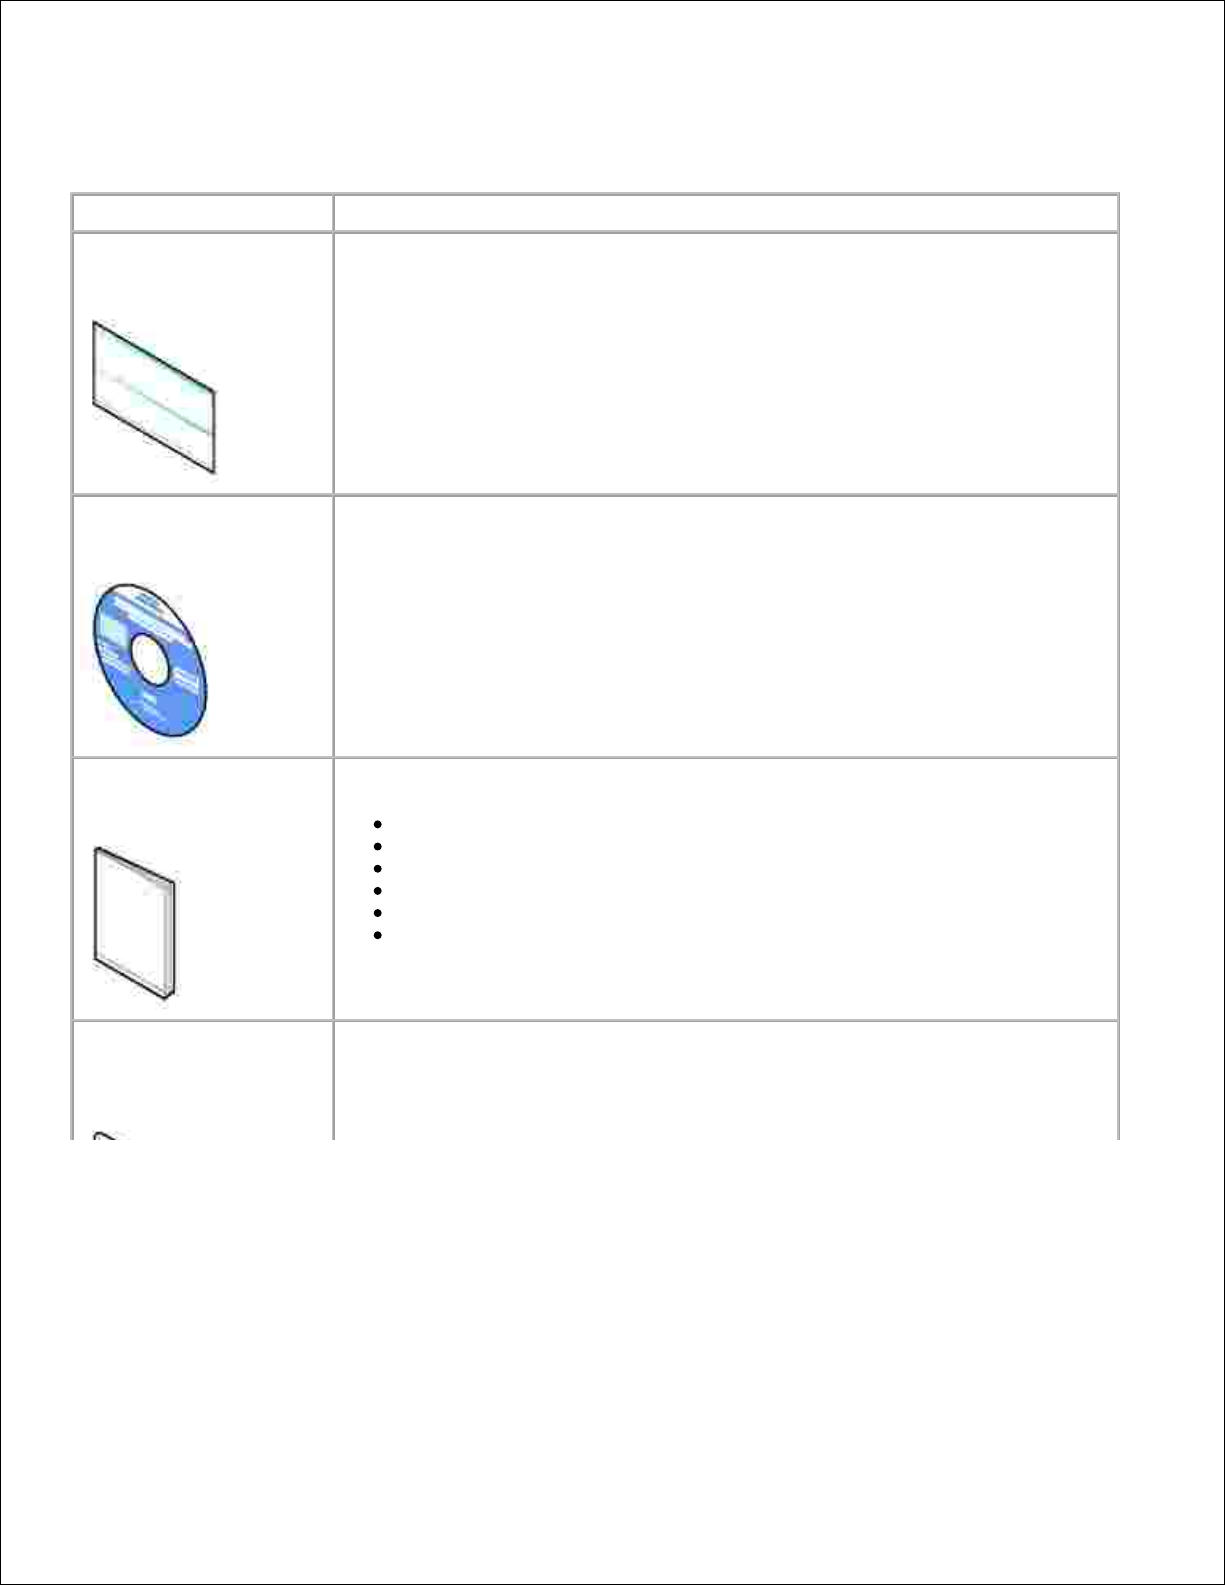
Setup diagram
This document contains complete setup information.
Drivers and Utilities CD
The Drivers and Utilities CD contains drivers for your AIO printer.
Documentation and drivers are already installed on your printer when shipped
from Dell. You can use the CD to uninstall/reinstall drivers or access your
documentation.
Readme files may be included on your CD to provide last-minute updates about
technical changes to your printer or advanced technical reference material for
experienced users or technicians.
Owner's Manual
This document contains information about:
Basic usage
Scanning, printing, copying, and faxing
Creative projects
Ink cartridge ordering information
Setup troubleshooting
General troubleshooting
Express Service Code
and Service Tag number
Express Service Code and Service Tag number
This label is located on your printer.
Page 4
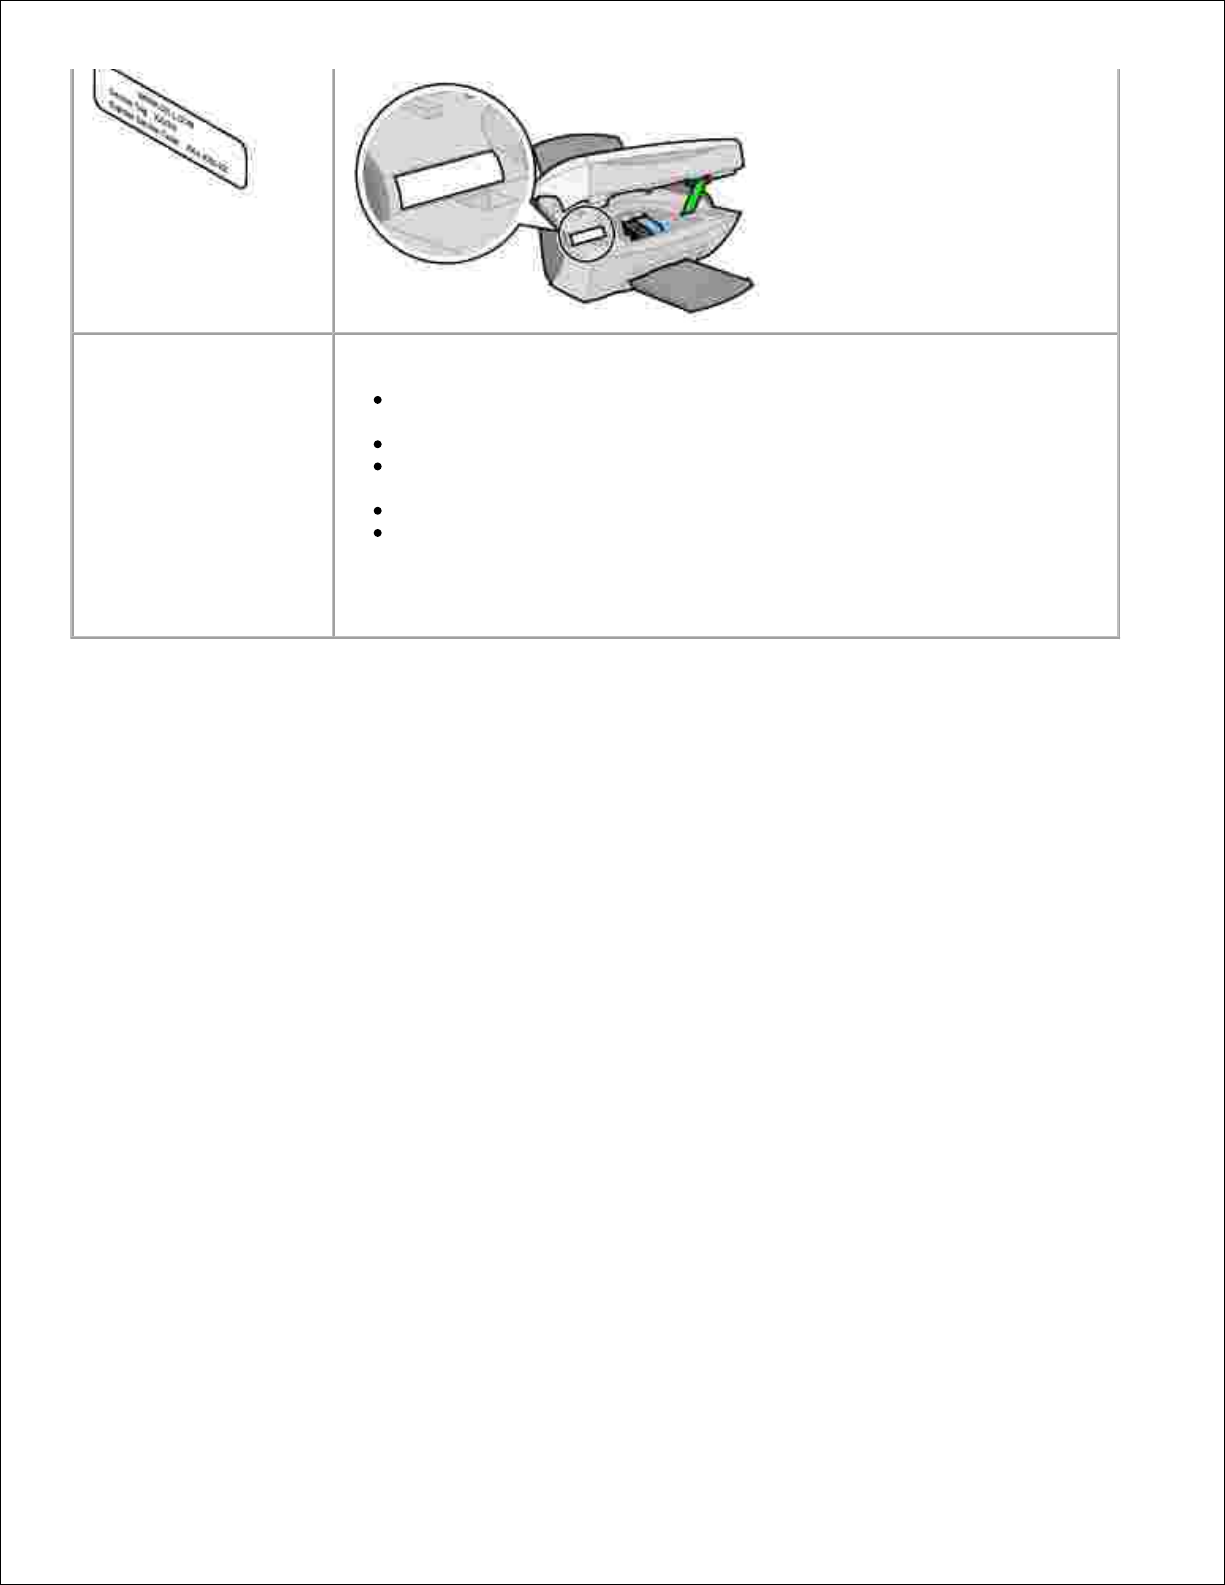
Dell Support Website
The Dell Support Website provides several online tools, including:
Solutions - Troubleshooting hints and tips, articles from technicians, and
online courses
Upgrades - Upgrade information for components, such as memory
Customer Care - Contact information, order status, warranty, and repair
information
Downloads - Drivers
Reference - Printer documentation and product specifications
You can access Dell Support at support.dell.com. Select your region on the
WELCOME TO DELL SUPPORT page, and fill in the requested details to access
help tools and information.
Page 5
Understanding your printer
Page 6
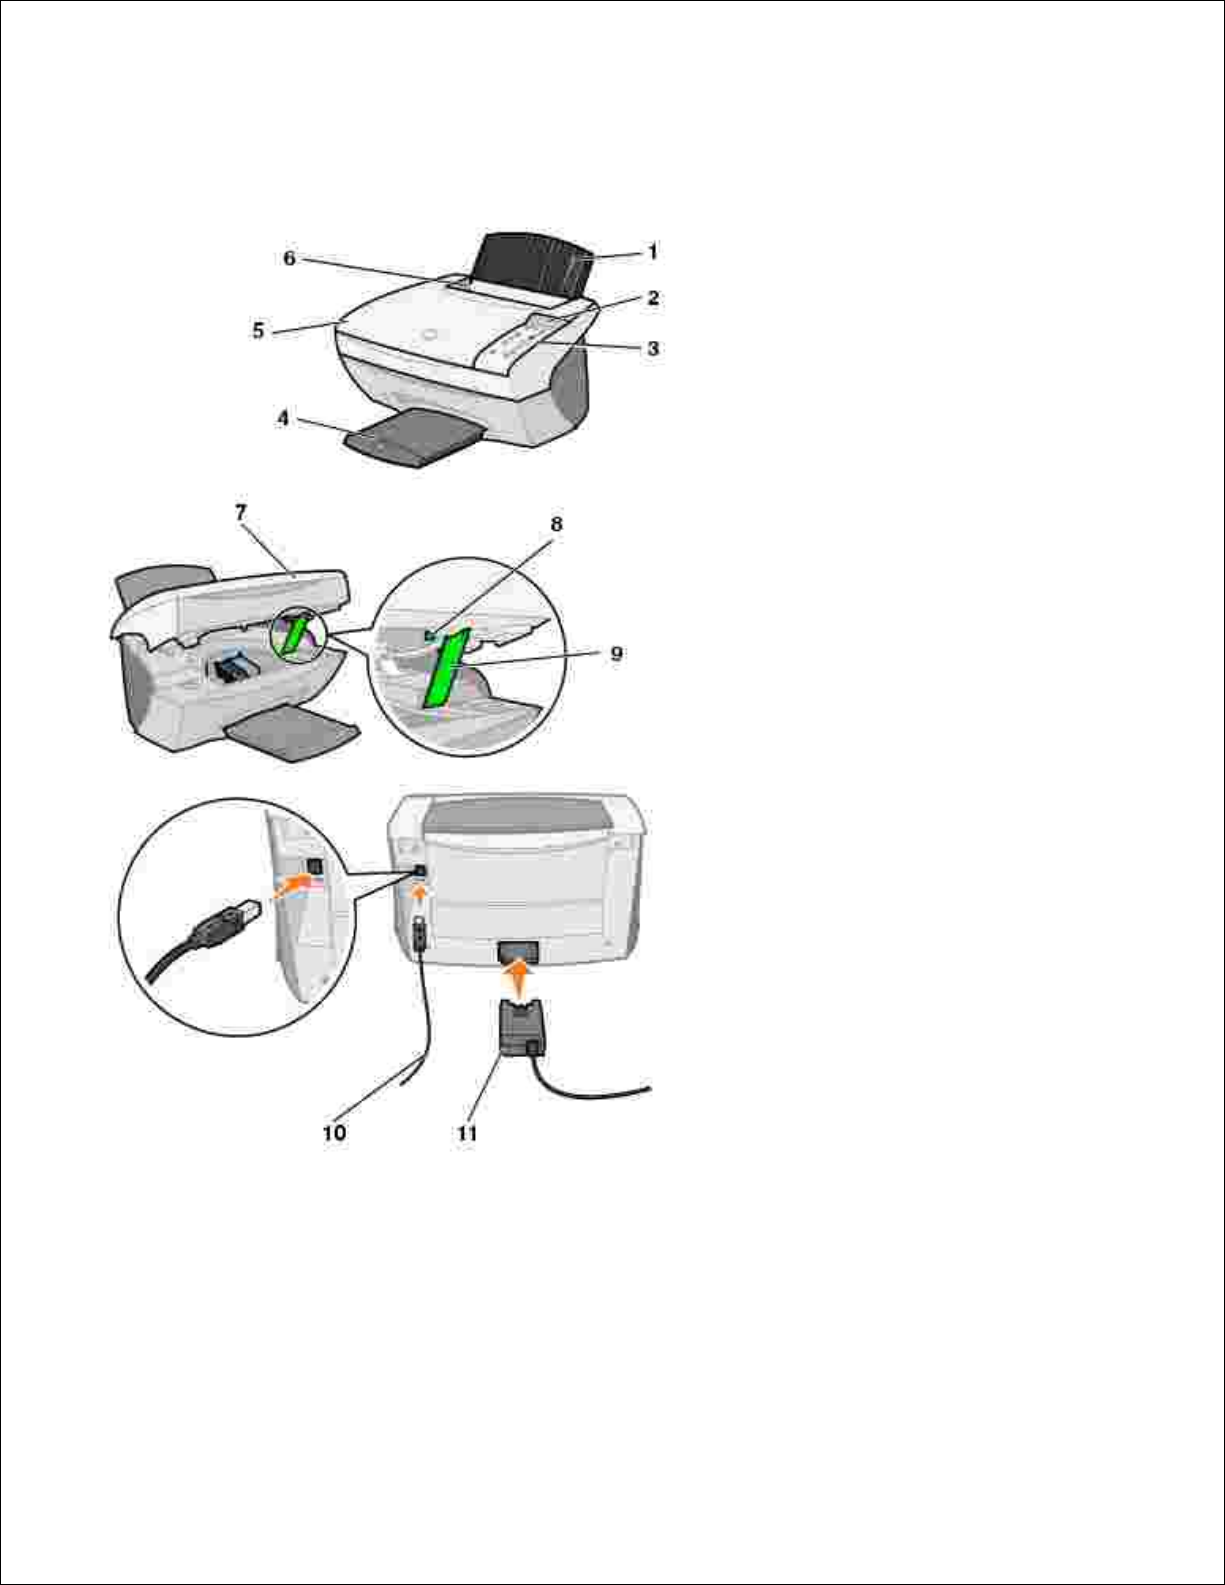
Use the:
When you want to:
1
Paper support
Load paper in the All-In-One.
2
Display
Check the status of the All-In-One.
3
Operator panel
Operate your All-In-One (attached to a computer or unattached).
Your operator panel has a FAX button. In order for the FAX button to function
properly:
Your computer must be connected to a data/fax modem.
The data fax modem must be connected to an active analog phone line.
The printer must be connected to the computer with a USB cable.
NOTE: You cannot fax with a DSL (digital subscriber line) or cable modem.
4
Paper exit tray
Stack paper as it exits the All-In-One.
5
Top cover
Place an item on or remove an item from the scanner glass.
6
Paper guide
Make sure paper feeds correctly into the All-In-One.
7
Printer (scanner
unit)
Change cartridges.
Unlock the scanner.
Lock the scanner.
NOTE: Lift the scanner unit to do these things.
8
Scanner lock
Lock or unlock the scanner.
NOTE: Unlock the scanner before use. Lock the scanner if you are moving your
All-In-One.
9
Scanner support
Keep the scanner unit open to change cartridges, unlock the scanner, or lock the
scanner.
10
USB cable
Connect your All-In-One to a computer.
11
Power supply
Supply power to the All-In-One.
Page 7

Printer specifications
Overview
Physical specifications
Environmental specifications
Power consumption and requirements
Fax mode capabilities
Print and scan mode capabilities
Operating system support
Memory specifications and requirements
Paper
Cables
Overview
Base memory
8 MB
Maximum memory
8 MB
Emulation
Host based data stream printing
Connectivity
USB
Duty cycle (average)
3000 pages/month
Duty cycle (maximum)
5000 pages/month
Printer life
36,000 pages or one year (Letter size 5% coverage)
Physical specifications
Physical dimension
240mm (H) x 469mm (W) x 395mm (D)
9.4 in. (H) x 18.5 in. (W) x 15.5 in. (D)
Weight
8.2 kg
18 lb
Environmental specifications
Temperature/Relative Humidity
Page 8

The recommended temperature and relative humitiy for all conditions
61° to 90° F
40 to 70%
Condition
Temperature
Relative humidity (non-condensing)
Operation
16° to 32° C
61° to 90° F
15 to 85%
Storage
-40° to 60° C
-40° to 140° F
10 to 90%
Shipping
-40° to 60° C
-40° to 140° F
Power consumption and requirements
Rated AC Input
100V–240V
Rated Frequency
50/60 Hz
Minimum AC input
100V AC
Maximum AC input
240V AC
Maximum input current
1.5A
Average power consumption
Standby mode
Operational mode
15W
35W
Fax mode capabilities
When you scan to fax, your document will scan in at 100 dpi (dots per inch). You can fax both color and
black and white documents. You can also fax multiple pages. For help, refer to the Owner's Manual.
In order for the FAX button to function properly:
Your computer must be connected to a data/fax modem.
The data fax modem must be connected to an active analog phone line.
The printer must be connected to the computer with a USB cable.
NOTE: You cannot fax with a DSL (digital subscriber line) or cable modem.
Printer and scan mode capabilities
Your Dell AIO Printer A940 can scan from 50 to 19,200 dpi. Even though your All-In-One has this capability,
we recommend using the preset resolutions.
Page 9

Print and scan resolution
dpi
Equivalent print resolution
Quick
150 x 150
600 x 300 dpi
Normal
300 x 300
600 x 600 dpi
Better
600 x 600
1200 x 1200 dpi
Best
600 x 600
4800 x 1200 dpi
Operating system support
The Dell AIO Printer A940 supports:
Windows XP
Windows 2000
Memory specifications and requirements
Your operating system must meet the minimum system requirements.
Operating system
Processor speed (Mhz)
RAM (MB)
Hard disk (MB)
Virtual memory (MB)
Windows XP
Pentium 300
128
500
286
Windows 2000
Pentium 200
128
286
286
Paper
Refer to your Owner's Manual for information on what paper sizes and types are supported with your Dell
AIO Printer A940.
Cables
Your Dell Personal AIO Printer A940 uses a Universal Serial Bus (USB) cable (sold separately).
Page 10

Troubleshooting
Transparencies or glossy photo papers stick together
Transparencies or photo papers contain white lines
Document prints slowly
Document prints poorly
Auto-cropping of scanned image is unsatisfactory
Edges of copied documents are cut off
Copied objects appear in a different location on the page
Fit to Page function is not working properly
Auto detect is set but not working properly
Fax function does not work
If your All-In-One has a problem, make sure:
Your All-In-One is on.
The scanner is unlocked.
You removed the stickers and tape from the bottom of the ink cartridges. For help, refer to the
Placemat.
The paper is loaded correctly.
You installed both of the ink cartridges. The Dell AIO Printer A940 will only work if you have both
cartridges installed.
If you experience other problems, refer to your Owner's Manual.
Transparencies or glossy photo papers stick together
Remove each page as it exits the printer and let it dry completely before stacking.
Use a transparency or photo paper designed for inkjet printers.
Transparencies or photo papers contain white lines
Clean the nozzles. For help, refer to the Owner's Manual.
Document prints slowly
Page 11

Close applications not in use.
Select Quick Copy or Normal on the Document/Quality tab of Print Properties, Preferences, or from
the All-In-One Center:
Open the Dell All-In-One Center. For help, refer to your Owner's Manual.a.
From the Copy... section, click See More Copy Settings.b.
From the Copy quality area, select Quick Copy.c.
Consider purchasing more RAM (Random Access Memory) for your computer.
NOTE: Photos or documents containing graphics may take longer to print than regular text.
Document prints poorly
If your documents have any of the following problems, see the following instructions to solve the problem.
Vertical, straight lines are not smooth
To improve the print quality of vertical, straight lines in tables, borders, and graphs:
Select a higher quality from the Document/Quality tab of Print Properties, Preferences, or from the AllIn-One Center:
Open the Dell All-In-One Center. For help, refer to your Owner's Manual.a.
From the Copy... section, click See More Copy Settings.b.
From the Copy quality area, select a higher print quality than what you are currently using.c.
Test the cartridge alignment. For help, refer to your Owner's Manual.
Clean the nozzles. For help, refer to your Owner's Manual.
Characters are missing or unexpected
Make sure the scanner glass is clean:
Dampen a clean, lint-free cloth.1.
Gently wipe the scanner glass.2.
NOTE: Make sure all ink or corrective fluid on the document is dry before placing the document on the
scanner glass.
Page 12

Print is too dark or smudged
Make sure:
You let the ink dry completely before handling the paper.
You select the correct paper type and size in Print Properties, Preferences, or in the All-In-One Center.
The paper is straight and unwrinkled.
You select the appropriate quality for the paper type. If you are printing on regular paper, select the
Quick Copy setting from the Document/Quality tab of Print Properties, Preferences, or from the All-InOne Center.
The nozzles are clean. For help, refer to your Owner's Manual.
Print quality is poor at the edges of the page
Like other All-In-Ones, your All-In-One cannot print in the extreme left, right, top, or bottom edges of a
page. Use these minimum settings:
Left and right margins:
6.35 mm (0.25 in.) each for all paper sizes except A4
3.37 mm (0.133 in.) each for A4 size paper
Top margin:
1.7 mm (0.067 in.)
Bottom margin:
16.51 mm (0.65 in.)
Colors are faded or not printing completely
Use a different color setting.
Use a different brand of paper. Every paper brand accepts ink differently and prints with slight color
variations.
Clean the nozzles. For help, refer to your Owner's Manual.
An ink cartridge may be out of or low on ink.
To check the ink levels from the operator panel:
Press Options until Cartridges displays.a.
Press + until Ink Levels displays.b.
Page 13

a.
b.
Press Select.c.
Press one of the arrow buttons:d.
To check the ink level in the black cartridge, choose Black Ink.
To check the ink level in the color cartridge, choose Color Ink.
Press Cancel to return to Normal quality.e.
To check the ink levels from the Dell Printer Solution Center, refer to your Owner's Manual.
Auto-cropping of scanned image is unsatisfactory
First, try cleaning the scanner glass. If that does not work, you can either turn the auto cropping feature off
or adjust how the image is cropped.
To clean the scanner glass:
Dampen a clean, lint-free cloth.1.
Gently wipe the scanner glass.2.
NOTE: Make sure all ink or corrective fluid on the document is dry before placing the document on the
scanner glass.
To turn the feature off for your next scan:
Open the Dell All-In-One Center. For help, refer to your Owner's Manual.1.
The All-In-One Main Page appears.
From the Scan... section, click See More Scan Settings.2.
From the What is being scanned? option, select anything but Photo.3.
Or
Open the Dell All-In-One Center. For help, refer to your Owner's Manual.1.
The All-In-One Main Page appears.
From the Scan... section, click See More Scan Settings.2.
Page 14

2.
Click Display Advanced Scan Settings.3.
Click the Scan tab.4.
Click Select area to be scanned, and then select a size from the drop-down menu.5.
Click OK.6.
To adjust the auto-cropping:
Open the Dell All-In-One Center. For help, refer to your Owner's Manual.1.
The All-In-One Main Page appears.
From the Scan... section, click See More Scan Settings.2.
Click Display Advanced Scan Settings.3.
Click the Scan tab.4.
Select Auto-crop the scanned item.5.
Slide the bar to the left to crop less or to the right to crop more.6.
Click OK.7.
To adjust cropping manually:
Open the Dell All-In-One Center. For help, refer to your Owner's Manual.1.
The All-In-One Main Page appears.
Click Preview Now to view your scanned image.2.
To resize and crop the image, drag the box around the image in the preview area until the size is
satisfactory for your scan.
3.
Edges of copied documents are cut off
If you are using your All-In-One without it being attached to a computer and scanning a document that is
getting cut off on the edges:
Move the document to a different place on the glass.1.
On the operator panel, press the Reduce/Enlarge button repeatedly until Fit to Page appears.2.
Press Select.3.
Page 15

3.
If you are using your All-In-One attached to a computer:
Move the document to a different place on the glass.1.
From the software, select a copy setting with autocrop on (Color Photo or Black and White Photo) to
make sure that autocrop finds the object and prints it completely.
2.
NOTE: When autocrop is on, the object (wherever it is placed on the glass) will be printed in the
upper left corner of the page. This may make your copy look different from the original.
Copied objects appear in a different location on the
page
This will only happen if your All-In-One is attached to a computer. When the default for auto crop (Color
Photo) is on for copying, any object found on the scanner glass will be positioned at the top left corner of the
page.
To fix this:
Open the Dell All-In-One Center. For help, refer to your Owner's Manual.1.
From the Copy... section, select Color Document or Black and White Document (these settings
have auto crop turned off).
2.
Fit to Page function is not working properly
On the operator panel, press Options until Original Size displays.1.
Make sure the default, Auto Detect, is selected.2.
Press Select.3.
On the operator panel, press Reduce/Enlarge repeatedly until Fit to Page appears.4.
Press Select.5.
On the operator panel, press Options until Blank Paper Size appears.6.
Press + until your blank paper size is displayed.7.
Press Select.8.
The scanner will pre-scan to determine the size of the original, and then fit it onto the specified Blank
Paper Size and begin scanning to perform the copy.
Page 16

Auto detect is set but not working properly
Make sure the glass is clean.
Turn off Auto Detect and specify the size of the original.
Fax function does not work
In order for the FAX button to function properly:
Your computer must be connected to a data/fax modem.
The data fax modem must be connected to an active analog phone line.
The printer must be connected to the computer with a USB cable.
The memory may be full. Wait until the faxes in memory have been sent, and then send the
current fax again.
NOTE: You cannot fax with a DSL (digital subscriber line) or cable modem.
See "Faxing" in your Owner's Manual for more information.
Page 17

Appendix
Dell technical support policy
Contacting Dell
Warranty and return policy
Dell technical support policy
Technician-assisted technical support requires the cooperation and participation of the customer in the
troubleshooting process and provides for restoration of the Operating System, application software and
hardware drivers to the original default configuration as shipped from Dell, as well as the verification of
appropriate functionality of the computer unit and all Dell-installed hardware. In addition to this technician
assisted technical support, online technical support is available at Dell Support. Additional technical support
options may be available for purchase.
Dell provides limited technical support for the printer and any Dell-installed software and peripherals.
Support for third-party software and peripherals is provided by the original manufacturer, including those
purchased and/or installed through Software & Peripherals (DellWare), ReadyWare, and Custom Factory
Integration (CFI/DellPlus).
Contacting Dell
You can access Dell Support at support.dell.com. Select your region on the WELCOME TO DELL SUPPORT
page, and fill in the requested details to access help tools and information.
You can contact Dell electronically using the following addresses:
World Wide Web
www.dell.com/
www.dell.com/ap/ (for Asian/Pacific countries only)
www.euro.dell.com (for Europe only)
www.dell.com/la/ (for Latin American countries)
Anonymous file transfer protocol (FTP)
ftp.dell.com/
Log in as user: anonymous, and use your e-mail address as your password.
Electronic Support Service
mobile_support@us.dell.com
support@us.dell.com
apsupport@dell.com (for Asian/Pacific countries only)
support.euro.dell.com (for Europe only)
Electronic Quote Service
sales@dell.com
apmarketing@dell.com (for Asian/Pacific countries only)
Electronic Information Service
info@dell.com
Page 18

Warranty and return policy
Dell Computer corporation ("Dell") manufactures its hardware products from parts and components that are
new or equivalent to new in accordance with industry-standard practices. For information about the Dell
warranty for your printer, refer to your Owner's Manual.
 Loading...