

Dell A920 All In One Personal, A920 Printer User Manual

Dell™ Personal AIO Printer A920 User's Guide
Click the links to the left for information on the features and operation of your printer. For information on
other documentation included with your printer, see Finding information.
To order ink or supplies from Dell:
Double-click the Dell Printer Supplies-inkjet icon on your desktop.1.
Visit Dell's cartridge ordering website, or order Dell printer supplies by phone.2.
www.dell.com/supplies or www.dell.euro.com/supplies
For best service, have your Dell printer Service Tag available.
For help locating your Service Tag number, see Express Service Code and Service Tag number.
Notes, Notices, and Cautions
NOTE: A NOTE indicates important information that helps you make better use of your printer.
NOTICE: A NOTICE indicates either potential damage to hardware or loss of data and tells you how
to avoid the problem.
CAUTION: A CAUTION indicates a potential for property damage, personal injury, or death.
____________________
Information in this document is subject to change without notice.
© 2003 Dell Computer Corporation. All rights reserved.
Reproduction in any manner whatsoever without the written permission of Dell Computer Corporation is
strictly forbidden.
Trademarks used in this text: Dell and DELL logo are trademarks of Dell Computer Corporation; Microsoft
and Windows are registered trademarks of Microsoft Corporation.
Other trademarks and trade names may be used in this document to refer to either the entities claiming the
marks and names of their products. Dell Computer Corporation disclaims any proprietary interest in
trademarks and trade names other than its own.

____________________
UNITED STATES GOVERNMENT RESTRICTED RIGHTS
This software and documentation are provided with RESTRICTED RIGHTS. Use, duplication or disclosure by
the Government is subject to restrictions as set forth in subparagraph (c)(1)(ii) of the Rights in Technical
Data and Computer Software clause at DFARS 252.227-7013 and in applicable FAR provisions: Dell
Computer Corporation, One Dell Way, Round Rock, Texas, 78682, USA.
June 2003 SRV T0628 Rev. A01
Finding information
Refer to:
When you need help with:
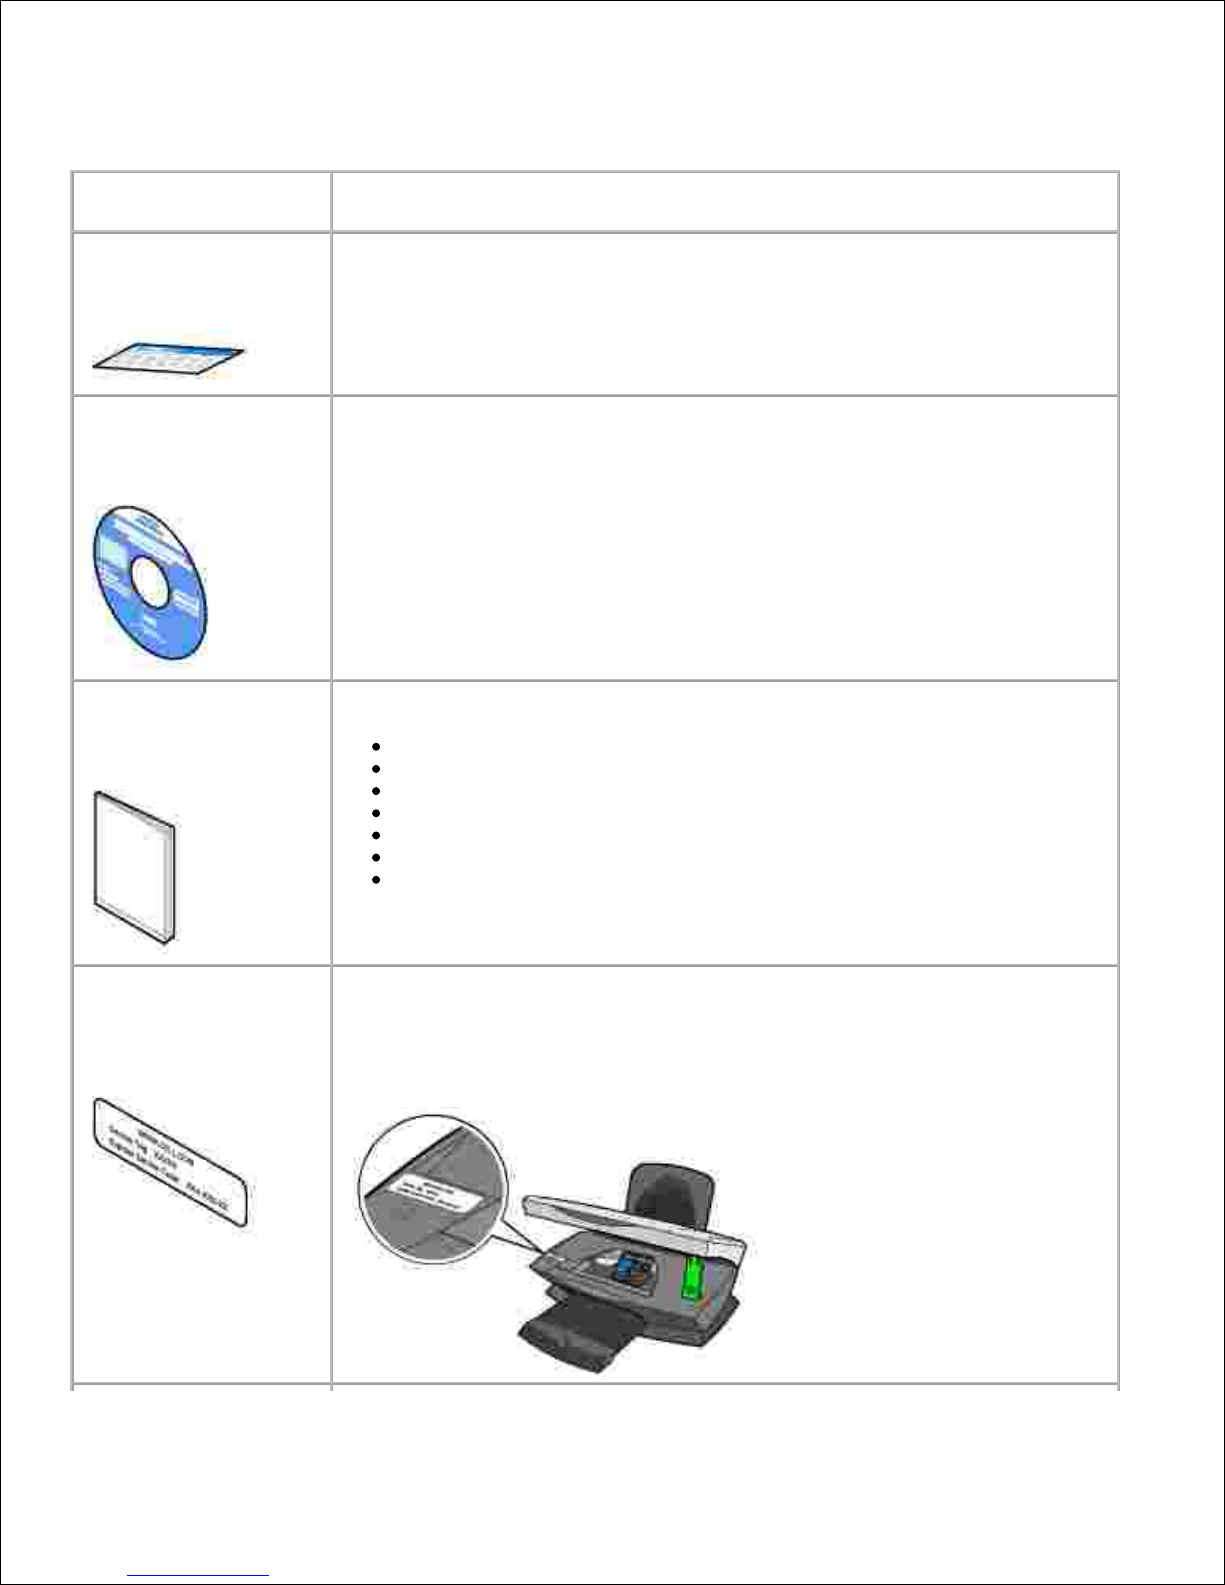
Setup diagram
This document contains complete setup information.
Drivers and Utilities CD
The Drivers and Utilities CD contains drivers for your AIO printer, the Dell AllIn-One Center, the Dell Printer Solution Center, the Dell Photo Editor, and the
Dell Personal AIO Printer User's Guide.
Documentation and drivers are already installed on your printer when shipped
from Dell. You can use the CD to uninstall/reinstall drivers or access your
documentation.
Readme files may be included on your CD to provide last-minute updates about
technical changes to your printer or advanced technical reference material for
experienced users or technicians.
Owner's Manual
This document contains information about:
Basic usage
Scanning, printing, copying, and faxing
Creative projects
Ink cartridge ordering information
Setup troubleshooting
General troubleshooting
Safety information
Express Service Code
and Service Tag number
Express Service Code and Service Tag number
This label is located on your printer.

Dell Support website
The Dell Support website provides several online tools, including:
Solutions - Troubleshooting hints and tips, articles from technicians, and
online courses
Upgrades - Upgrade information for components, such as memory
Customer Care - Contact information, order status, warranty, and repair
information
Downloads - Drivers
Reference - Printer documentation and product specifications
You can access Dell Support at support.dell.com. Select your region on the
WELCOME TO DELL SUPPORT page, and fill in the requested details to access
help tools and information.
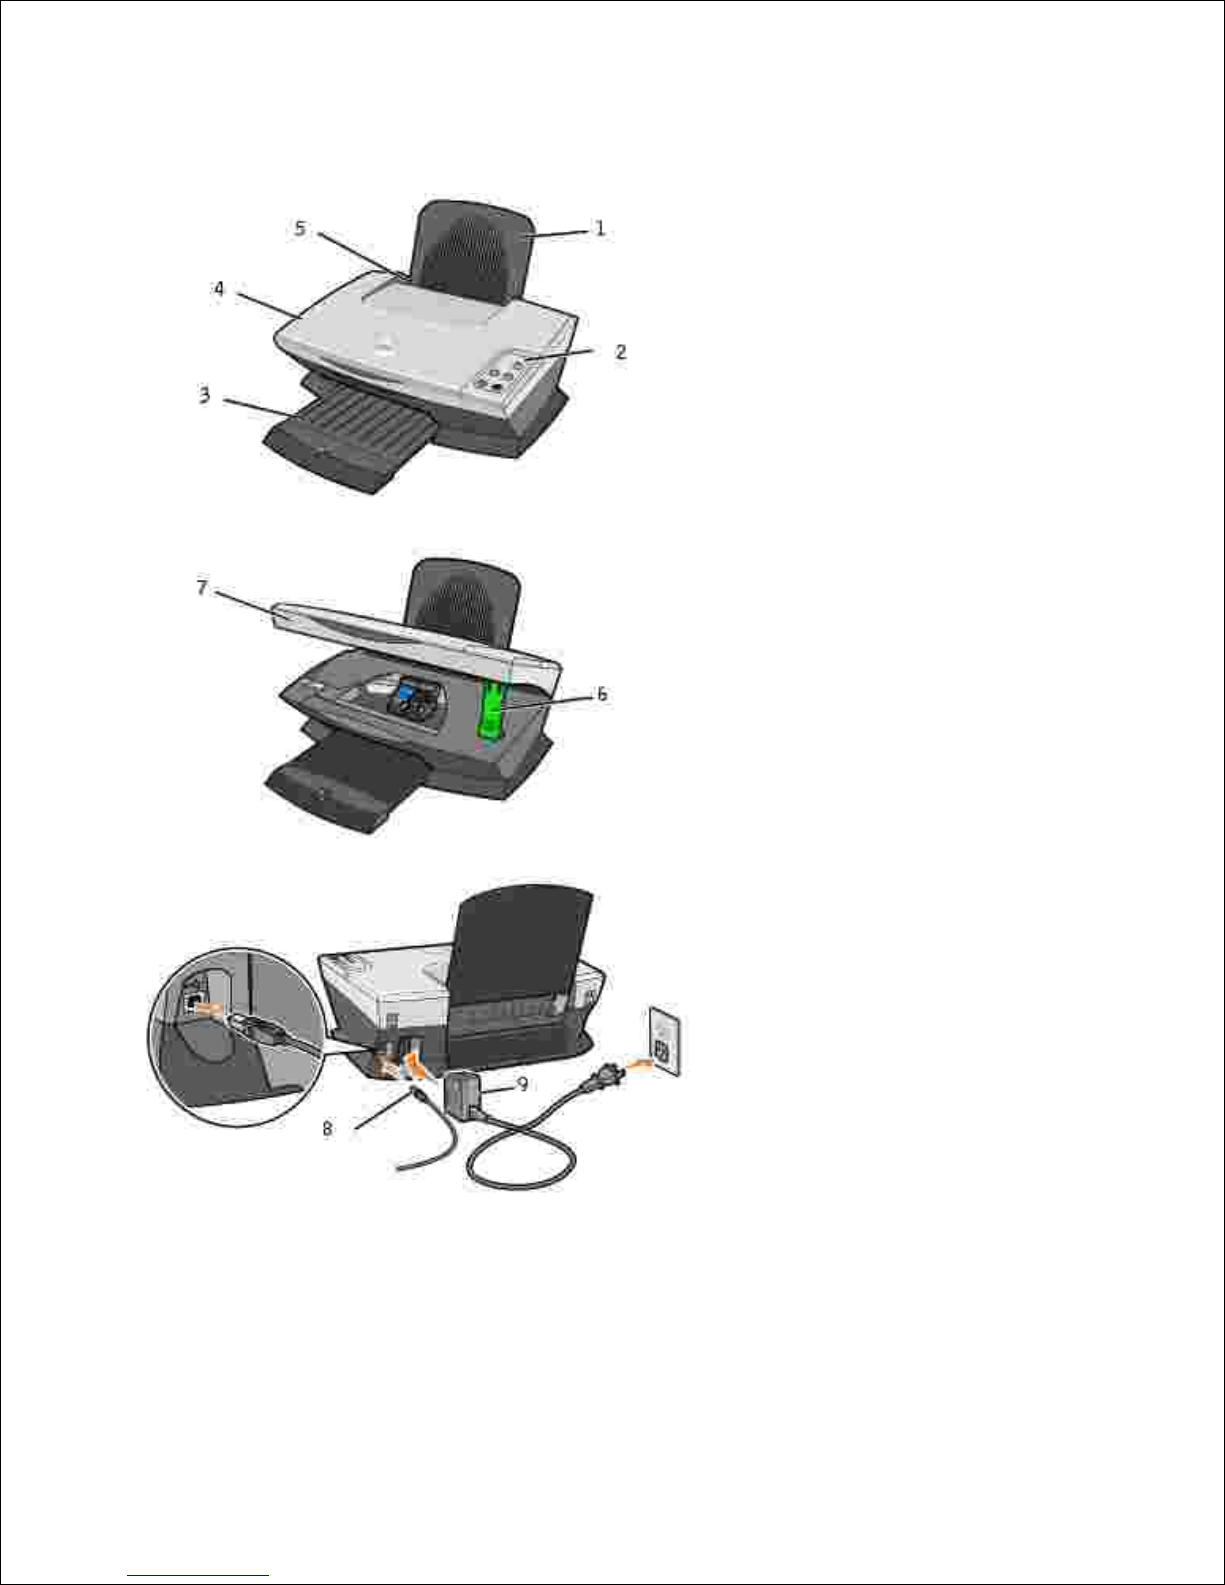
Understanding your printer
Use the:
When you want to:
1
Paper support
Load paper in the All-In-One.
2
Operator panel
Operate your All-In-One.
3
Paper exit tray
Stack paper as it exits the All-In-One.
4
Top cover
Place an item on or remove an item from the scanner glass.
5
Paper guide
Make sure paper feeds correctly into the All-In-One.
6
Scanner support
Keep the scanner unit open to insert and change cartridges.
7
Printer (scanner unit)
Insert ink cartridges.
NOTE: Lift the scanner unit to insert ink cartridges.
8
USB cable (sold separately)
Connect your All-In-One to a computer.
9
Power supply
Supply power to the All-In-One.
Maintenance
Ordering supplies
Replacing the ink cartridges
Aligning the ink cartridges
Cleaning the ink cartridge nozzles
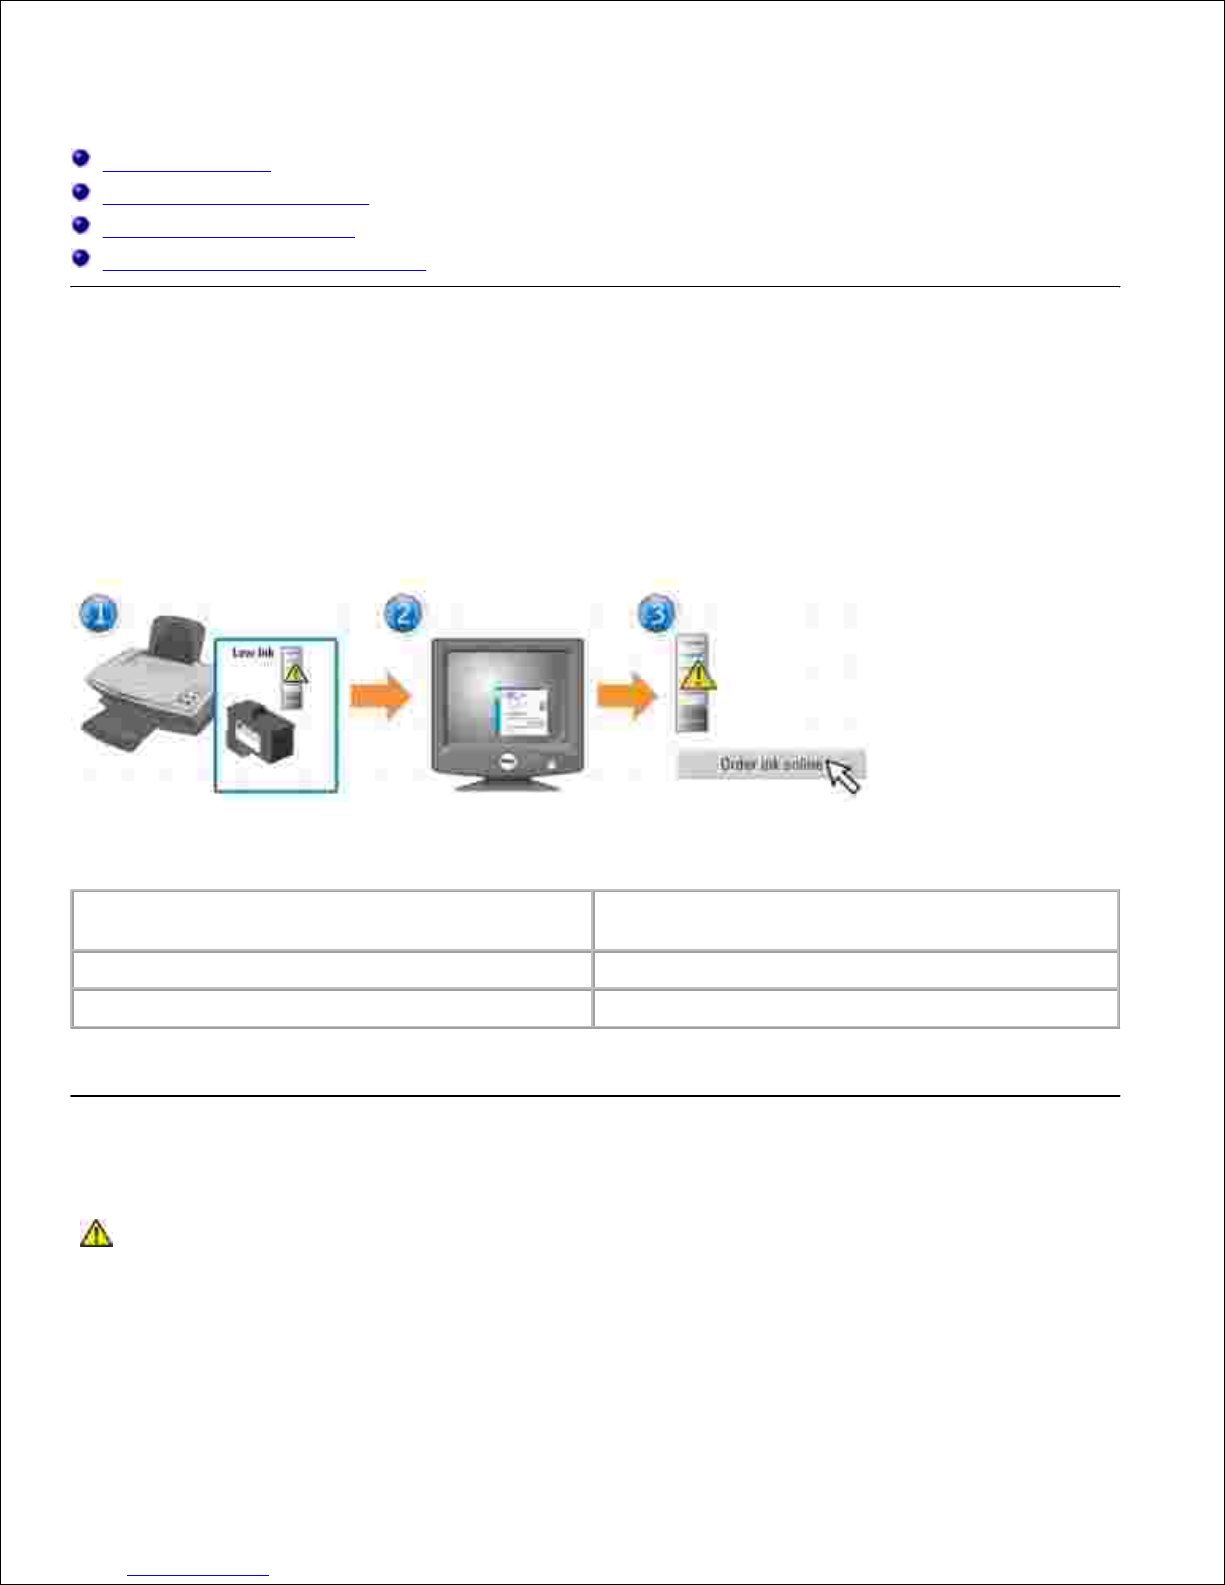
Ordering supplies
Your Dell Personal AIO Printer A920 comes with software installed to detect the ink levels in the printer.
During a print job, a screen appears on your computer to warn you if the ink levels are low. To order more
ink, follow the instructions on the screen or visit the Dell website at www.dell.com/supplies or
www.dell.euro.com/supplies.
Your printer has been designed to print using the following cartridges.
Item:
Part number:
Black ink cartridge
T0529
Color ink cartridge
T0530
Refer to the setup documentation for help installing ink cartridges.
Replacing the ink cartridges
CAUTION: Before performing any of the procedures listed in this section, read and follow
the Safety Instructions in your Owner's Manual.
Make sure the printer is on.1.
Lift the printer (scanner unit) until the scanner support keeps it open.2.

2.
The ink cartridge carrier moves and stops at the loading position unless the printer is busy.
Squeeze the tabs on the cartridge lids, and then lift the lids.3.
Remove the old cartridges. Store them in an air-tight container or dispose of them.4.
If you are installing new cartridges, remove the stickers and tape from the bottom of the cartridges.
For help, refer to the setup documentation.
5.
NOTICE: Do not touch the gold contact area on the cartridges.
Insert the new cartridges. Make sure the color ink cartridge is secure in the left carrier and the black6.
ink cartridge is secure in the right carrier, and then snap the lids closed.
6.
Lift the printer (scanner unit) and push the scanner support back while lowering the printer (scanner
unit) until it is closed.
7.
Aligning the ink cartridges
There are two instances when you will align your ink cartridges.
After installing cartridges
To improve print quality
To align the ink cartridges:
Load plain paper in the printer. For help, refer to your Owner's Manual.1.
Open the Dell Printer Solution Center. For help, refer to your Owner's Manual.2.
From the Maintenance tab, click Align to fix blurry edges.3.
Click Print.4.
An alignment page prints.
To manually align your cartridges, select the best alignment values from the alignment page.
Find the number under the darkest arrow for each alignment group.a.
Use the arrows in the Align Cartridges dialog box to select the number that matches the arrow
you chose from the printed page.
b.
Once you have selected a number for each of the alignment groups, click OK.c.
5.
NOTE: If the alignment page does not print, make sure you have completely removed the stickers and
transparent tape from both ink cartridges, and then try to align the cartridges again.
Cleaning the ink cartridge nozzles
To improve print quality, you may need to clean the ink cartridge nozzles.
Clean the nozzles when:
 Loading...