

Page 1

Dell USB-C Mobile Adapter
DA300
User’s Guide
Page 2

NOTE: A NOTE indicates important information that helps you make better
CAUTION: A CAUTION indicates either potential damage to hardware or
WARNING: A WARNING indicates a potential for property damage,
Notes, cautions, and warnings
use of your computer.
loss of data and tells you how to avoid the problem
personal injury, or death.
Copyright © 2018 Dell Inc. All rights reserved. This product is protected by U.S. and international copyright
and intellectual property laws. Dell™ and the Dell logo are trademarks of Dell Inc. in the United States and/or
other jurisdictions. All other marks and names mentioned herein may be trademarks of their respective
companies.
2018 - 01
Rev. A00
Page 3

Contents
What’s in the box ........................................................................................... 4
Features .......................................................................................................... 5
Front view .................................................................................................... 5
Back view ..................................................................................................... 6
Using your mobile adapter ............................................................................ 7
Troubleshooting ........................................................................................... 12
Specifications ............................................................................................... 15
Statutory information .................................................................................. 17
Warranty .................................................................................................... 17
3
Page 4
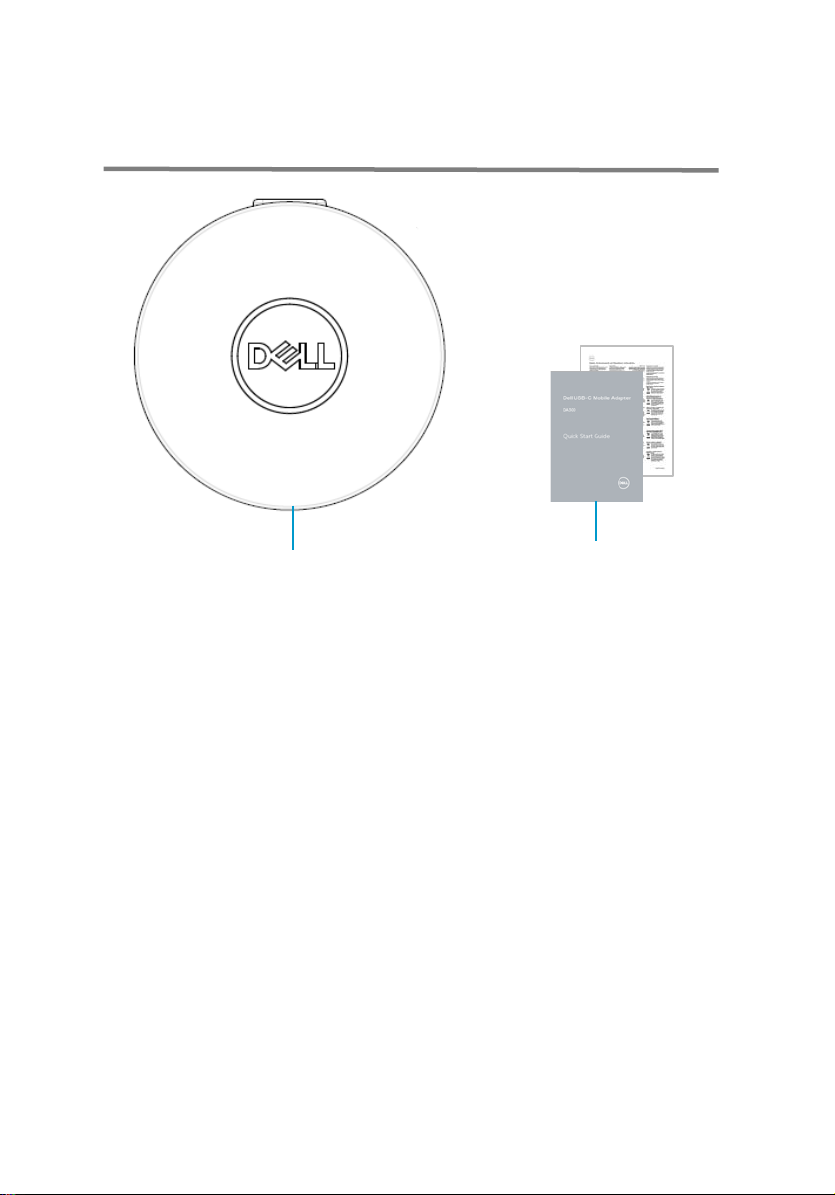
What’s in the box
1
Mobile adapter
2
Documents
1
2
4
Page 5
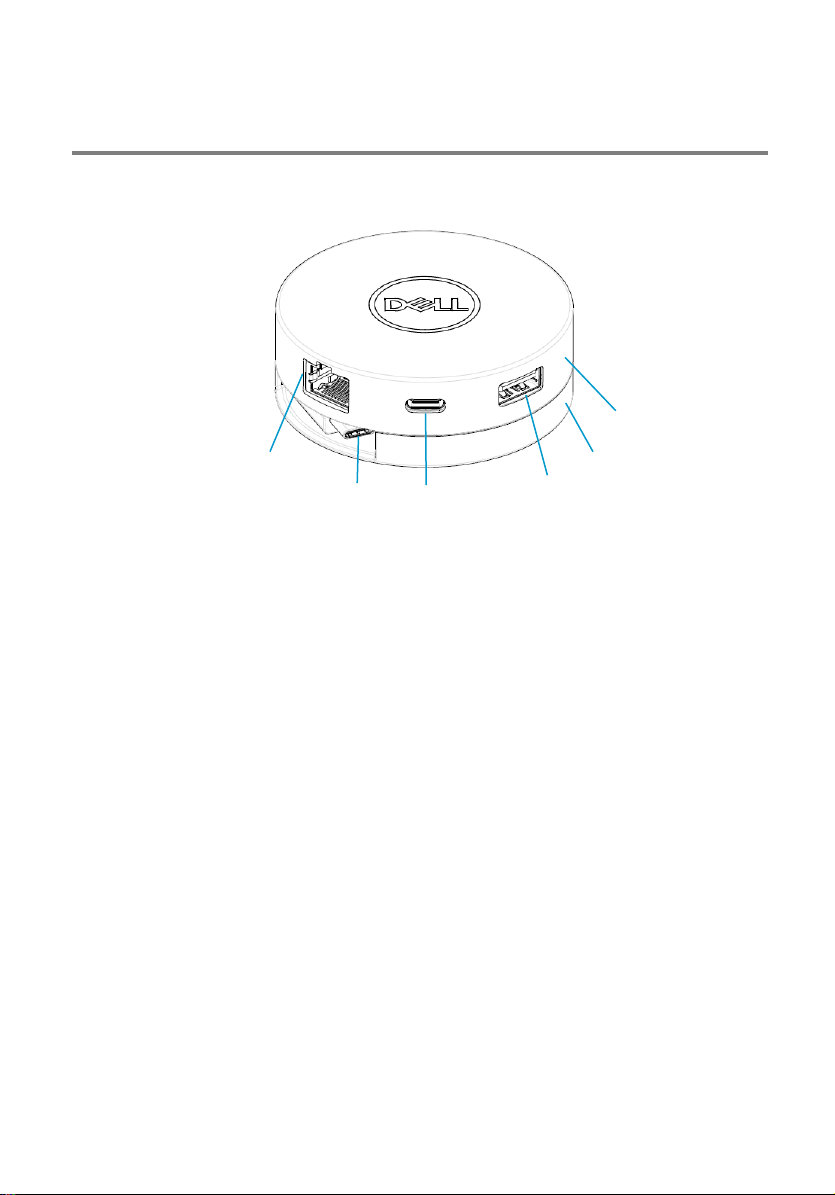
1
Ethernet port
2 USB-C cable
3
USB-C port
4 USB -A port
5
Bottom section
6 Top section
1
2
3
4
5
6
Features
Front view
5
Page 6
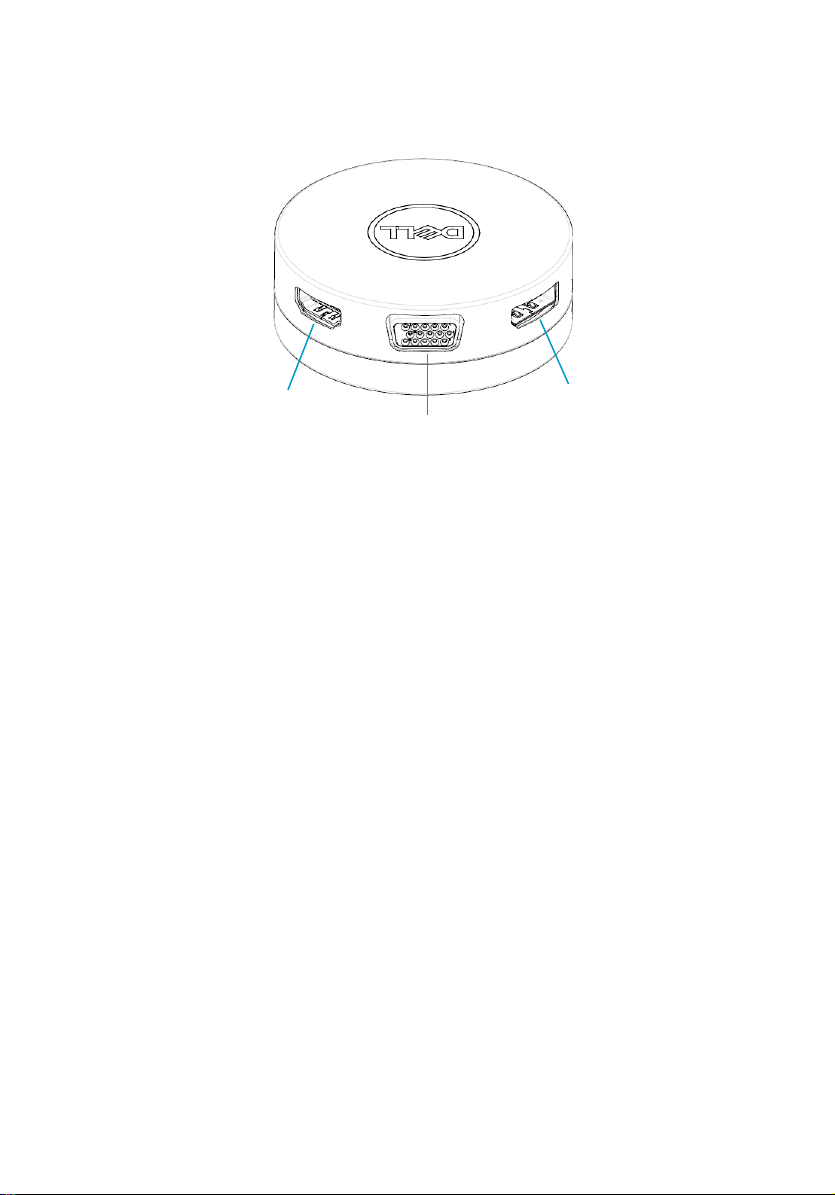
7
HDMI port
8 VGA port
9
DisplayPort
7 8 9
Back view
6
Page 7

Using your mobile adapter
1 Using your fingertips, hold the bottom section of the mobile adapter.
2 With the USB-C cable facing you, turn top section to release the USB-C cable.
7
Page 8

3 Connect the USB-C cable of your mobile adapter to the USB-C port on your
computer.
NOTE: Power delivery pass-through is not supported on the USB-C port
on your device (DA300).
8
Page 9

Video port
Connect an external display or a projector.
Network port
Connect an Ethernet (RJ45) cable from a
USB-C and
USB-A ports
Connect peripherals such keyboards, mice,
and external storage devices.
4 Connect peripherals to the mobile adapter.
router or a broadband modem for network
or internet access.
9
Page 10

NOTE: When the mobile adapter is connected to the 5V/3A USB-C port on
your computer the USB-A and USB–C ports will work at the same time.
10
Page 11

NOTE: When the mobile adapter is connected to the 5V/1.5A USB-C port
on your computer only one of the USB-A and USB-C ports will work.
For example:
• When a peripheral is plugged in to the USB-C port on your mobile
adapter, the USB-A will be disabled.
• When a peripheral is plugged in to the USB-A port on your mobile
adapter, the USB-C will be disabled.
11
Page 12

Problems
The mobile adapter is
not working on the USB
computer
The mobile adapter is only compatible with the USB-C
Multiple displays are
not working
The mobile adapter only supports single display out. You
Utilizing all the ports at
the same time is not
working
•
C
The USB-C port power
cannot be increased
5V/3A (15W)
•
Power Surge message
pops up when
connecting a
to the mobile adapter.
• The peripheral you plugged in to the mobile adapter
Unable to read and
write to an external
SSD/HDD and optical
(CD/DVD/ Blu
•
Troubleshooting
Possible solutions
port on your computer (Display Port over USB-C and
A port on your
Thunderbolt ports).
to
peripheral
-ray)
can only connect a peripheral to the HDMI port, or
DisplayPort, or the VGA port at a time.
If you connect the mobile adapter to a 5V/3A USBport on your computer, you can use one video out
port, ethernet port, and two USB-C ports.
• If you connect the mobile adapter to a 5V/1.5A USB-
C port on your computer, you can use one video out
port, ethernet port, and only one USB port.
Some platform BIOS has an option to enable 15W of
power for the USB-C port.
• Press F2 while the system is starting up to go to
Power Management.
• Locate the USB-C port power and change it
accordingly.
needs more power.
• Disconnect other peripherals plugged in to the
mobile adapter.
• For high-power peripherals, it is recommended to
connect the peripheral to your computer directly.
Some external SSD/HDD/Optical drives require
higher power than what your mobile adapter can
support.
12
Page 13

Problems
drive when connected
to
•
Resolution on the
monitor is lower than
4K
connected to the HDMI
or D
mobile adapter
The mobile adapter supports up to 4K 60Hz. The
The mobile adapter is
not
computer
USB
The mobile adapter does not support Power Delivery
The mobile adapter is
not
ad
and PXE boot
•
PXE boot in
UEFI/
not working
PXE boot support depends on the BIOS of your
No video on the
monitor attached to the
mobile adapter
•
Video on the attached
mo
corrupted
•
the video resolution under Control
Possible solutions
the mobile adapter
60Hz when
isplayPort of your
It is recommended that you connect external
SSD/HDD/Optical drive to your computer directly.
resolution supported is dependent on the DisplayPort
1.3/ DisplayPort 1.4 support from your computer as well
as the 4K support on displays (monitors/ projectors).
charging your
through the
-C port
supporting MAC
dress pass-through
Legacy mode is
nitor is distorted or
specifications and does not provide power pass through
the USB-C port.
The mobile adapter supports MAC address passthrough and PXE boot with system BIOS support.
• If your computers BIOS doesn’t support MAC
address pass-through and PXE boot, the mobile
adapter will be unable to support these features.
computer. For more information, check the
documentation for your computer.
Check the video connection cables.
• Unplug the peripheral from the mobile adapter, wait
for 10 seconds then plug in the peripheral.
Check the video connection cables.
• Check and update
Panel > All Control Panel Items > Display > Screen
Resolution.
13
Page 14

Problems
Video on the attached
monitor is not displayed
in extended mode
•
All Control
Possible solutions
Change the setting under Control Panel >
Panel Items > Display > Screen Resolution.
• Switch modes by pressing the Windows Key
+ P.
14
Page 15

Upstream input
USB-C
Downstream data ports
•
Downstream video out ports and
Single video out from one of the three
NOTE: When the mobile adapter is connected to the 5V/3A USB-C port on
LAN port LED Indication
•
Specifications
resolutions supported
your computer the USB-A and USB–C ports will work at the same time.
NOTE: When the mobile adapter is connected to the 5V/1.5A USB-C port
on your computer only one of the USB-A and USB-C ports will work.
For example:
• When a peripheral is plugged in to the USB-C port on your mobile
adapter, the USB-A will be disabled.
• When a peripheral is plugged in to the USB-A port on your mobile
adapter, the USB-C will be disabled.
NOTE: Downstream video out ports support a maximum of 3840 x 2160 at
60Hz refresh rate with computers that support DisplayPort 1.3/1.4
standard (For more information, see the specifications of your computer).
The mobile adapter will default to the 3840 x 2160 at 30Hz refresh rate
with systems that support DisplayPort 1.2 or lower.
1 x USB 3.1 Gen2 A
• 1 x USB 3.1 Gen2 C
• 1 x RJ45
ports:
• 1 x DisplayPort 1.4
(3840 x 2160 max) /60Hz
• 1 x HDMI 2.0
(3840 x 2160 max) /60Hz
• 1 x VGA
(1920x1080 max) /60Hz
Connection: Green (Solid green)
• Active Link: Amber (blinking)
15
Page 16

Recommended system requirements
Supported operating system
•
Operating temperature
Product working in maximum ambient
Windows 7, Windows 8, Windows
8.1, Windows 10 (32/64 bits)
• Mac OS : v10.12.6
temp of 35 °C.
16
Page 17

Statutory information
Warranty
Limited warranty and return policies
Dell-branded products carry a 1-year limited hardware warranty. If purchased together
with a Dell system, it will follow the system warranty.
For U.S. customers:
This purchase and your use of this product are subject to Dell’s end user agreement,
which you can find at Dell.com/terms. This document contains a binding arbitration
clause.
For European, Middle Eastern and African customers:
Dell-branded products that are sold and used are subject to applicable national
consumer legal rights, the terms of any retailer sale agreement that you have entered
into (which will apply between you and the retailer) and Dell’s end user contract terms.
Dell may also provide an additional hardware warranty—full details of the Dell end user
contract and warranty terms can be found by going to Dell.com, selecting your country
from the list at the bottom of the “home” page and then clicking the “terms and
conditions” link for the end user terms or the “support” link for the warranty terms.
For non-U.S. customers:
Dell-branded products that are sold and used are subject to applicable national
consumer legal rights, the terms of any retailer sale agreement that you have entered
into (which will apply between you and the retailer) and Dell’s warranty terms. Dell may
also provide an additional hardware warranty
—full details of Dell’s warranty terms can be found by going to Dell.com, selecting
your country from the list at the bottom of the “home” page and then clicking the
“terms and conditions” link or the “support” link for the warranty terms.
17
 Loading...