

Page 1
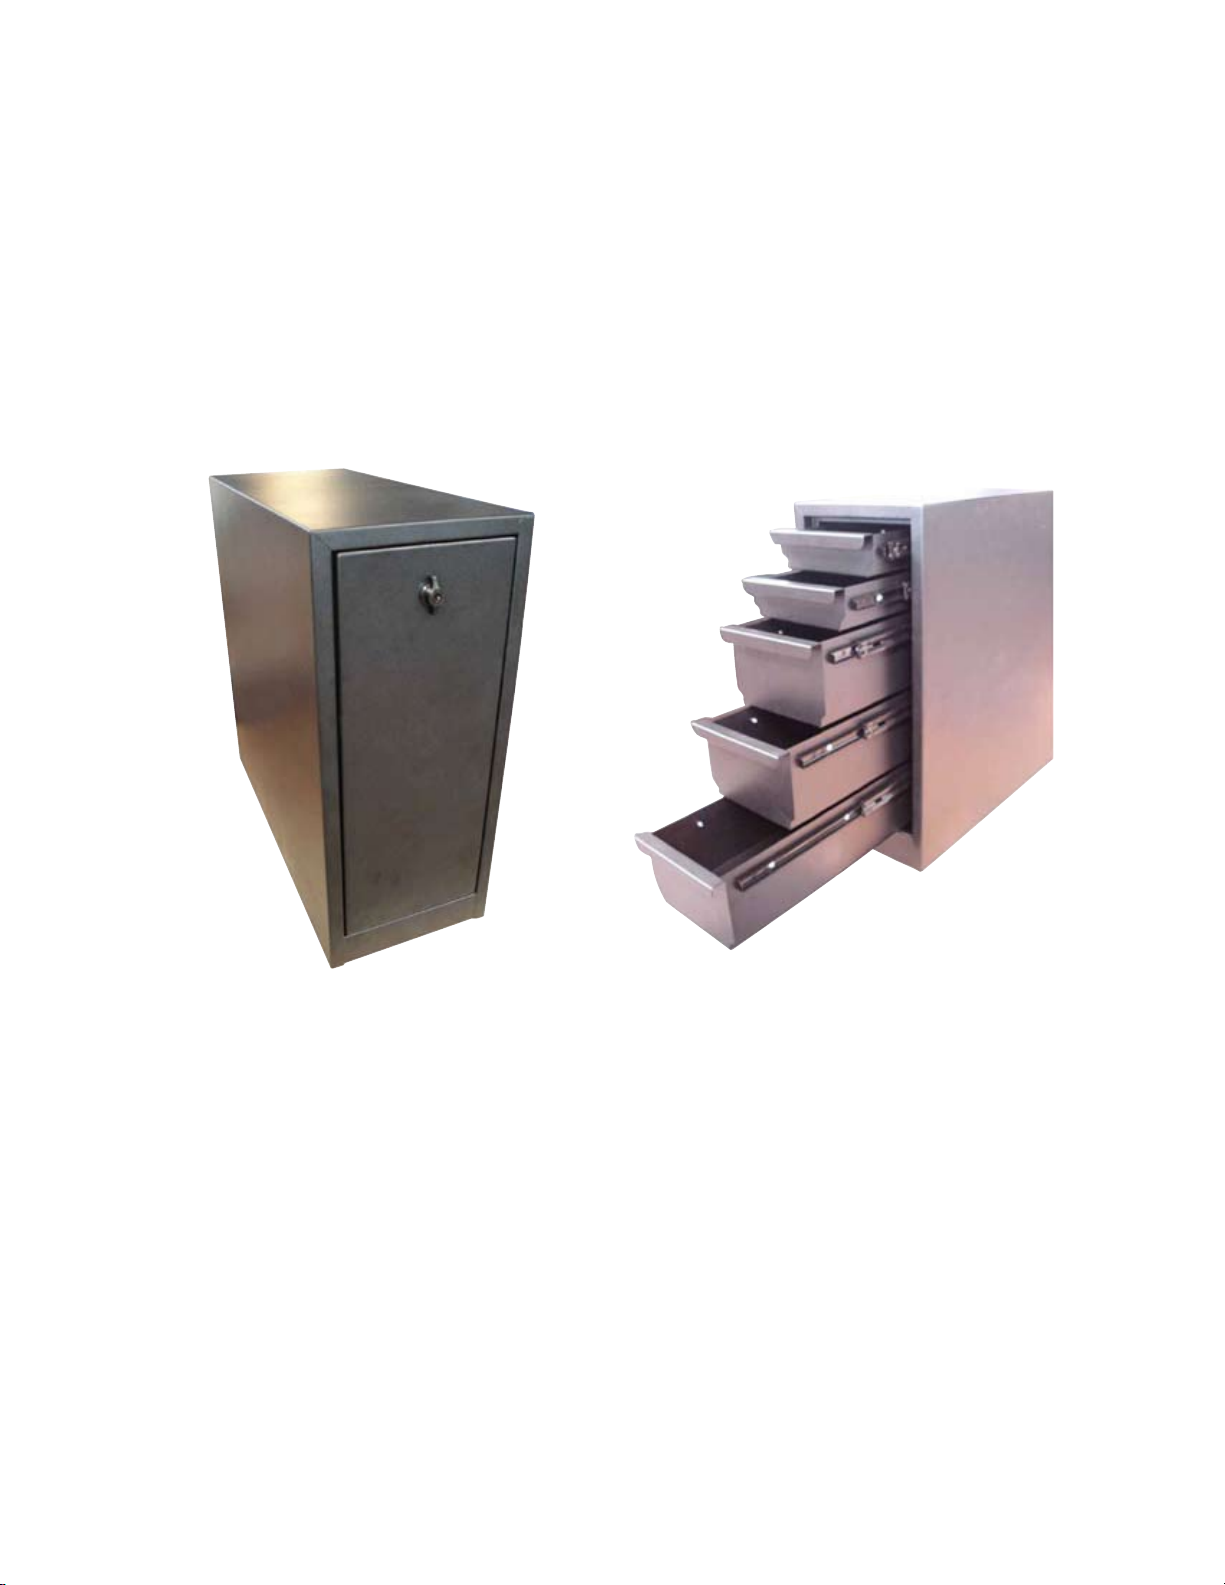
5-Drawer Tool Box
Caution: Beware of any sharpe edges or rivets!!!
Instructions
Included Parts: Five-drawer tool box including one door with
lock, ve drawers, one bottom mounting tray, mounting hardware (6 bolts, 6 washers, 6 nuts), 2 keys.
Required Tools: 3/8” drill bit, 1/2” wrench.
Page 2

1. Open front door and remove
bottom drawer to access the
locking tab at on the body oor.
This tab will allow you to release
the mounting tray from the tool
box.
2. While pressing the 2 latch posts on the inside of the box together, push the bottom
tray towards the back of the box.
This will result in the separation of the mounting tray from main body housing,
leaving 2 separate parts.
Page 3

3. Position the mounting
tray behind the fender
are of your choice,
ensuring to have the
front facing the tailgate.
4. When you have the mounting tray in the desired position, it is recommended to
mark the holes prior to drilling in case shifting of the mounting tray occurs during
drilling.
5. Using a 3/8” bit, drill through the bed exterior on your markings.
6. Thoroughly clean the surface location where the tool box will be mounted, then line
up the drill holes to the mounting tray.
7. Using the bolts supplied, begin inserting them through the mounting tray into the
drilled holes. Rotate tightening of screws before tightening any screw completely.
As all screws become tighter, then fasten completely to the frame.
8. Ensure the undercarriage of the tool box is free of debris, as well as the mounting
tray. Slide the tool box back onto the mounting tray in a similar fashion as it was
removed.
9. Re-insert any trays that were removed from the tool box during installation.
10. Remove keys from interior of box
to store in a safe location.
 Loading...