

Page 1
92-2192-01 Rev.D
Thermal Transfer Option
Page 2

Page 3
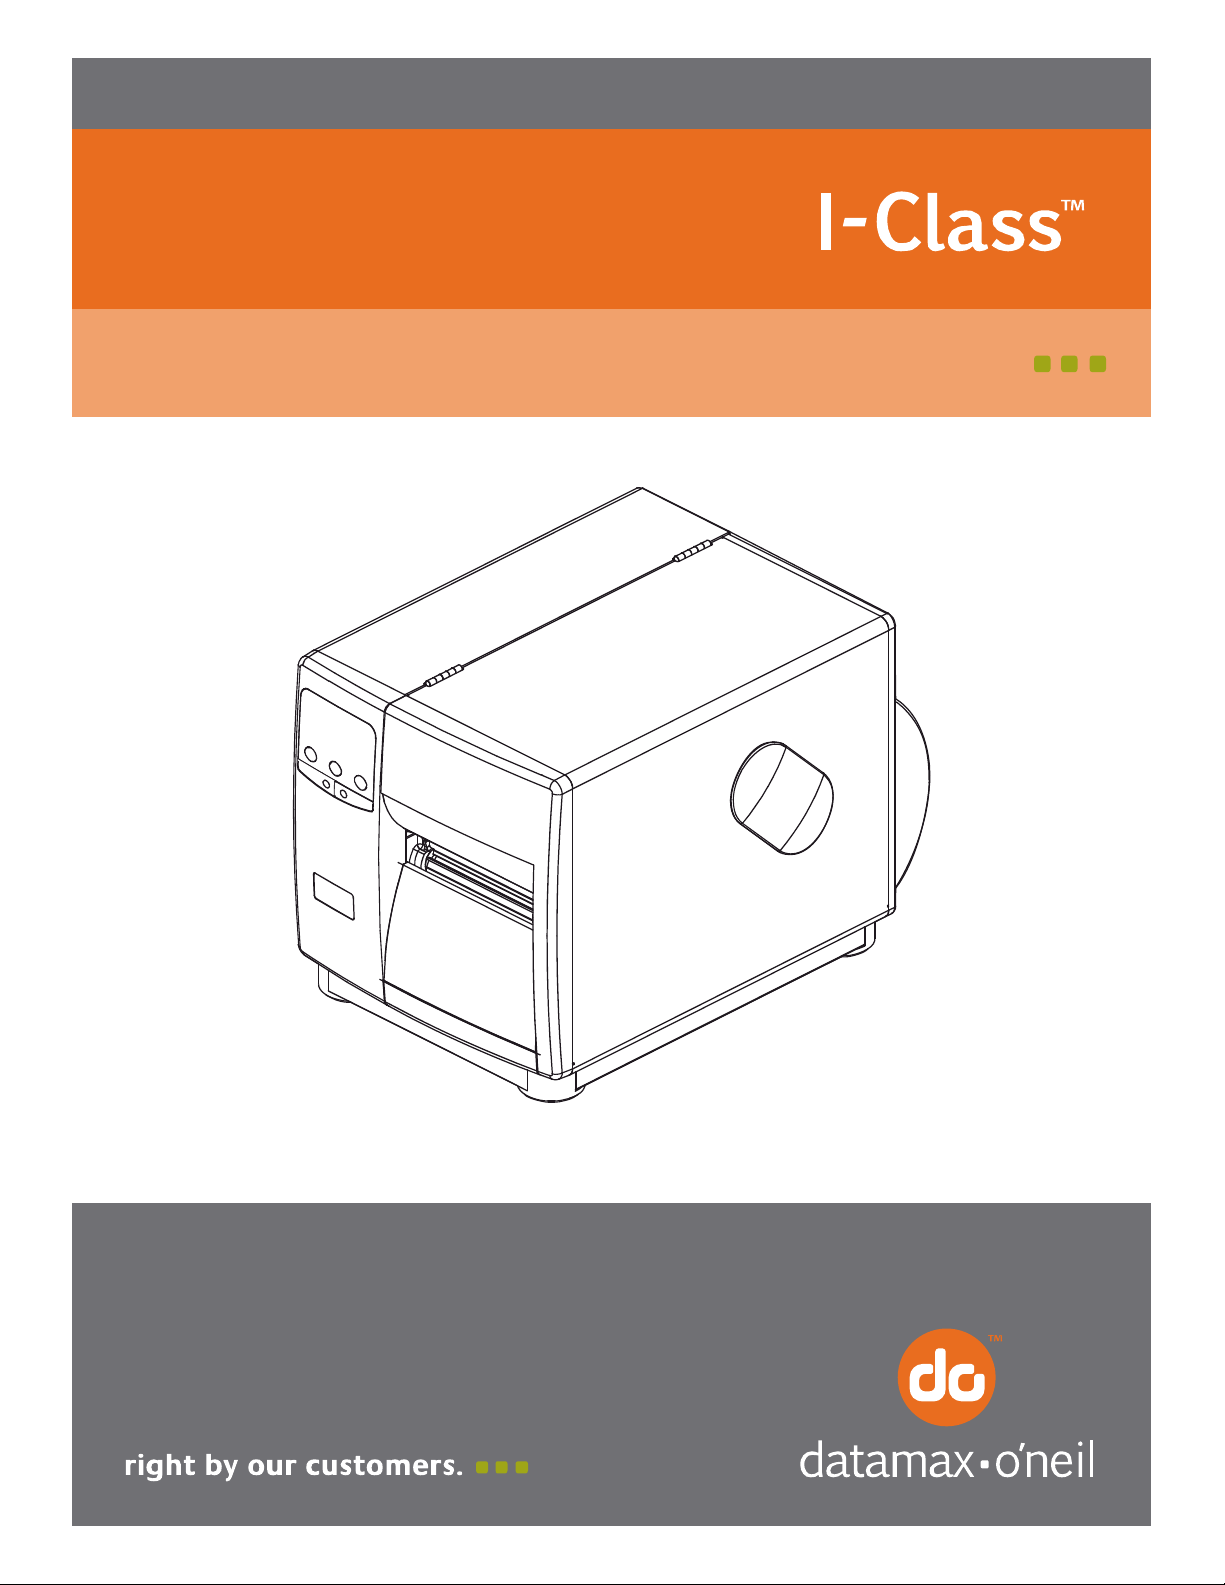
Contents of the Thermal Transfer Kit
This kit contains the following items:
Thermal Transfer Assembly
(3) Screws
Tools Required
The Thermal Transfer Option only requires a #2 Phillips head screwdriver for installation.
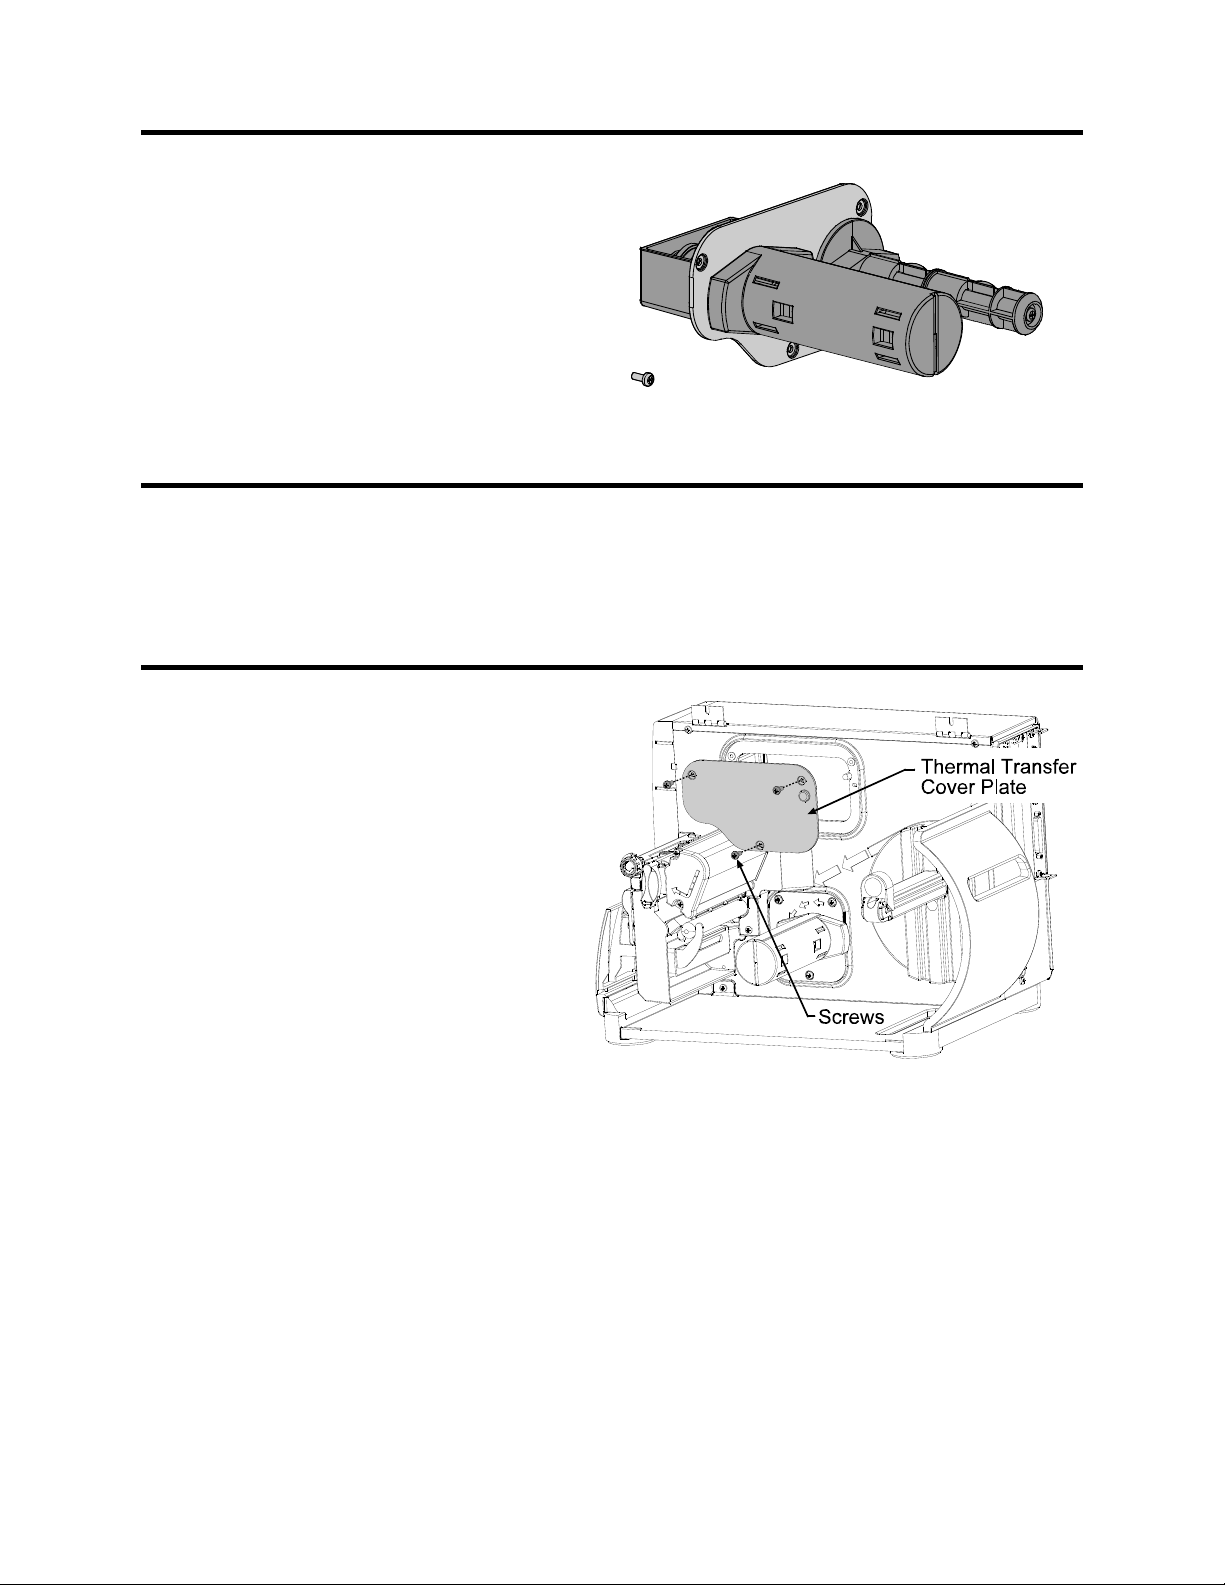
Preparing the Printer
Turn the power off and unplug the printer.
Remove any installed media from the printer.
Open the cover and remove the Screws and
the Thermal Transfer Cover Plate.
1
Page 4
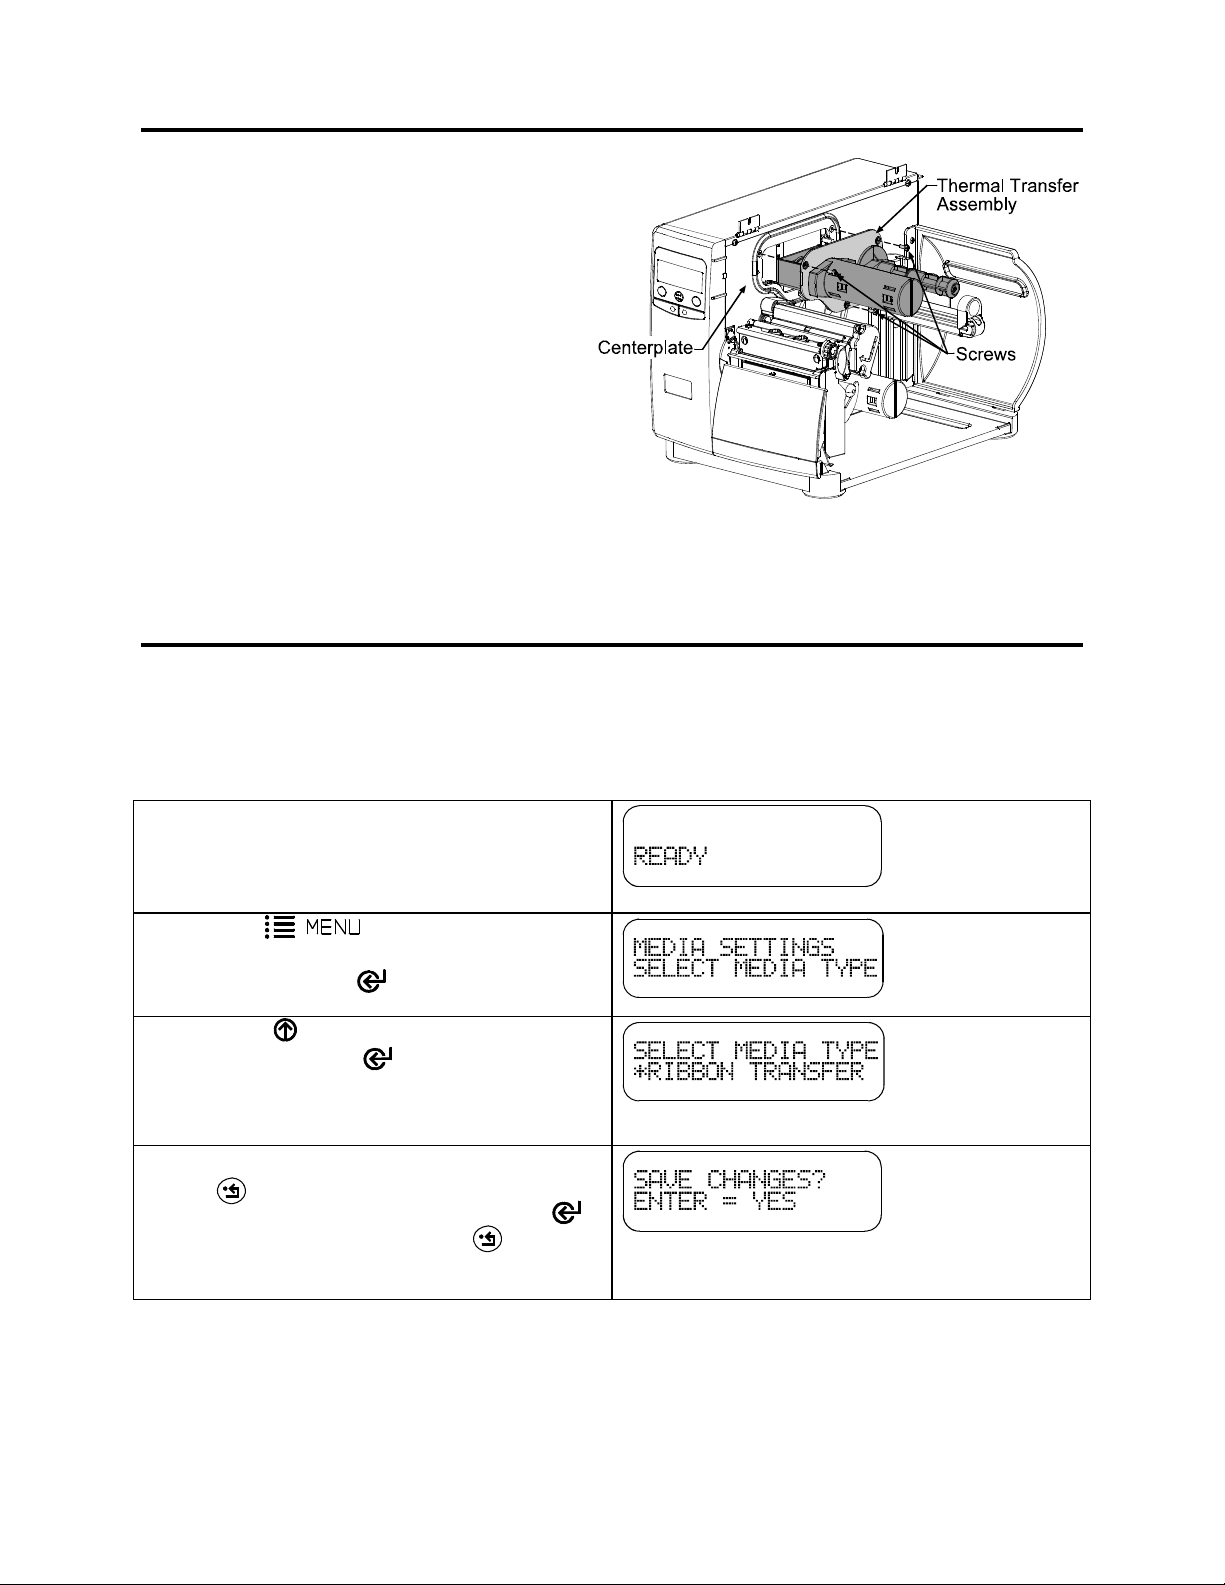
Installing the Thermal Transfer Assembly
Position the Thermal Transfer Assembly in
the printer as shown and secure using the
three provided Screws.
Setup and Configuration
In order to use thermal transfer printing the printer must be loaded with ribbon and the ‘Select Media
Type’ menu function must be set to ‘Ribbon Transfer’. For proper loading of ribbon see the ‘Ribbon
Loading’ instructions in the Operator’s Manual. Follow the steps below to set the printer to ‘Ribbon
Transfer’.
Verify the printer is in the ‘Ready Mode’
Press the button. The ‘Select
Media Type’ menu function should be
displayed, press the button.
Using the button scroll to ‘Ribbon
Transfer’. Press the button to select the
displayed setting, an asterisk will appear to the
left of the setting indicating that it is selected.
Once you have selected the desired setting
press the button repeatedly until the ‘Save
Changes’ message is displayed. Press the
button to save the changes or the button to
discard the changes.
2
 Loading...