

Page 1
User Guide
Page 2

Introduction: ...................................................................................................... 3
What’s in the Box: ............................................................................................. 3
System Requirements: ...................................................................................... 3
Serialization and Activation ............................................................................... 4
Software layout ................................................................................................. 6
SpyderPRINT Software ..................................................................................... 7
Welcome Screen............................................................................................... 7
Before You Begin .............................................................................................. 8
Print Quality Check ........................................................................................... 9
Media Settings Check ..................................................................................... 10
Begin Profiling ................................................................................................. 11
Profiling – Print Target .................................................................................... 12
Printing the Target .......................................................................................... 13
Spectro Calibration ......................................................................................... 15
Profiling – Create Measurement File............................................................... 16
SpyderProof View ........................................................................................... 22
Advanced Editiing ........................................................................................... 23
Save Profile .................................................................................................... 24
Process Complete........................................................................................... 25
Begin Profiling – Selecting an existing Measurement File .............................. 26
Page 3

Introduction:
Thank you for purchasing your new Spyder®PRINT. This document will offer a
step by step guide for using your SpyderPRINT to get the best possible colors
from your printer.
What’s in the Box:
▪ SpyderPRINT Spectrocolorimeter
▪ Sensor Base
▪ SpyderGuide
▪ USB cable
▪ Welcome Card - Including serial number, warranty information, and download
instructions
System Requirements:
▪ USB Port
▪ Windows 7 32/64, Windows 8.0, 8.1 32/64, Windows 10 32/64
▪ Mac OS X 10.7 or higher
▪ Monitor Resolution 1280x768 or greater, 16-bit video card (24 recommended),
1 GB of available RAM, 500MB of available hard disk space
▪ Internet connection for software download
Page 4
Serialization and Activation
First, download and install the SpyderPRINT software from the Datacolor website
(follow the link included in the package).
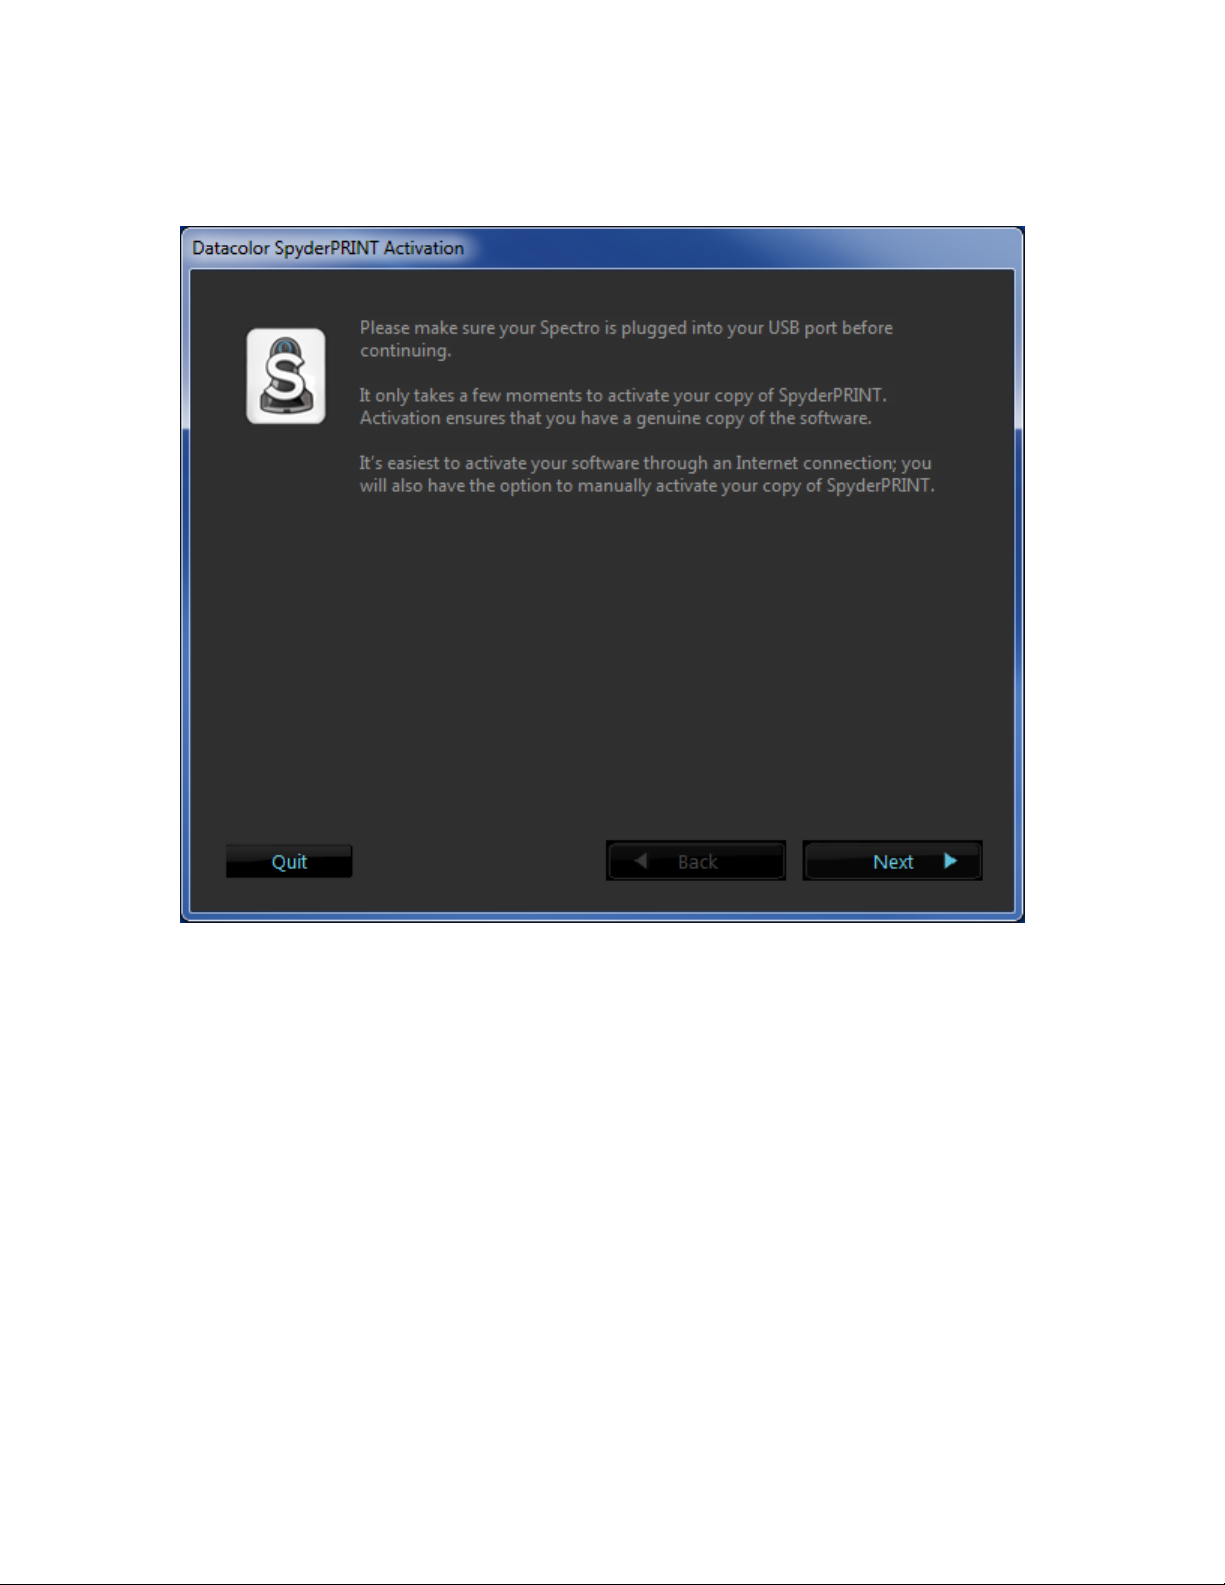
Next, make sure that your SpyderPRINT is plugged into a USB port on your
computer; make sure it is a direct port, not on a keyboard, hub, or extension
cable.
Enter your serial number located on the welcome card, or license code from your
email if you have already registered the software on another machine. With the
easy automated activation, please make sure that your computer is connected to
the internet and that no firewall blocks your software from communicating with
the Datacolor activation server.
Page 5

Save the email with the license code. You will need either this or the original
serial number from the card in the SpyderPRINT package if you want to use the
device on another computer.
Page 6

Software layout
The software that comes with your SpyderPRINT is a wizard, which will walk you
through the process step by step. We have outlined the steps below to help you
through the process. There are a few differences between the Windows and
Mac versions that will be highlighted when necessary.
Page 7
SpyderPRINT Software
Welcome Screen
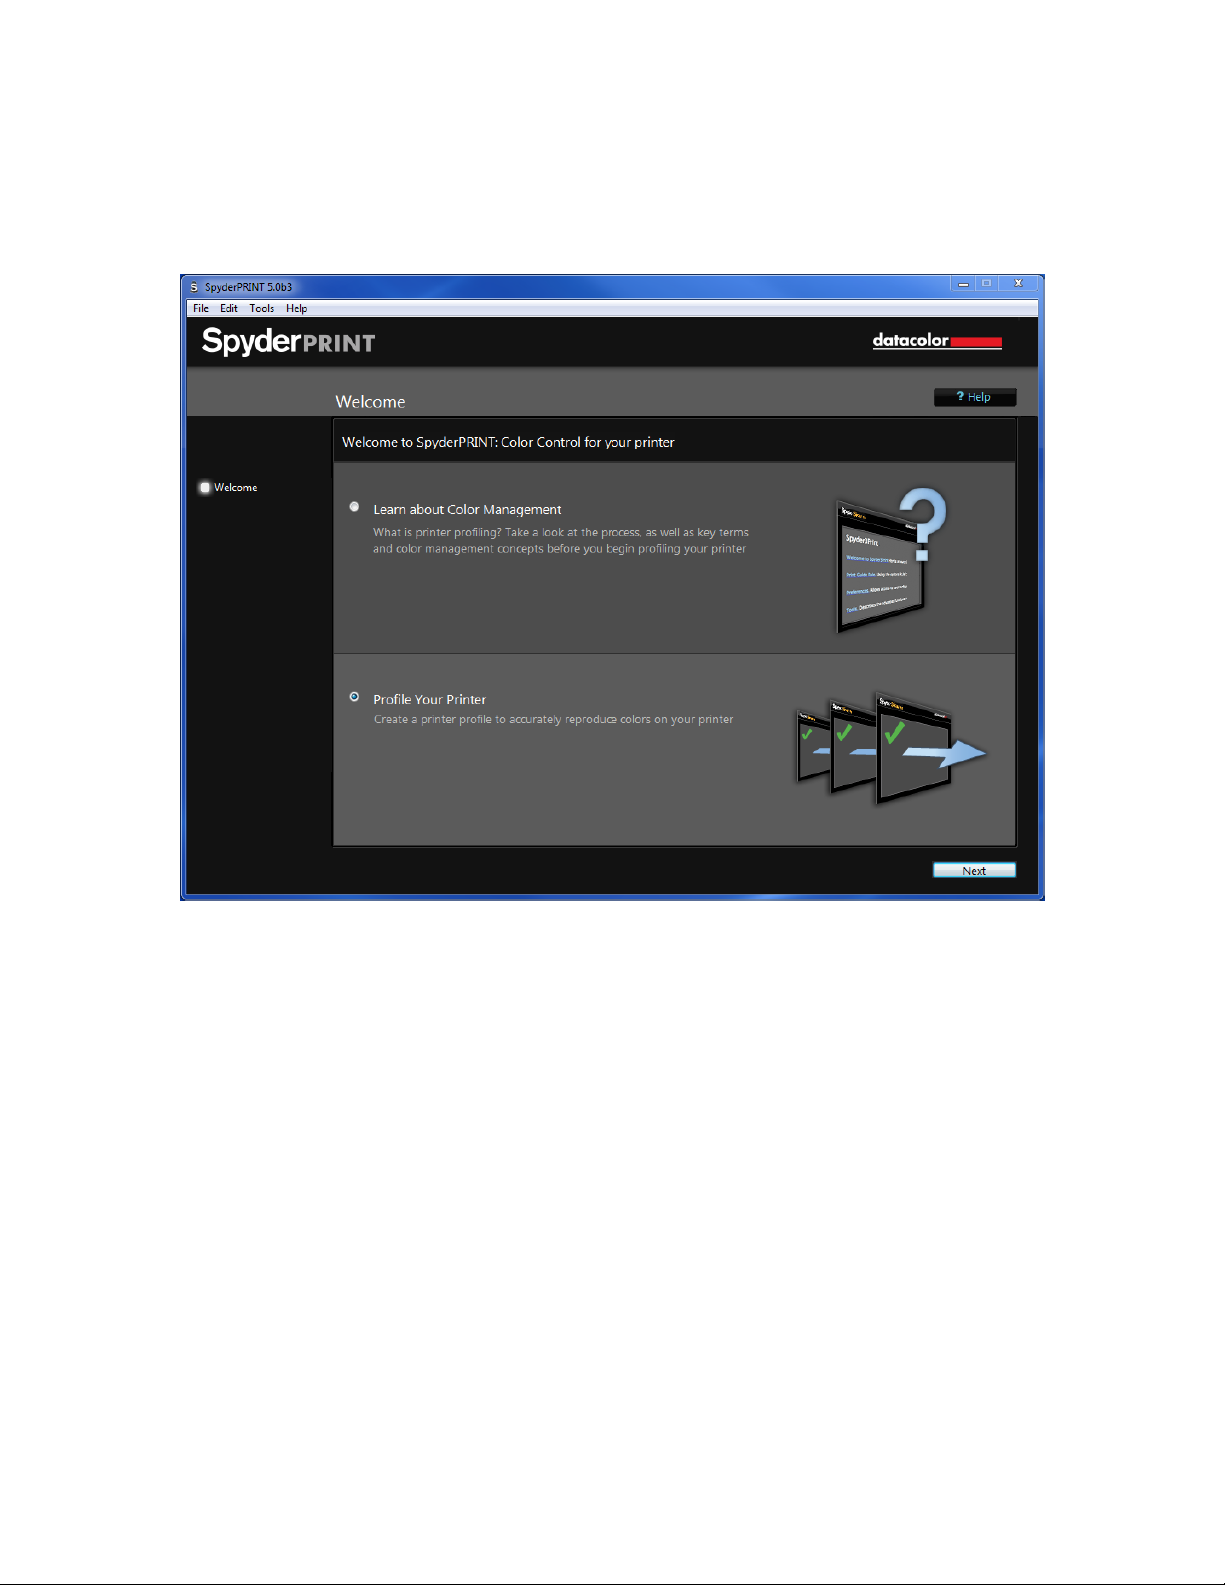
When you run the SpyderPRINT software you will be greeted with the Welcome
Screen. Here you have two choices, to “Learn about Color Management” or to
“Profile Your Printer”. If you are new to Color Management you may want to go
through the “Learn about Color Management” section to learn more about the
process and familiarize yourself with the terms and concepts before getting
started. Once you are confident you can click on the “Profile Your Printer” and
click "Next".
Page 8
Before You Begin
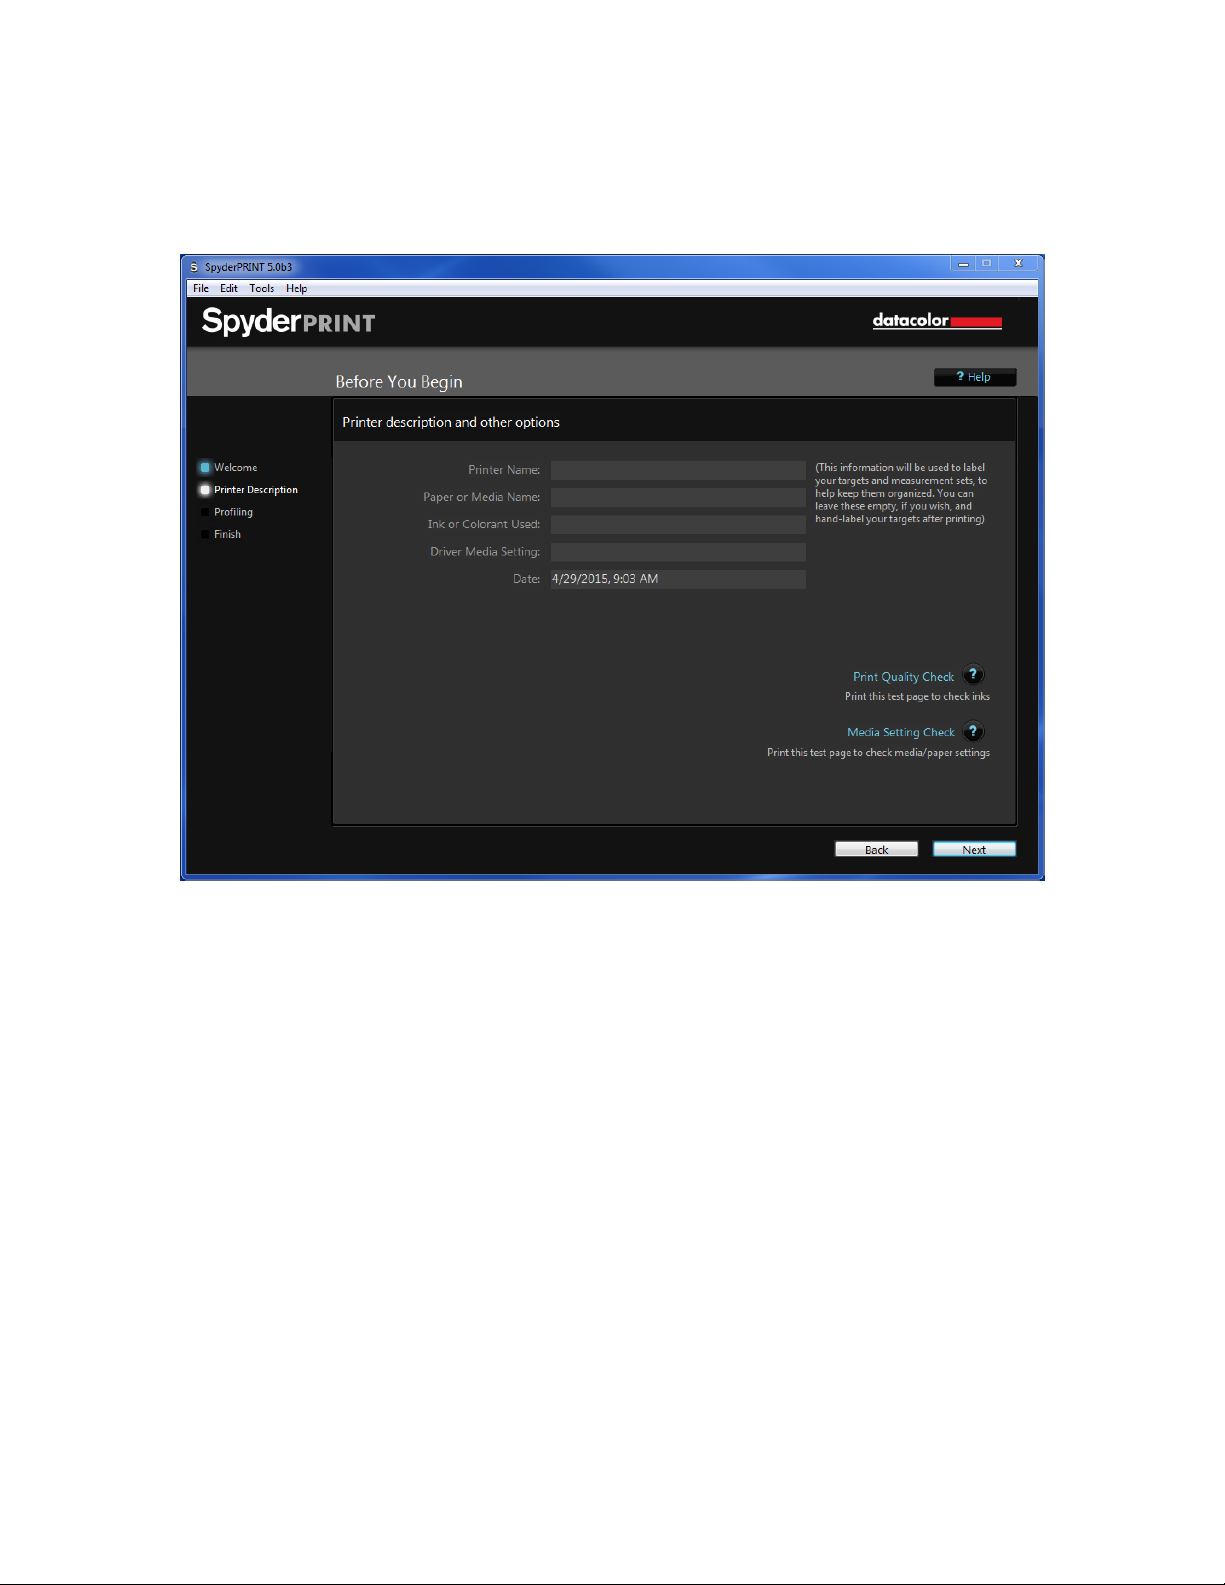
Printer description and other options:
Here you can enter the name of your printer, type of paper and ink used and any
driver media settings you may be using. This information will be printed
automatically at the bottom of the profiling "target" sheets to help keep track of
the settings that you will eventually use when actually printing the target sheets.
It is not necessary to fill in all of the fields, but can be useful down the road.
Page 9

Print Quality Check (optional)
Clicking on this will give you a test page to print to ensure that your printer is
functioning properly (all inks working and nozzles not clogged). Enter your
printer name and any note you would like to add; these will be displayed on the
printed page. You can also choose whether to print a full page or just use a
quarter page by selecting the “Full Sheet” check box. Next, click on the “Print
Quality Check Image” box to proceed. A “Page Setup” box will appear. Choose
the printer you wish to use, paper size, and orientation. We recommend using
landscape mode when printing full sheets. Next a "Print" dialogue box will
appear; check your settings and press the “Print” button.
Page 10

Media Settings Check (optional)
This screen lets you print a "Media Setting Check" image at different driver media
settings (paper type, output resolution, etc.) to assure that the media setting
choice is optimal before printing a full profiling target for the printer. If the choice
is not optimal, then the resulting profile will not have the color range or detail it
would have from an optimal setting, and it's likely that prints with these settings
will have various kinds of cosmetic issues.
The basic idea is to print this image, with color management turned off in the
driver, the same way the target sheets will eventually be printed, so that you can
see how the same kind of color squares will eventually print with one or more
profiling target sheets.
An example of "not optimal" would be using the wrong paper type setting for a
non-standard paper type and getting too much ink on the paper, which can
produce irregular mottling and streaking of printed colors.
More information is available by clicking on the help button at the top of the
screen.
Page 11

Begin Profiling
On this screen you will select whether to print and measure a Target or Select an
existing measurement.
Click “Print and Measure a Target” to create a new profile.
Click “Select an Existing Measurement File” to view, adjust or build profiles from
a previously created measurement set (Go to Page 26 to learn more about this
setting).
Page 12

Profiling – Print Target
Here you have a number of choices regarding which test target to print out and
measure.
The EZ Targets have larger, wider patches that make them easier to measure.
They print on twice as many sheets of paper as the Classic Targets.
Either kind of target, EZ or Classic, can be measured with or without the
SpyderGuide. The purpose of the guide is to help you align the Spectro with the
rows of patches while moving from left to right whether you're measuring by
patch or strip.
Most printers will perform well with the High Quality Target, with or without
Extended Grays. With some printer configurations, it can be beneficial to print the
extra set of Extended Grays for your profile target sheet set, even if you aren't
printing Black and White. Once you have selected the appropriate target, press
the "Print" button.
Page 13

Printing the Target
After you click "Print Target", the print dialogue box will appear on your computer.
Choose the printer you are looking to create a profile for, select the appropriate
paper size, set to landscape orientation, .25 inch margins (.635 centimeters),
print single sided, and then we need to turn off any color management features.
On a Windows machine this means turning “on” Barrier Free color management.
On a Macintosh you want to turn off Color Sync and select in Printer.
(Windows)
Page 14

(Macintosh)
Once color management has been turned off, proceed to print the pages of the
target.
There is an option, when printing multiple target sheets, to print either all sheets,
or just one at a time. To print your targets one sheet at a time, use the small
target preview in the Wizard screen to switch to the page you want to print; then
click the Print Target button and tell it to only print “One” sheet. Repeat this
process for each sheet in the target.
With multi-sheet targets, each sheet will be automatically labeled with a page
number. You must measure the sheets in the proper order to build a correct
printer profile.
We recommend that you let the target sheets dry for at least 15 minutes after
printing. Depending on the printer, paper, and ink set, you may want to wait
longer. Some inks “develop”, deepen and darken on certain papers more slowly,
and you don’t want to take measurements until (a) the ink is fully dried and won’t
smear during measurements, and (b) the color of the printed patches has locked
in and won’t change further.
Page 15

Spectro Calibration
Place your Spectro onto its base and press the button on the top, this will create
a white balance for your Spectro. Make sure the white tile of the base is clean
and the Spectro is aligned properly on it. It is critically important to calibrate
properly to assure accurate measurements.
Page 16

Profiling – Create Measurement File
On step 1 you will name your Measurement File, which creates a formatted text
file that will contain the measurements you are about to take. Click "Save".
On step 2 you will be starting with an "empty" measurement file that you created
in step 1. Click on the "Open Patch Reading Screen" button to begin the
measurement process for the set of target sheet(s) that you've printed and
allowed to dry.
Page 17

This is the window that opens whenever you’re going to measure patches from
target prints. What you’re seeing is a grid of color patch “slots” that corresponds
to the physical patches printed in the Target you chose. The grid is labelled in
columns by letter, and in rows by number, to also correspond to the physical
target print. The bold “1” in the lower right, beneath the patches, reminds you that
this is Page 1 in the target. The two popups in the lower right corner of the
window are used to set the measuring mode; and the display mode. In this
example, measuring mode is set to Strip (the other choice is Patch).
The display mode for the window defaults to “Split” (the other choices are “Pure”
and “Measured”). When in Split mode, each patch rectangle is drawn in 2 colors:
the upper left corner of the rectangle is drawn in the “pure” RGB color that exists
for that patch in the target. The “pure” color is the “raw” RGB color that was sent
through the printer driver and which, when the target has been correctly printed,
will have produced an “uncalibrated” color patch for you to measure. So for
example, for the red patch in the target (“full” RGB red of (255, 0, 0)”, that’s the
pure color displayed for that patch in the window. The lower right corner of each
patch rectangle is drawn in whatever color you’ve measured into that slot. In this
example, all of the patch rectangles have “white” in the lower right corner
because they’re “empty” – none of them are measured yet.
Page 18

If you switch display mode to “Pure”, the entire window will redraw showing all
patch rectangles filled fully with the Pure colors. This will let you quickly see what
the Pure representation of the target print looks like.
It’s important to understand that these Pure colors are “ideal”, and simply
represent the colors in the target image before you printed it.
When you print the target correctly (all color management turned off), the
resulting target print will be “uncalibrated” and the printed color patches will look
different than these Pure “ideals”. When you measure these uncalibrated patches
in the target print, SpyderPRINT will then calculate a profile that will correct for
this uncalibrated state of the printer.
Page 19

If you switch display mode to “Measured”, then all of the rectangles in the Target
window are filled only with the measured color. Here, this means that the
entire window appears with “empty” white patches because nothing has been
measured yet.
Page 20

If this is your first time measuring patches in a target, you may want to take the
brief tutorial on how to read the patches. The tutorial will show you the
appropriate speed to read the targets if you’re using strip mode, which measures
by row. The other mode you can measure in is patch, which measures by each
color patch. Once you feel comfortable you can begin reading your own target.
Place the Spectro on the first patch on the next line and repeat. Once this page
is finished, click on the 2nd page and that will appear, repeat until all pages have
been read.
Once finished you can review your targets, if there is a red box around the patch,
it should be read again, this indicates some sort of an error with that particular
patch. While in the View/Measure mode you can toggle back and forth between
the split and measured mode to see the full size targets and measurements.
Page 21

Once you are satisfied with your readings, press the next button, this will process
and create your profile.
Page 22

SpyderProof View
On this page you can preview what an image looks like when soft proofed vs not
soft proofed. Select your rendering intent, either: Saturations, Perceptual,
Relative Colorimetric, or Absolute Colorimetric. Click on the Soft proof button
below to see the difference. You can zoom into the images to see them enlarged
or to zoom out.
Page 23

Advanced Editing
If you wish to make changes to your profile, you can click on the Advanced
editing button to bring up a series of sliders to make changes to your profile.
Page 24

Save Profile
Once you are happy with your profile, enter a name for it, usually with the printer
and paper type, and click save.
Page 25

Process Complete
Congratulations, you have finished building your profile! You can either quit the
program, start building another profile, or continue editing the one you just
created.
Page 26

Begin Profiling – Selecting an existing Measurement File
You can select a previously created profile to continue editing it here. You can
go back in and re-read any or all of your patches and once done you can view
the results in SpyderProof as well as edit them under Advanced Editing. Once
completed you can re-save this file under a new or the existing name.
Datacolor, Spyder and SpyderPRINT are trademarks or registered trademarks of Datacolor.
© Copyright 2015 Datacolor. All rights reserved
 Loading...