

Dansons Group Wire, THERMOSTAT, AcuTron Control Board User Manual
THERMOSTAT INSTALLATION
NOTE: Always disconnect power before performing the thermostat installation
TOOLS REQUIRED
1/4” hex nutsetter & driver
wirestripper
small sized flat head screwdriver
INSTALLATION STEPS
Follow the thermostat manufacturer’s installation procedures
1. Unplug the stove’s power cord from the wall outlet
2. Remove the 6 x 1/4” hex screws from the slotted back access panel
3. Unscrew the control board from the side of the heater (2 x 1/4” hex screws)
4. Unplug the 9 pin wire harness from the back of the board
5. Install the thermostat module by plugging it into the 9 pin plug on the back of the control board
6. Locate the thermostat terminal block marked T’STAT INPUT, found on the back of the module
7. Be sure to run the thermostat wires through one of the slots of the rear access panel before
connecting the wires
8. Connect the 2 wires from your thermostat to the terminals on the module, 1 per terminal. Ensure
the wires are firmly connected
9. Connect the 2 wires at your wall thermostat to their terminals. Ensure the wires are firmly connected
10. Reinstall the 9 pin wire harness to the 9 pin plug now found on the thermostat module
11. Reinstall the control board and the slotted rear access panels
12. Plug in the stove and you are ready to operate with your thermostat
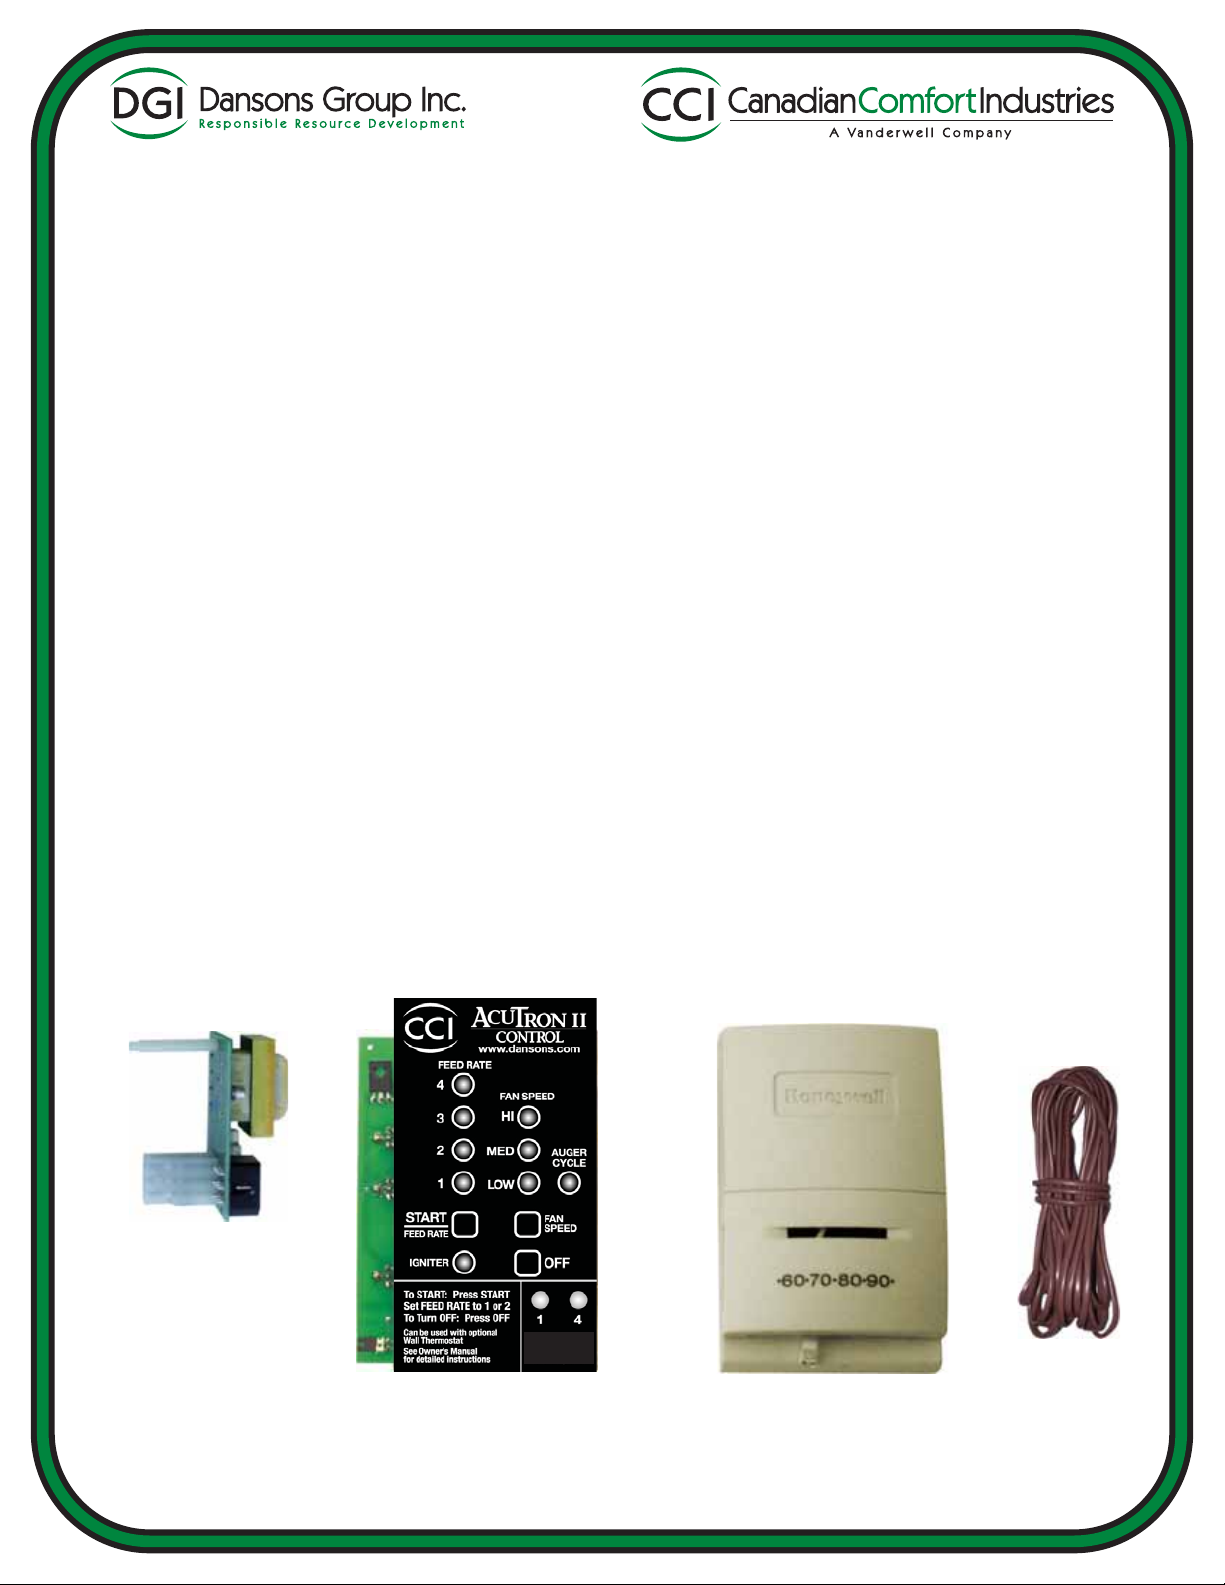
Thermostat Module
as des iredas des ired
AcuTron Control Board Thermostat
Visit www.dansons.com/support for further technical assistance.
Thermostat
Wire
IMPORTANT: PLEASE READ BEFORE STARTING YOUR STOVE
The controller on your stove has been fitted with
memory. Should you have a power outage or blip,
the unit will come back on the setting that you had
left it at before.
Before you first plug in a new stove after installation,
make sure you have removed all foreign objects
from the hopper. When you first plug in the stove,
it may possibly power up due to the initial memory
test. At this time press the OFF button.
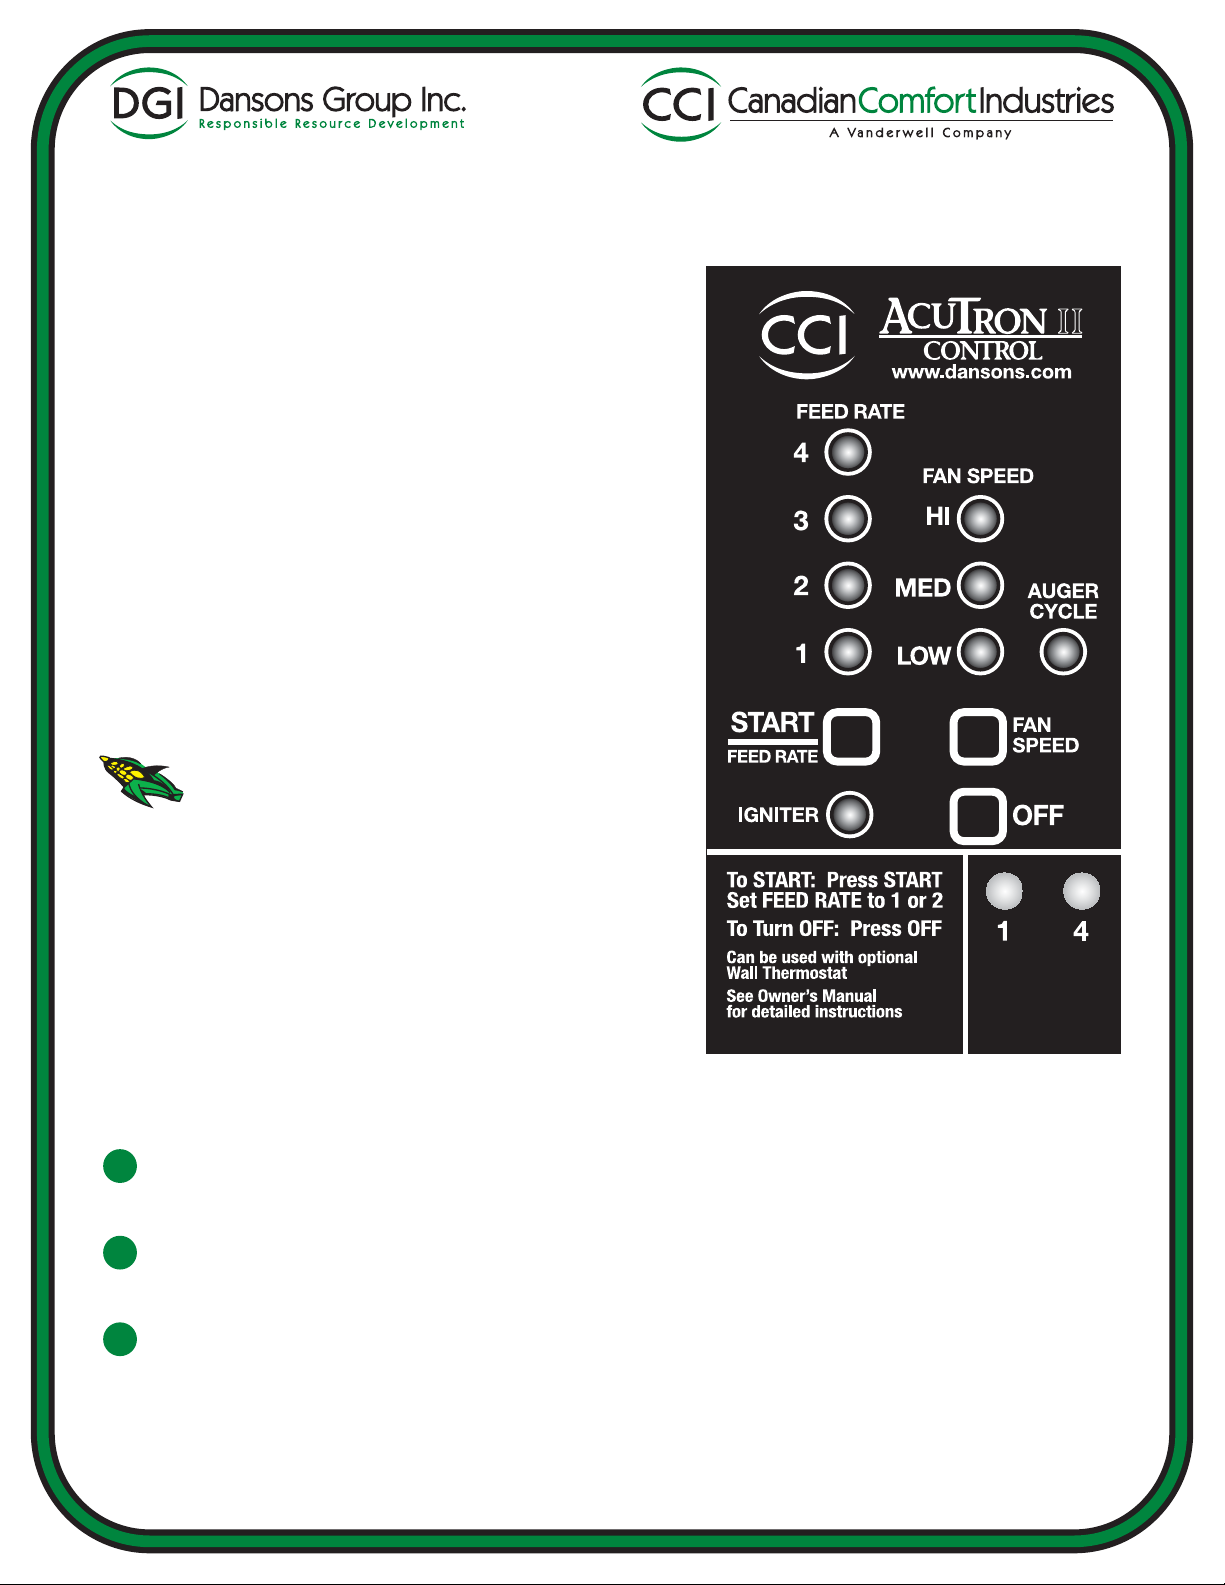
This control is equipped with various functions. As
a result, you need to check to make sure you are in
the proper burn mode. Once your desired setting is
reached, press the START button for operation.
NOTE: Corn stoves DO NOT USE AN
IGNITER. The igniter light is the 15 min. delay until
the unit reaches the required operating temperature.
To confirm the mode, press and hold the OFF button.
When the desired mode flashes as stated below,
release the OFF button and press START.
The 3 modes are as follows:
1
When the red FEED RATE lights 3 and 4 flash,
that is the High/Low Thermostat Cycle (optional *).
2
When the red FEED RATE lights 1 and 2 flash,
that is the On/Off Thermostat Cycle (optional *).
3
When the red FEED RATE lights 1 and 4 flash,
that is the manual function.
You may hit the START button if you are ready with a full hopper of fuel.
* The thermostat is available separately from the stove.
 Loading...