

Page 1
Service Guide
Setup for HGM Leak Detector with
Alarm and Strobe
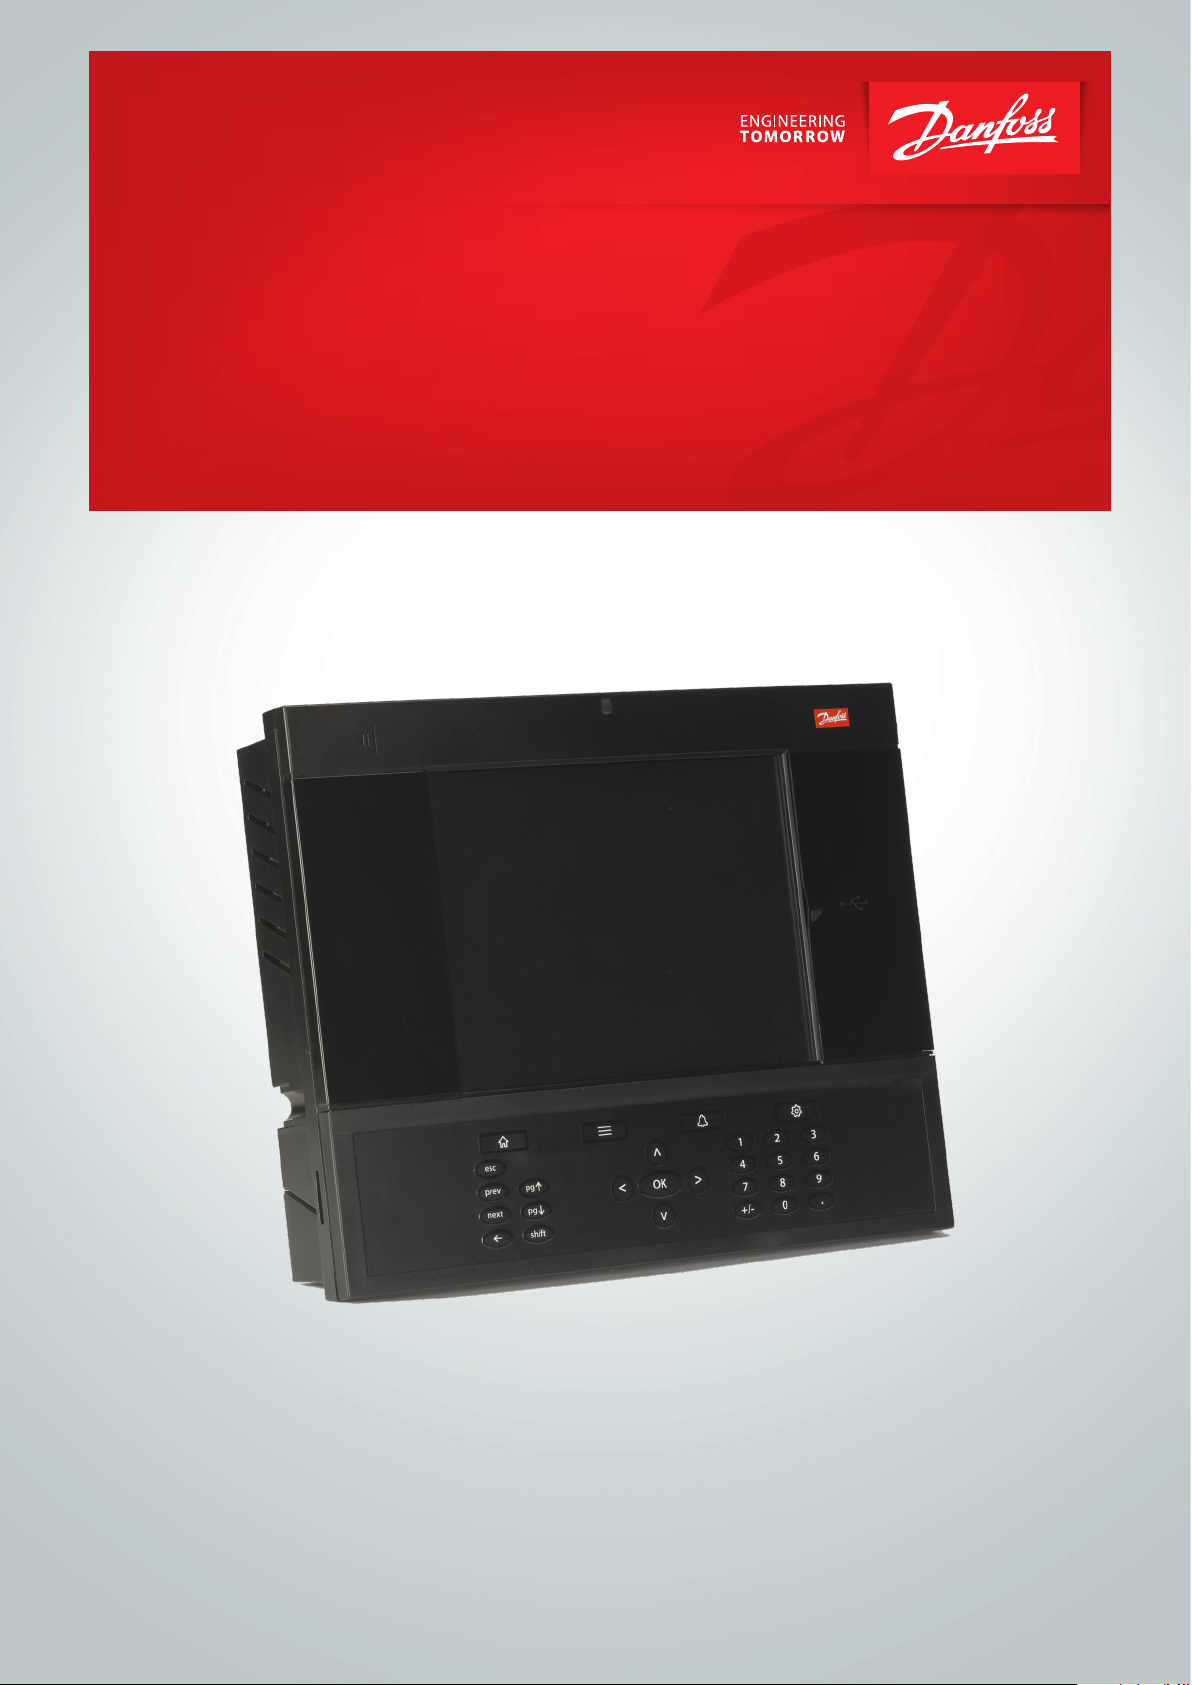
AK-SM 800
ADAP-KOOL® Refrigeration Control System
Page 2
Service Guide | AK-SM 800: Setup for HGM Leak Detector with Alarm and Strobe
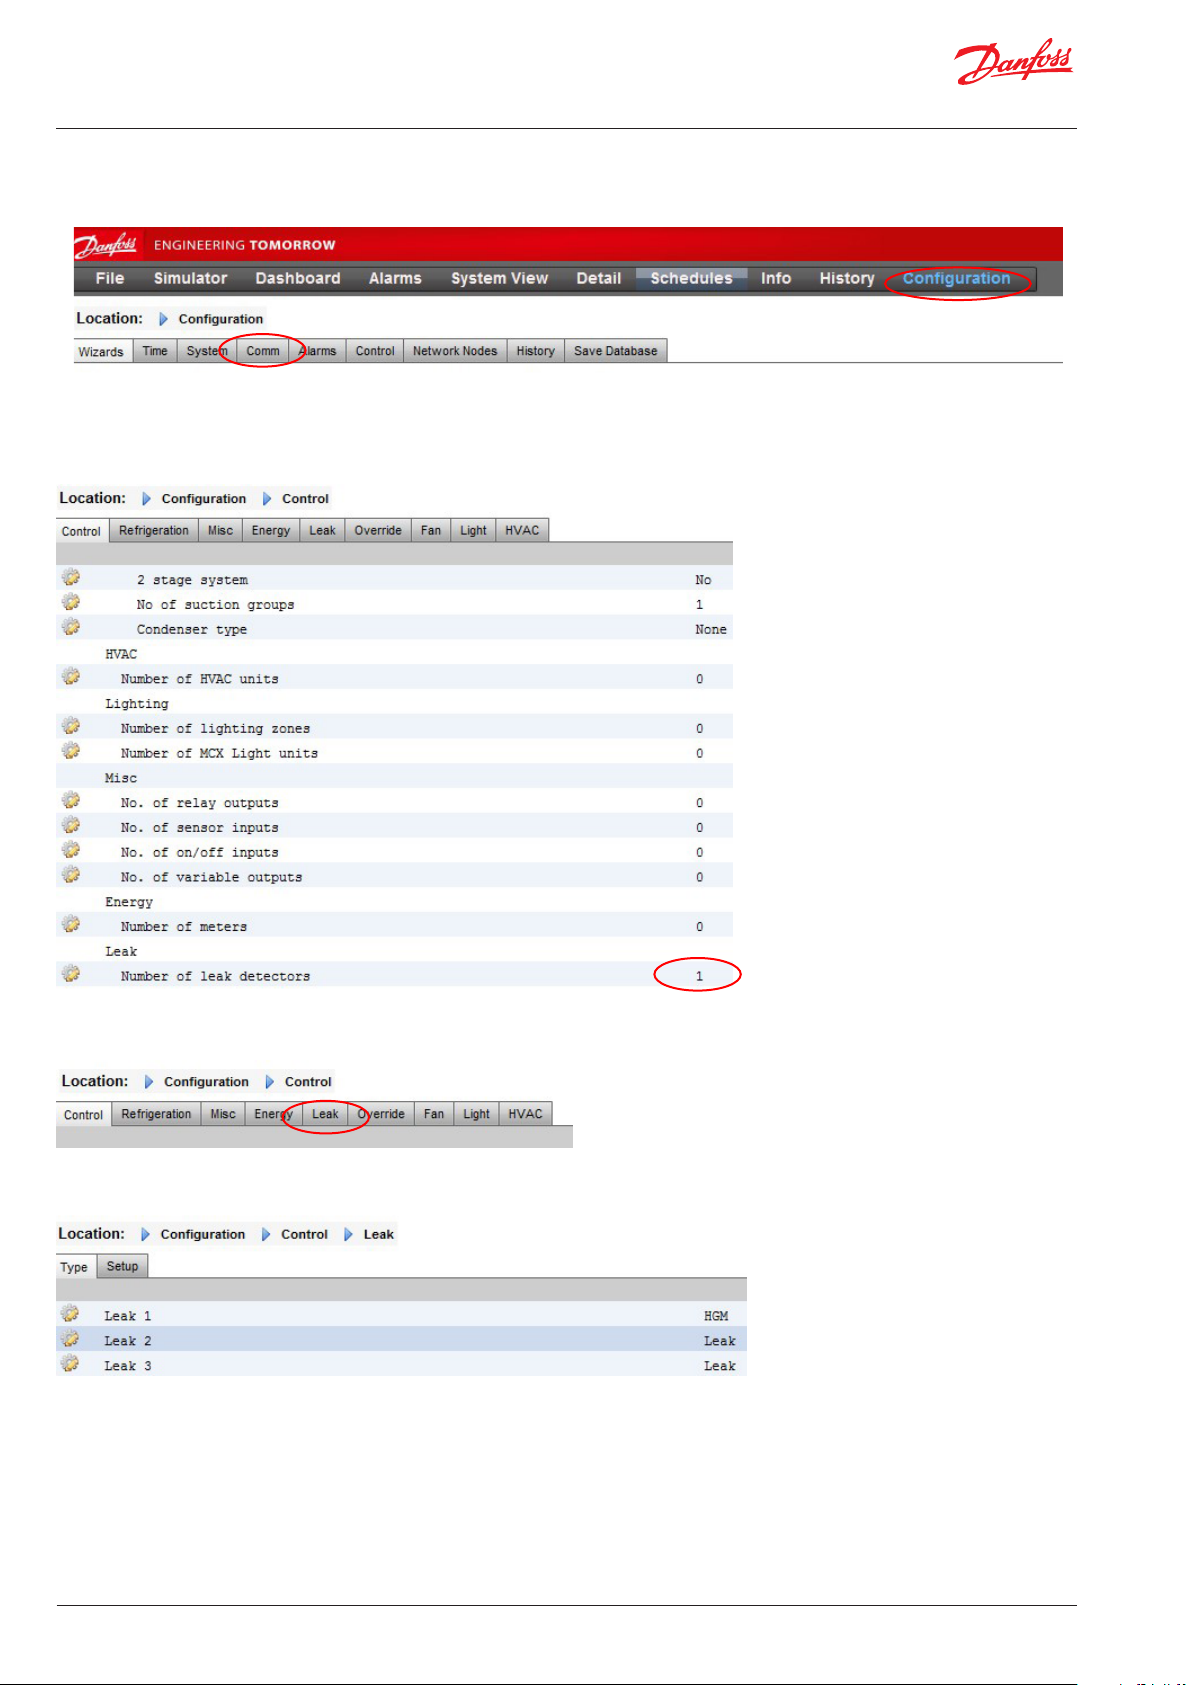
1. From the Configuration tab, select the Control subtab.
2. From the Control tab, set the number of leak detectors as the
desired number between 1 and 50.
3. Navigate to the Leak tab.
4. Set the Leak Type to HGM as desired
2 | AX279127907281en-000101
© Danfoss | ADAP-KOOL® | 2018.08
Page 3

Service Guide | AK-SM 800: Setup for HGM Leak Detector with Alarm and Strobe
5. Navigate to the Setup Tab
6. From the dropdown box, select the Leak Detector you wish to
setup. Choose the Refrigerant, Full scale value, and enable each
zone sensor that will be used.
7. Navigate to the addresses tab.
8. Go to the Sensors tab and address as desired.
© Danfoss | ADAP-KOOL® | 2018.08
AX279127907281en-000101 | 3
Page 4

9. Navigate back to the Configuration -> Control -> Leak -> Alarms
tab to enable alarms for each zone sensor if desired.
10. Navigate to the Configuration -> Control -> Refrigeration ->
Circuits -> Setup tab. Choose the leak detector you wish to
associate from the “Monitor leak detector” box. Choose the
desired zone. Enable “Generate horn relay” and “Generate
strobe relay” to “Yes” as desired. PPM triggers are configured
here as well.
11. Navigate to the Configuration -> Control -> Refrigeration ->
Addresses tab and go to the relay subtab to address the horn
and strobe as desired.
Danfoss can accept no responsibility for possible errors in catalogues, brochures and other printed material. Danfoss reserves the right to alter its products without notice. This also applies to products
already on order provided that such alternations can be made without subsequential changes being necessary in specifications already agreed.
All trademarks in this material are property of the respecitve companies. Danfoss and Danfoss logotype are trademarks of Danfoss A/S. All rights reserved.
4 | AX279127907281en-000101
© Danfoss | ADAP-KOOL® | 2018.08
 Loading...