How it Works
Log In / Sign Up
Buy Points
How it Works
FAQ
Contact Us
Questions and Suggestions
Users
Daewoo
Loading...
H
HC-4130
4
HC-4130X
HC-4150
3
HC-4160
3
HC-4180
3
HC-4180HWL
HC-4200
HC-4200B
2
HC-4200HWL
HC-4200X
HC-4230
3
HC-4250
3
HC-4260
3
HC-4280
3
HC-5120
HC-6120
4
HC-6120[U]
HC6220
4
HC-6220U
HC6220UX
HC-7210SU
HC-7230UX
HC-7230UX Series
HEA1032
Heavy Duty Truck E3D4F
Heavy Duty Trucks Specification Manual
HHOTR15B
HHOTR15ST
HHOTR15W
HI-FI KUVANAUHURI
HL510S
2
HL710S
2
HL711D
HL711S
2
HL720D
HL720S
HL900D
HL900S
HR480
HVDX3
HV-DX350A
HVR-DX625
HVR-DX710
HY-LCD32L2
HY-LCD32R1
HY-LCD42L2F
HY-LCD42R1F
I
IDEAL 16ND
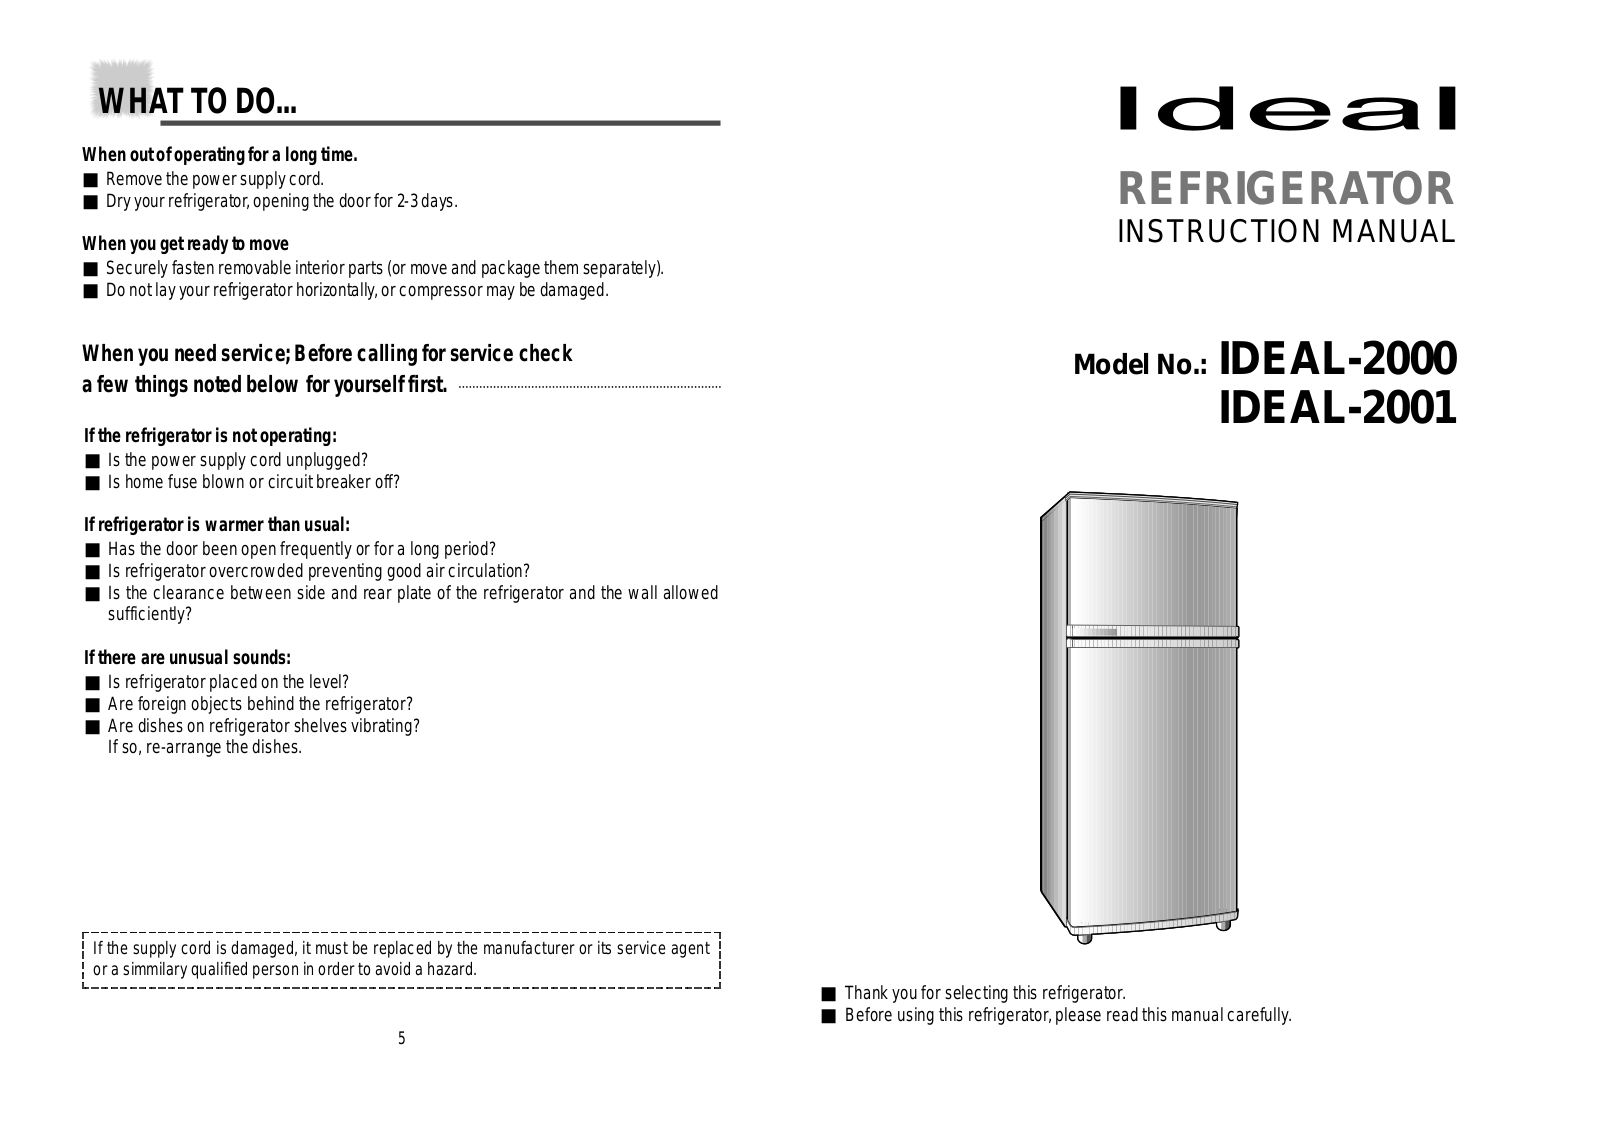
IDEAL-2000
3
IDEAL-2001
IDEAL-22KR
2
IDEAL-340D
IDEAL MILLENNIUM-22ND
IDEAL MILLENNIUM-26ND
J
JES1289
JES1344
JRF 245
2
JT960
JYM 241
JYM-471
JYM 710
K
K14C3T
K14C4NS
2
K14C4T
2
K14C5N
2
K14C5NT
2
K14H3
K14H3T1
K14H3T1 S
K14H4
K14V4T
2
K15U7LT
2
K20C4NT
2
K20C4T
K20C5NT
2
K20H3
K20H4
K20H4T1
K20V4T
K21C6NT
2
K21C6T
K21H4T2 S
K21V1GTS
2
K21V1NT
2
K21V1T
2
K21V4T
K30
K3050MECHA
K30-MECHA
K30-MECHA DECK
K480
2
K50
K50-MECHA DECK
Kalos
2
KBE-6R2SMO
KBE-6R2SSS
K-MECHA
K-Mecha Deck
K O C-9U0T
4
K O C-9U0TS
Loading...
Loading...
Nothing found
IDEAL-2000
Instructions Manual [ar]
3 pgs
893.08 Kb
0
User Manual
3 pgs
860.68 Kb
0
User Manual
5 pgs
1.11 Mb
0
Table of contents
Loading...
Daewoo IDEAL-2000 User Manual
...
Daewoo User Manual
Download
Specifications and Main Features
Frequently Asked Questions
User Manual
Download
Page 1
Page 2
Page 3
Loading...
+
hidden pages
Unhide
You need points to download manuals.
1 point = 1 manual.
You can buy points or you can get point for every manual you upload.
Buy points
Upload your manuals
 Loading...